|
|
Gunsumer Reports TM Providing Detailed Objective Reviews for Firearms and Firearm Accessories |
Ruger Precision Rifle Review
Part 4 - Disassembly, Reassembly & Internal Features
September 25, 2015
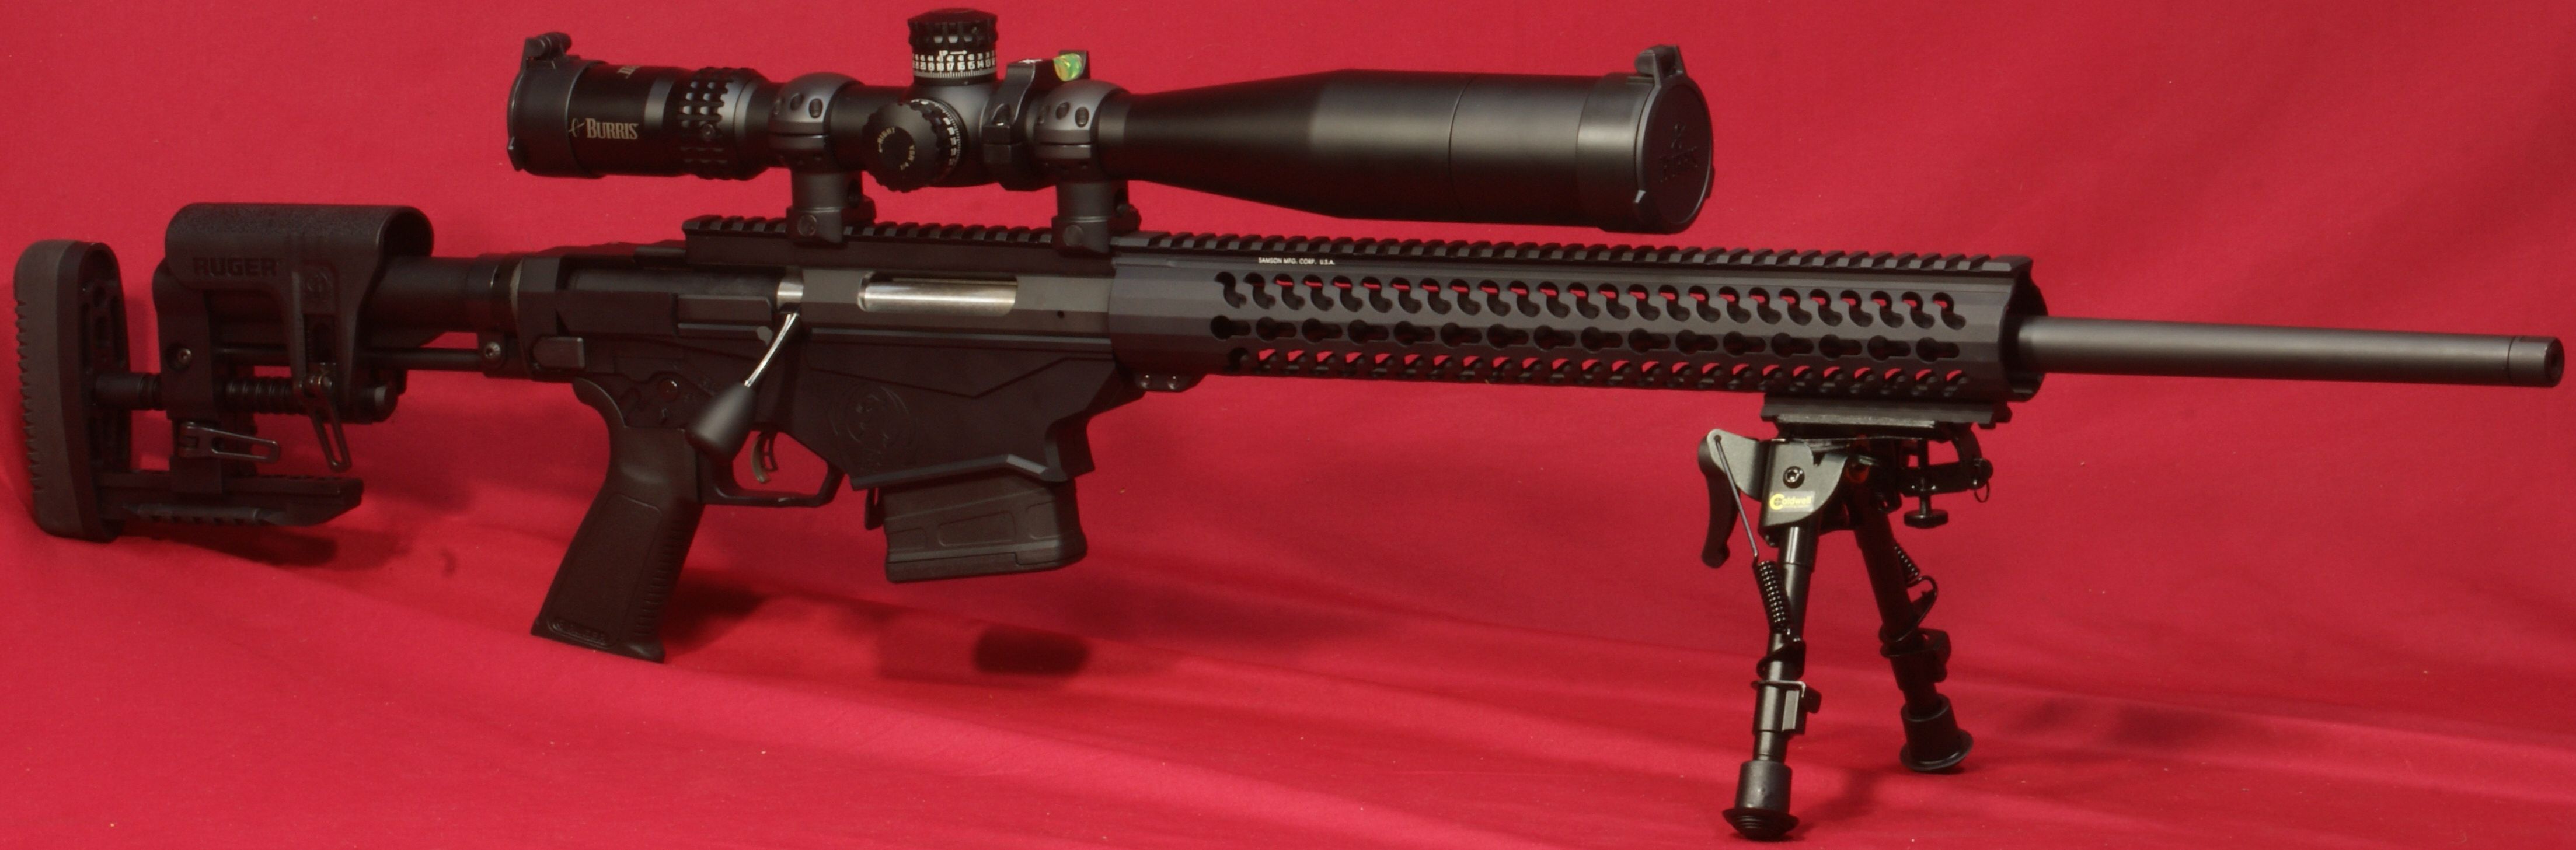
In this part of my review I show disassembly, reassembly and talk about the internal features on the new Ruger Precision Rifle. I take a slightly different approach with this review than other reviews in the past by relying mainly on two YouTube videos below for the commentary, yet I still include detailed photos so you can study the details with high resolution photos.
Disassembly & Reassembly
This next video goes over normal disassembly and reassembly of the Ruger Precision Rifle. Ruger also has an instructional video at their website that covers these details and I recommend you watch it also. You can also find Ruger's video on Youtube at this link.
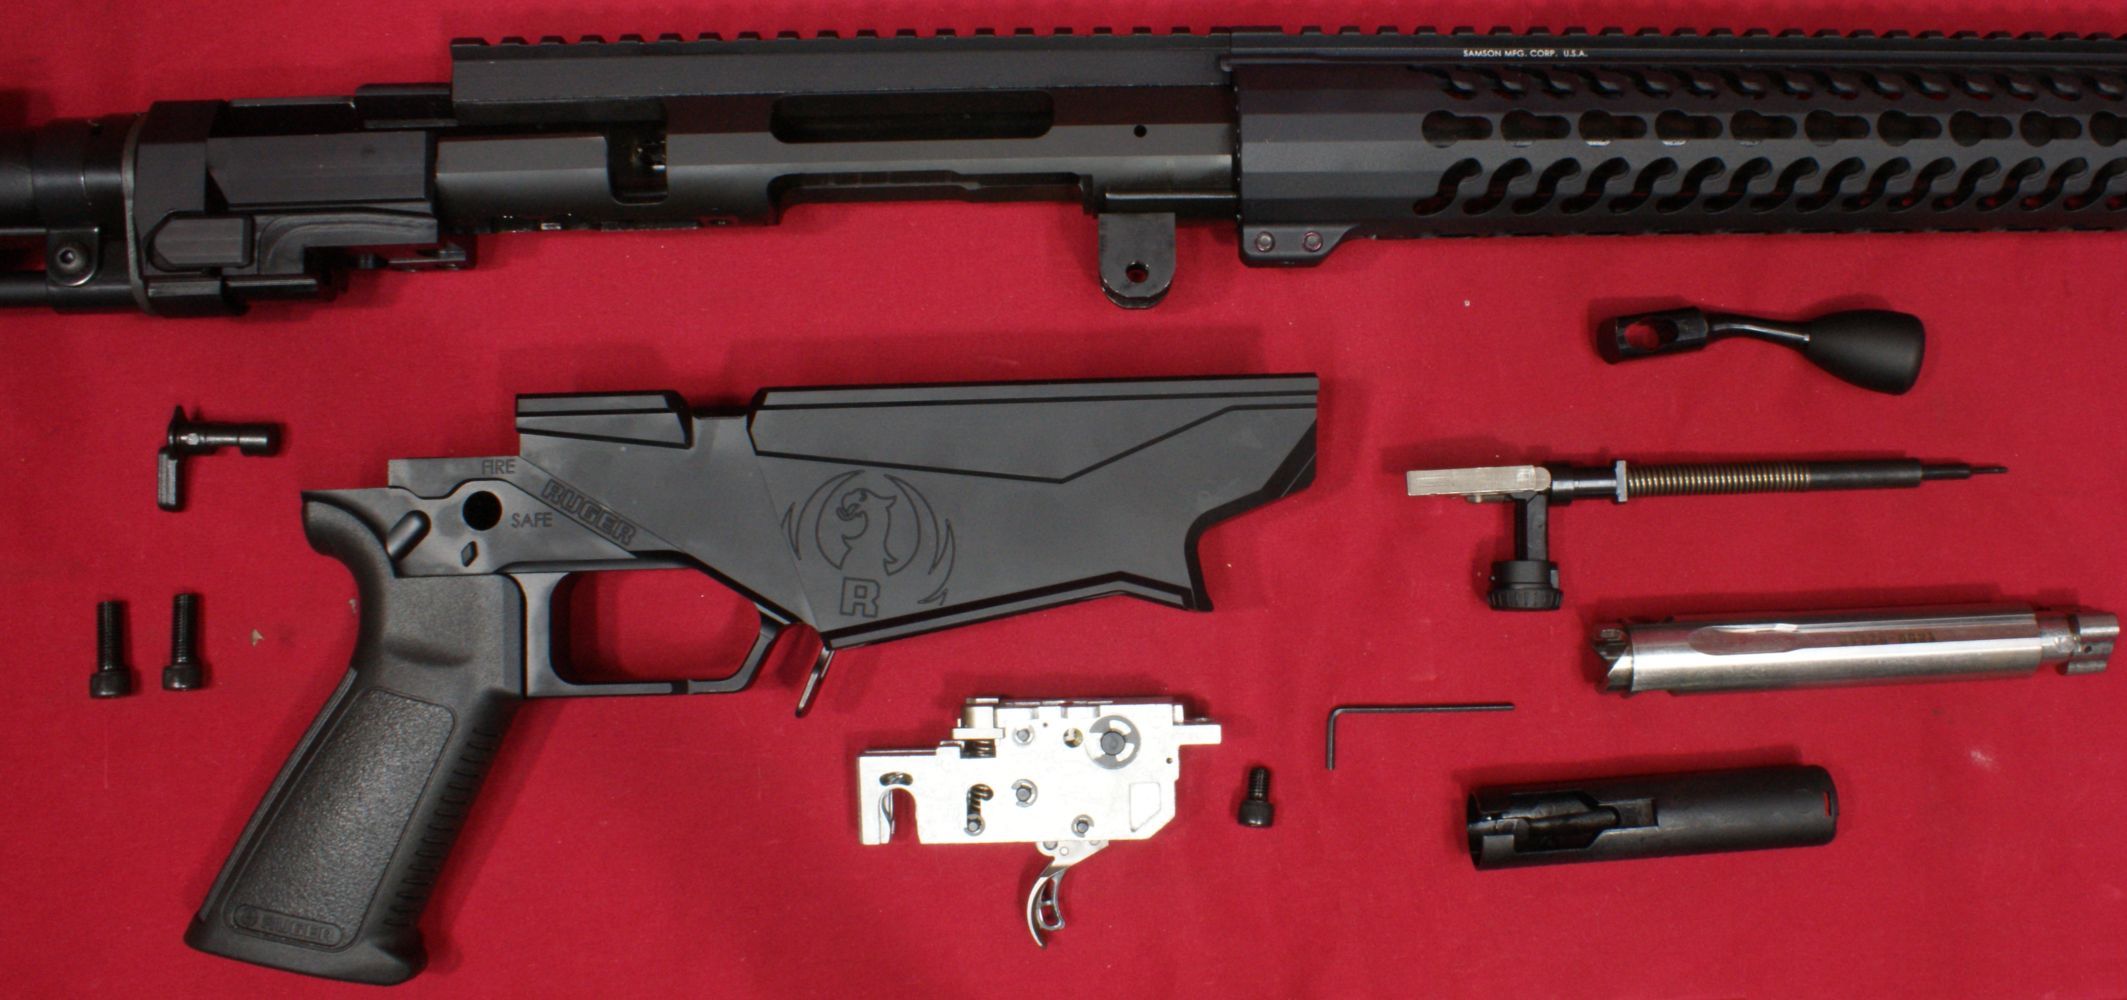
This next photo gives you a look at the parts disassembled using the normal disassembly procedures identified in the Instruction Manual. Overall I think disassembly and reassembly is very easy. One thing that can be tricky is reinserting the bolt tool if by accident you remove the bolt tool while the bolt is disassembled. I explain how to do this in my video. Under most cleaning situations, all you need to do is fold the stock and remove the bolt assembly like any other bolt action rifle. Removal of the lower receiver, trigger assembly and disassembly of the bolt would be needed less frequently unless you are utilizing this rifle in harsh conditions.
Figure 1
These next photos some some of the steps for disassembly, but refer to the video for the details.
Figure 2 - Make Safe
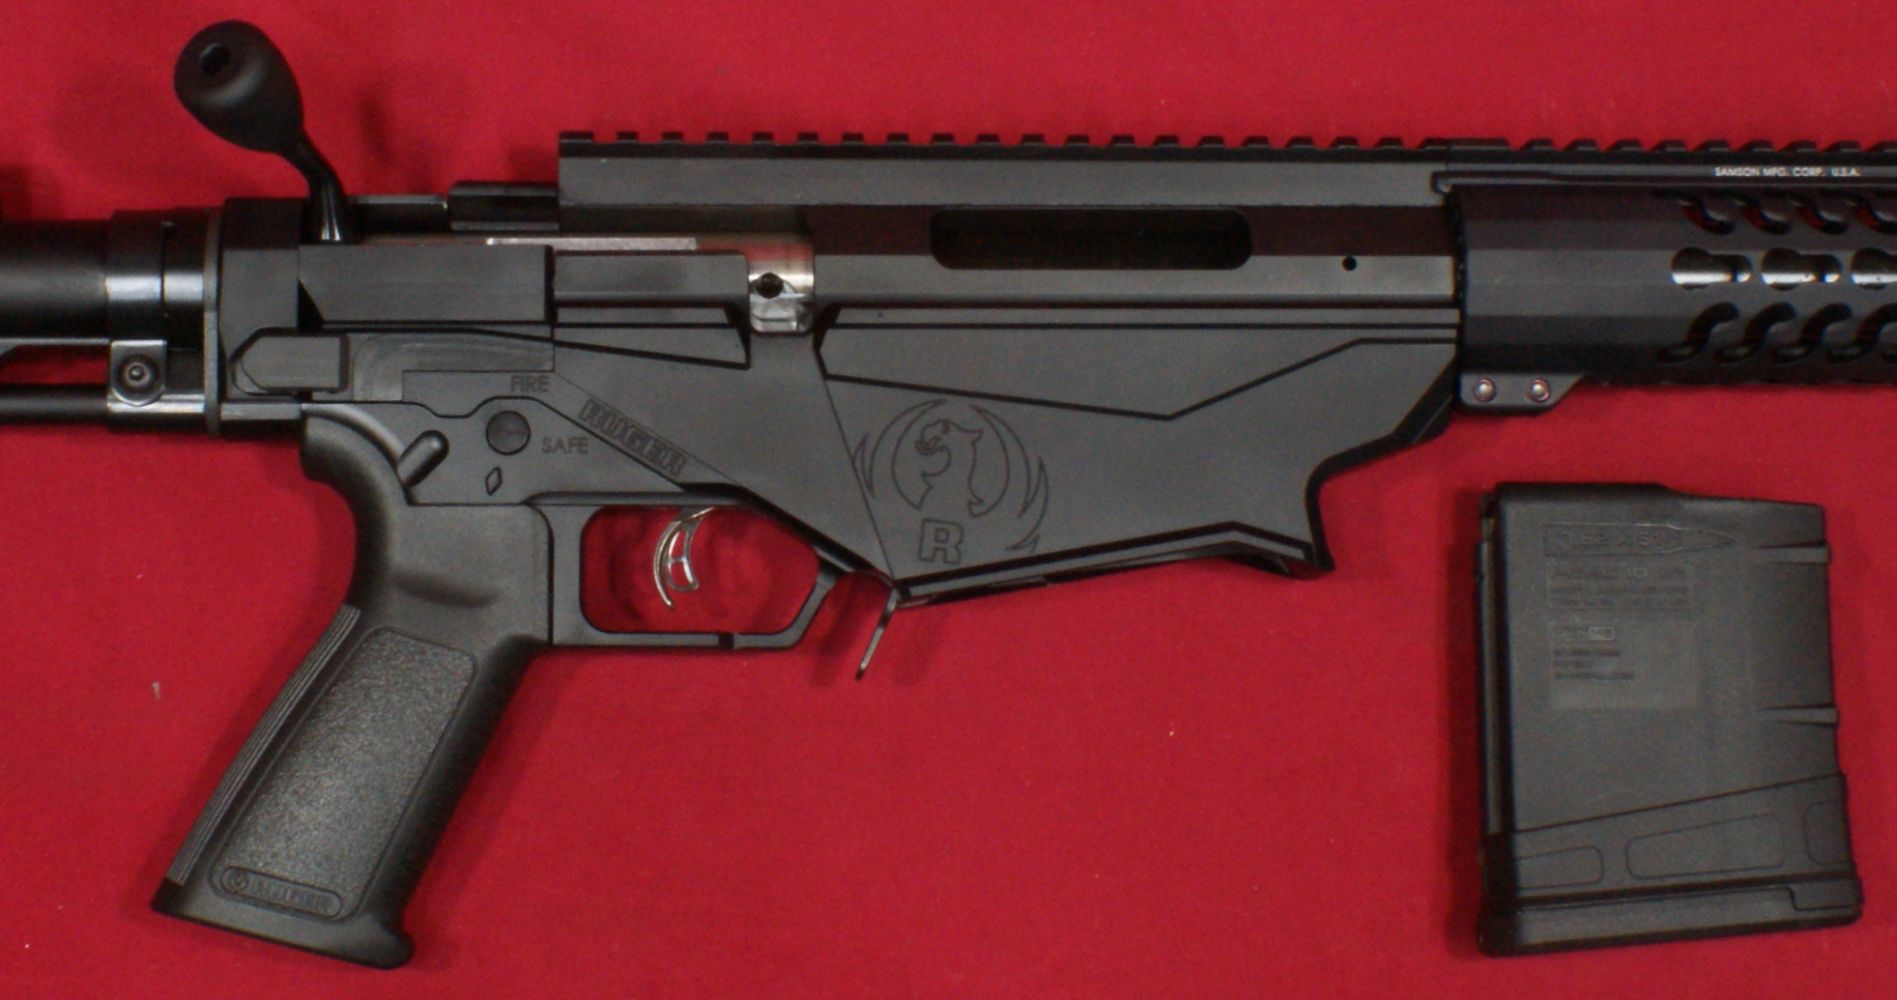
Figure 3 - Remove Bolt
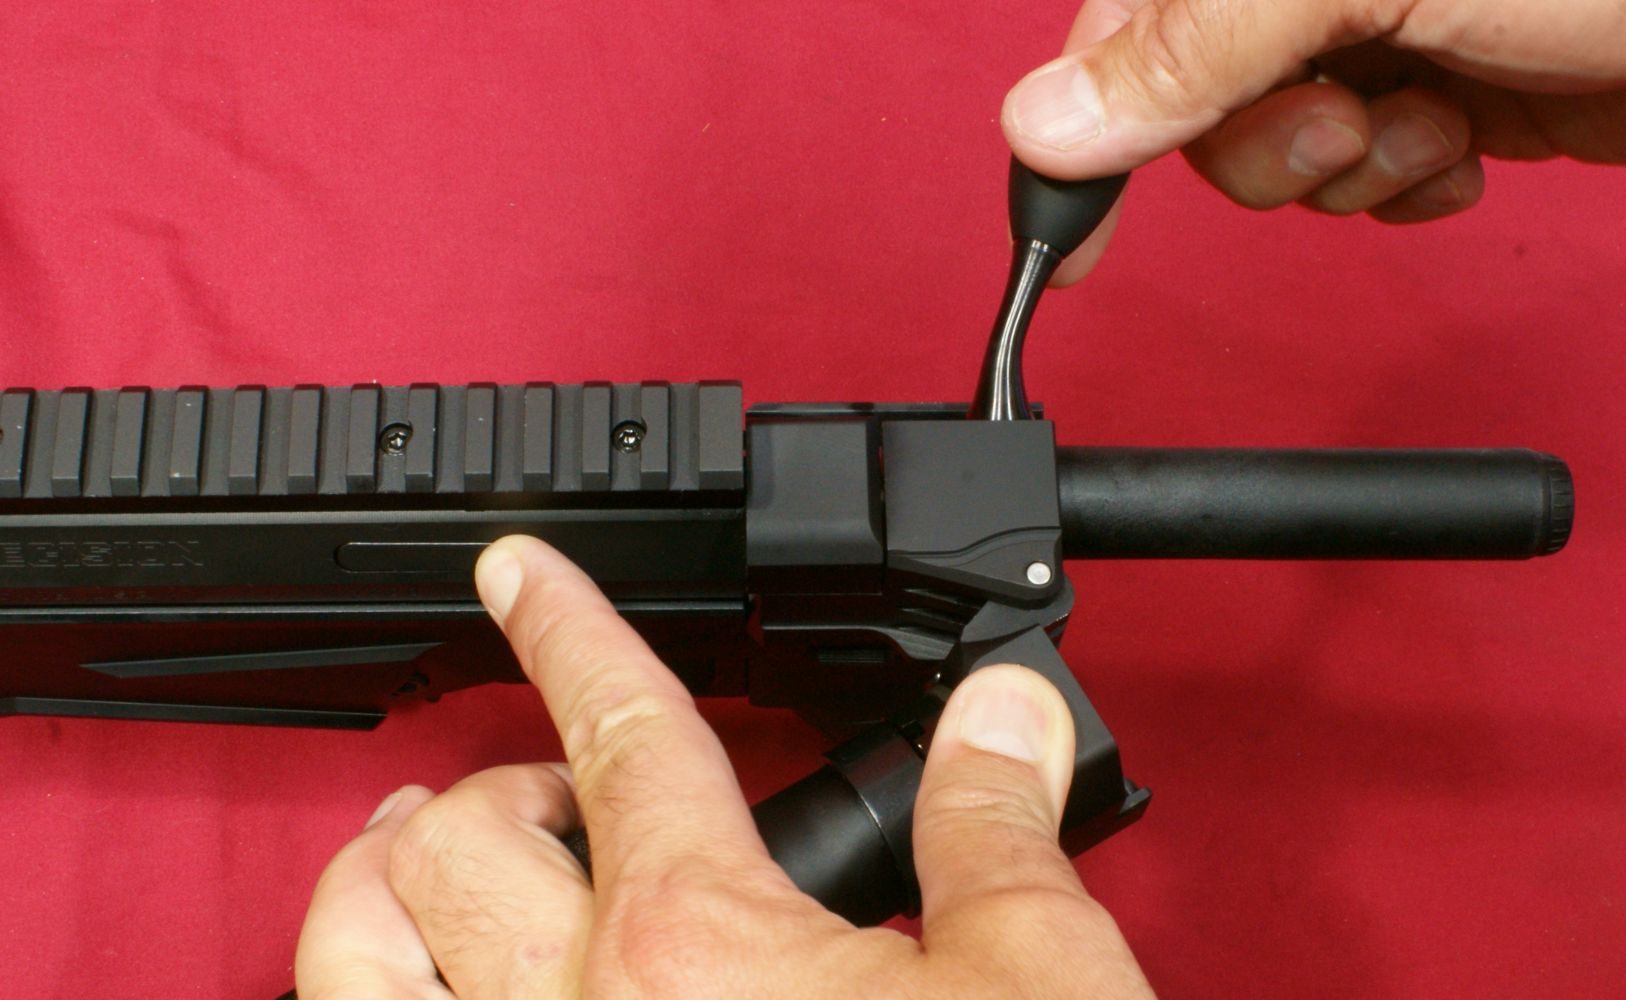
Figure 4 - Remove Rear Takedown Bolt
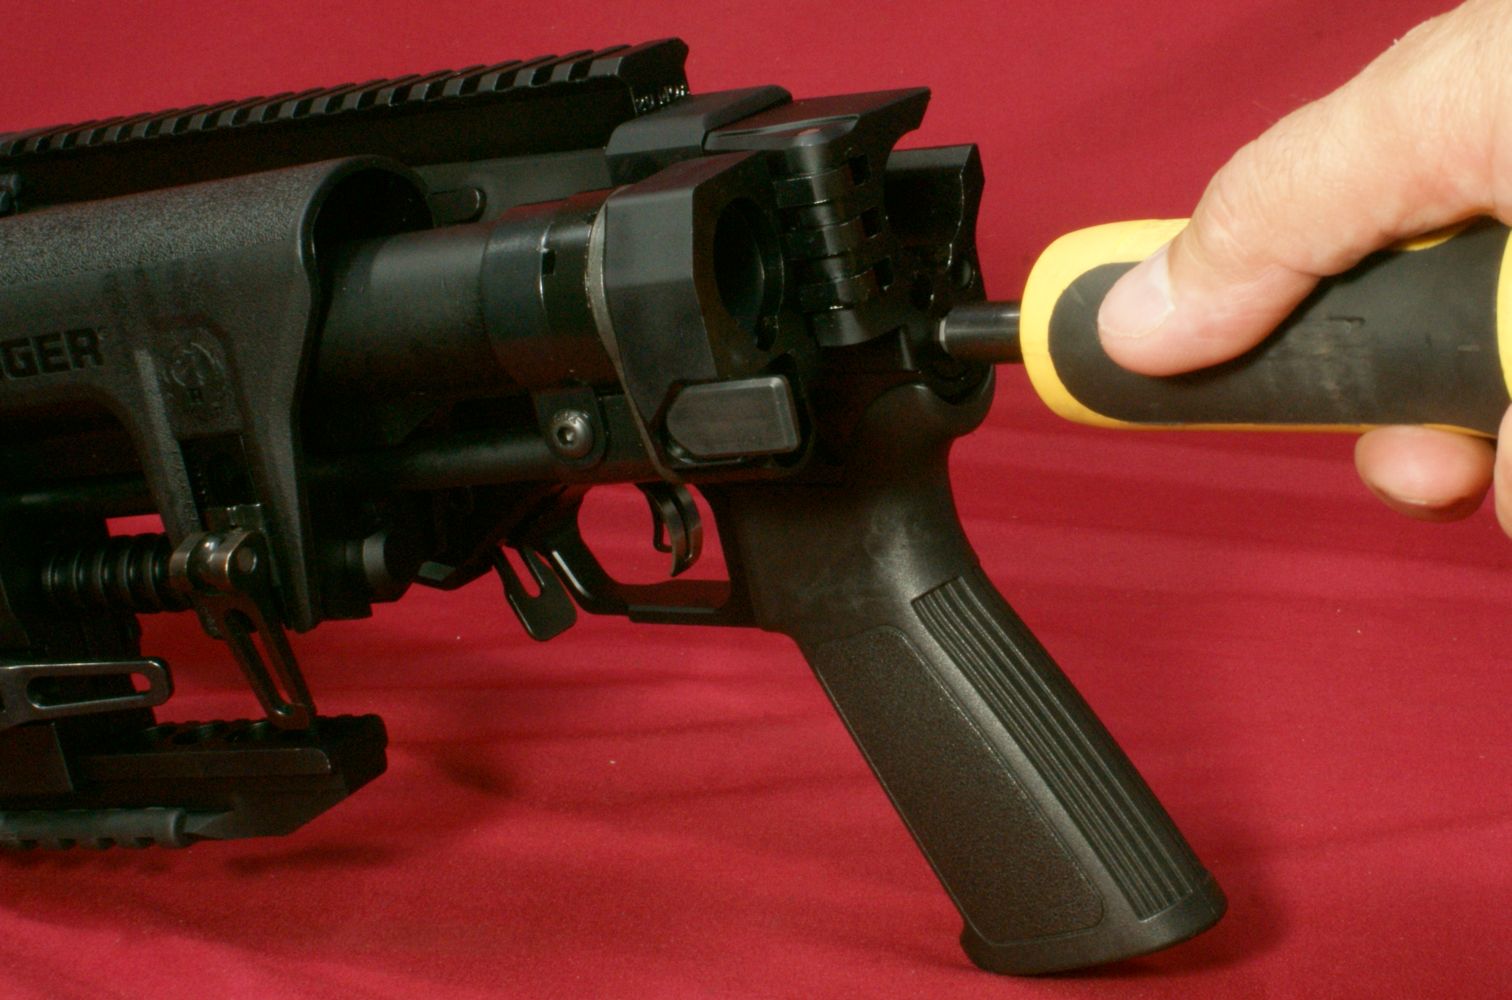
Figure 5 - Remove Front Takedown Bolt
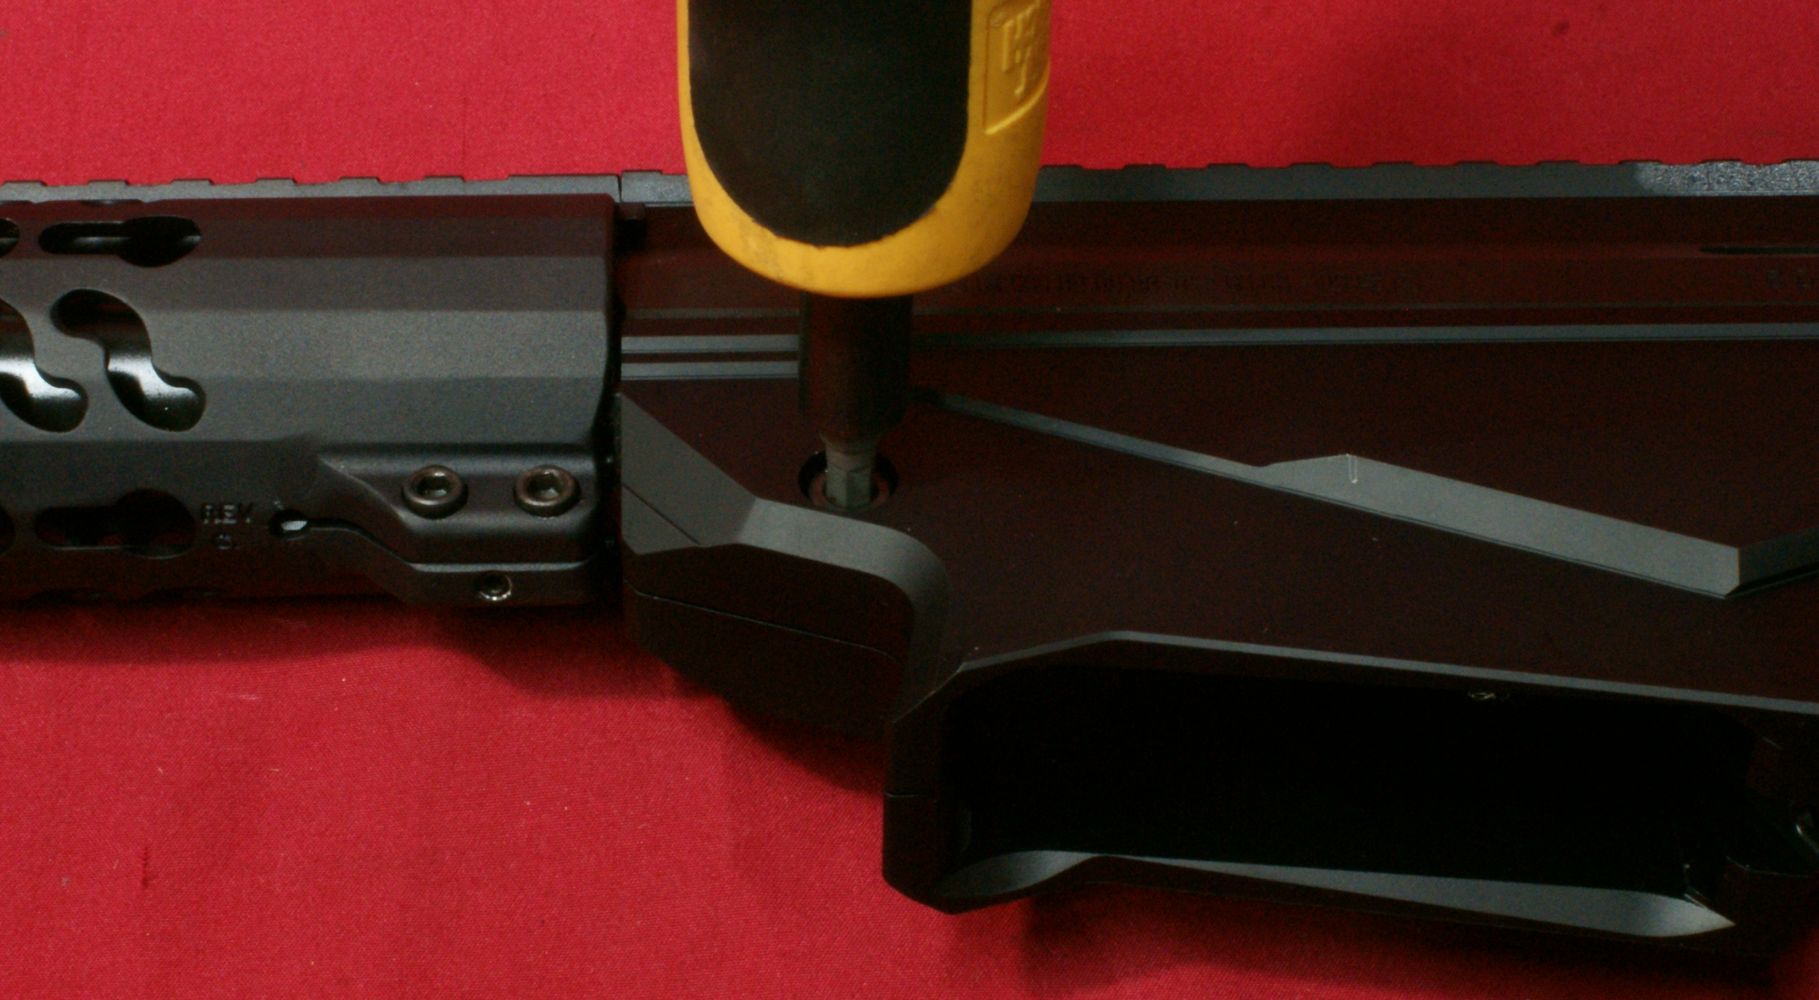
Figure 6 - Remove Lower Receiver Assembly
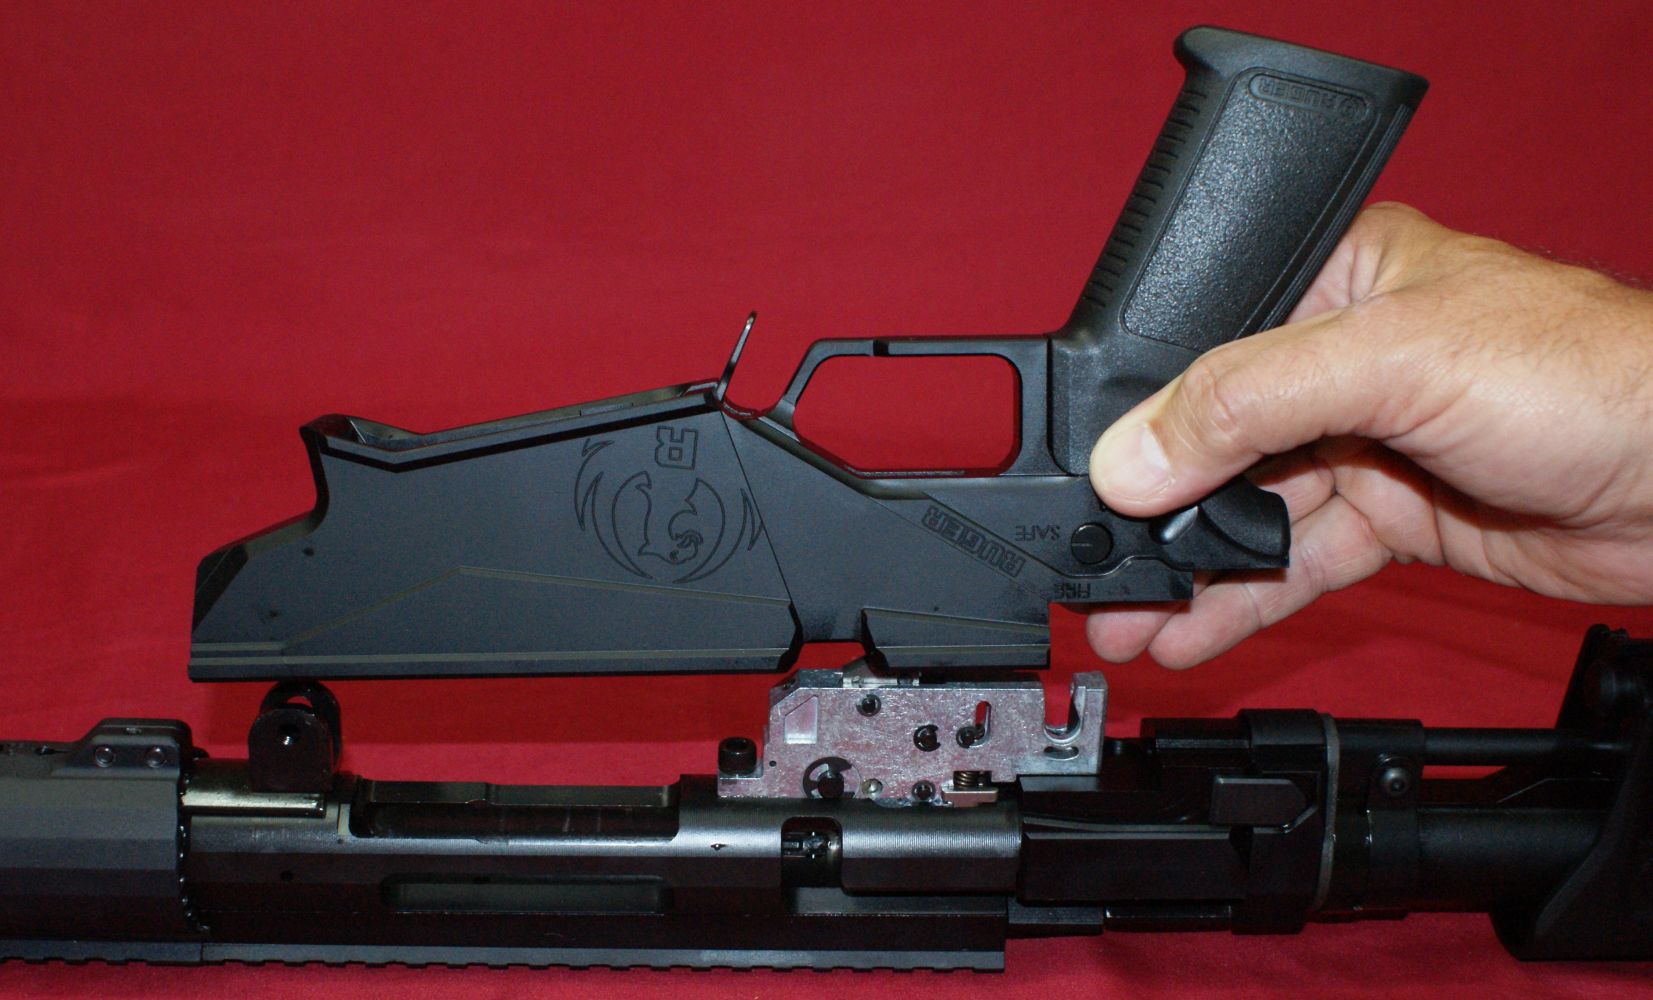
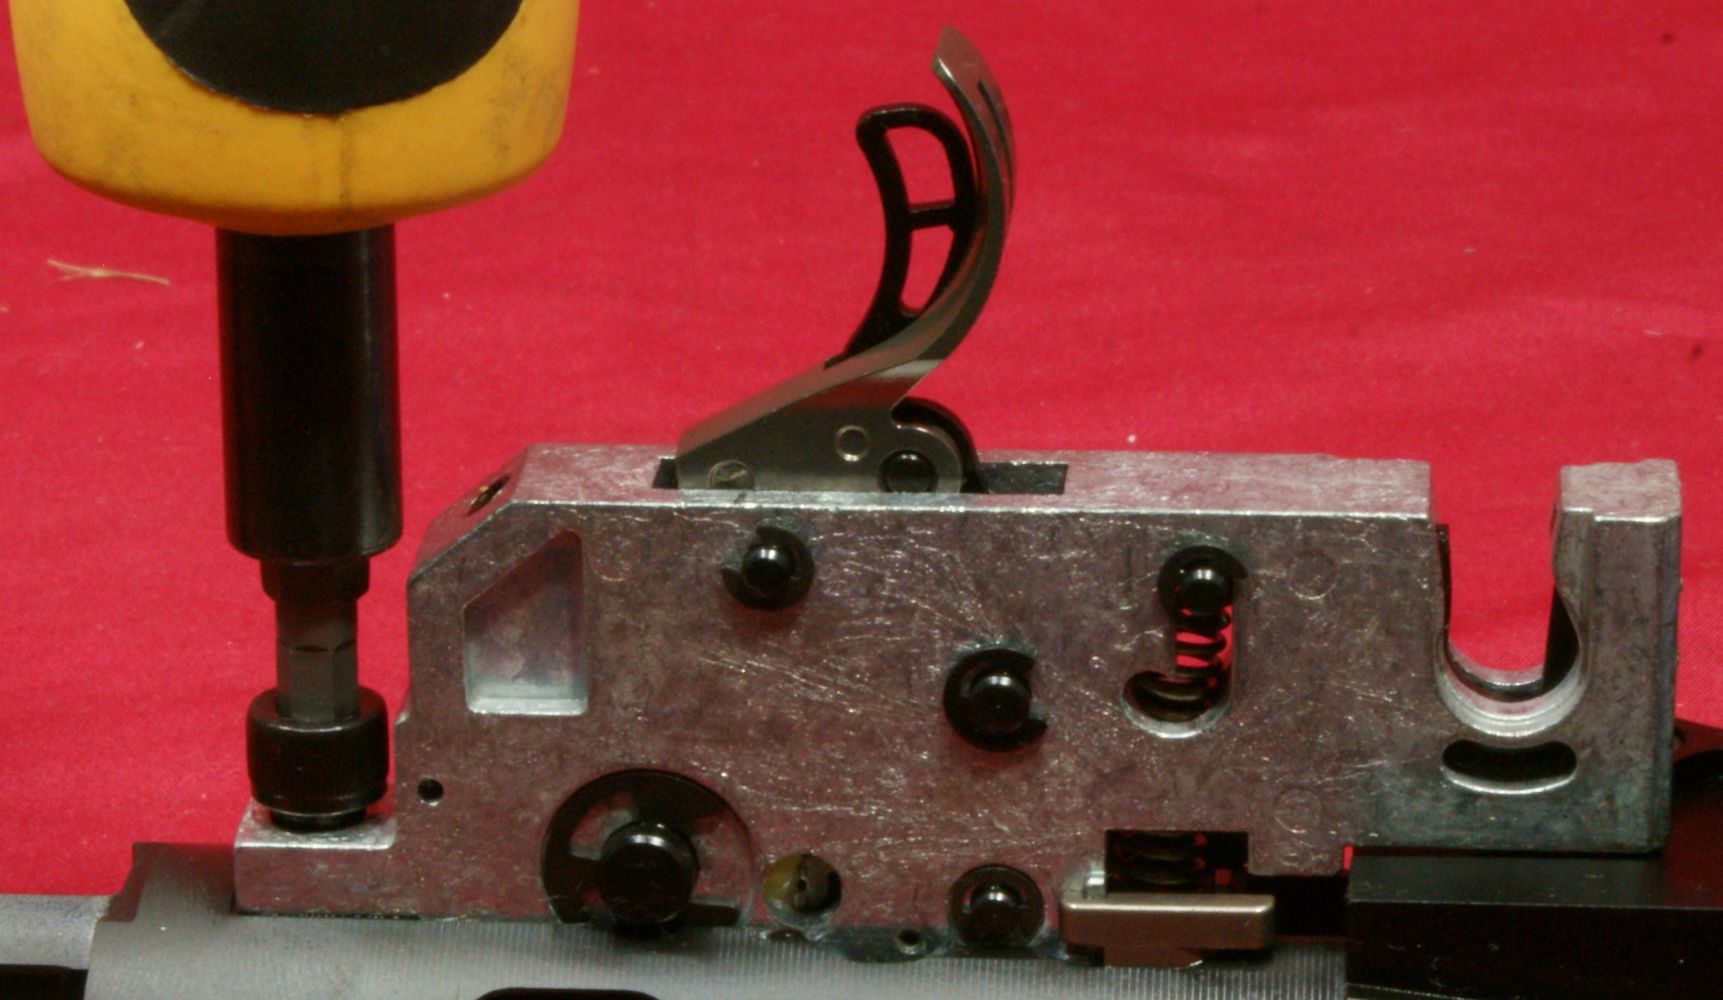
Figure 7 - Trigger Assembly Original Configuration
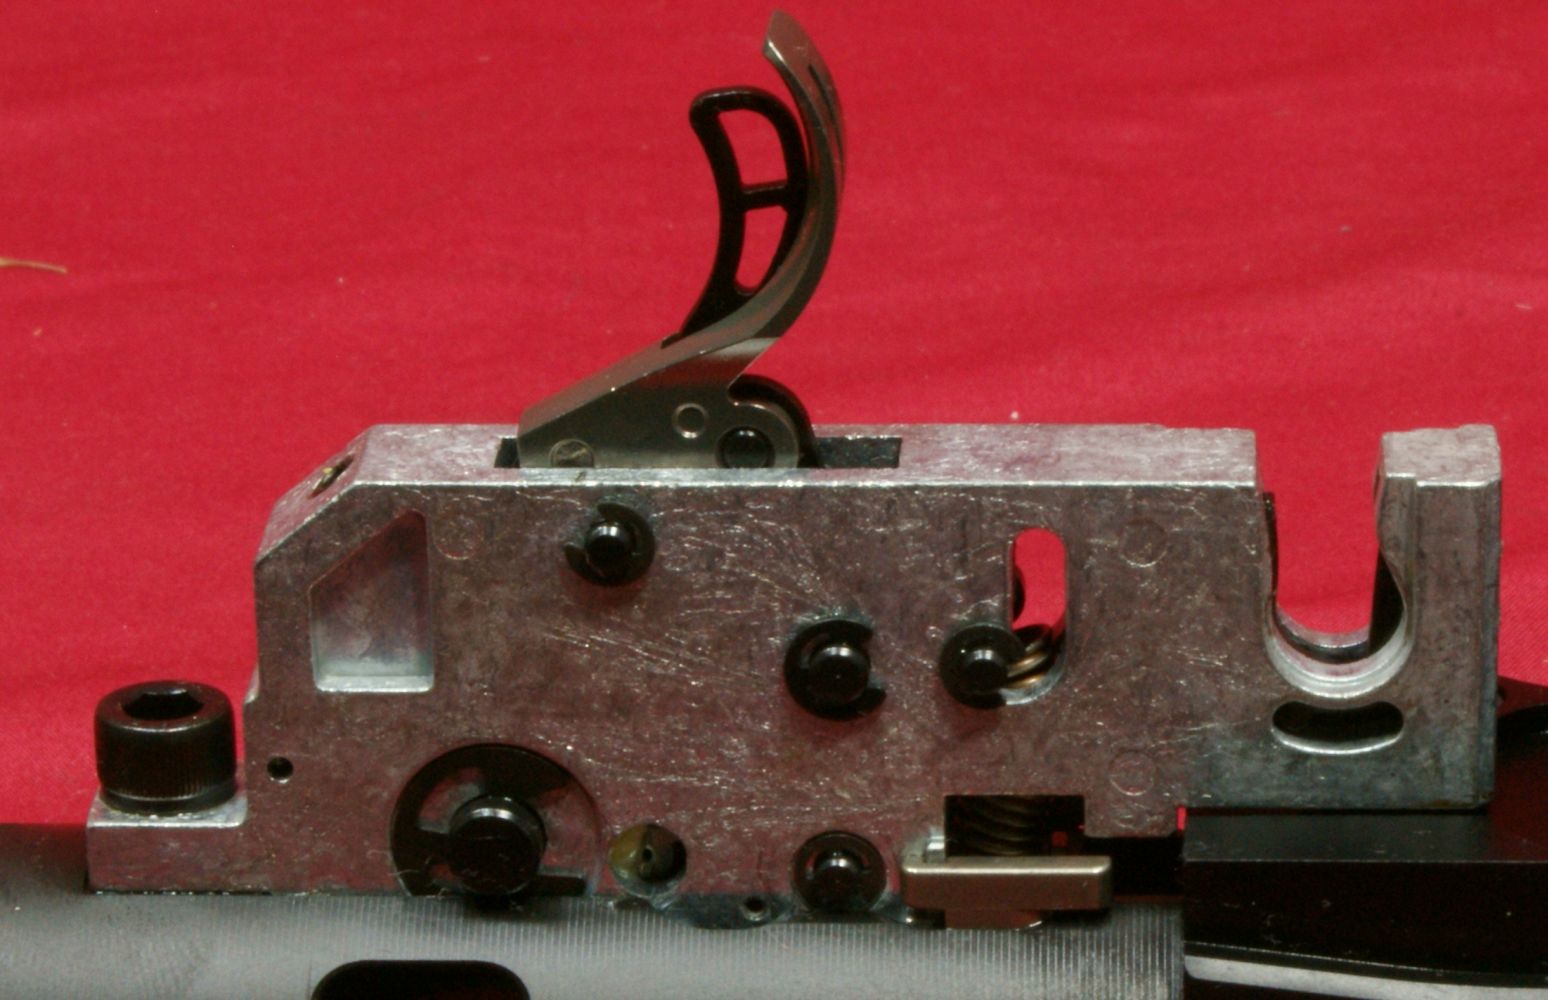
Figure 8
Reduce Spring Force on Guide Block (A), Remove Front Screw (B),
Lift Guide Block (C),
Push Assembly to the Rear, Remove Trigger Assembly
More Disassembly and Internal Features
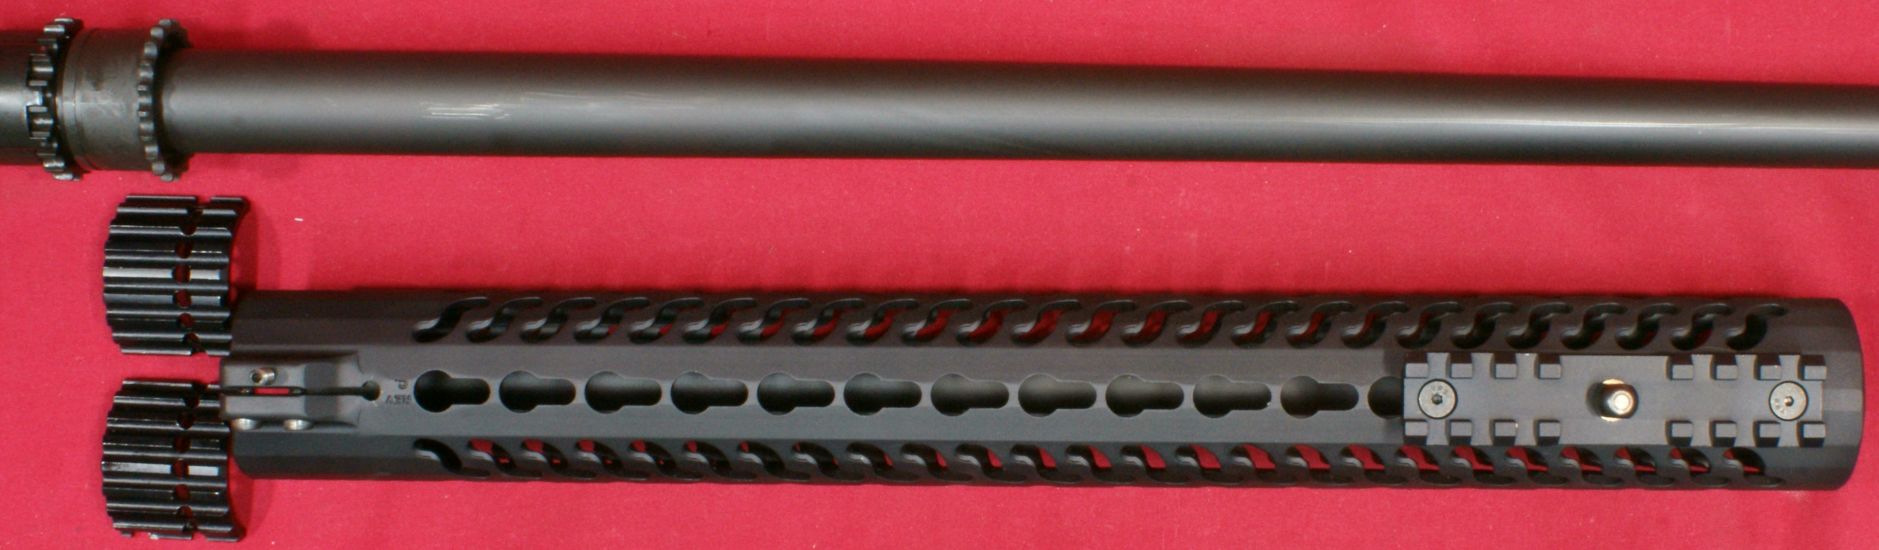
Since Ruger designed the rifle to allow AR styled aftermarket parts such as the buttstock, pistol grip and handguard, I decided to go ahead and show removal of these items along with discussing further the internal features of the rifle. The is shown in detail in this next video.
These next photos show the internal features of the rifle and are provided for your viewing pleasure. Again, refer to the videos for commentary.
Figure 9
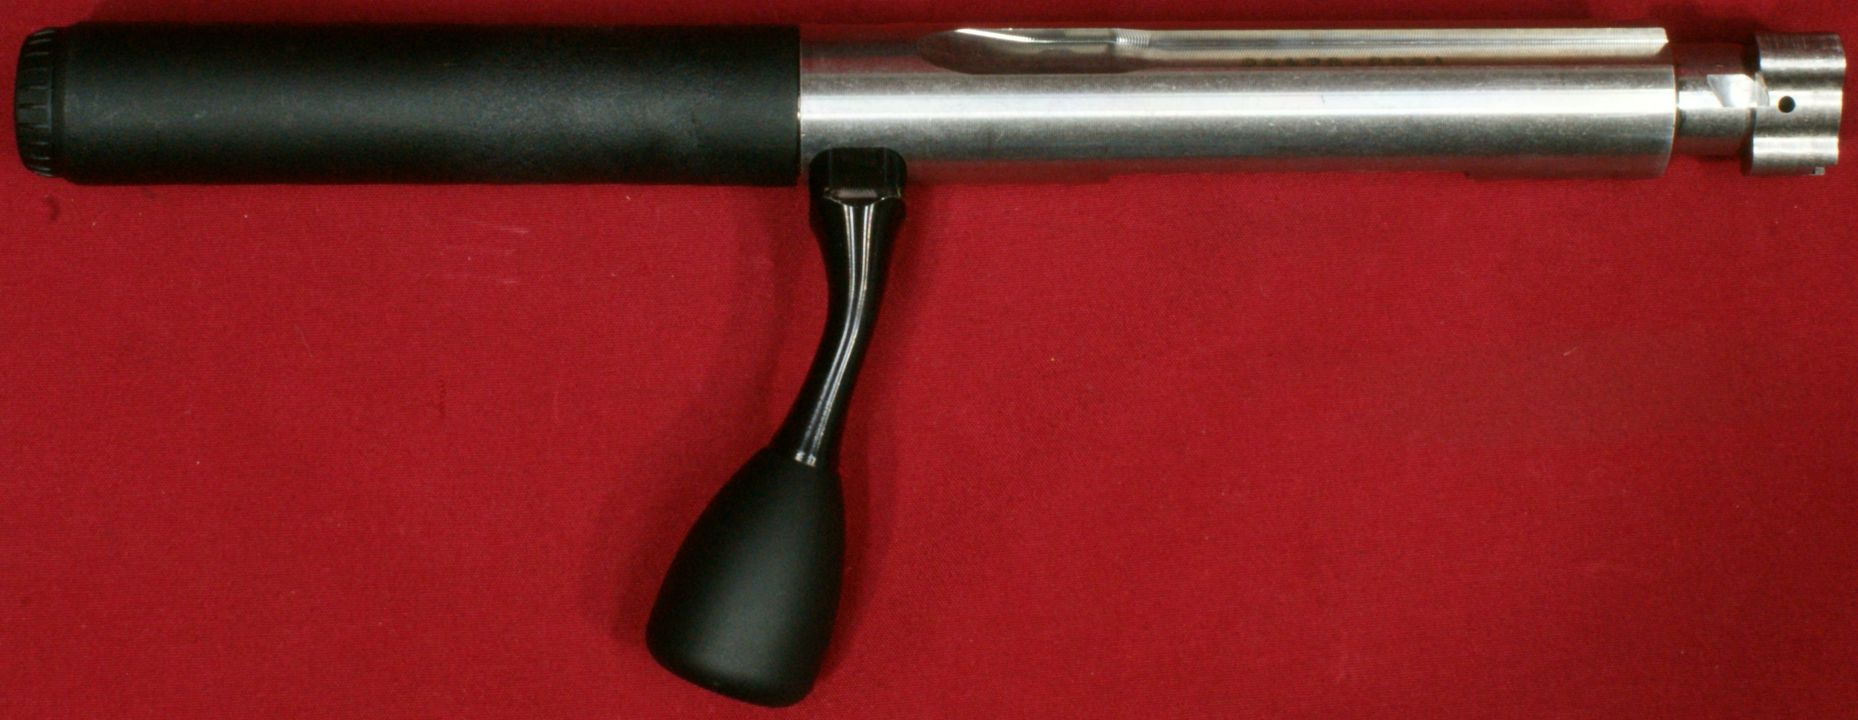
Figure 10

Figure 11
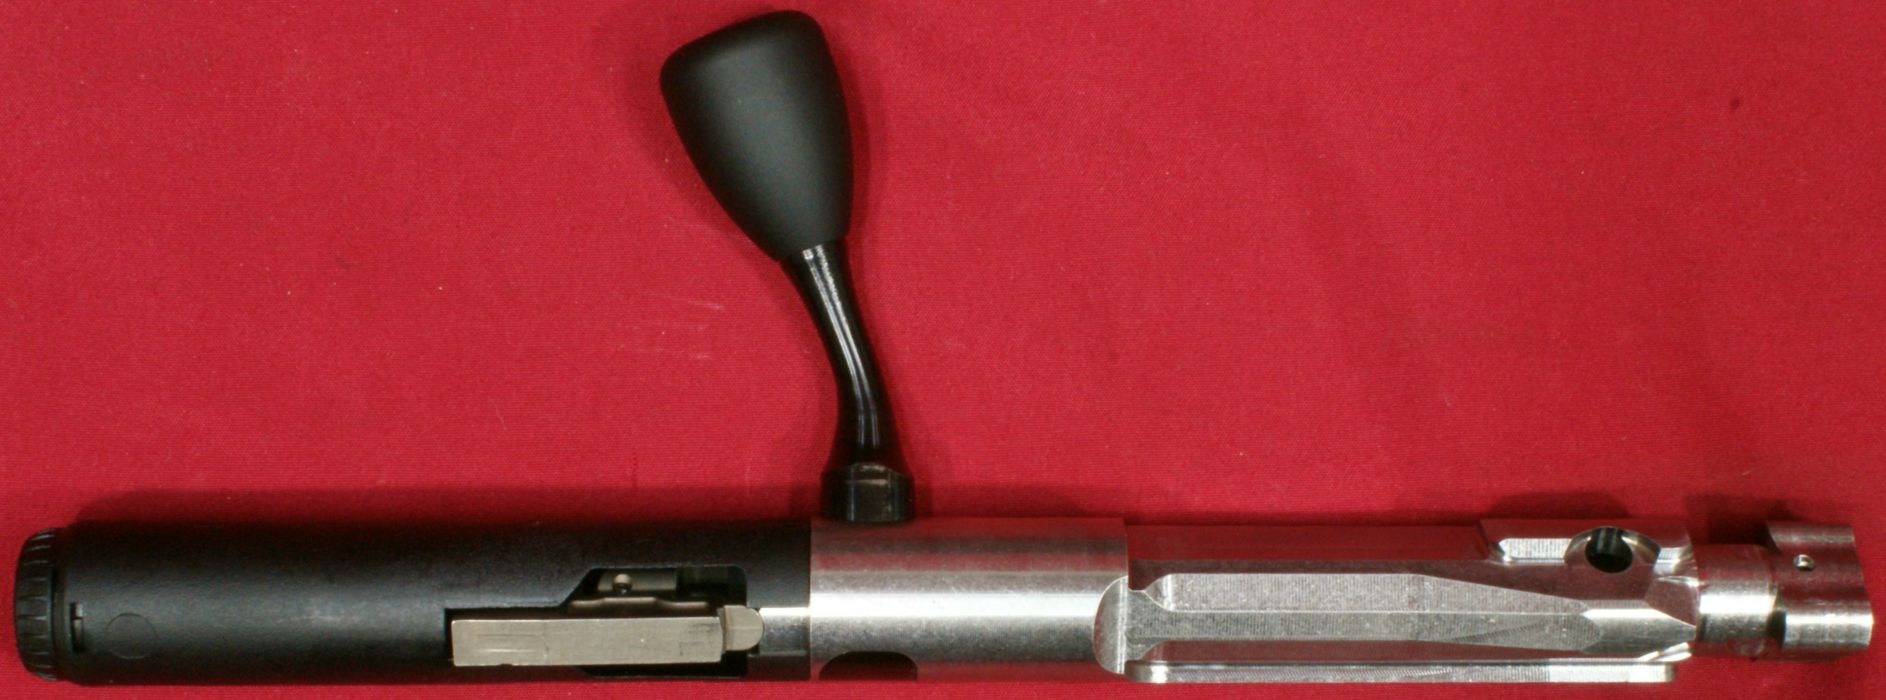
Figure 12

Figure 13
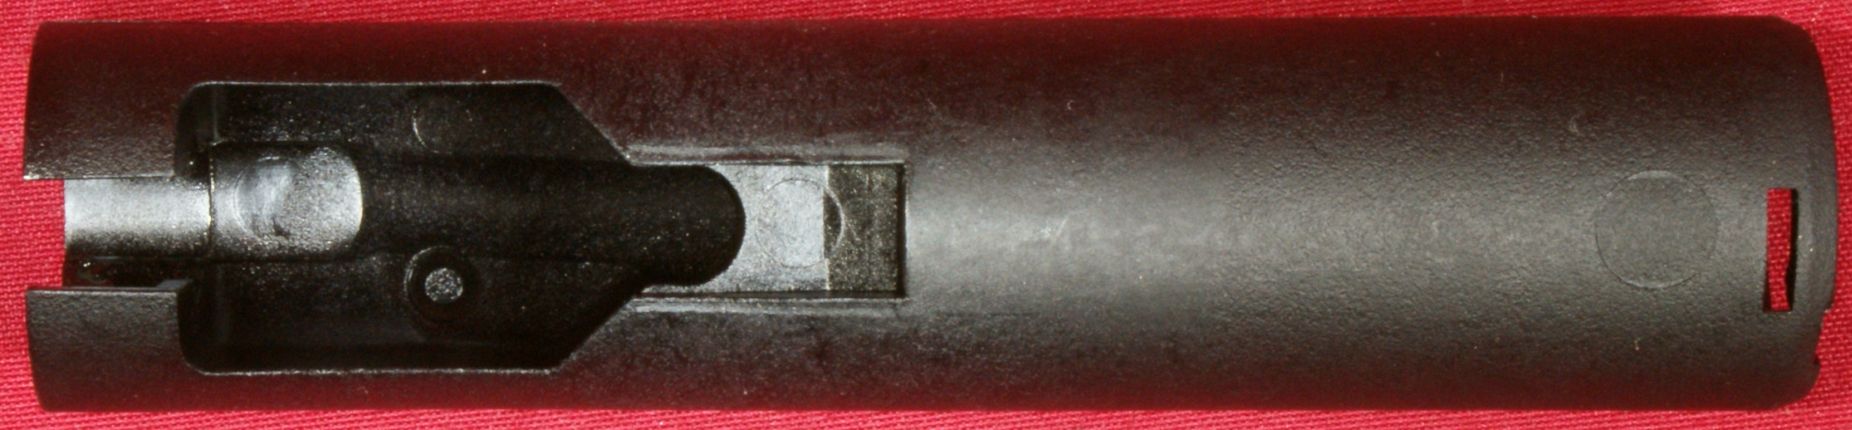
Figure 14
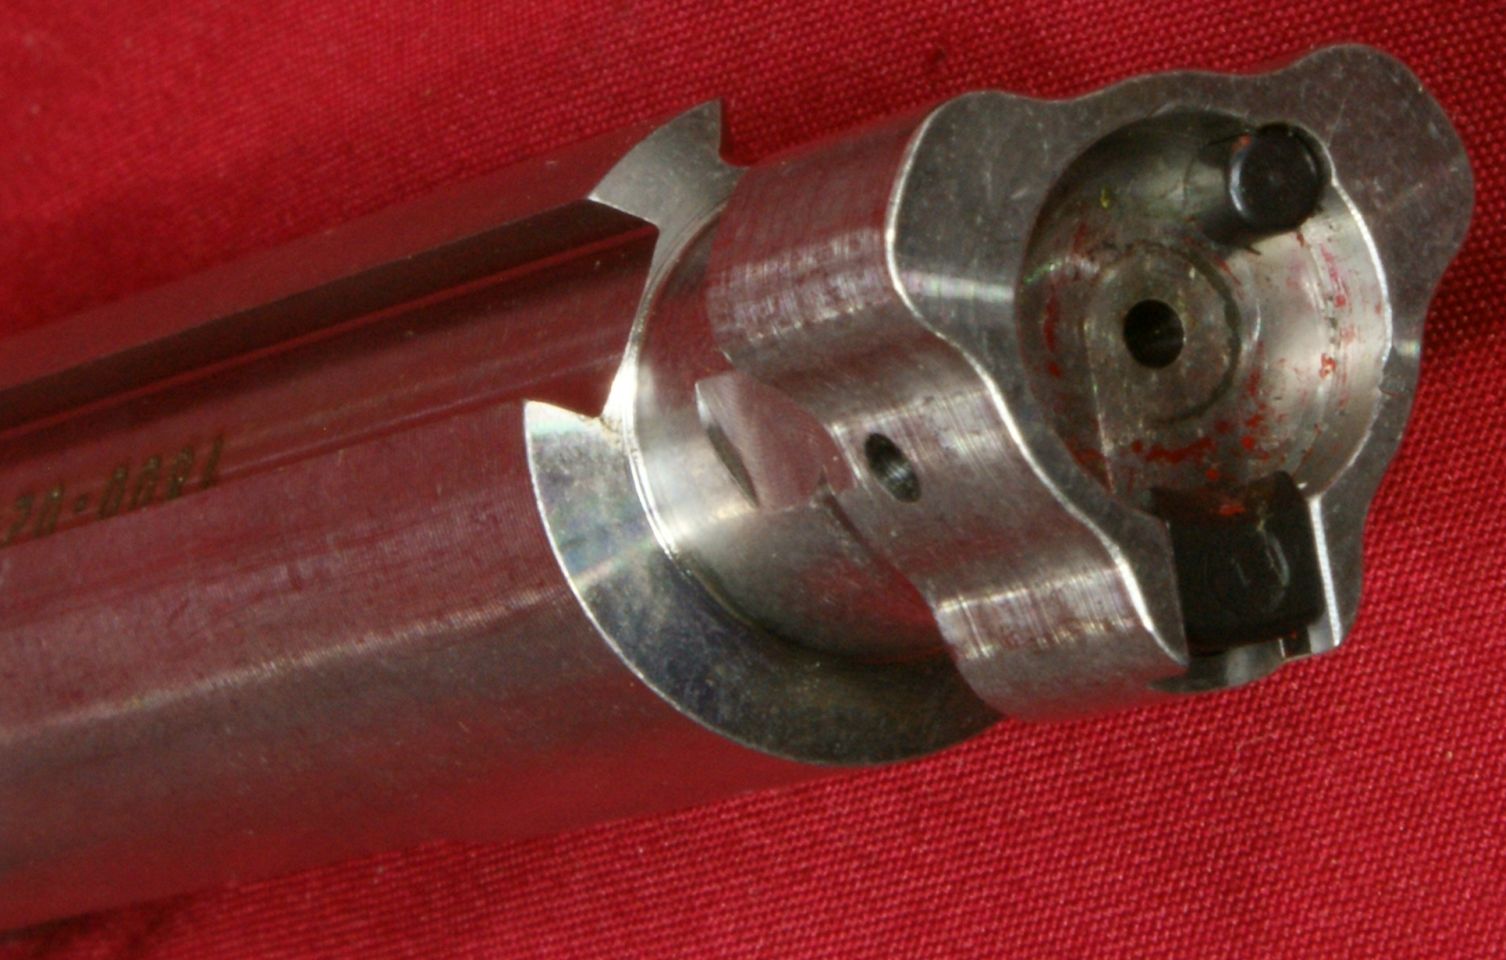
Figure 15

Figure 16

Figure 17

Figure 18
Figure 19
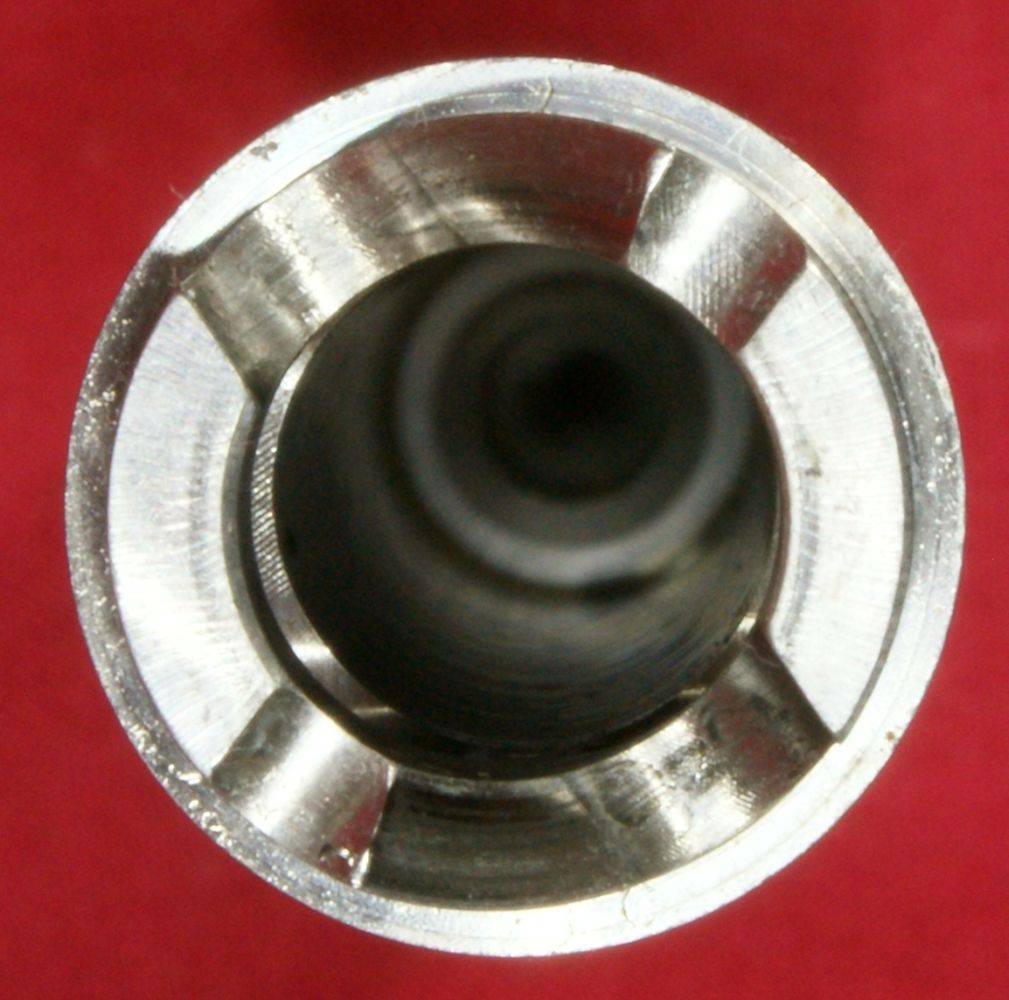
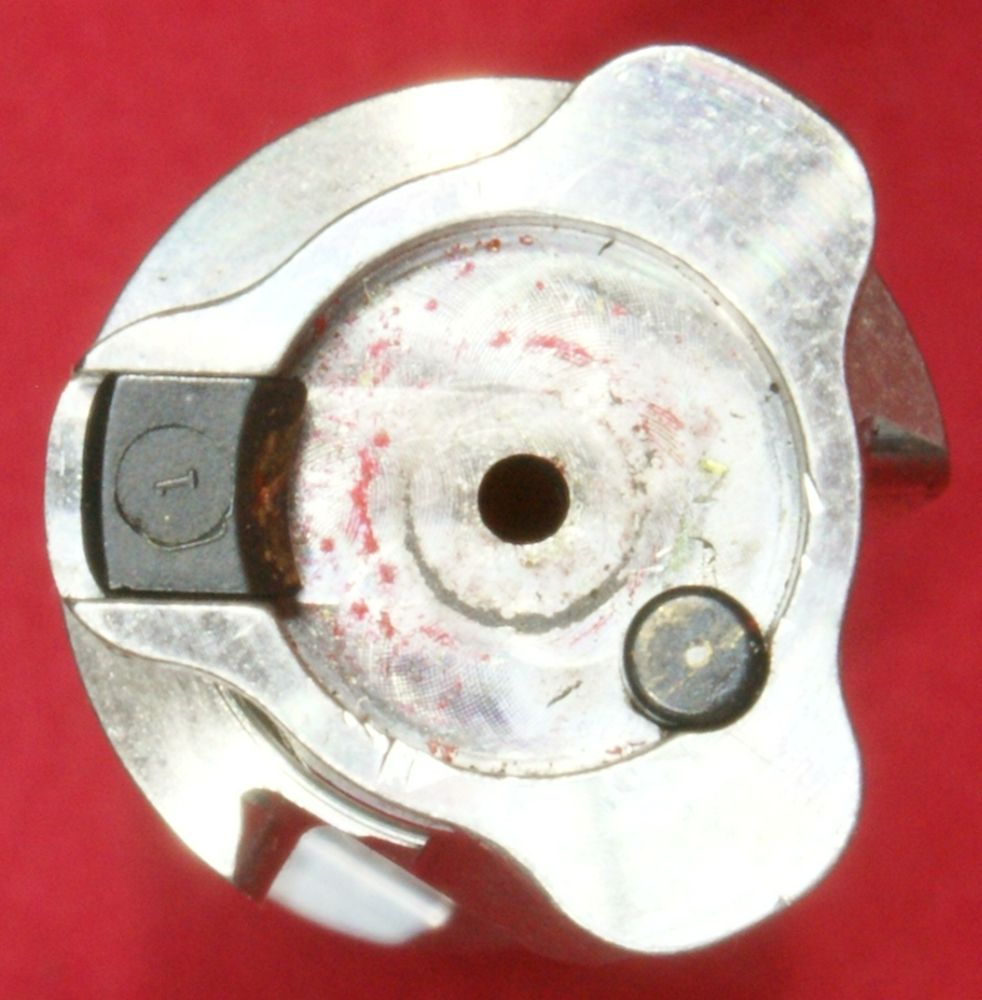
Figure 20
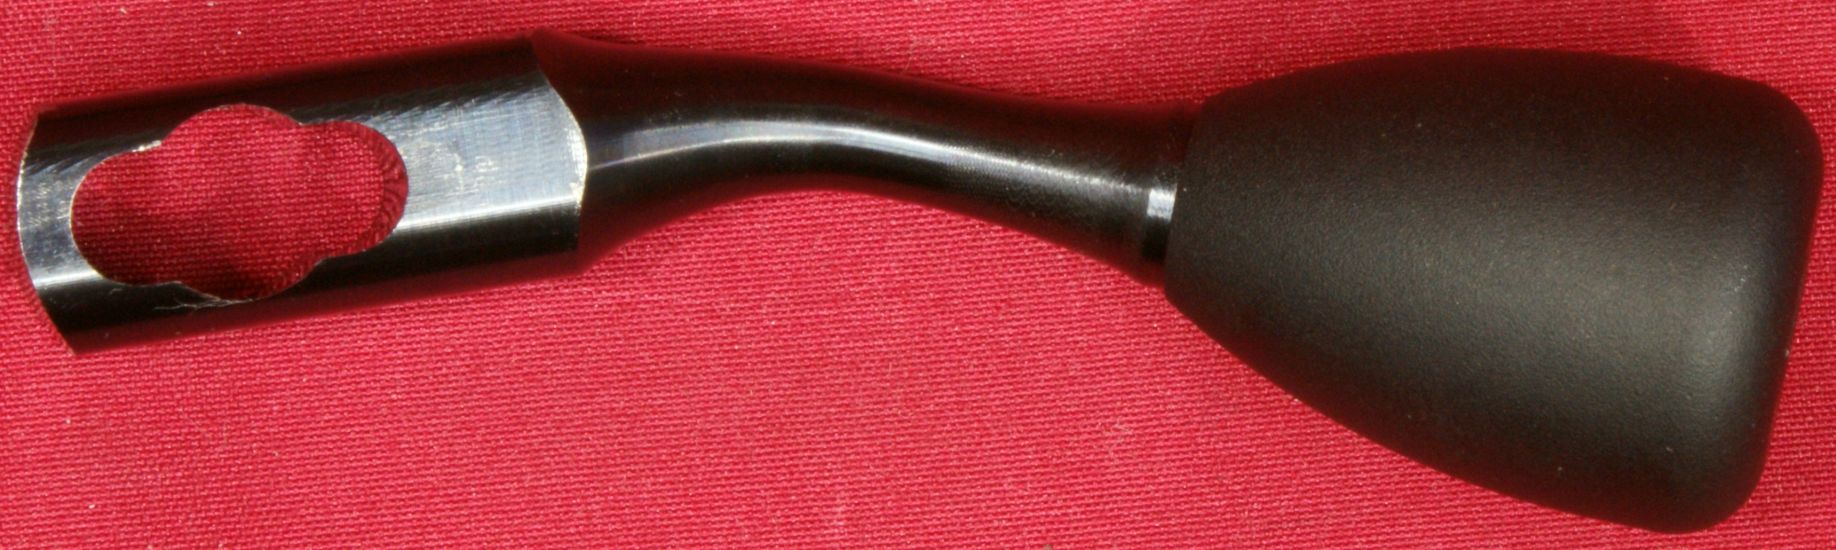
Figure 21
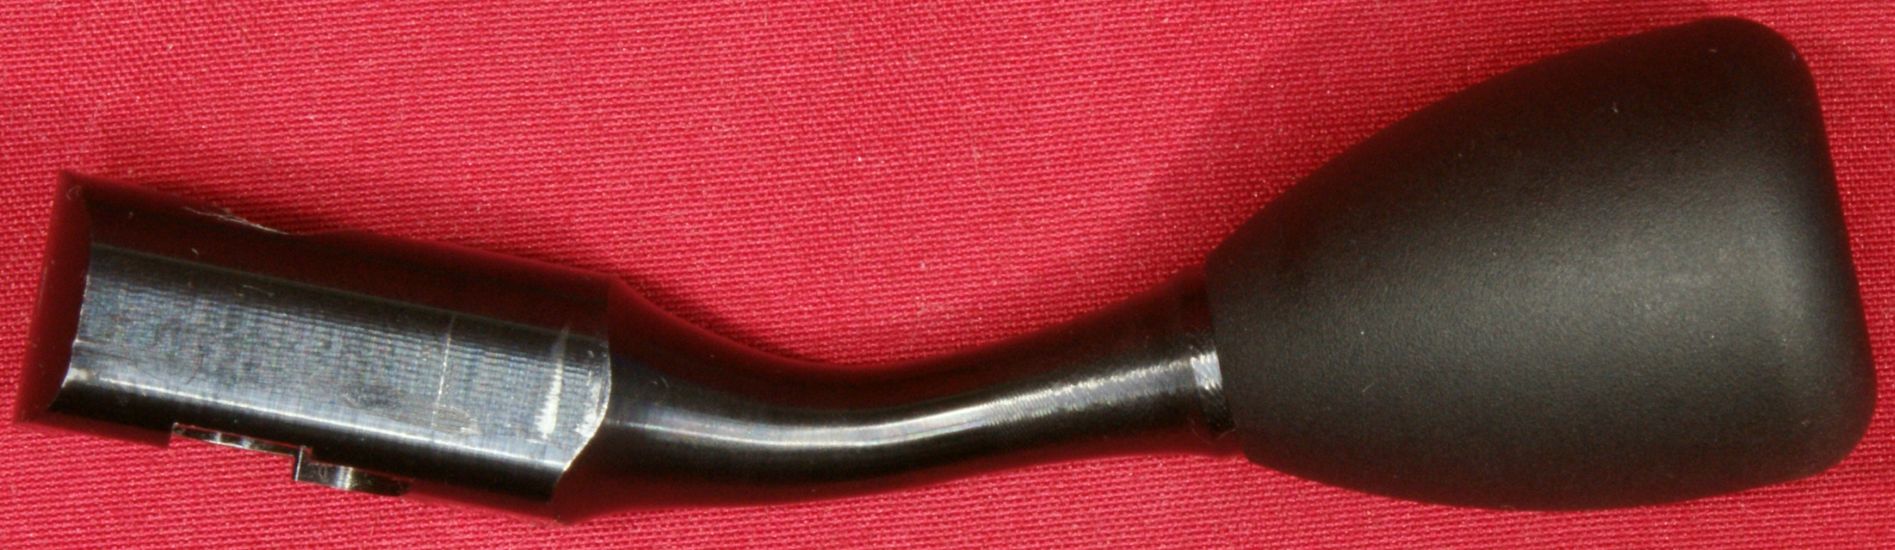
Figure 22
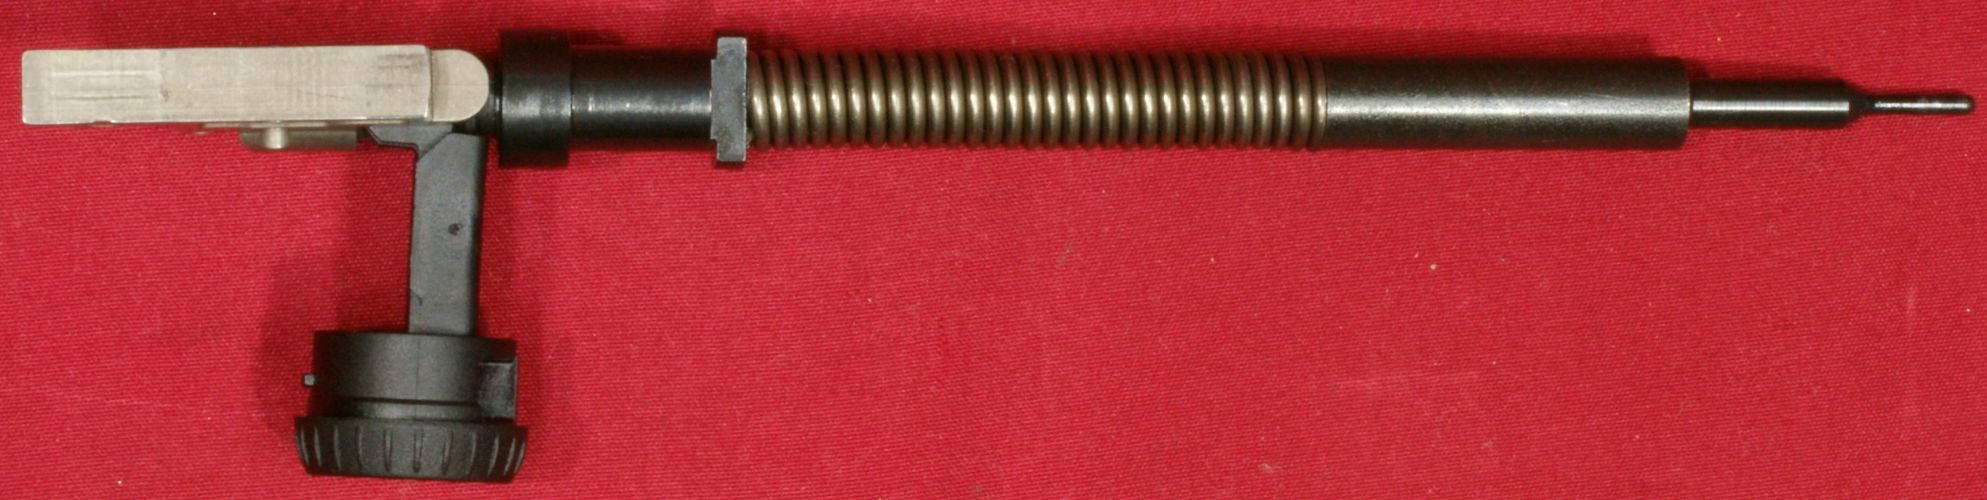
Figure 23
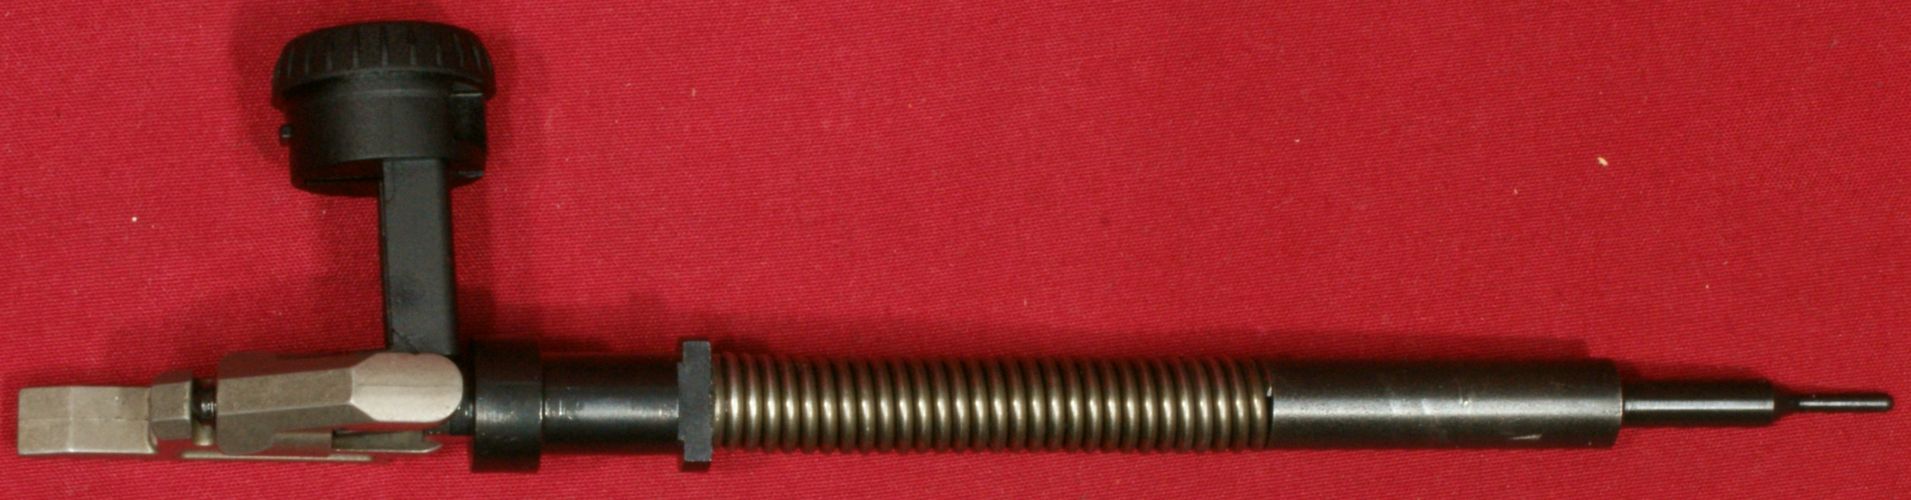
Figure 24
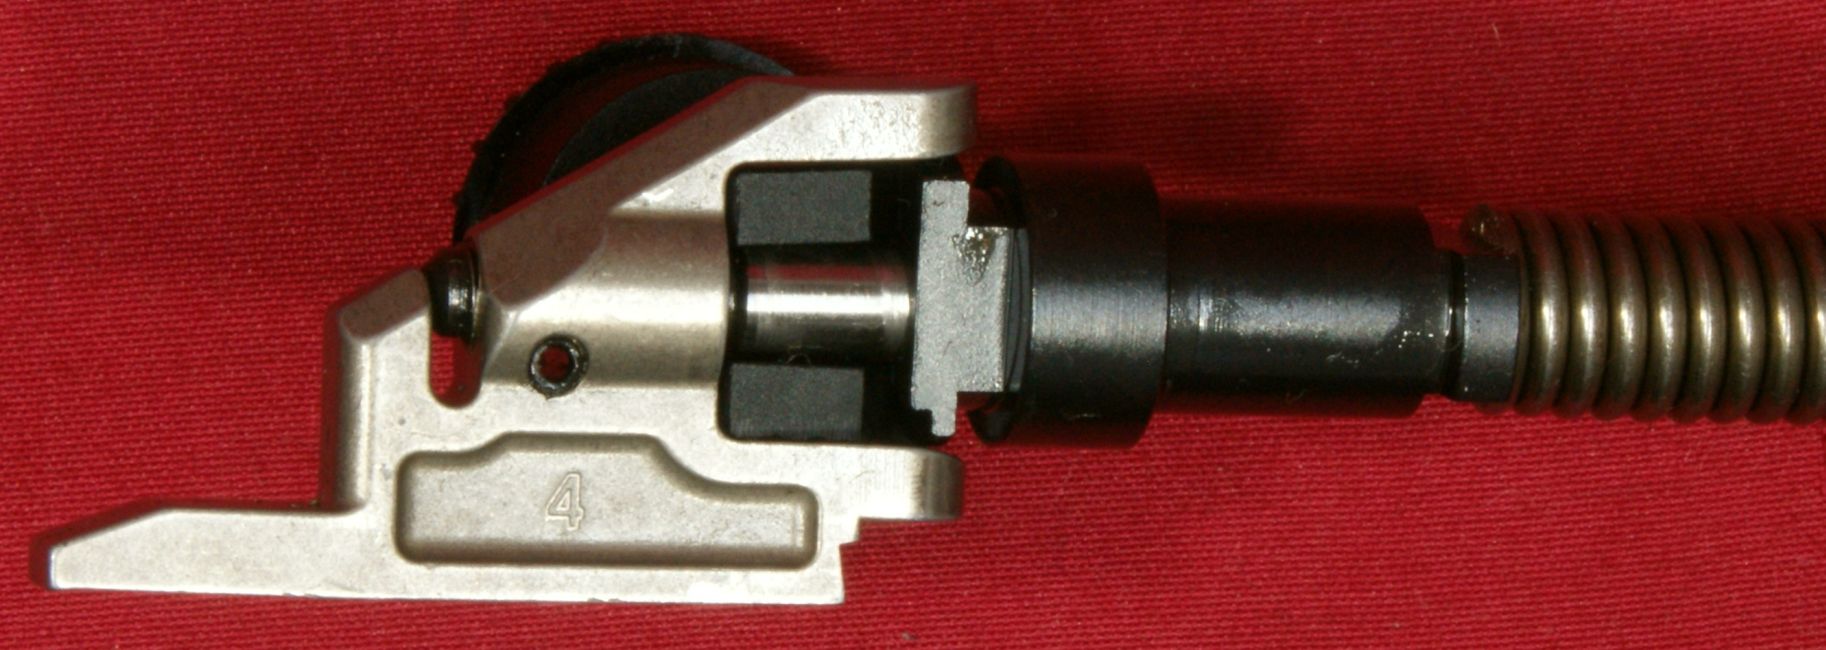
Figure 25
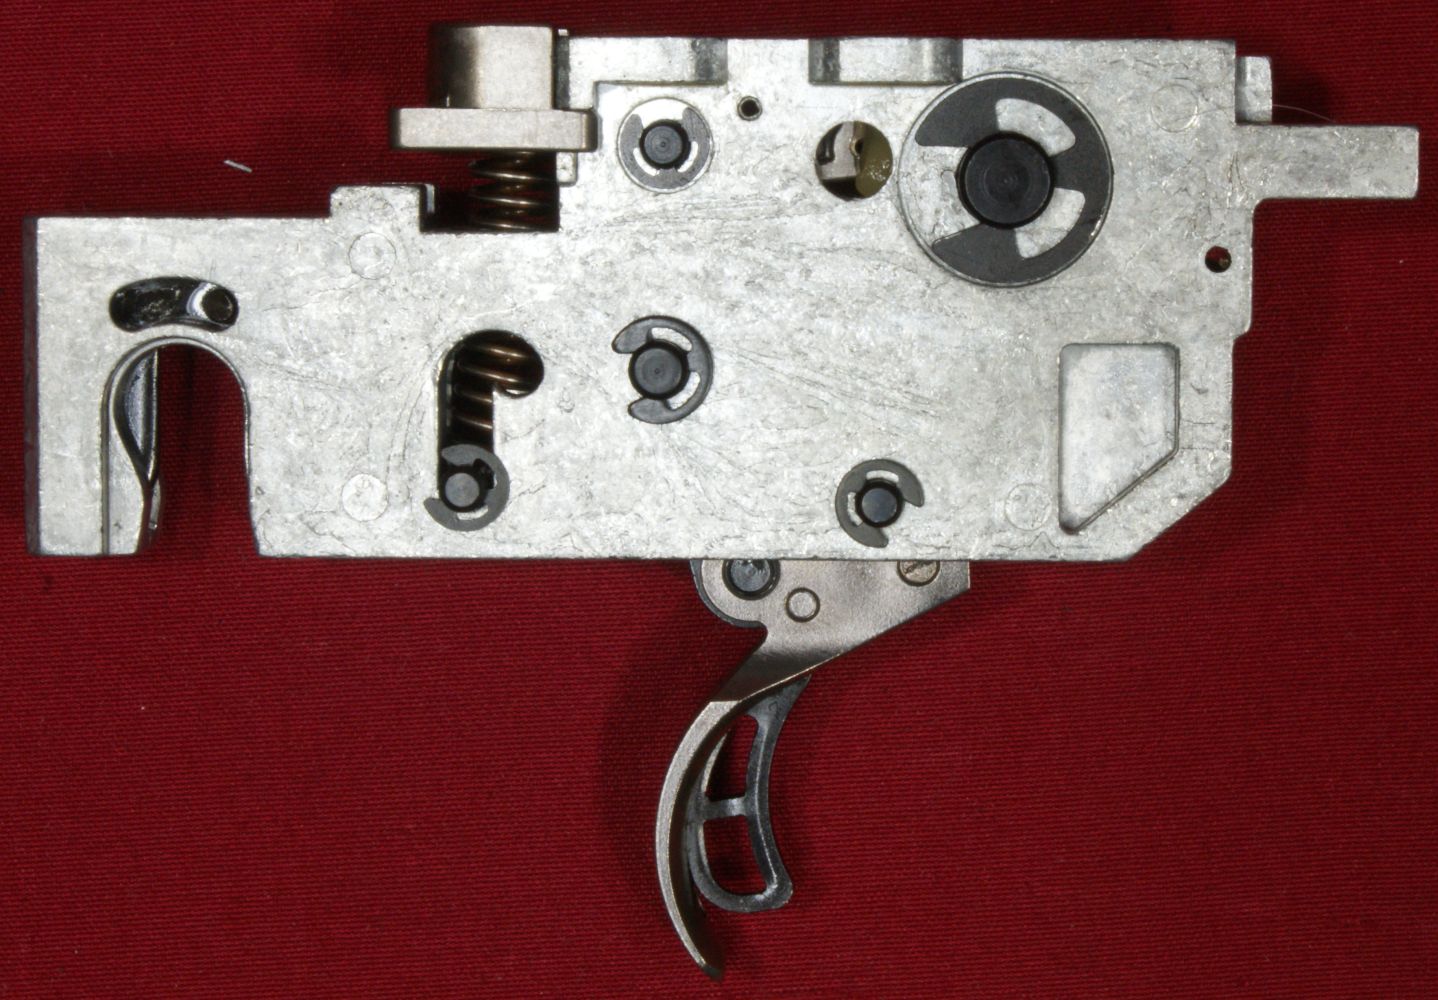
Figure 26
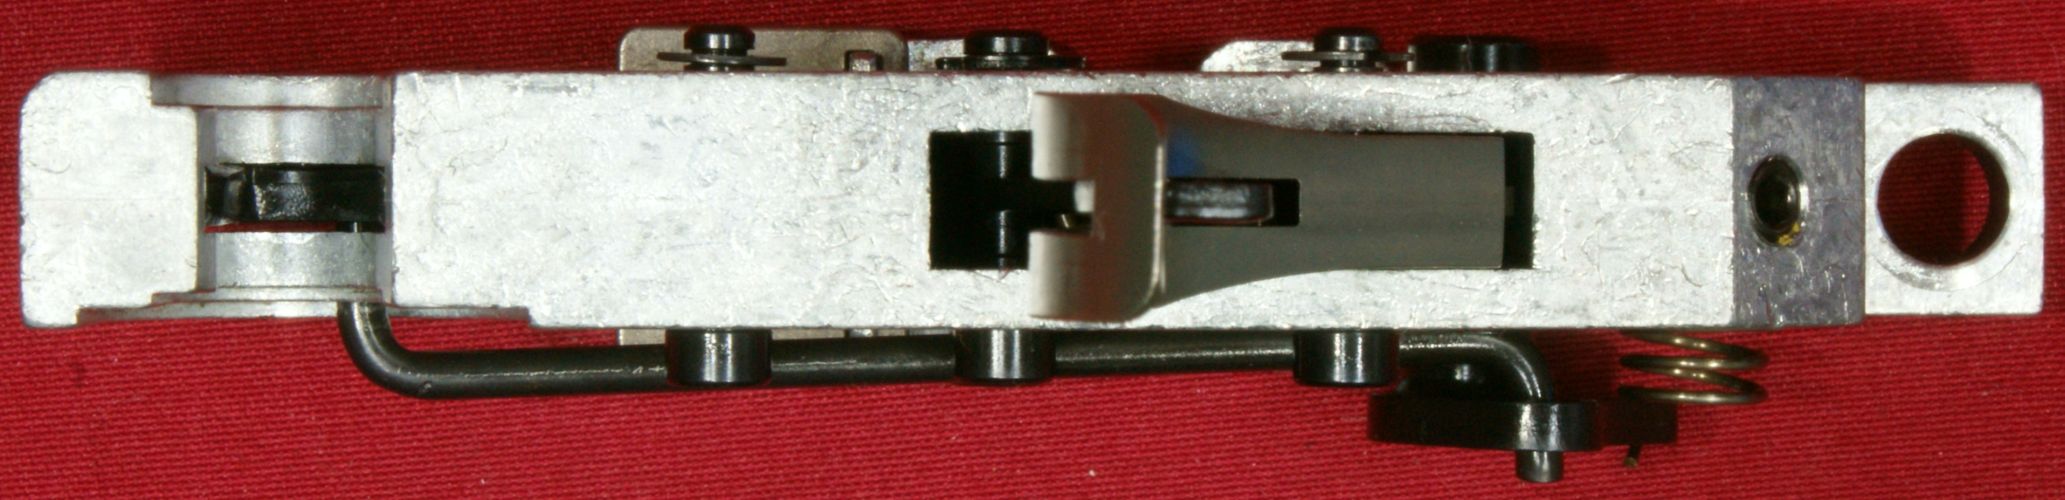
Figure 27
Figure 28
Figure 29
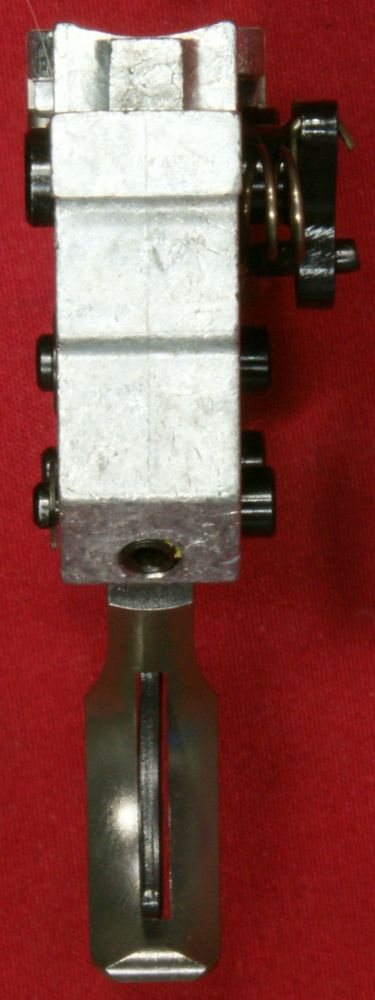
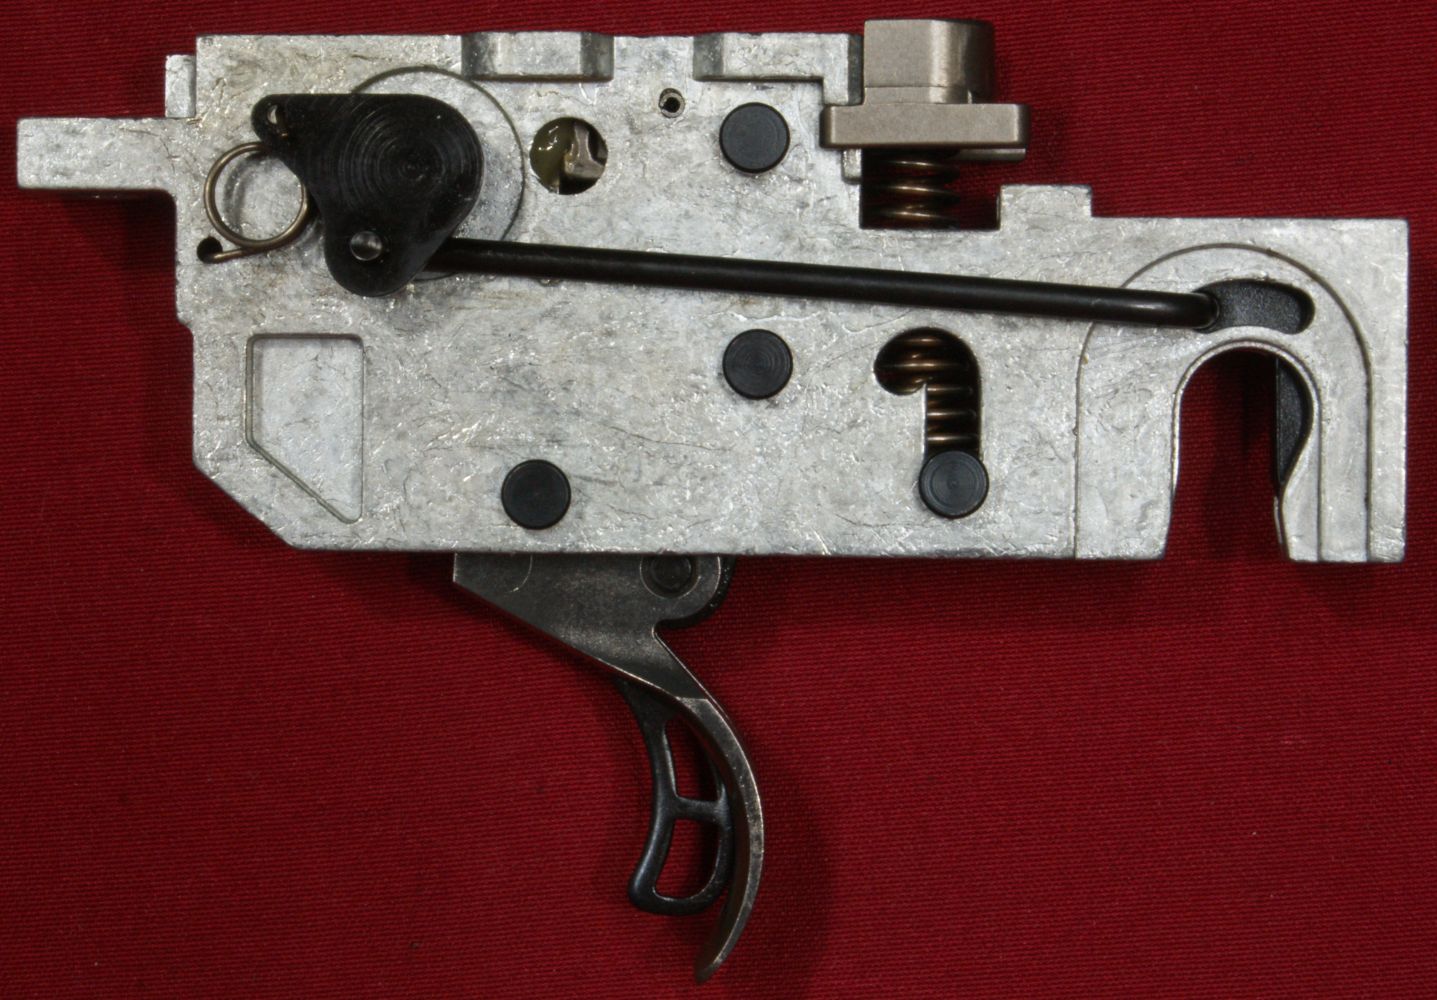
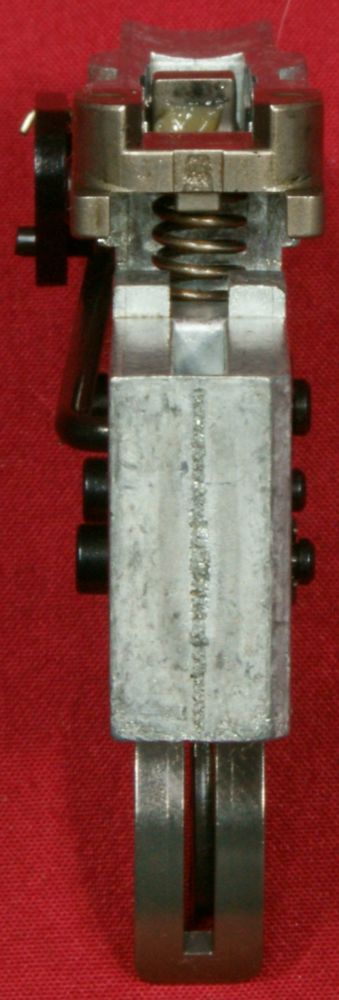
Figure 30

Figure 31
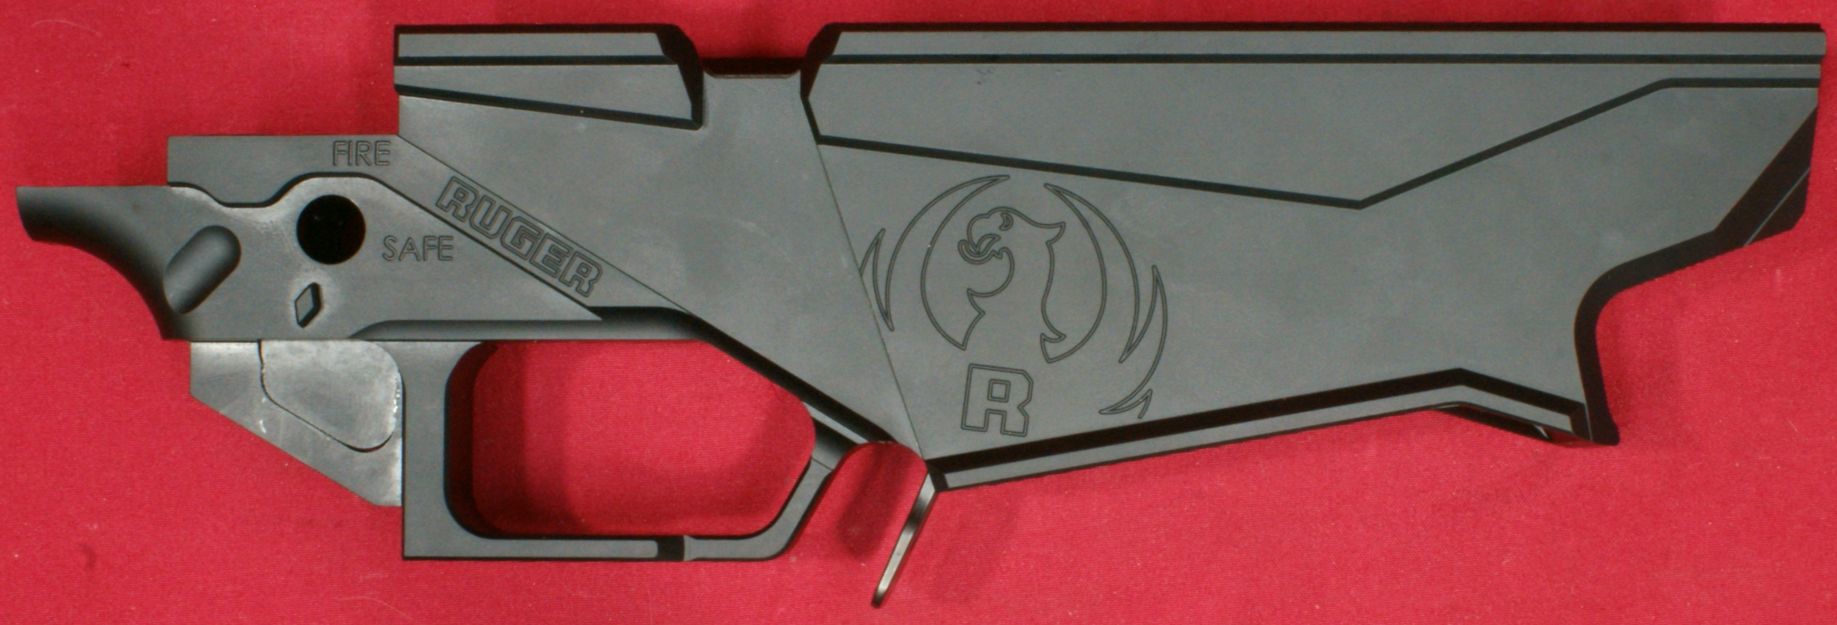
Figure 32

Figure 33
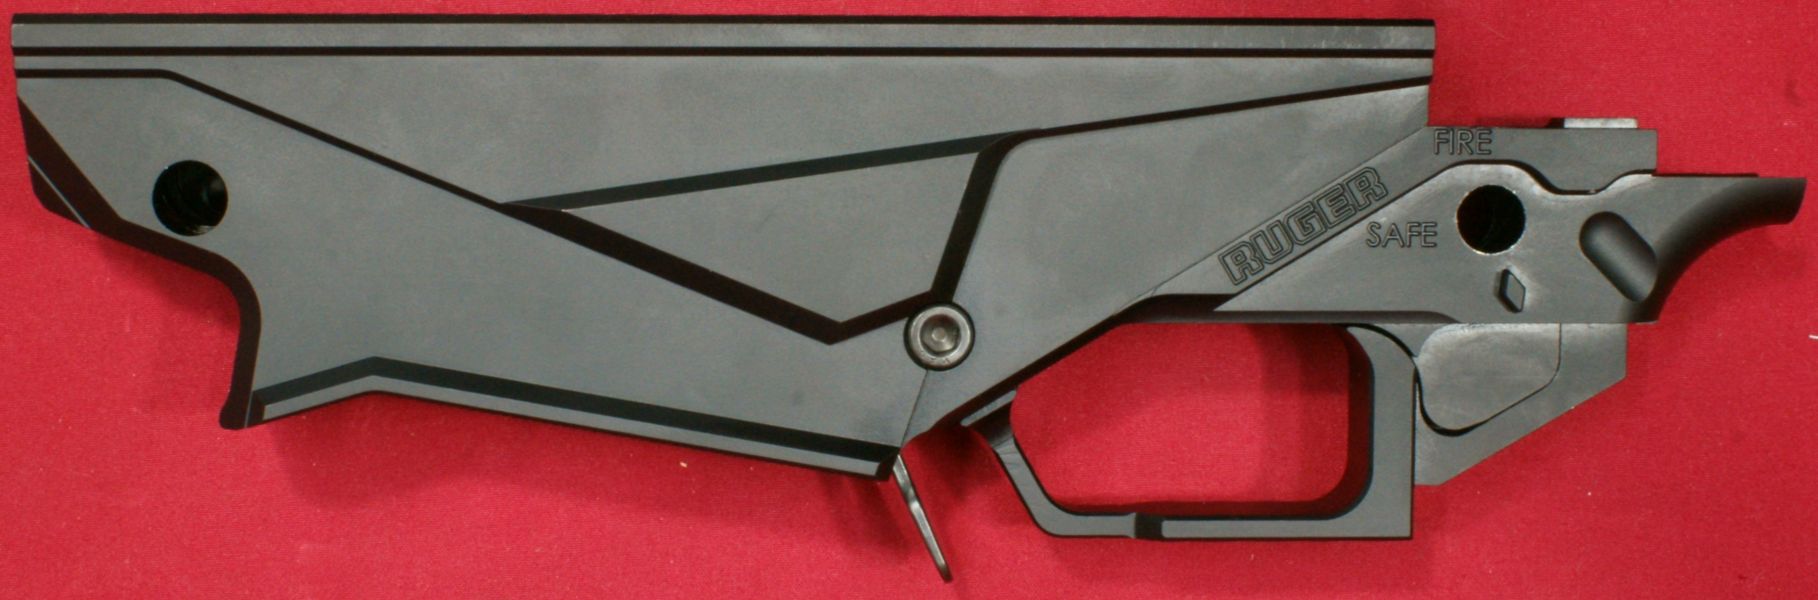
Figure 34

Figure 35
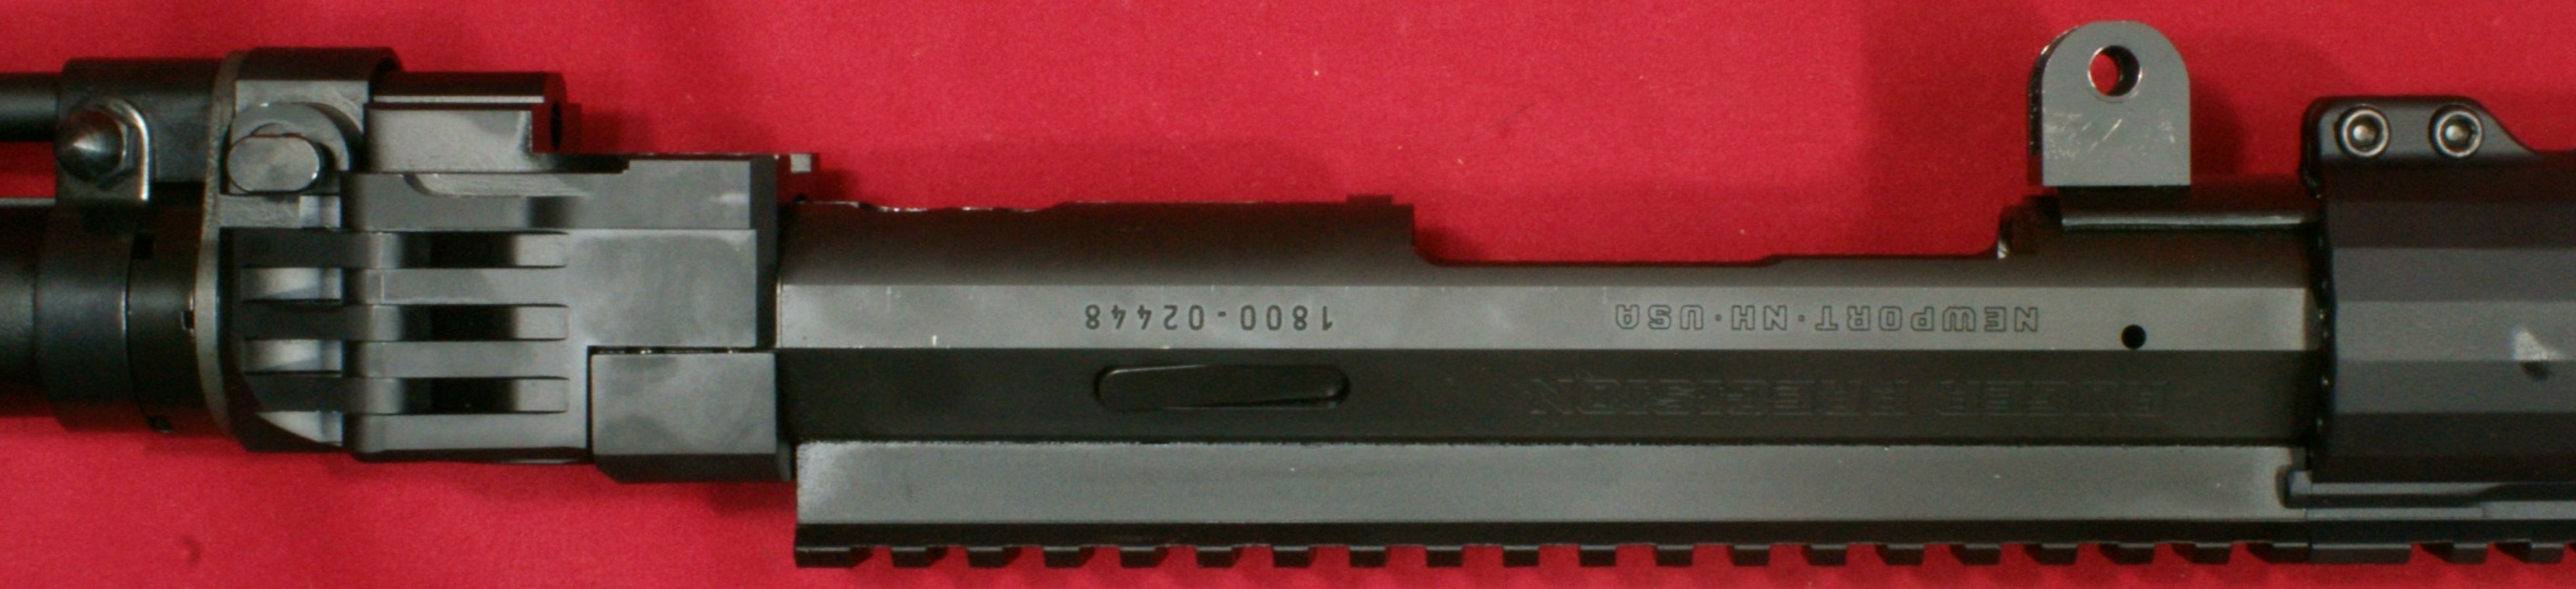
Figure 36
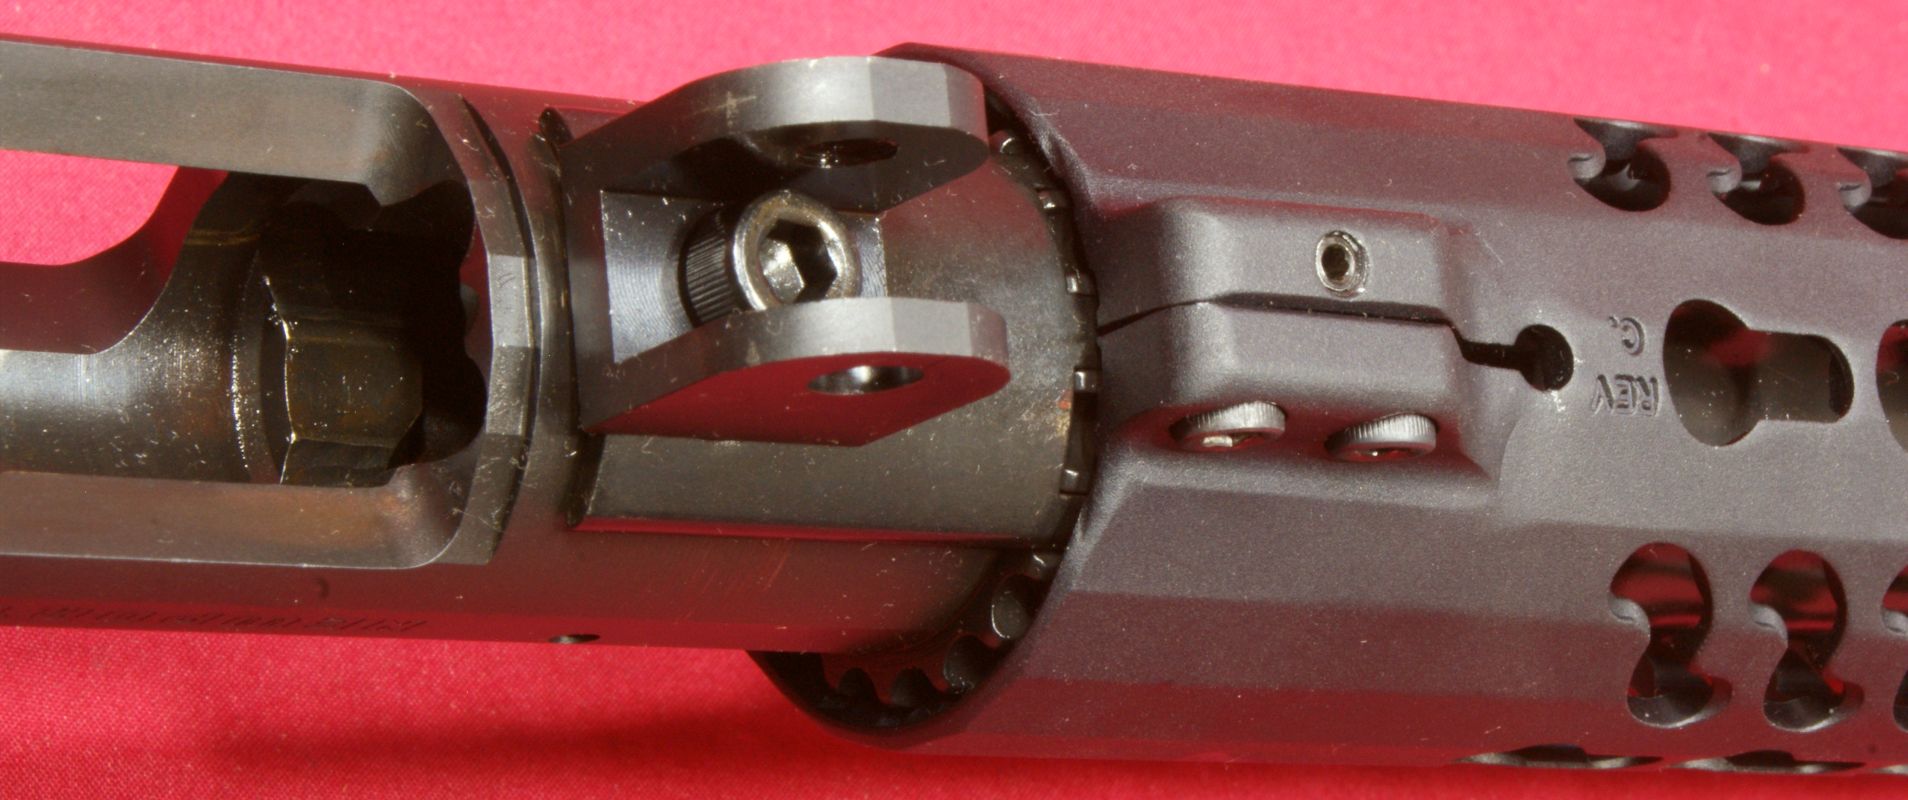
Figure 37
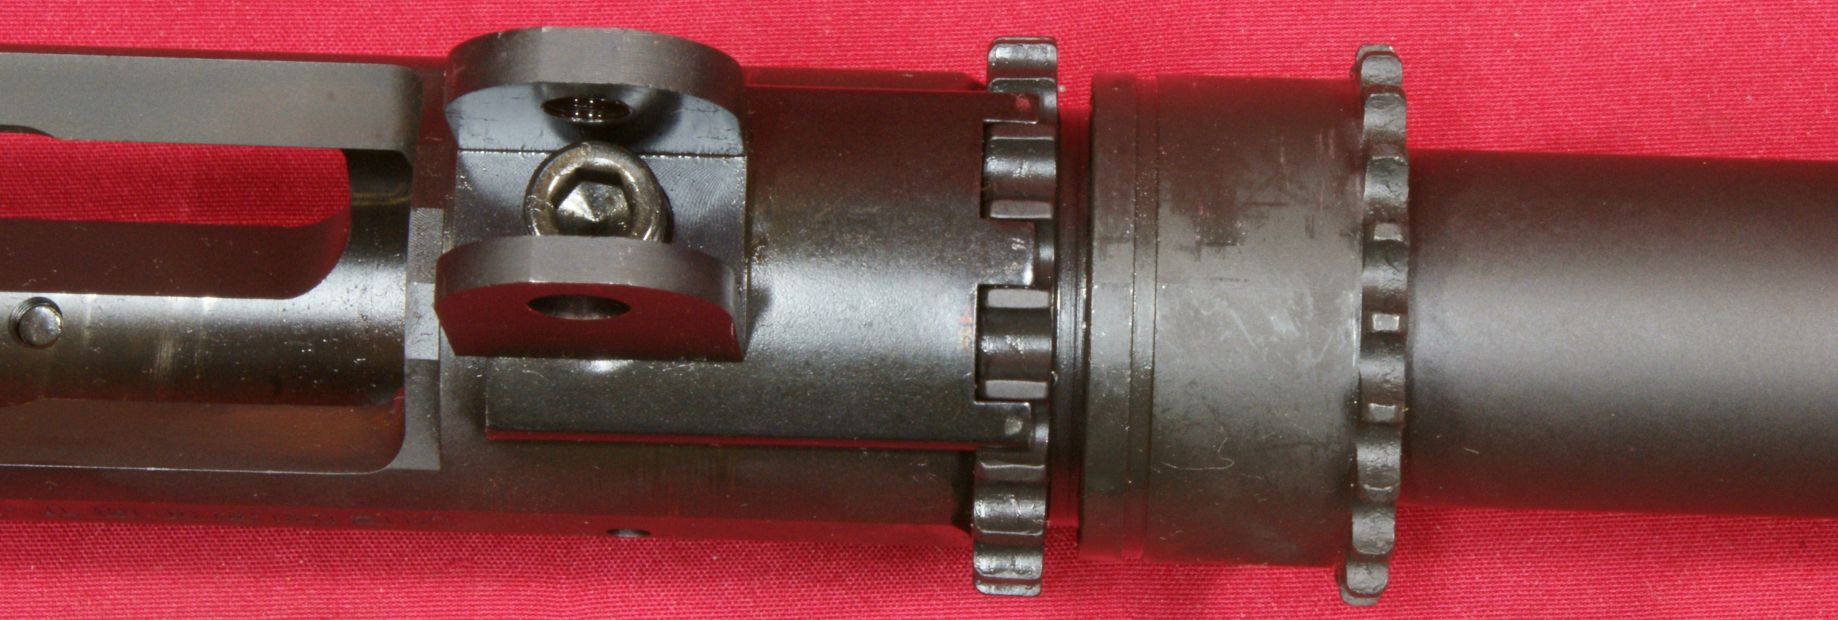
Figure 38
Thoughts
For you to fully understand my thoughts, you will probably need to watch the two videos since that is where I made most of my commentary. The Ruger Precision Rifle is easy to assemble, but you need to make sure you don't remove the bolt tool accidentally when the bolt is disassembled. I think Ruger has a very clever design with this rifle, specifically the way the upper receiver transmits all recoil forces directly to the buttstock and the way the lower receiver is made in two halves to reduce manufacturing costs. Overall I was pleased with the form, fit and finish of the rifle components.
For more detailed photos and commentary, make sure you check out the other parts of this review and feel free to leave comments below. The following links are provided to help you see other parts of this review.
- Ruger Precision Rifle Review: Part 1 - Introduction, Specifications and Summary
- Ruger Precision Rifle Review: Part 2 - What's in the Box
- Ruger Precision Rifle Review: Part 3 - External & Operational Features
- Ruger Precision Rifle Review: Part 4 - Disassembly & Internal Features (this page)
- Ruger Precision Rifle Review: Part 5 - Range Test
Or
If you would like to be notified about future Gunsumer Reports reviews via Facebook, make sure "You Like This" by clicking the Facebook "Like" button at the bottom or top of this page. If it already says "You Like This" beside the button, clicking it again will uncheck the "Like" status and you will not be notified.
| Share on Facebook | |
© 2010, 2011, 2012, 2013, 2014, 2015, 2016, 2017, 2018, 2019, 2020, 2021, 2022, 2023 & 2024 Gunsumer Reports™, All rights reserved.
FTC Disclosure