|
|
Gunsumer Reports TM Providing Detailed Objective Reviews for Firearms and Firearm Accessories |
Ruger 10/22 Carbine with LaserMax Laser Review
Part 5 - Internal Features
July 20, 2013
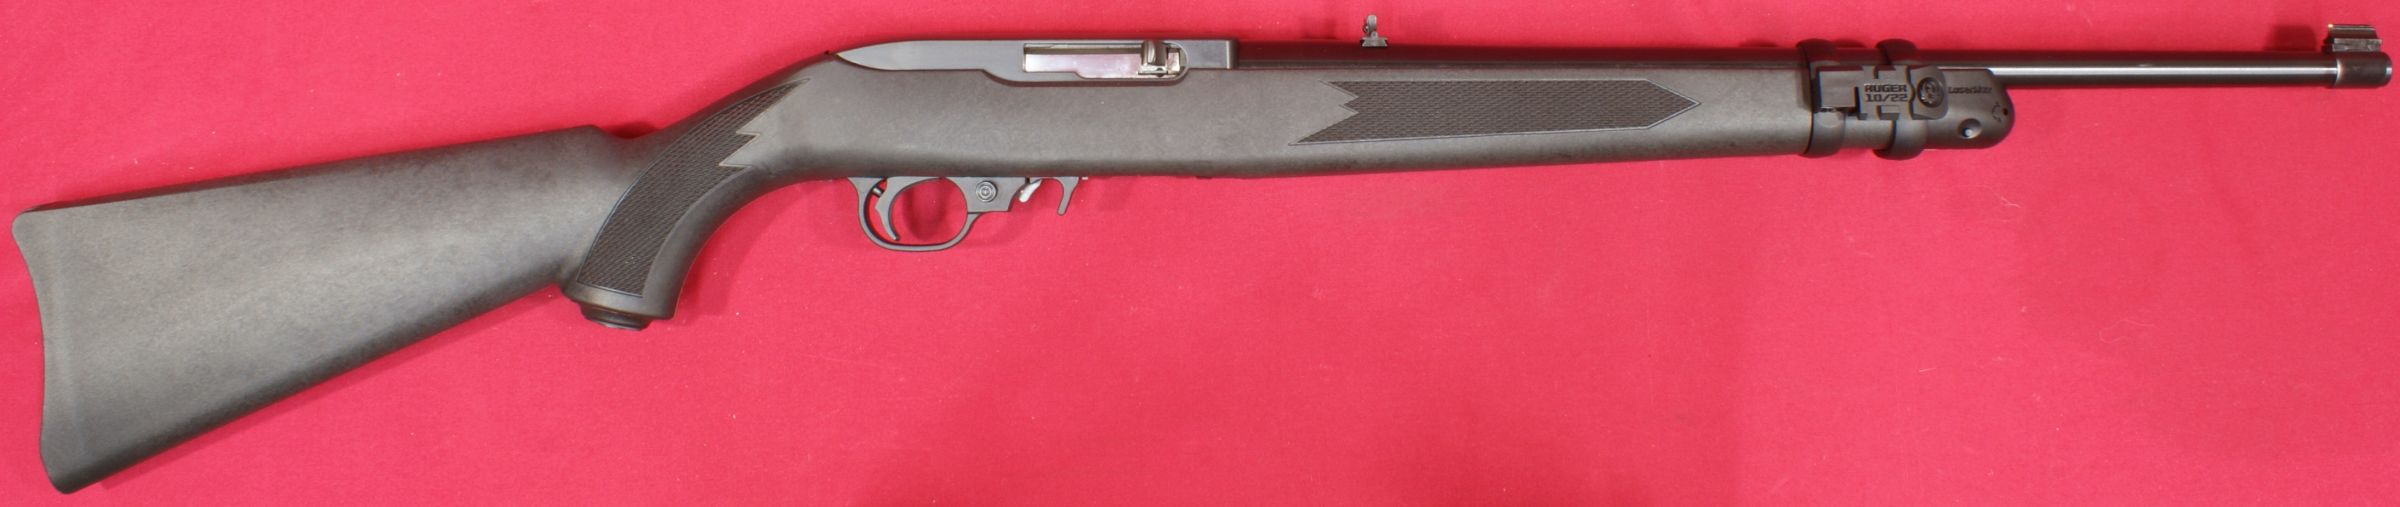
In this part of my Ruger 10/22 Carbine with LaserMax Laser Review, I try to give you a good look at the internal features of a Ruger 10/22 rifle. I have added a few comments on details that I feel are significant and I have provided enough photos so you can see the internal features and come to your own conclusions. As always, clicking on a photo will bring up a higher resolution photo showing the finer details.
Receiver
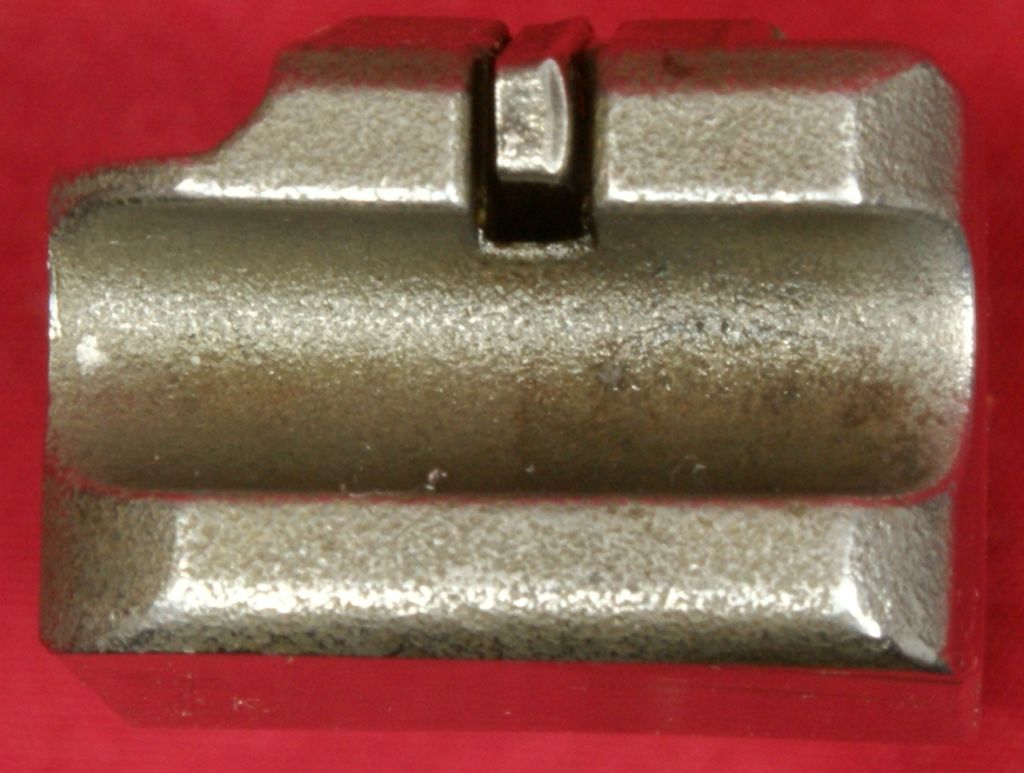
The receiver appears to be a single piece aluminum casting made from A380 aluminum alloy.
Figure 1

Figure 2
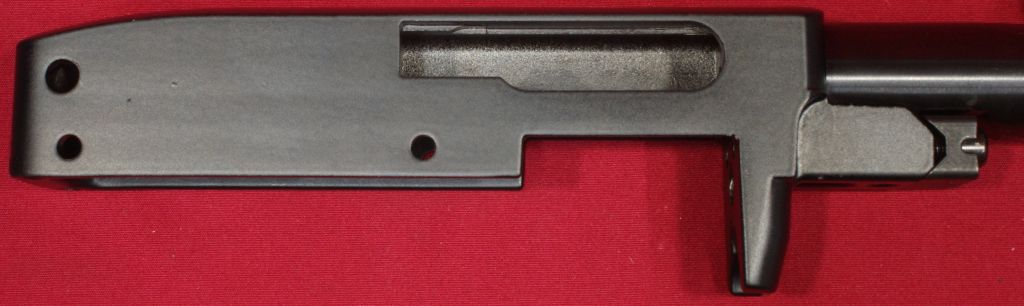
The upper inside surface of the receiver shows the overspray areas where they painted the receiver but did not paint the upper surface. Although I'm not 100% sure, I believe Ruger does not fully coat the inside upper surface of the receiver because the bolt slides in this area and would wear off the coating. This was the case on their Ruger 22 Charger and the solution was a regular cleaning to remove the coating residue.
Figure 3

Figure 4
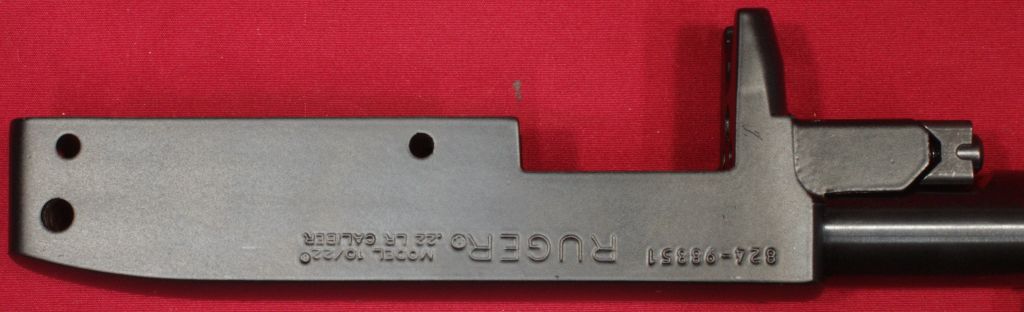
Figure 5
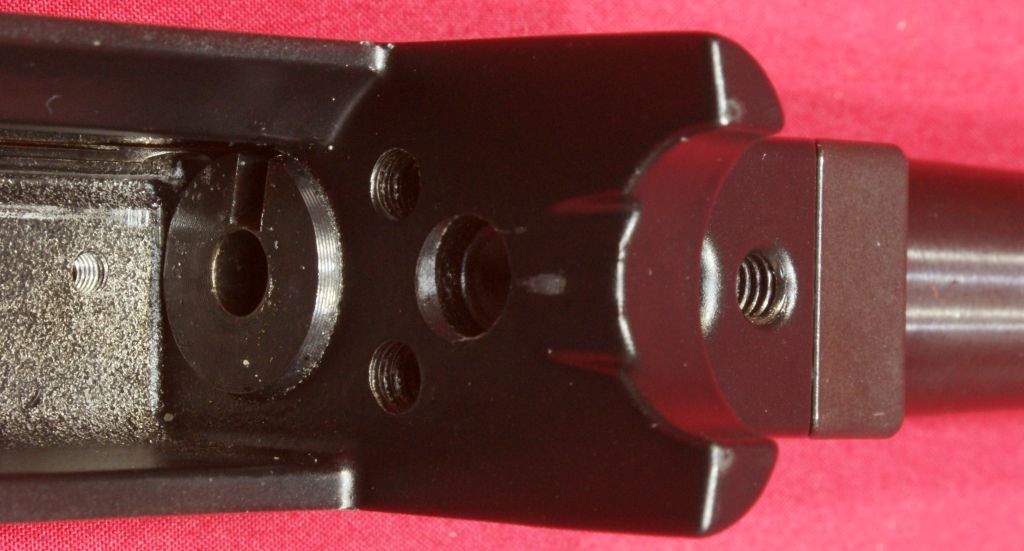
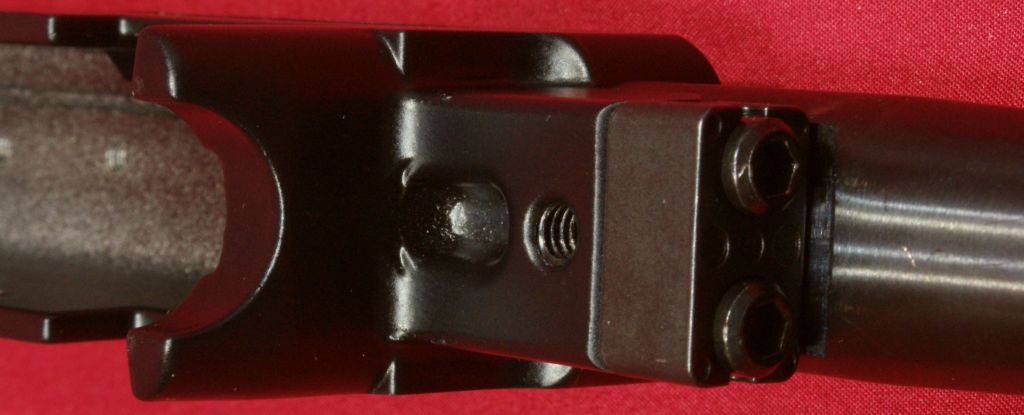
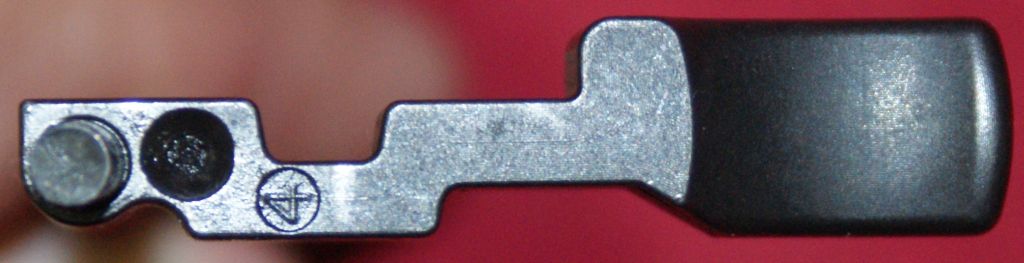
The barrel is held in place with a clamp that bolts to the front portion of the receiver as shown below. I checked the torque on these two screws and they were tight.
Figure 6
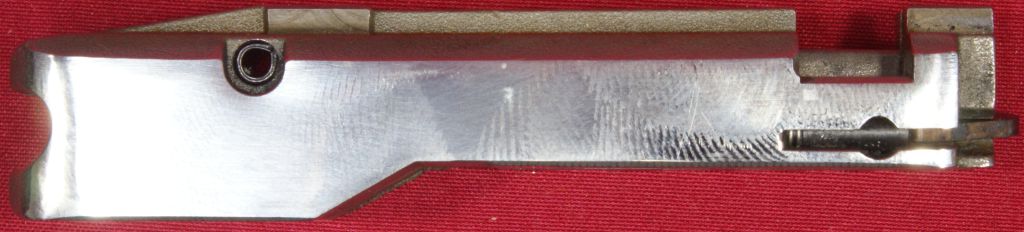
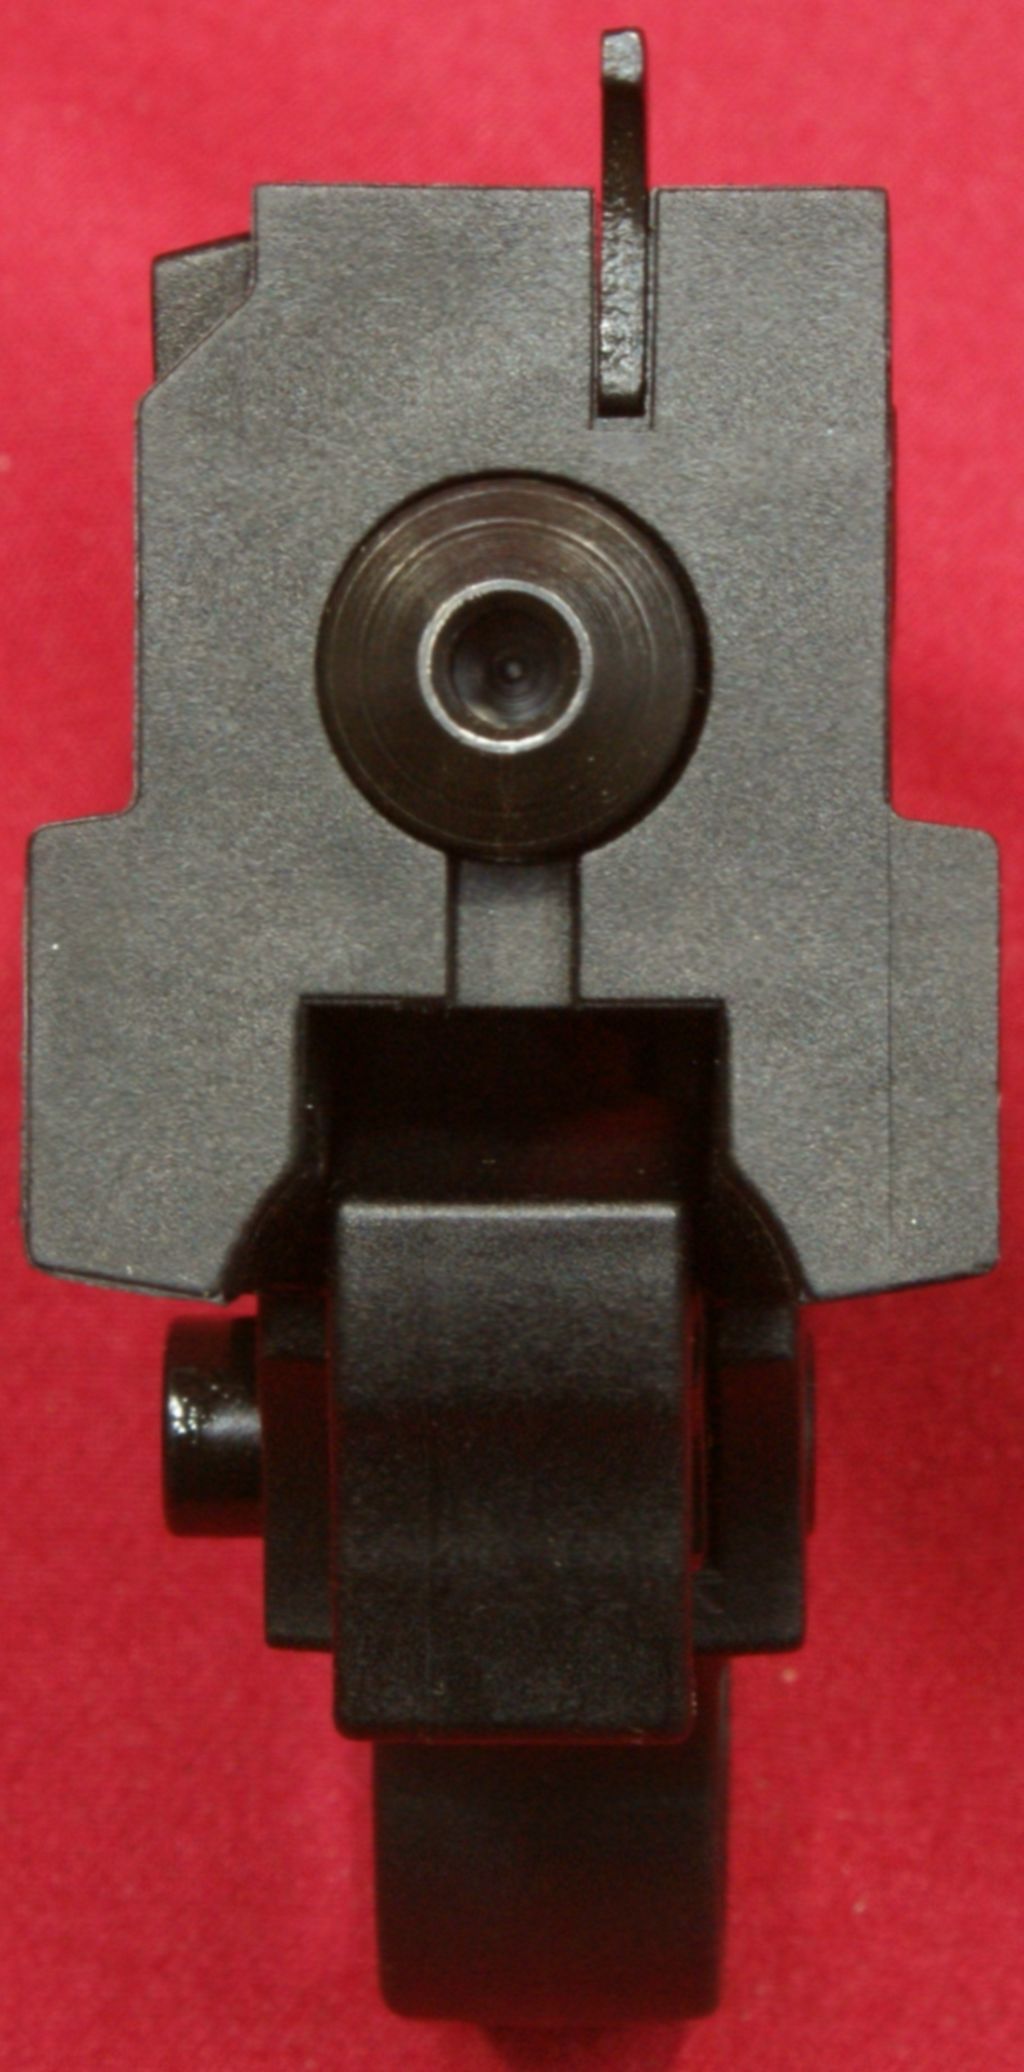
Bolt Assembly
The bolt assembly is made up of 7 components and houses the firing pin and extractor. The body of the bolt is made from stainless steel and it appears to be a casted part.
Figure 7
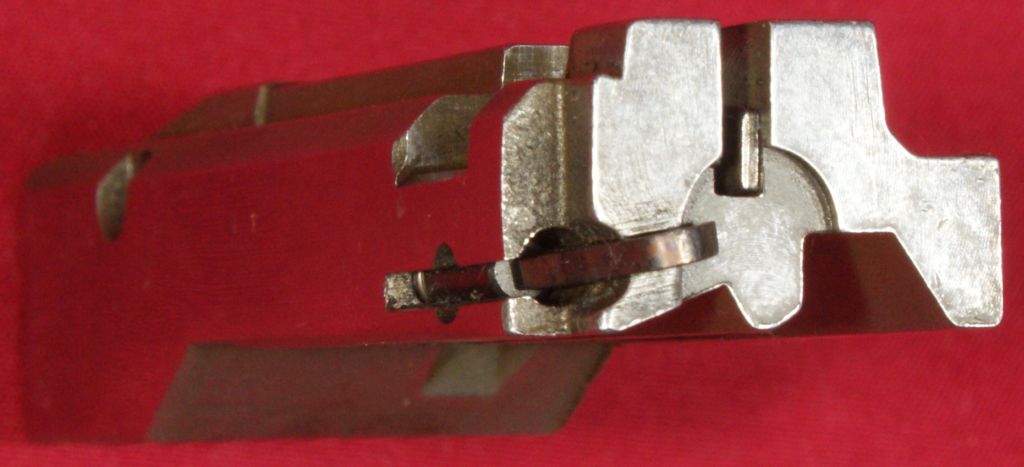
Figure 8
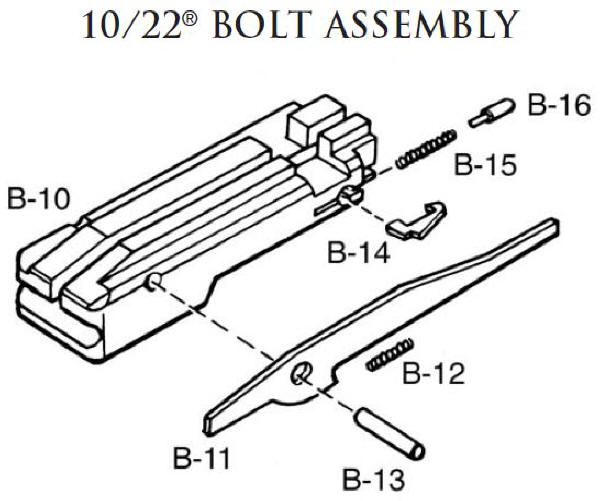
Figure 9
The surface that is exposed through the ejection port is polished to a mirror finish (forgive the finger prints).
Figure 10
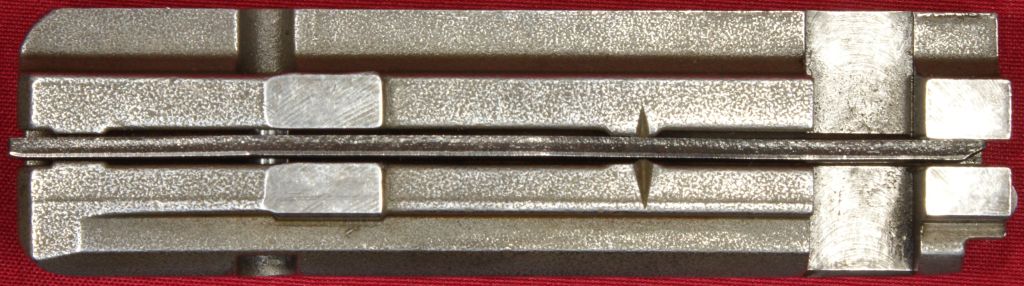
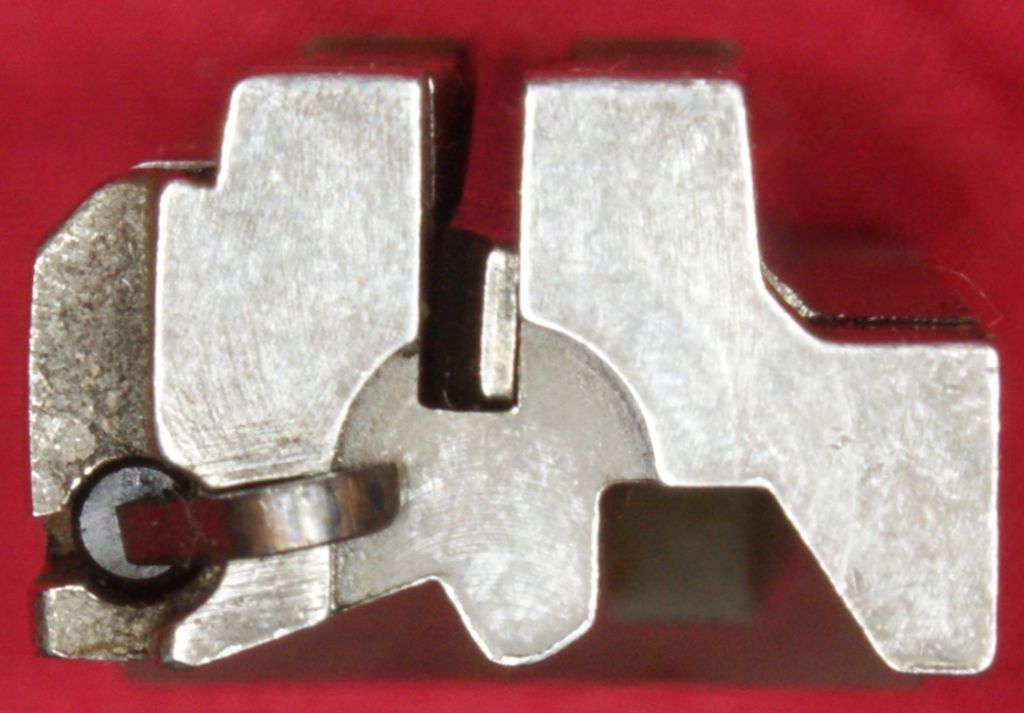
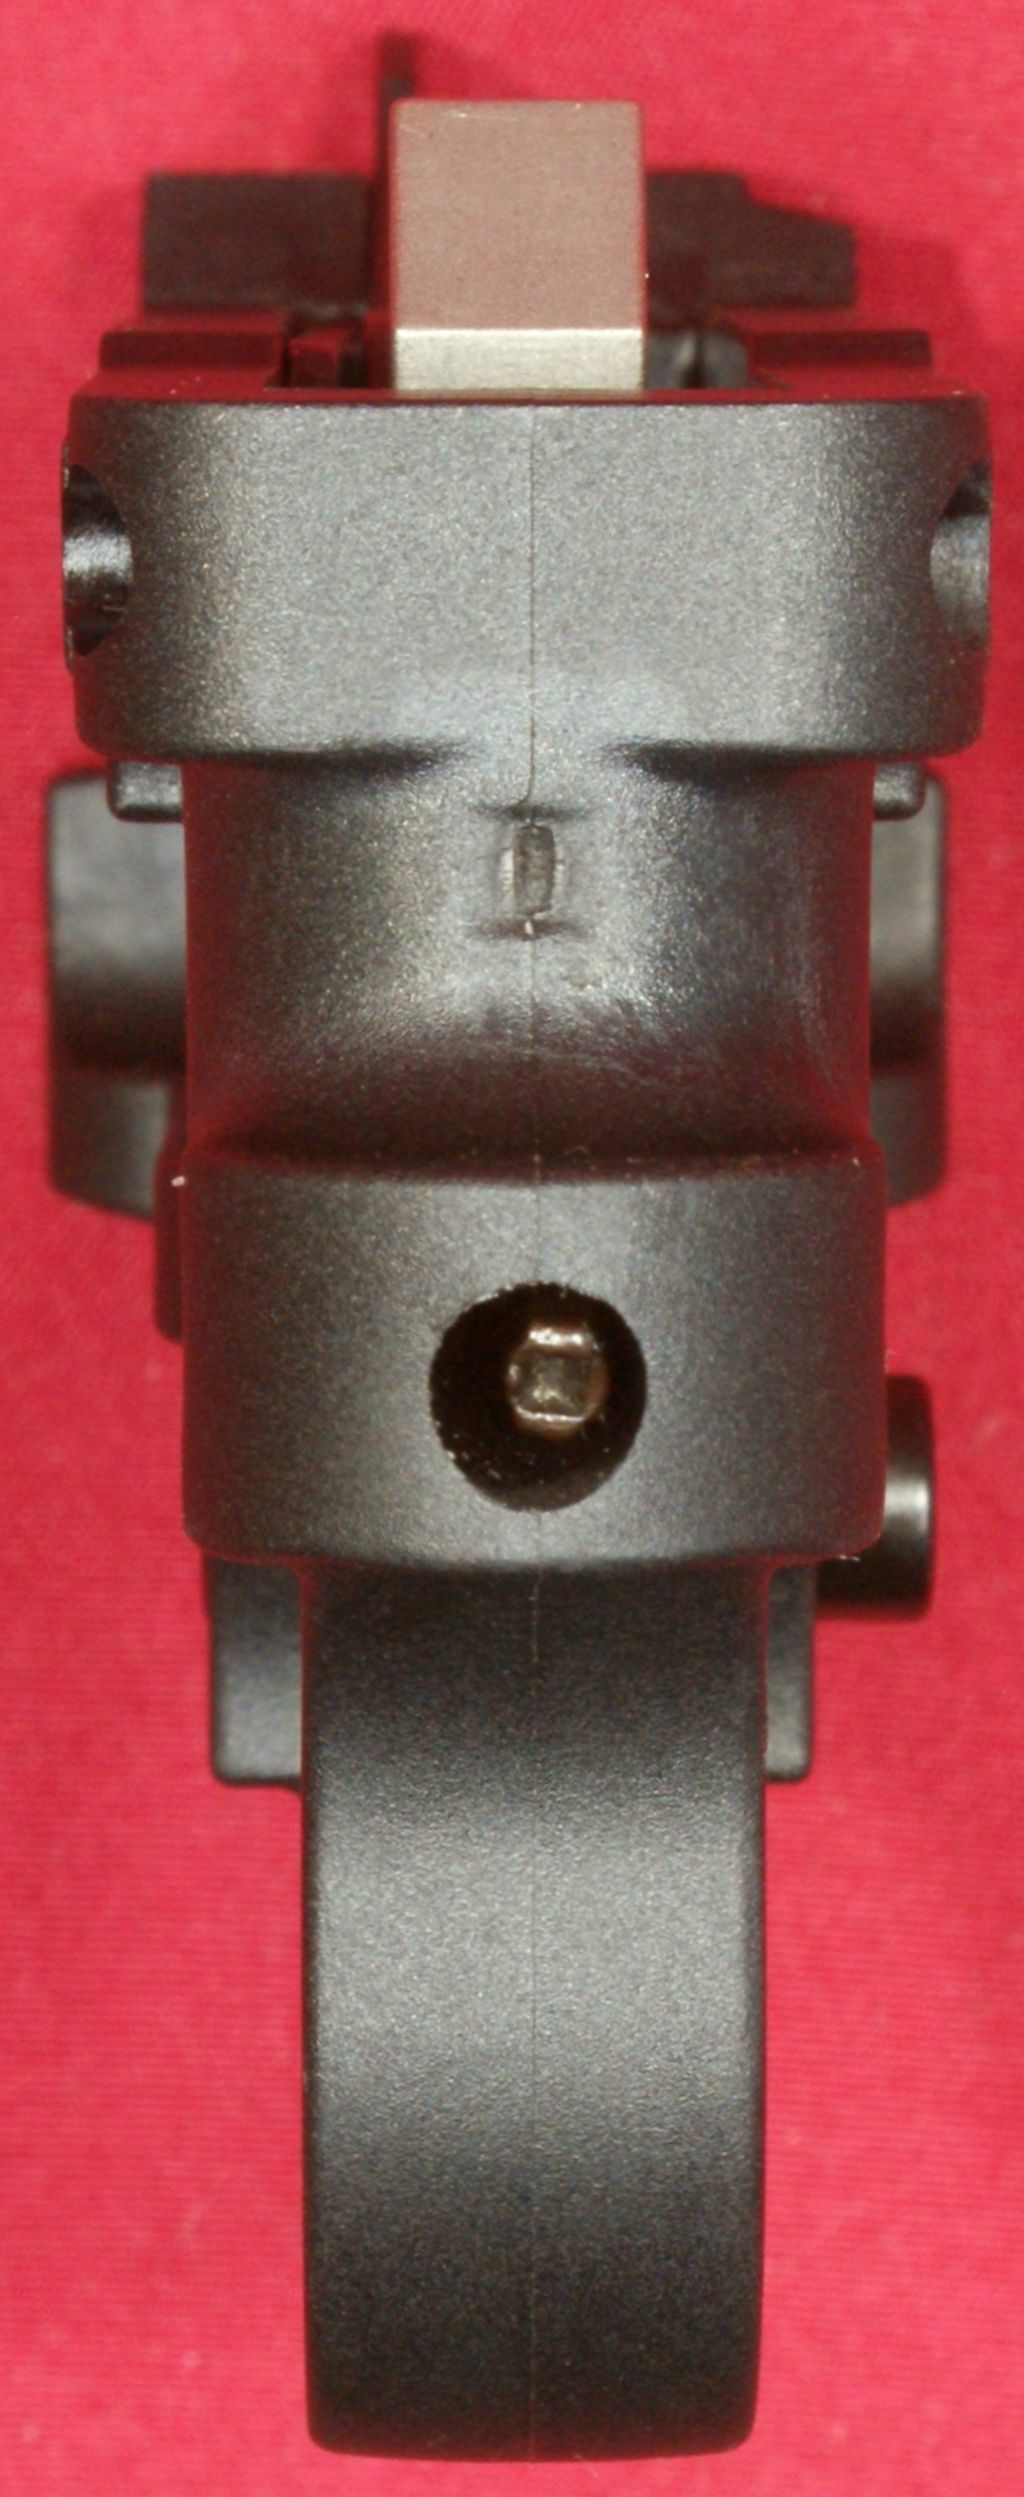
Other areas are machined as required to produce the desired final dimensions. Clearly areas that are not critical didn't receive the same level of machining based on the tool marks shown below.
Figure 11
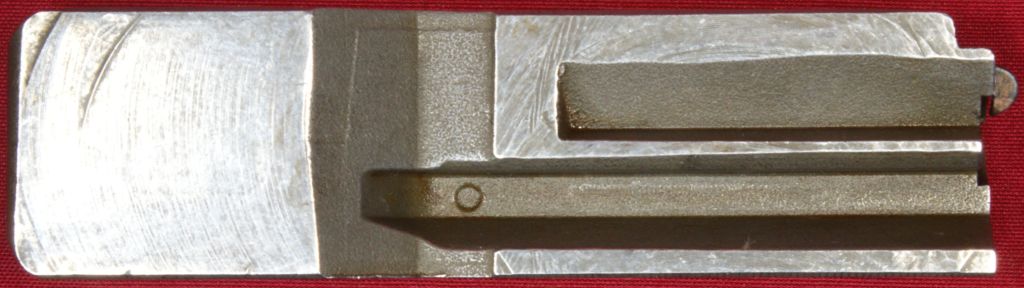
Figure 12
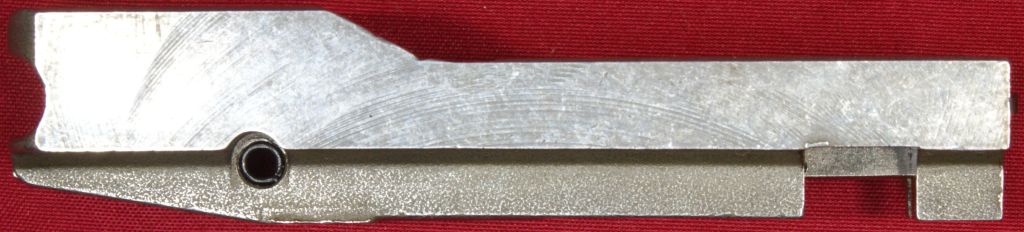
Figure 13
Figure 14
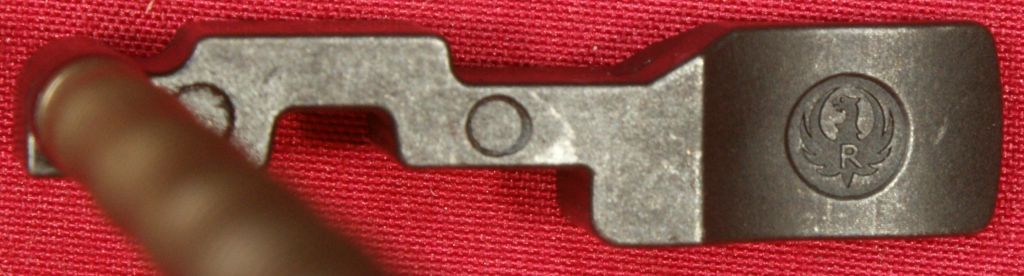
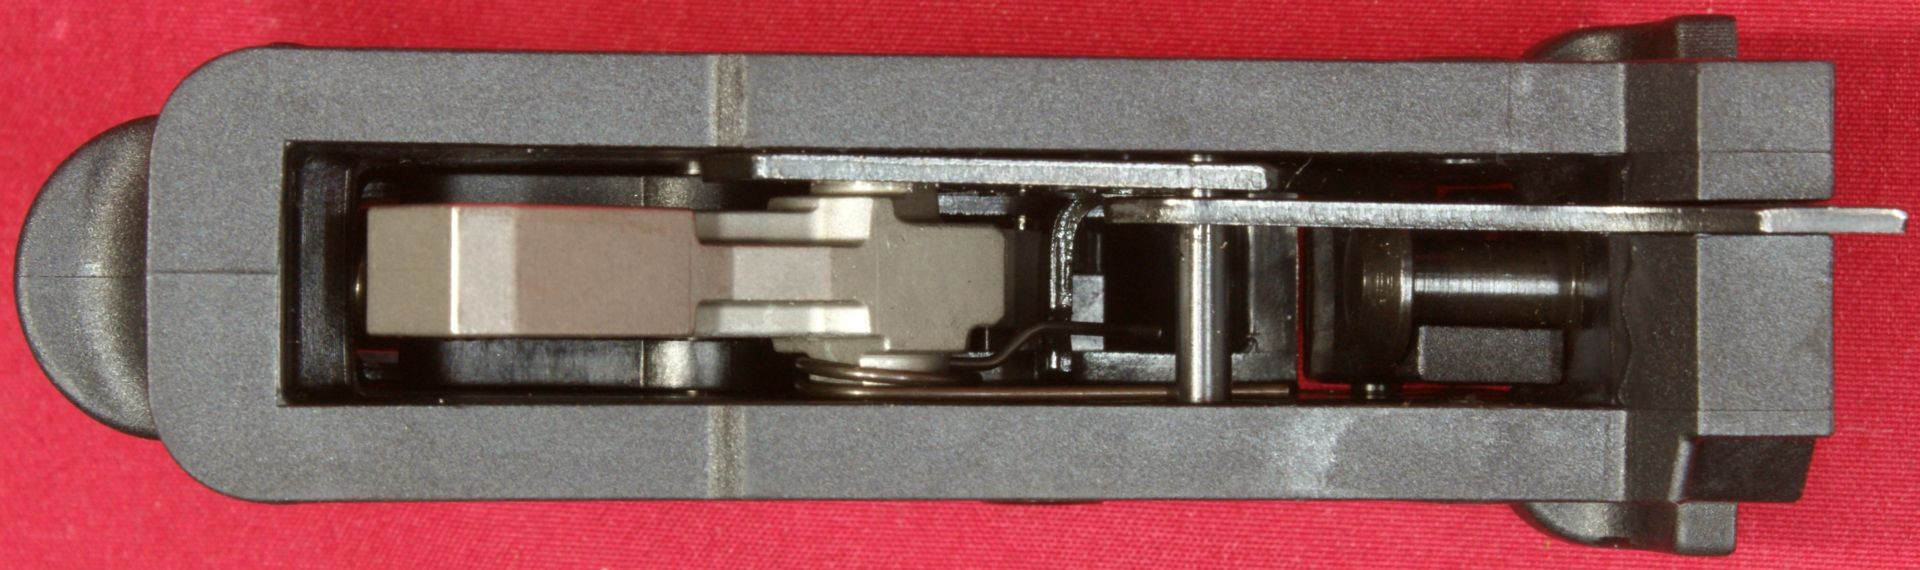
Cocking Handle, Guide Rod and Recoil Spring Assembly
The cocking handle appears to be a MIM part and this assembly is never intended to be disassembled by the user.
Figure 15
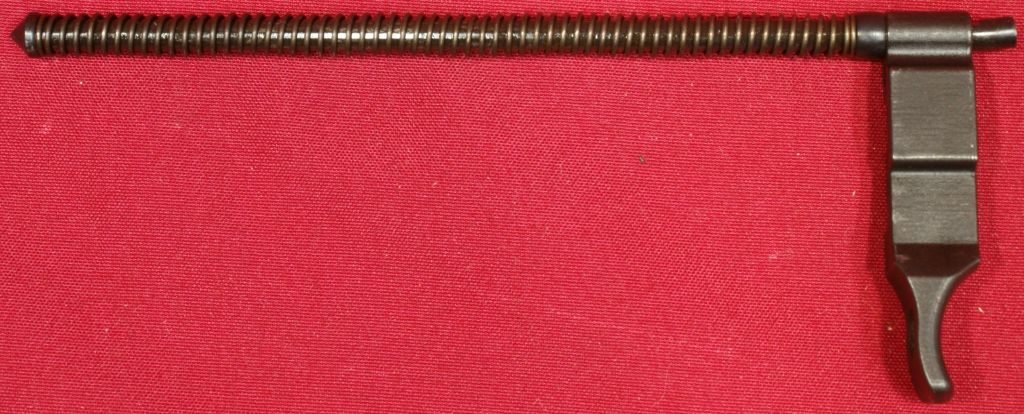
Figure 16
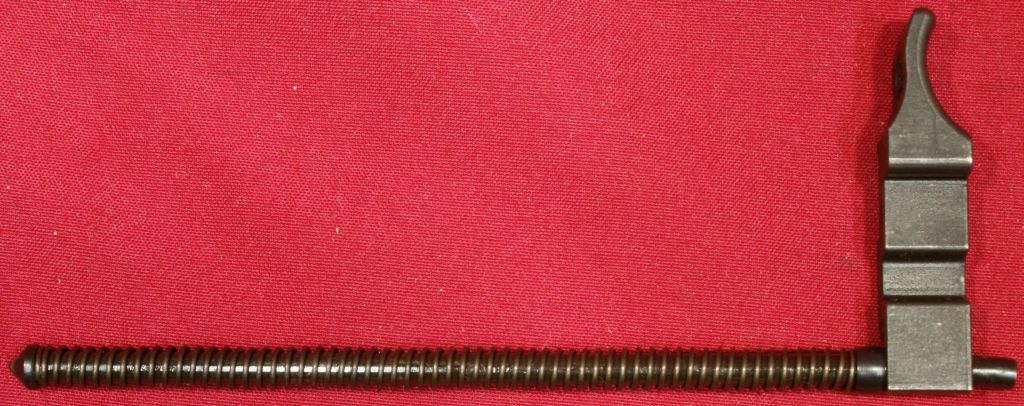
Figure 17
Figure 18
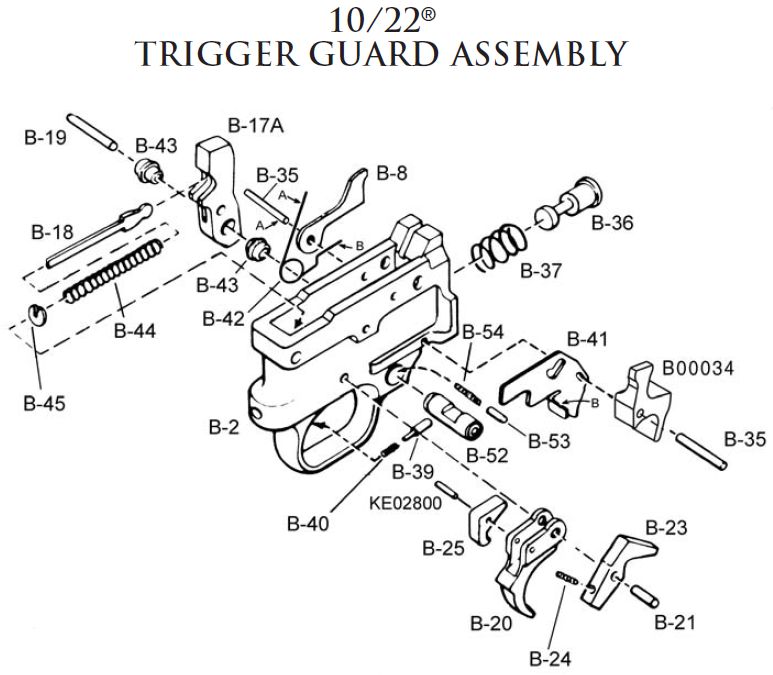
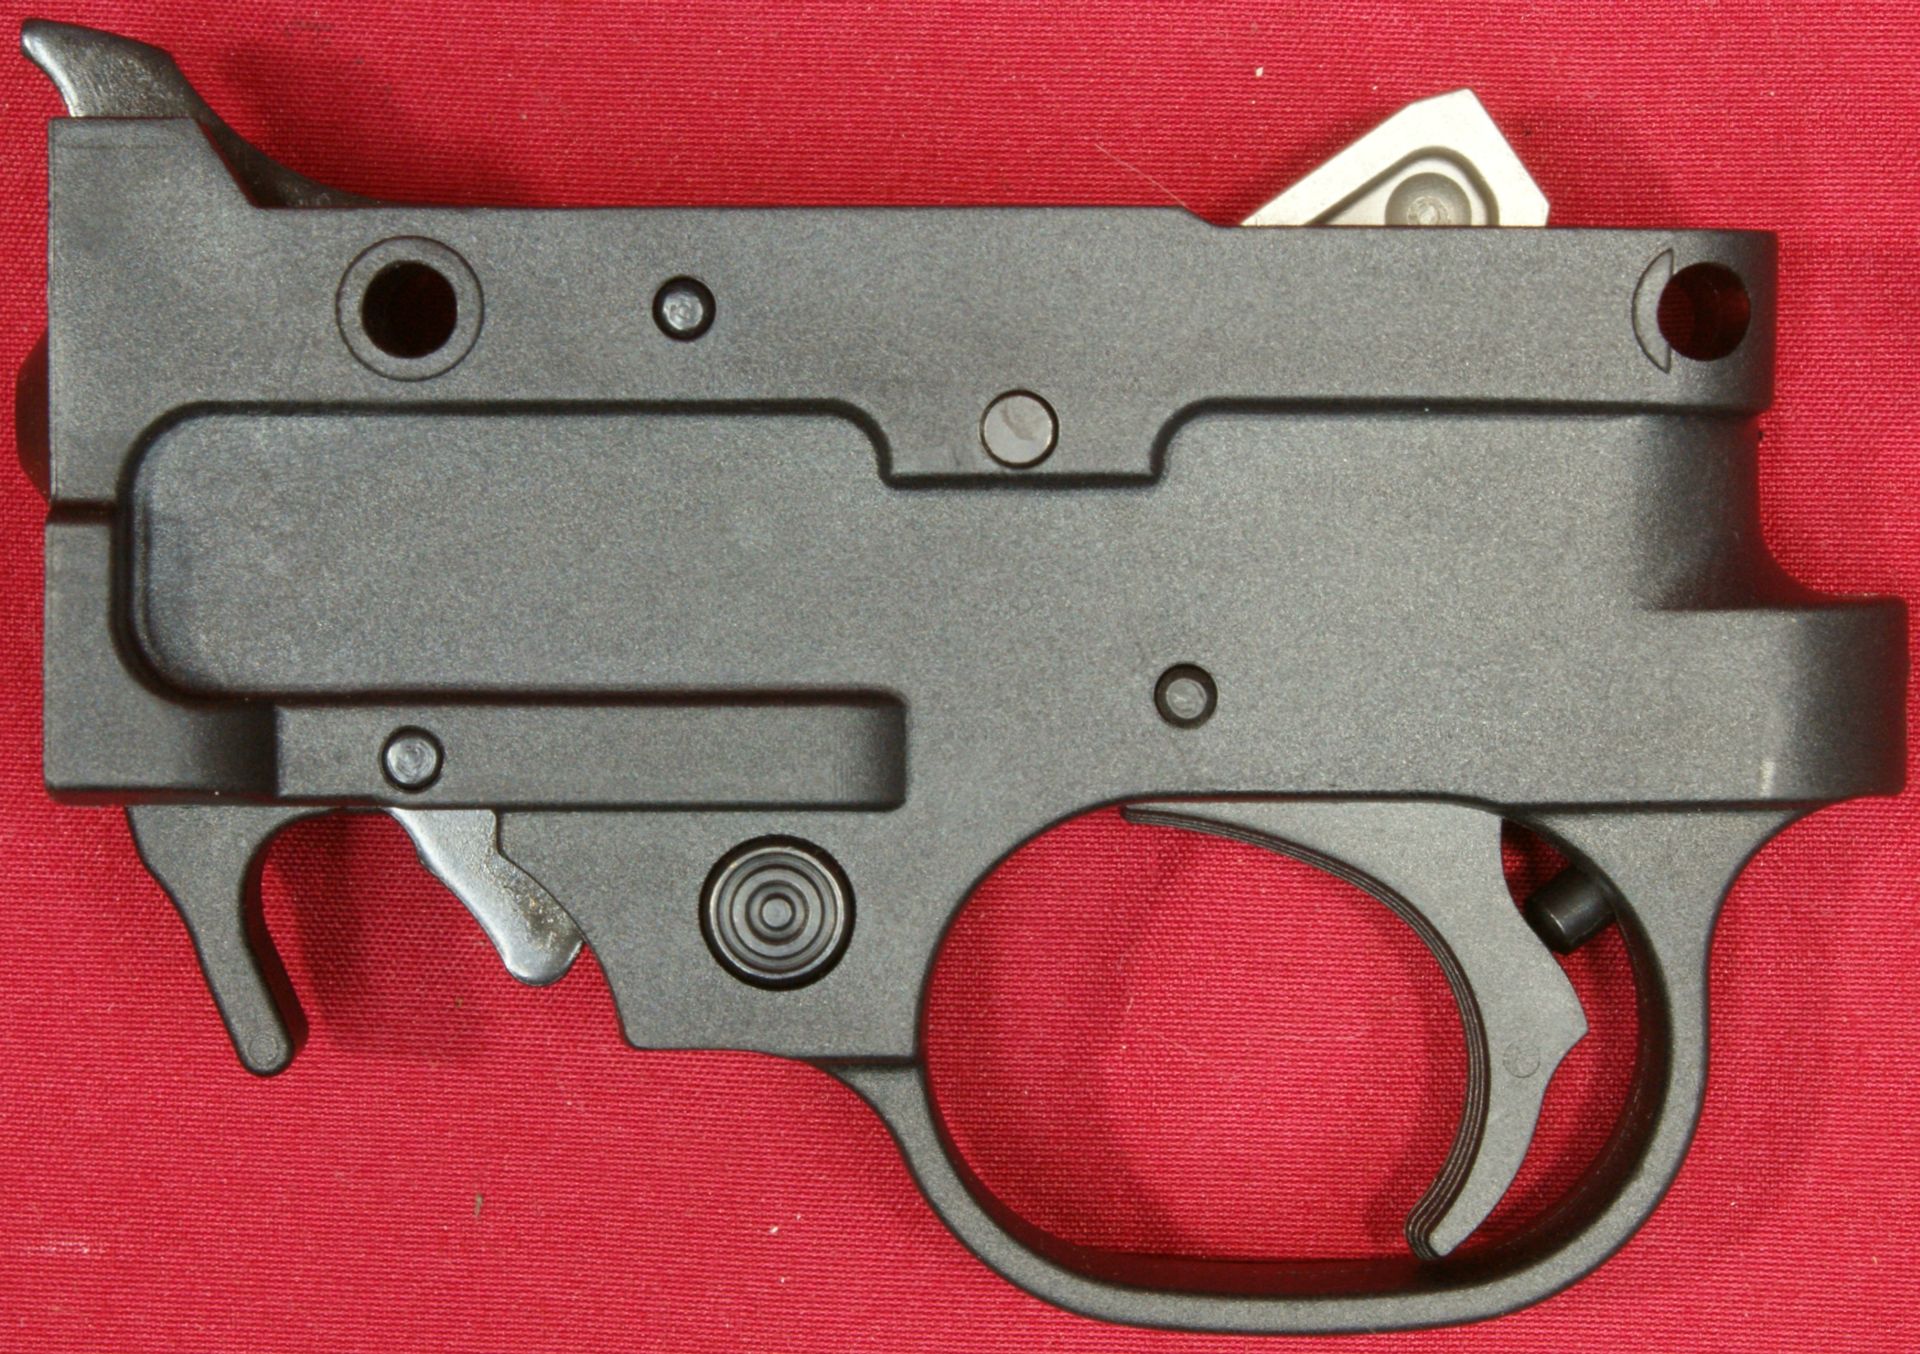
Trigger Guard Assembly
The trigger guard assembly is made up of 27 parts as shown below. The complexity of this assembly is probably why you should think twice before deciding to disassemble the trigger guard assembly.
Figure 19
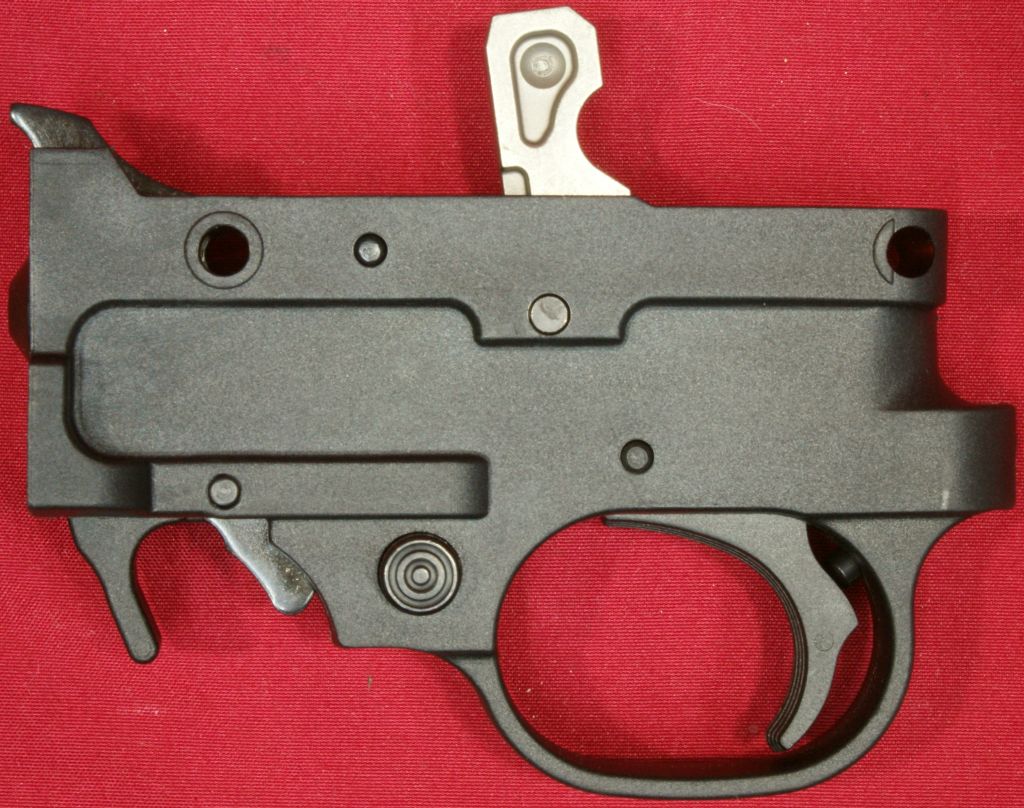
The hammer and sear appear to be made from stainless steel.
Figure 20
You can see where the hammer engages the sear by looking through the cutout on the right side of the trigger guard assembly. This cutout allows you the ability to lubricate this surface directly to achieve the best trigger pulls possible. Clearly, looking at the trigger guard assembly you will see that the majority of the components are polymer and the critical components are metallic. I feel this is a good blend of materials to keep costs down and quality up.
Figure 21
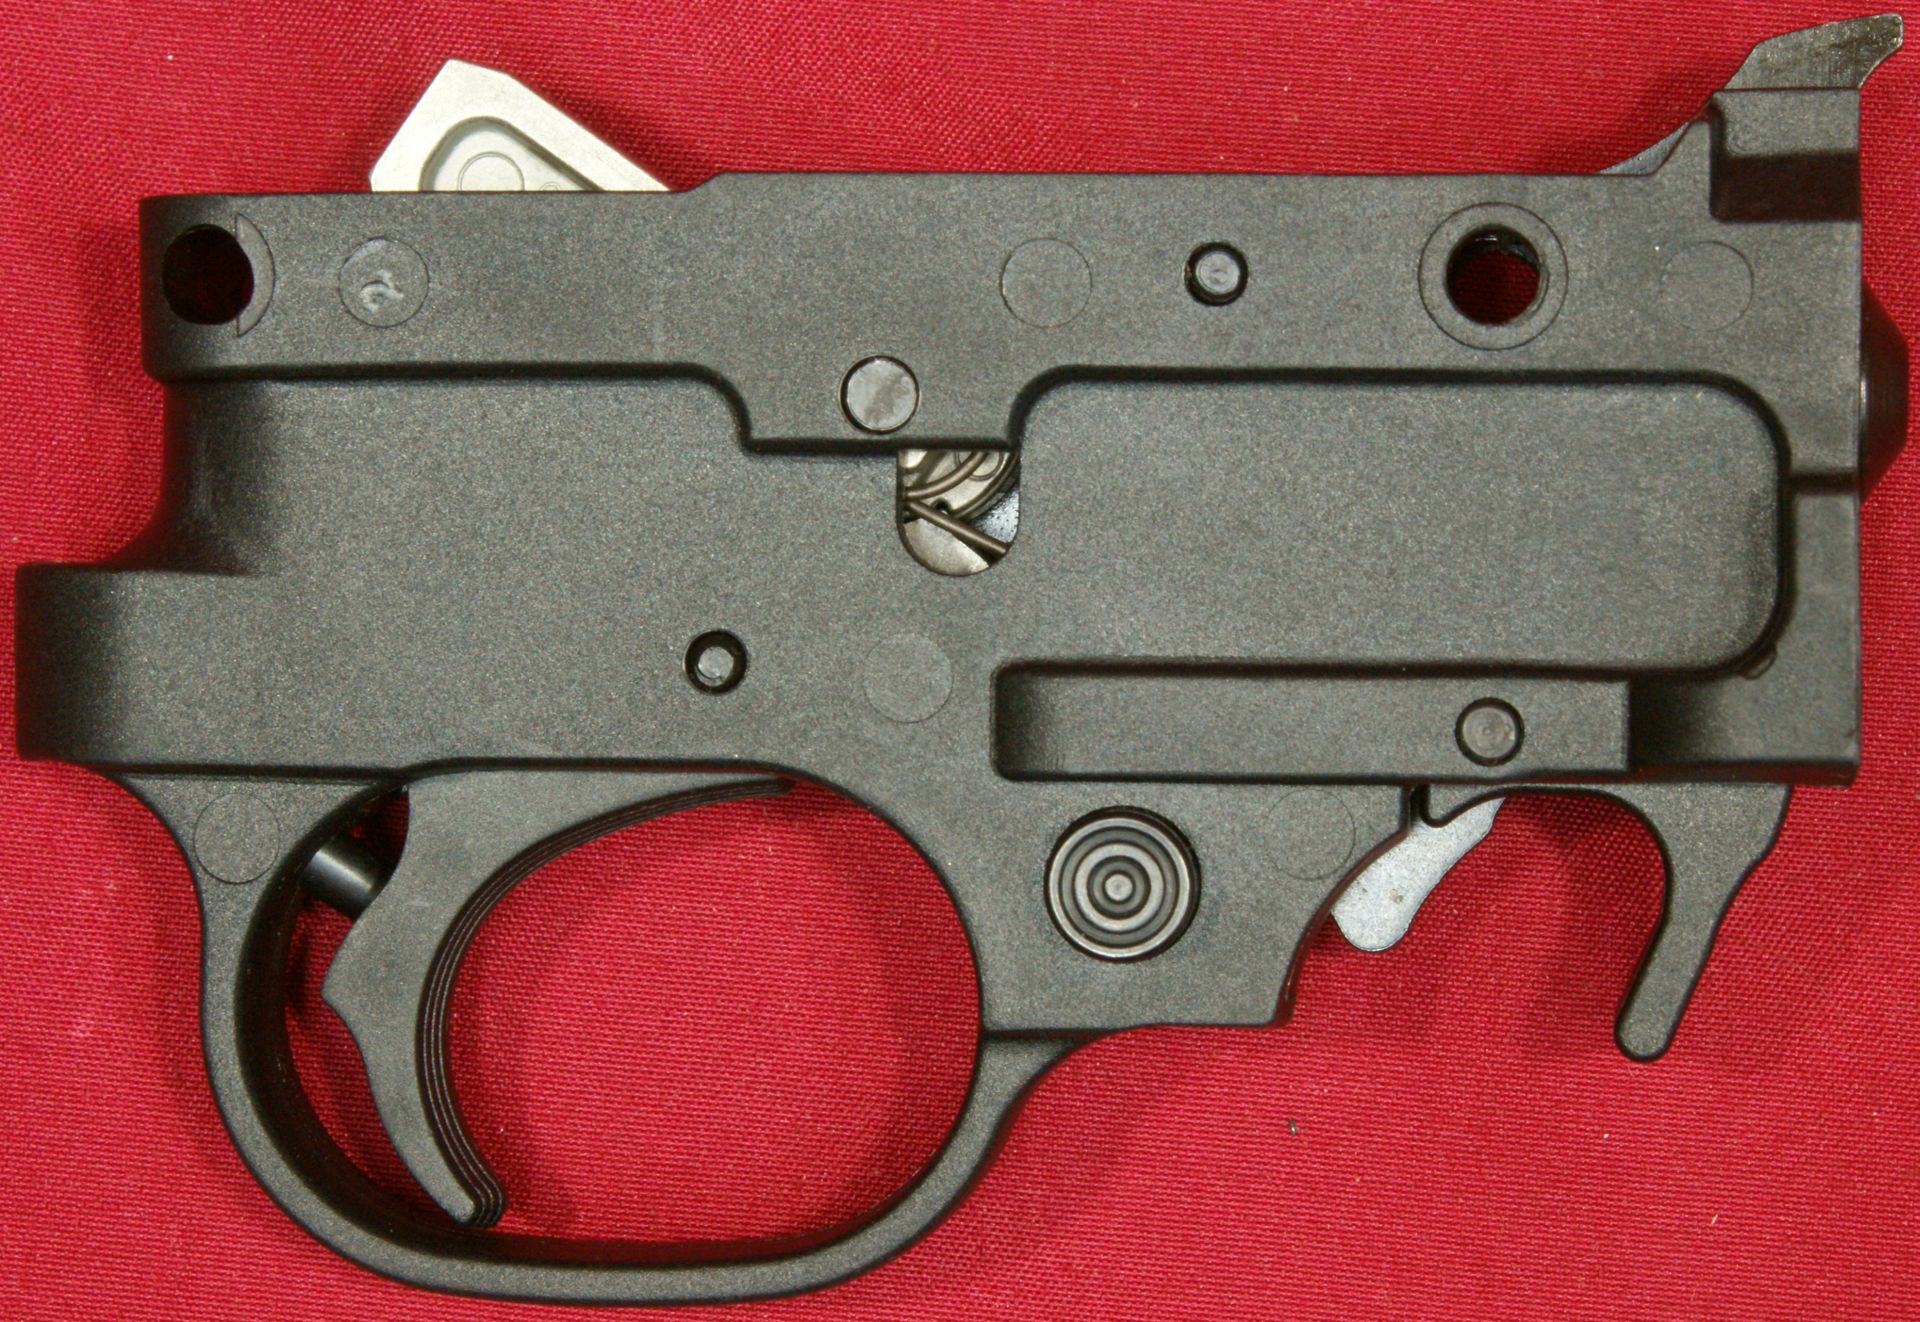
Figure 22
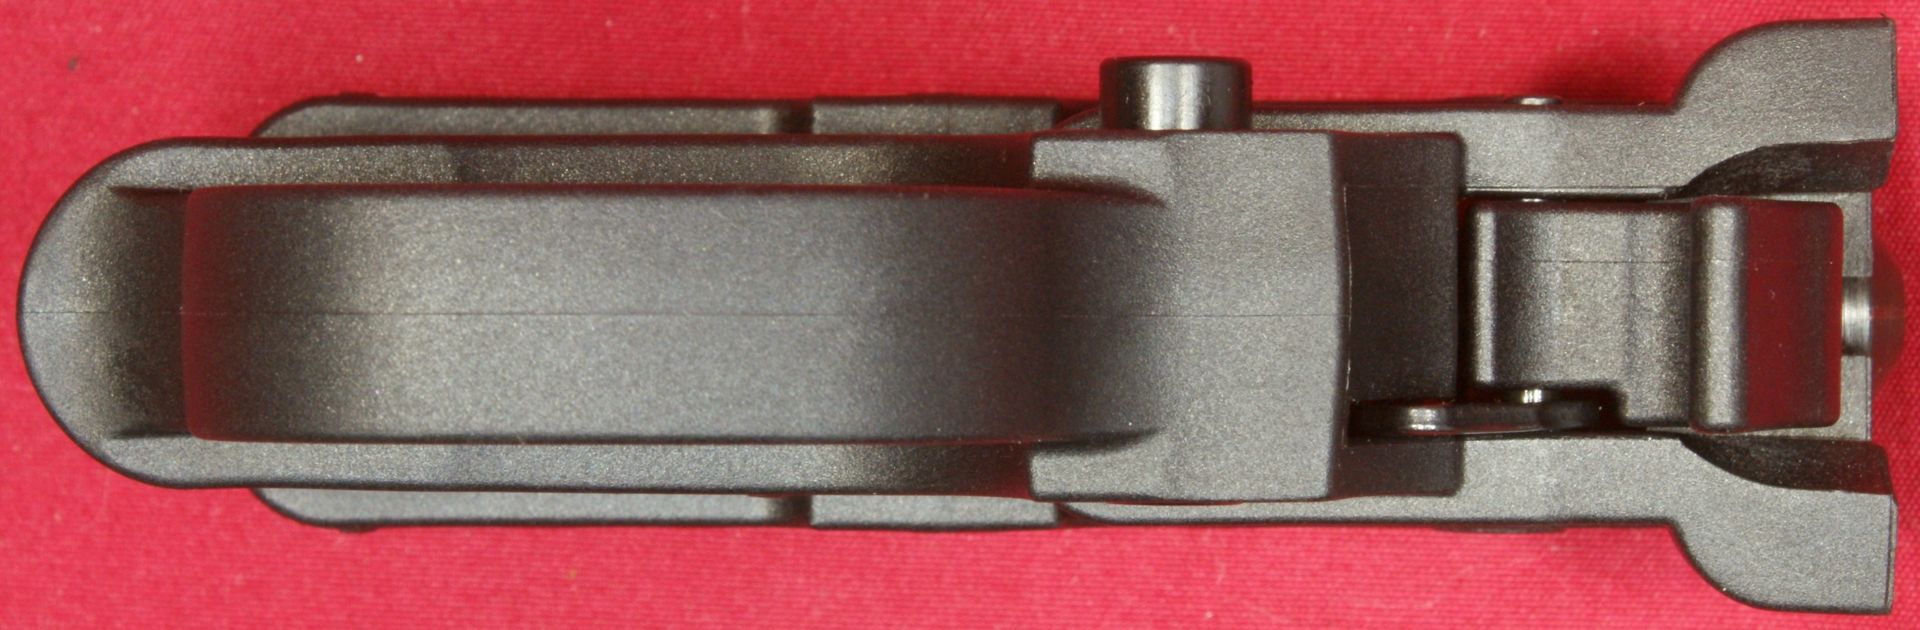
Figure 23
These next two photos show the hammer in the uncocked position.
Figure 24
Below you can see the hammer strut and spring located behind the hammer. The ejector is the piece of metal that sticks forward in front of the hammer.
Figure 25
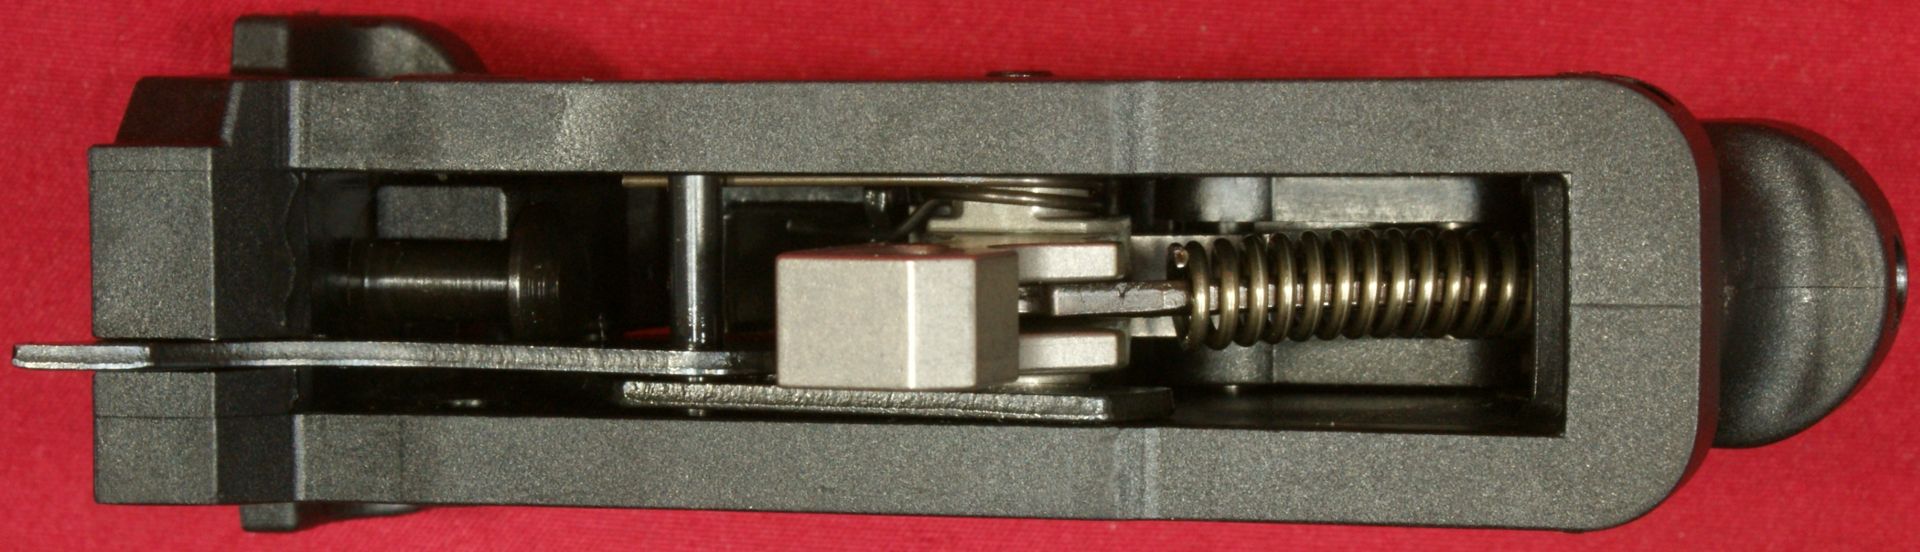
Figure 26
Figure 27
Stock Assembly
These photos give you a look at the inside molded areas of the stock. Ruger has added a brass insert to prevent wear on the polymer material that would have been caused by the stock bolt.
Figure 28

Figure 29

Thoughts
Over the years Ruger has continually tweaked the 10/22 with new manufacturing methods and material to provide the greatest value possible in their 10/22 rifles.
For more detailed photos and commentary, make sure you check out the other parts of this review and feel free to leave comments on my Reader's Comments page. The following links are provided to help you see other parts of this review.
- Ruger 10/22 LaserMax Review: Part 1 - Introduction, Specifications and Summary
- Ruger 10/22 LaserMax Review: Part 2 - What's in the Box
- Ruger 10/22 LaserMax Review: Part 3 - External and Operational Features
- Ruger 10/22 LaserMax Review: Part 4 - Disassembly
- Ruger 10/22 LaserMax Review: Part 5 - Internal Features (this page)
- Ruger 10/22 LaserMax Review: Part 6 - Range Test
Or
If you would like to be notified about future Gunsumer Reports reviews via Facebook, make sure "You Like This" by clicking the Facebook "Like" button at the bottom or top of this page. If it already says "You Like This" beside the button, clicking it again will uncheck the "Like" status and you will not be notified.
| Share on Facebook | |
© 2010, 2011, 2012, 2013, 2014, 2015, 2016, 2017, 2018, 2019, 2020, 2021, 2022, 2023 & 2024 Gunsumer Reports™, All rights reserved.
FTC Disclosure