|
|
Gunsumer Reports TM Providing Detailed Objective Reviews for Firearms and Firearm Accessories |
TriStar Viper G2 T/W
(Turkey/Waterfowl) Shotgun Review
Part 4 - Disassembly and Internal Features
May 1, 2011

In this part of the review, I'm will disassemble the TriStar Viper G2 T/W Shotgun and show detailed photos of the parts and assemblies. For disassembly, I will follow the basic steps outlined in the Instruction Manual and I recommend that you always use the instructions provided by the manufacturer as the primary source for disassembly of any firearm. Most important, always make sure the shotgun is unloaded (chamber and magazine tube) and then check it one more time before you begin disassembly.
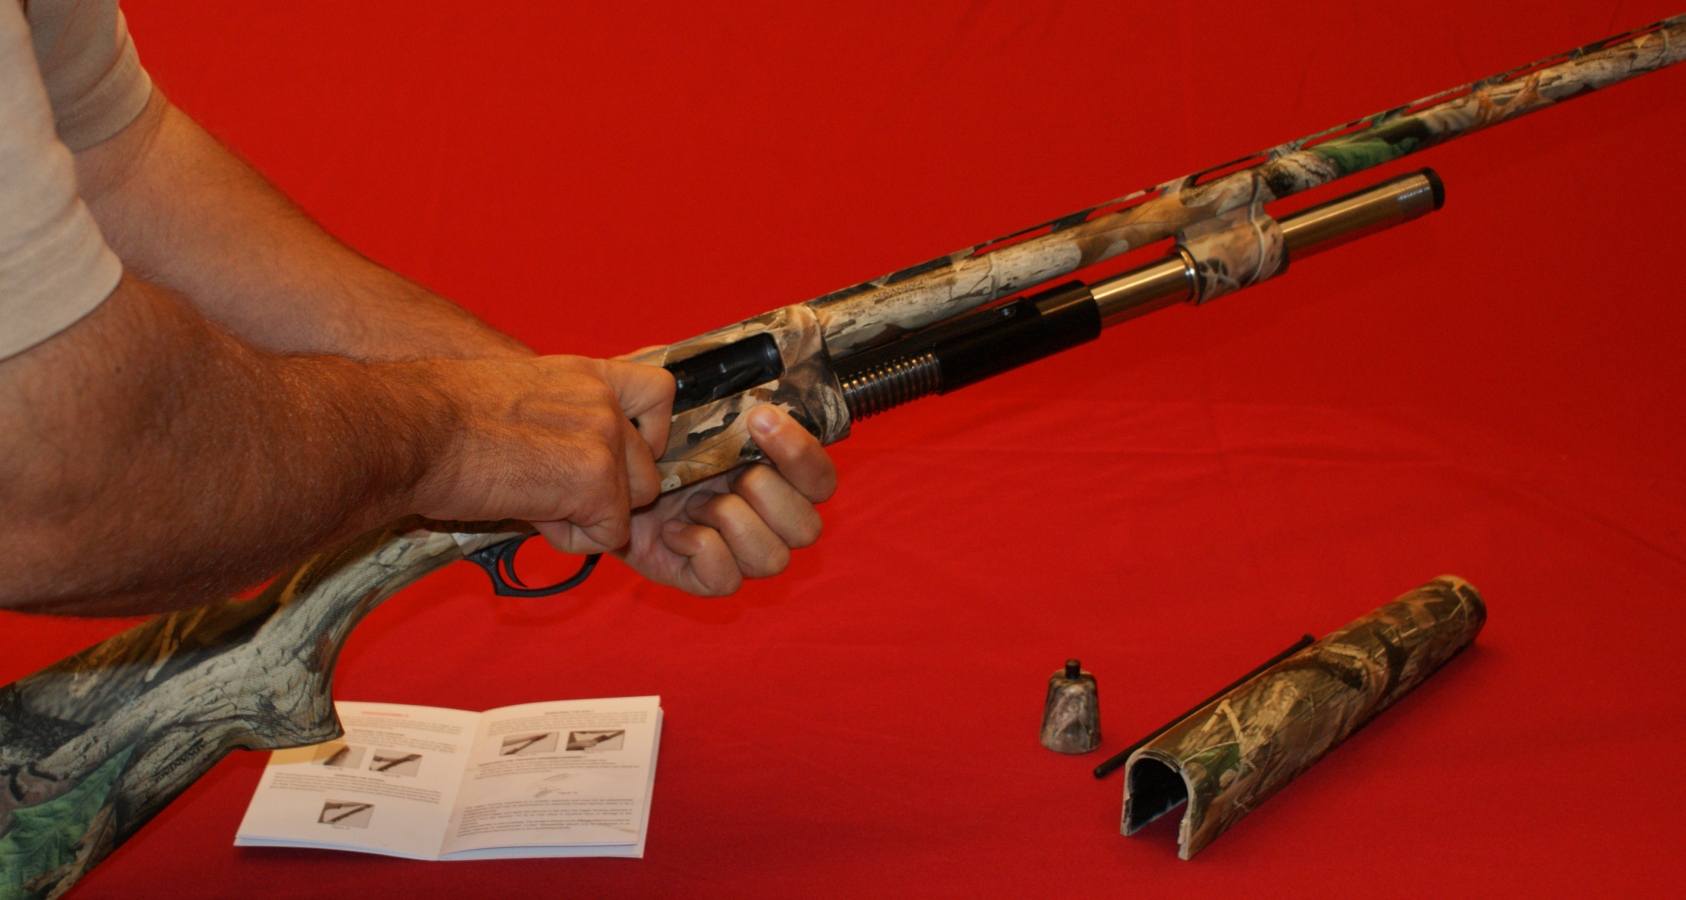
Step 1 - Removing the Forearm
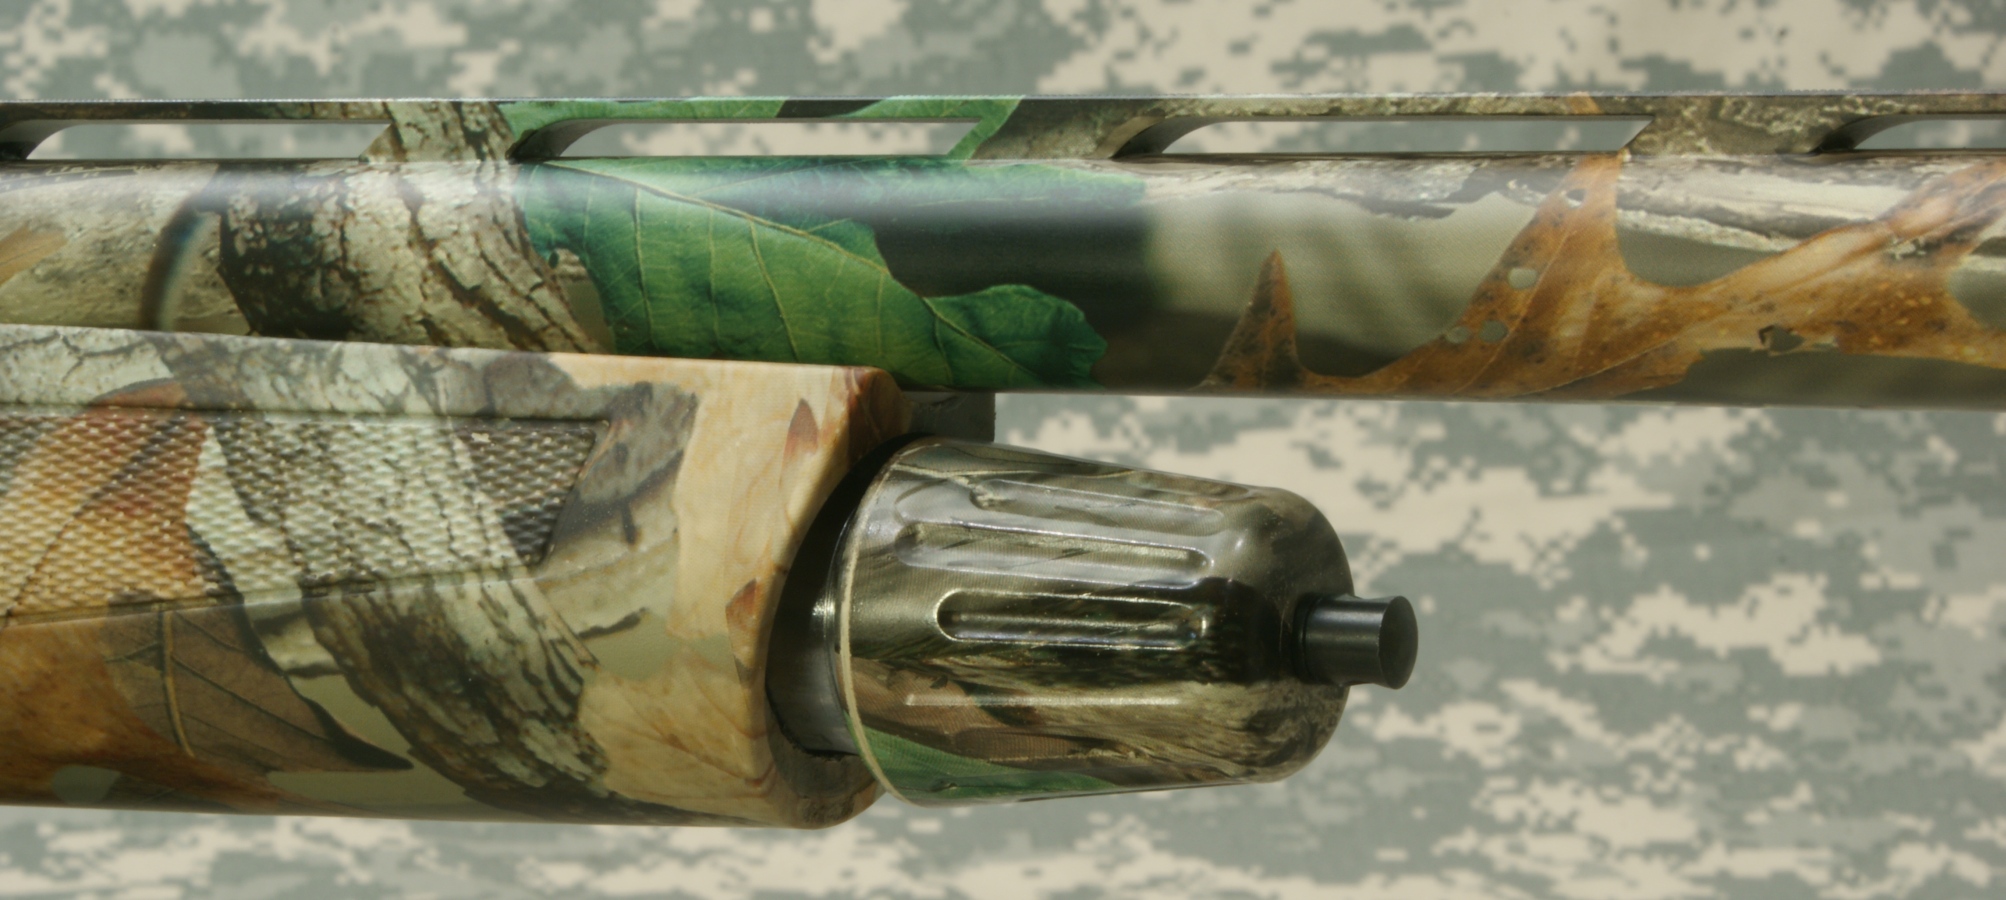
Pull the bolt operating handle all the way back into the locked position. Unscrew the magazine cap and remove it from the end of the magazine tube.
Figure 1
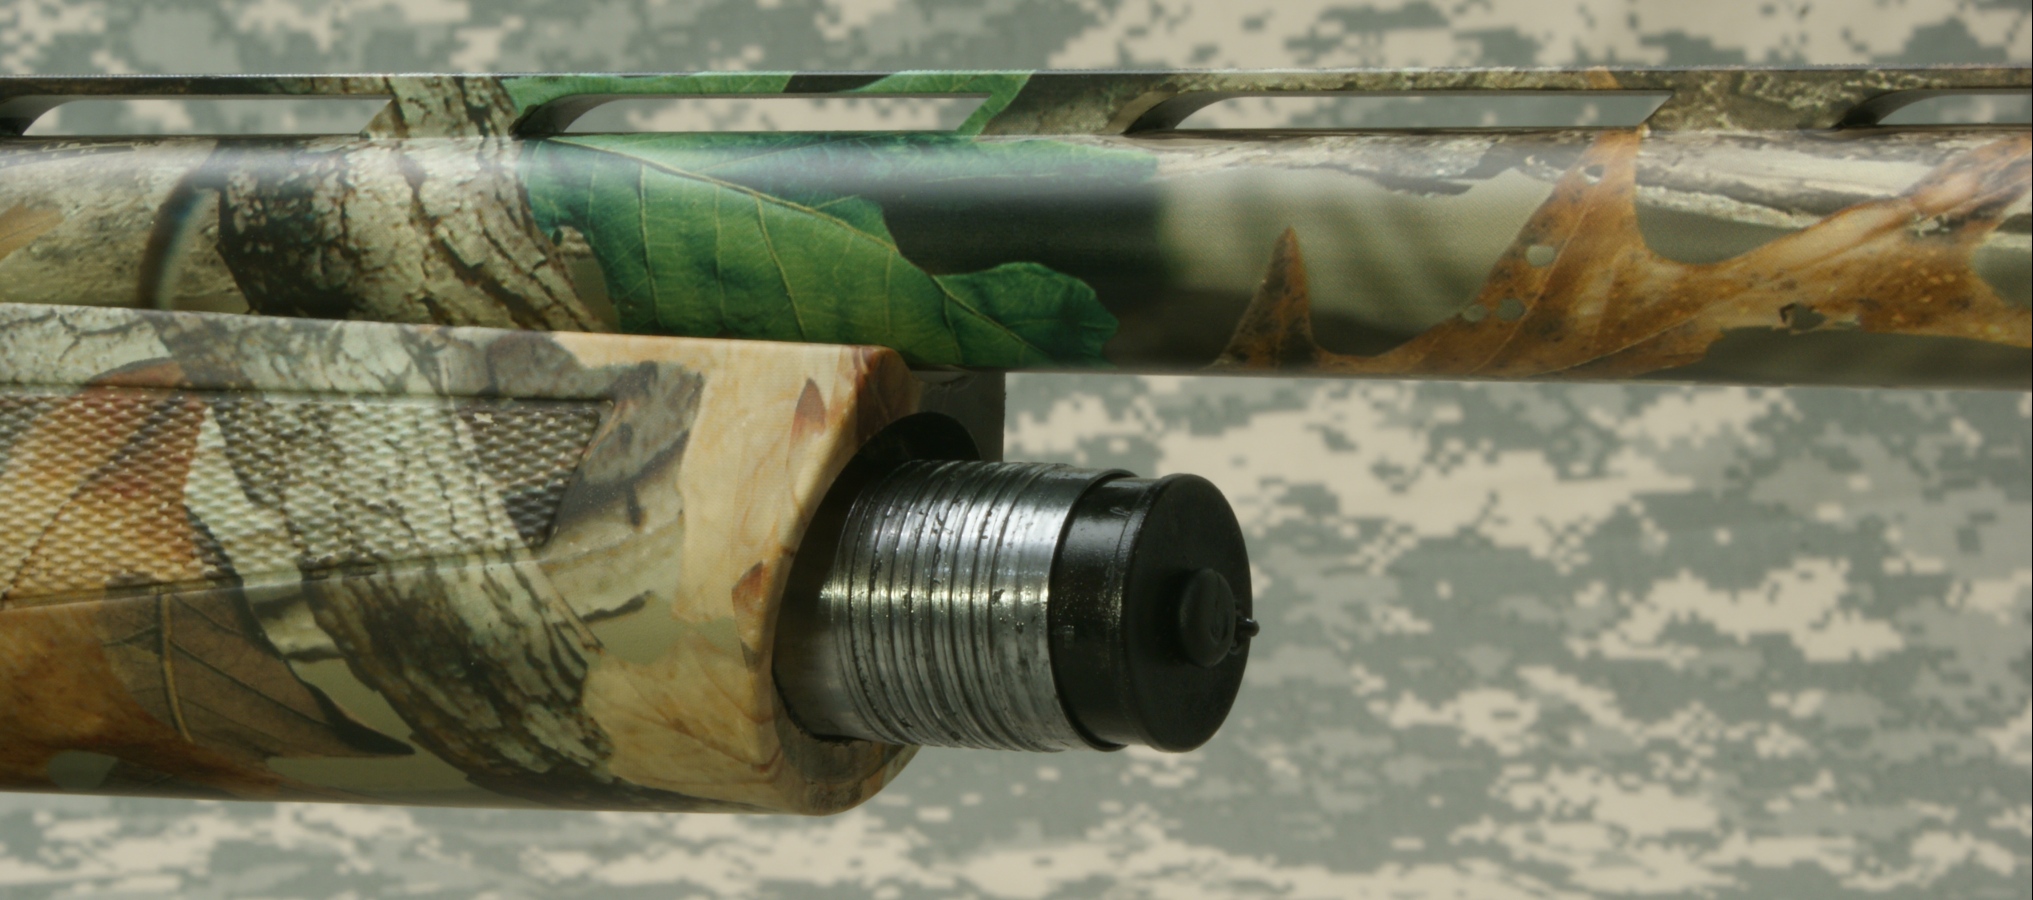
The magazine spring cap will stay in place while the magazine cap is removed.
Figure 2
With the magazine cap removed, you can easily remove the magazine plug.
Figure 3
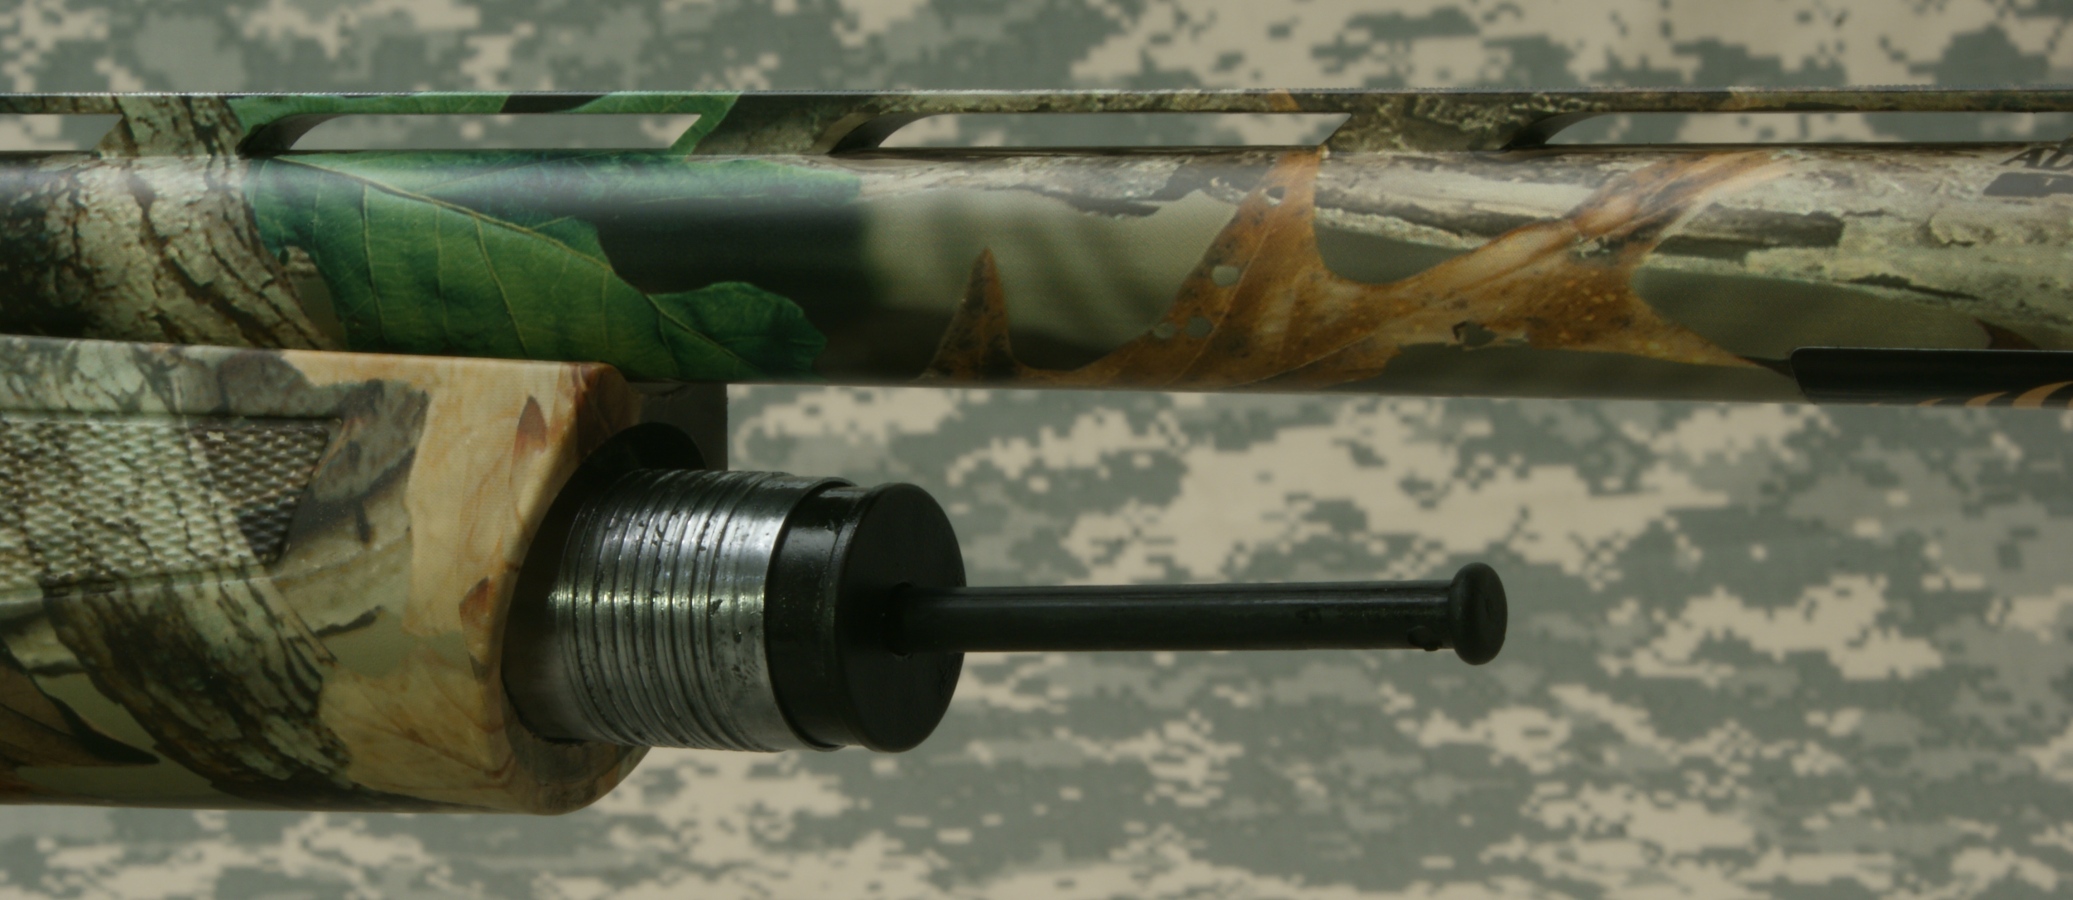
Figure 4

The forearm will easily slide forward and off the shotgun.
Figure 5
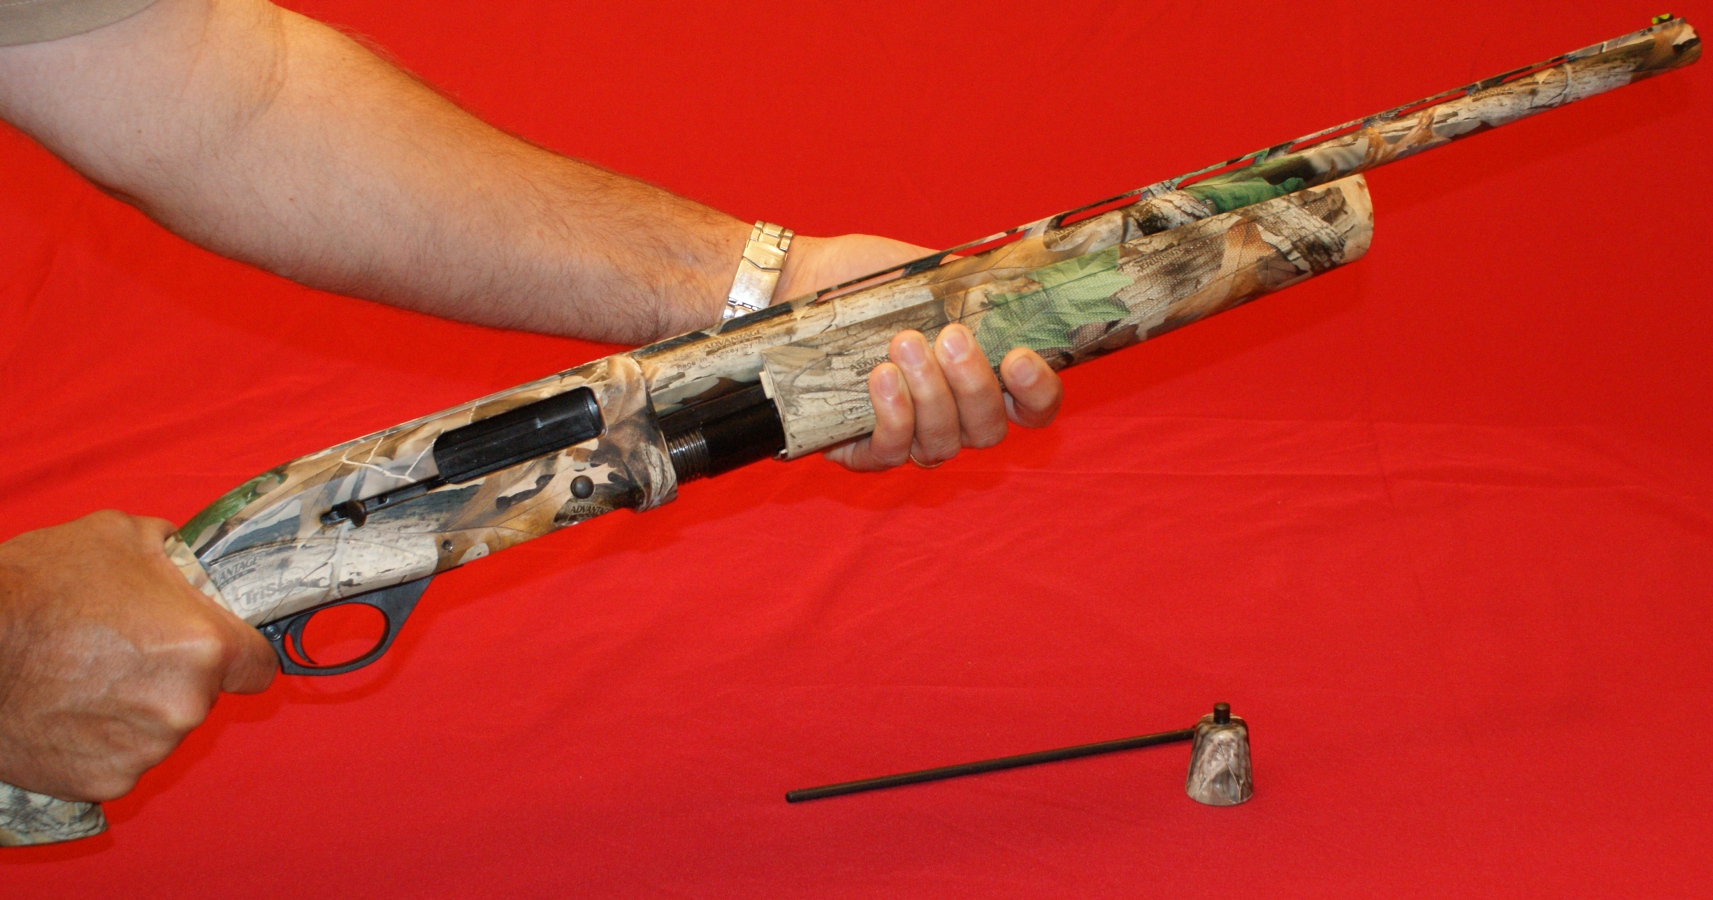
Figure 6

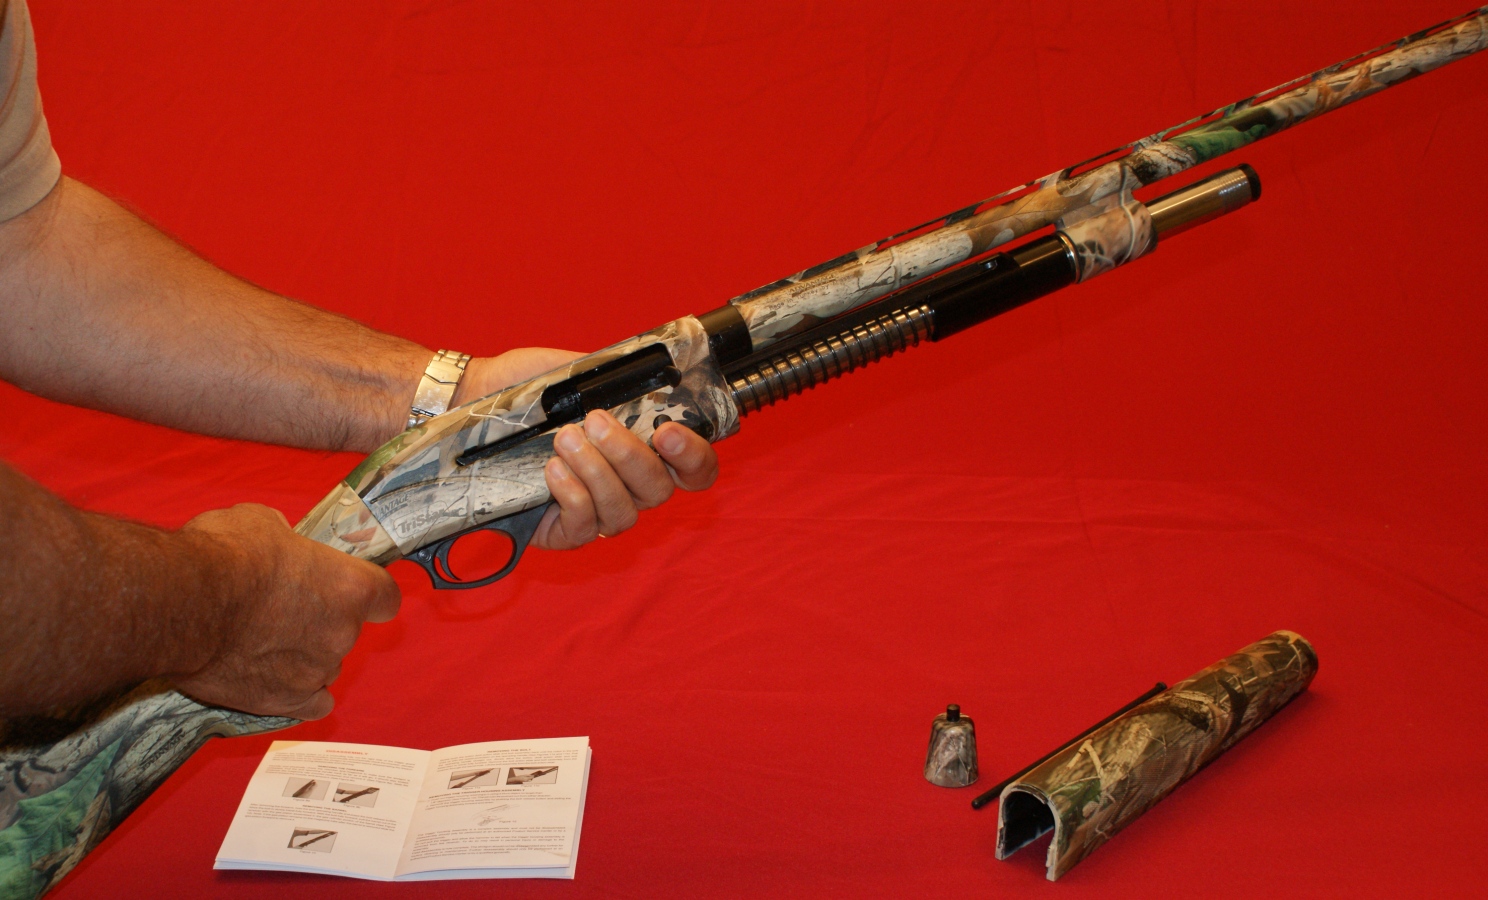
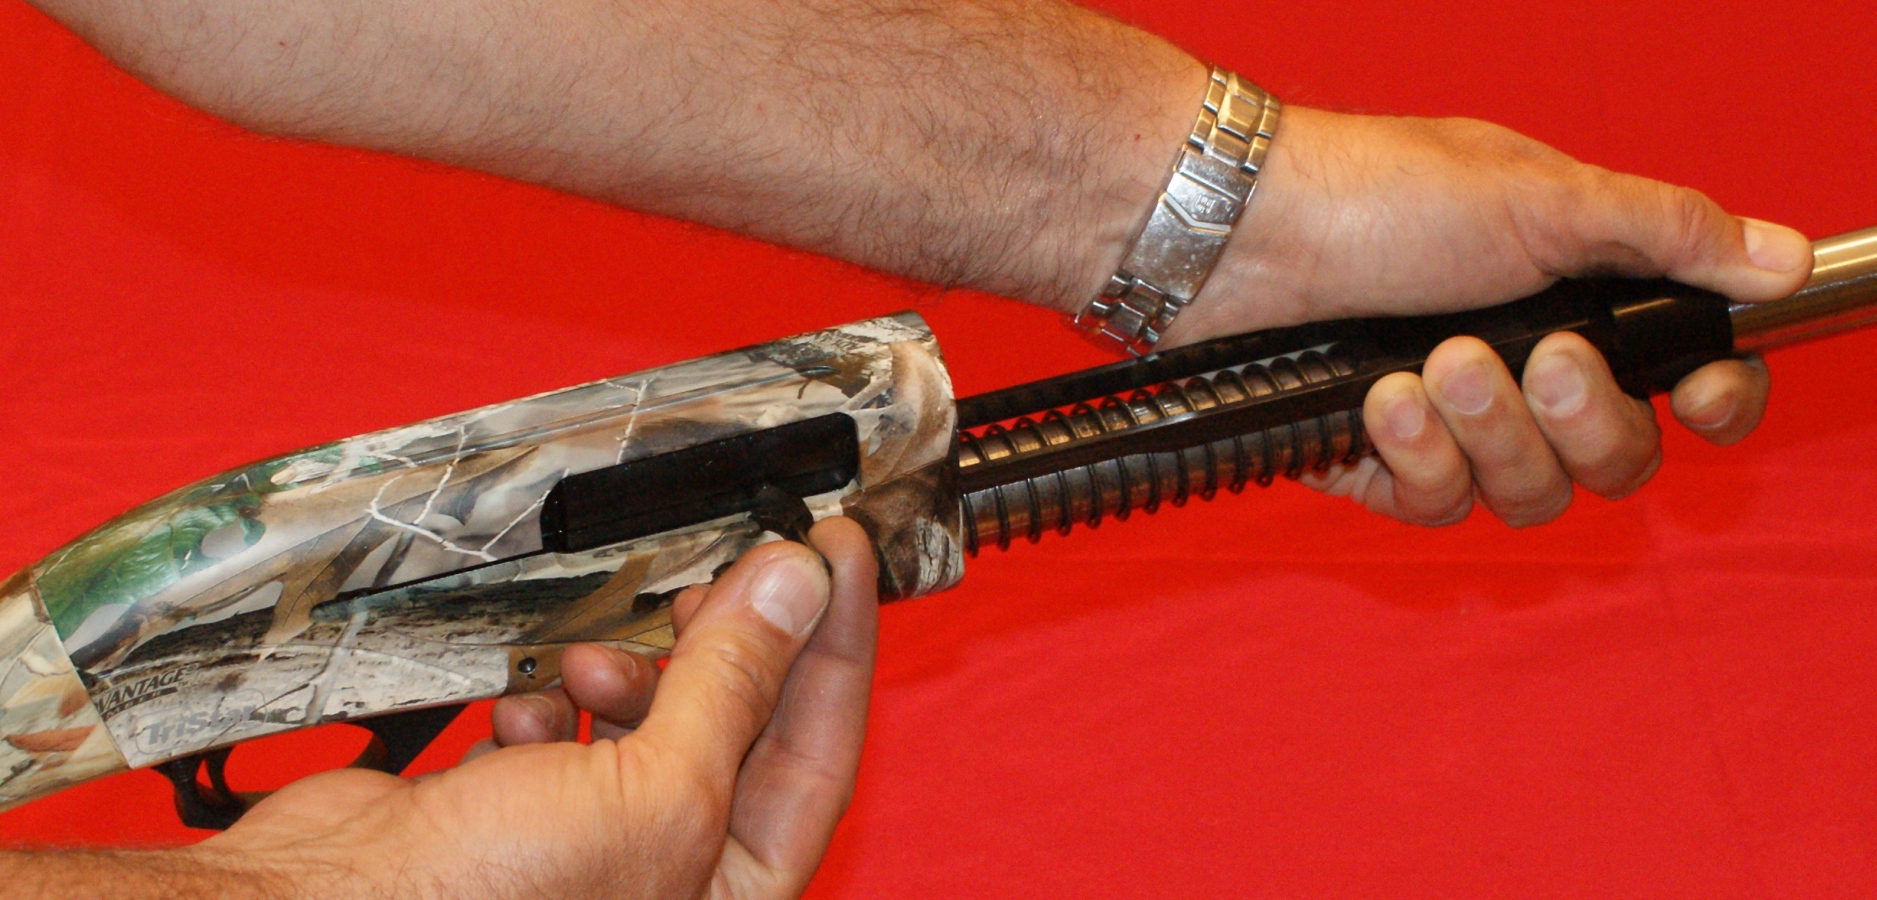
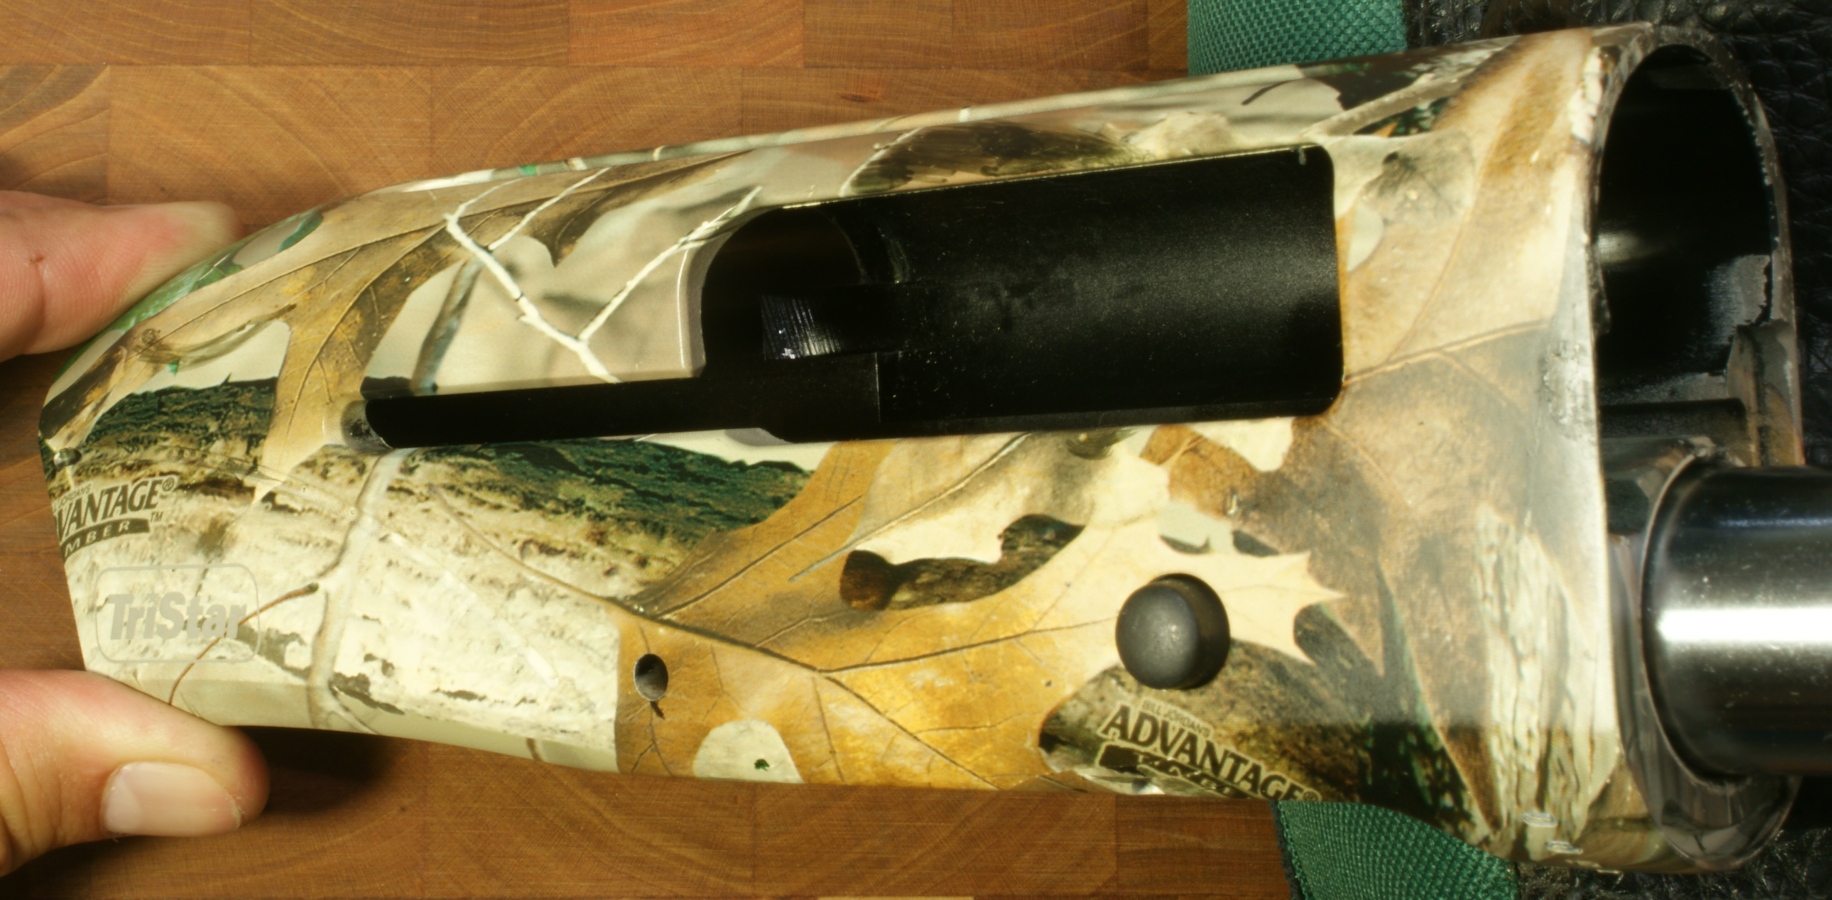
Step 2 - Removing the Barrel
To remove the barrel, hold the bolt operating handle and press the bolt release button with your other hand.
Figure 7
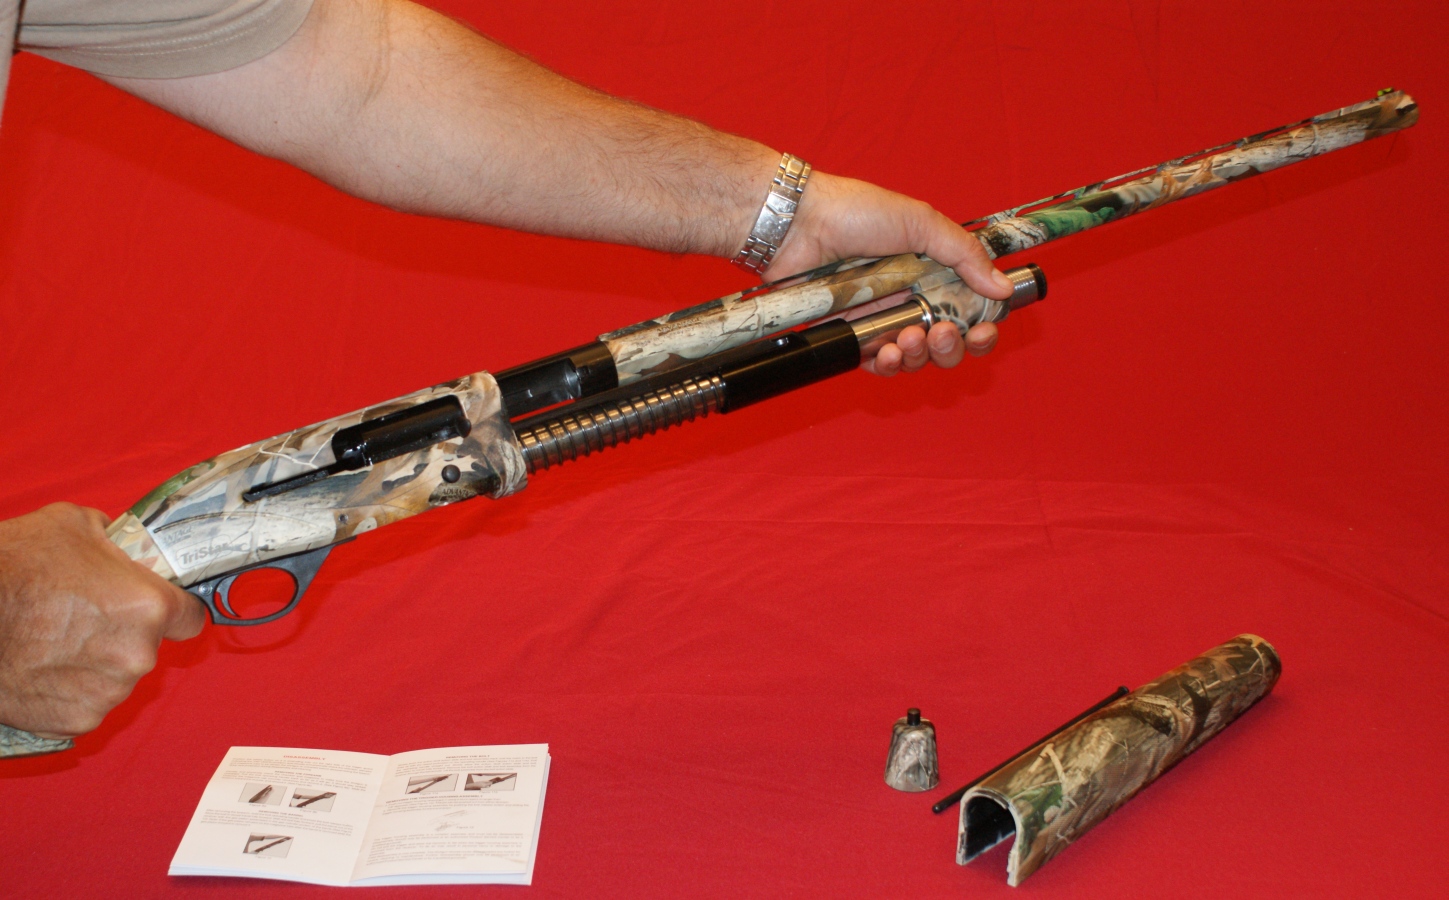
Allow the bolt to move fully forward and most likely the spring force from the magazine spring will push the barrel out of the receiver as shown below.
Figure 8
Now you can slide the barrel out the receiver and off the magazine tube.
Figure 9
In this case, the gas piston remained inside the barrel cylinder and you will need to remove the gas piston. If for some reason the gas piston stays on the magazine tube, slide it off the end of the tube.
Figure 10
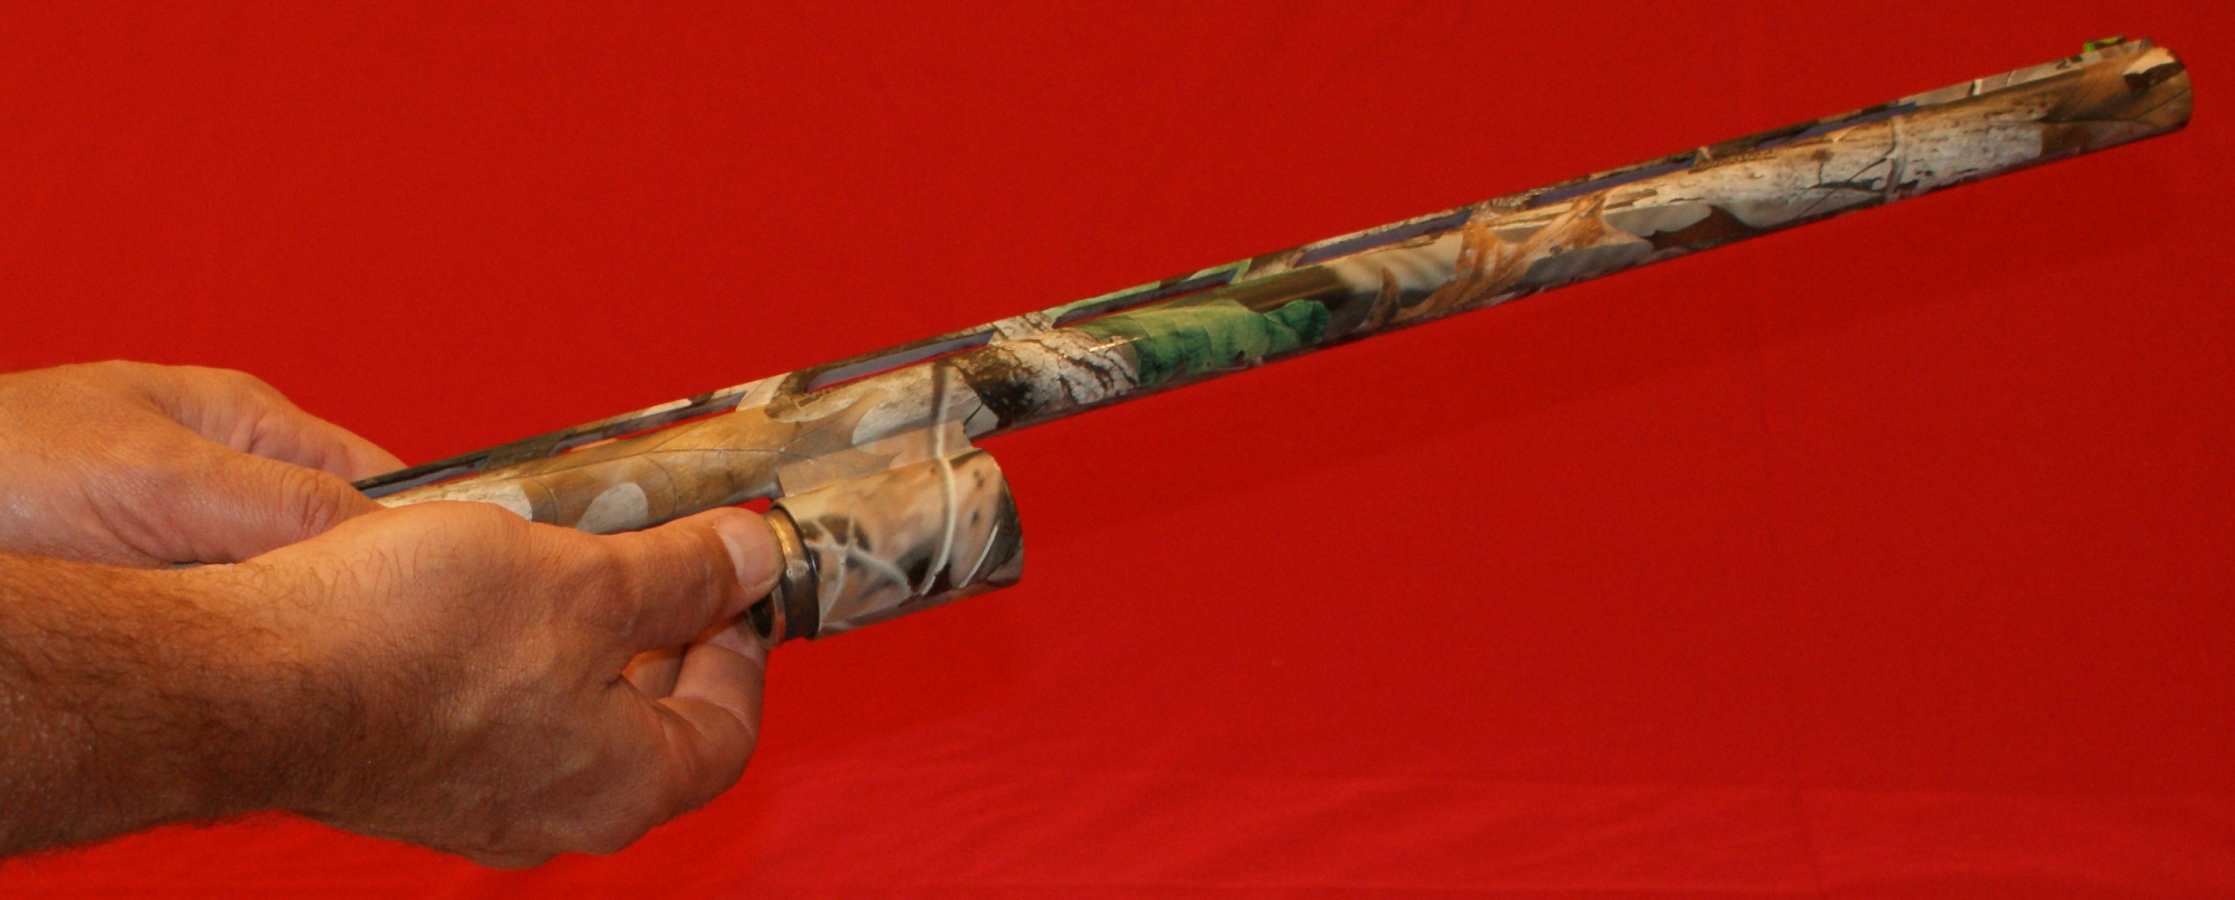
Figure 11
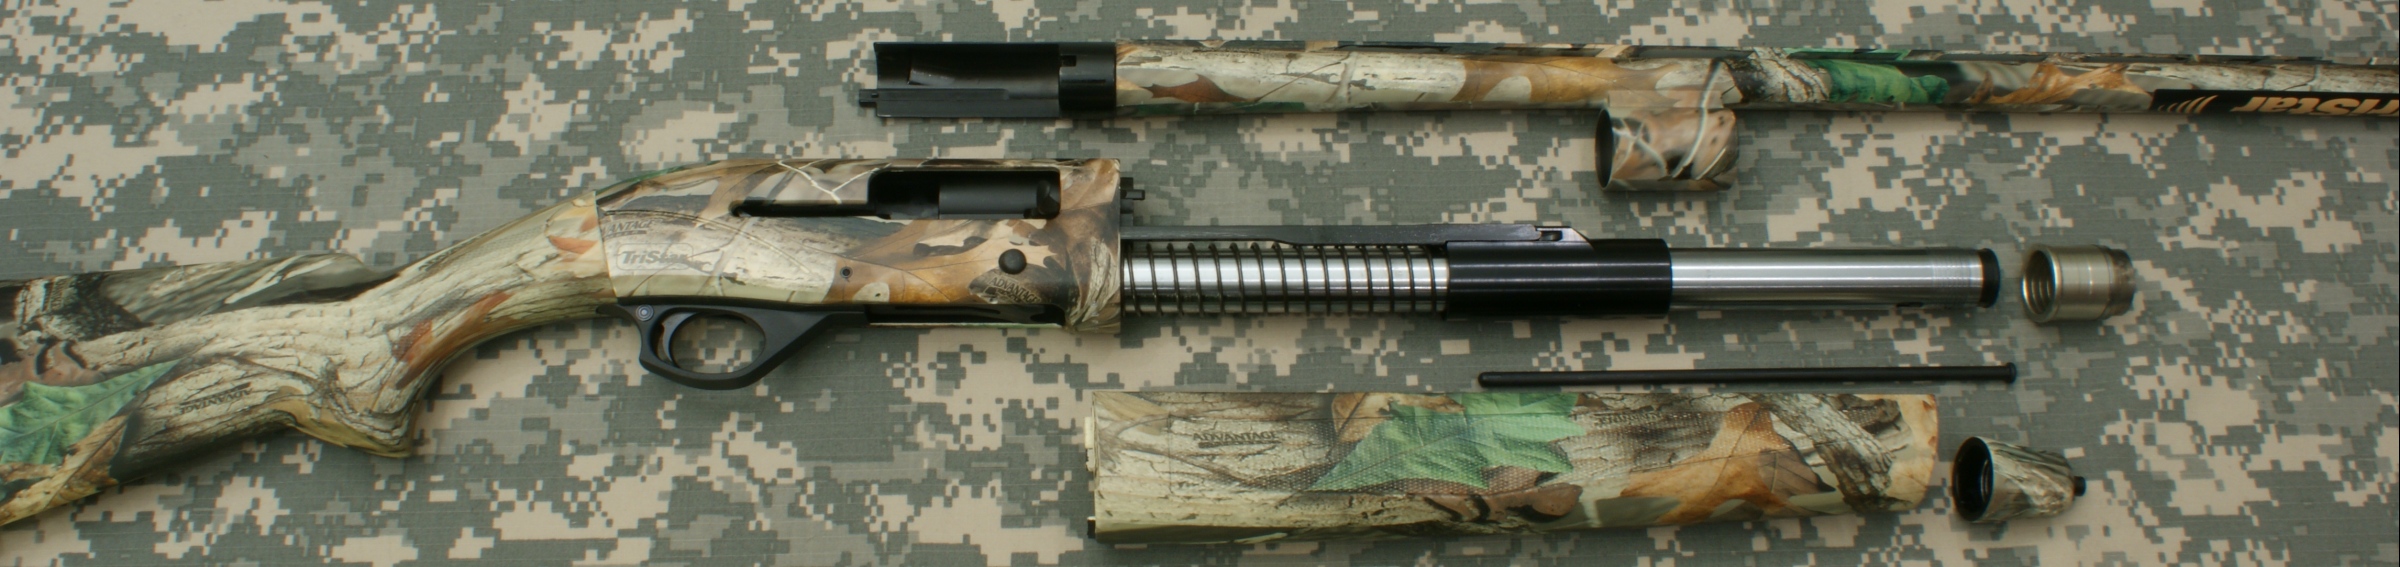
Step 3 - Removing the Bolt
To remove the bolt, push the bolt action back until the notch in the bolt lines up with the raised protrusion on the operating handle. You can then pull the operating handle straight out of the bolt.
Figure 12
You can now allow the action to travel fully forward and the bolt will come out of the receiver and you can remove the assembly off the magazine tube.
Figure 13
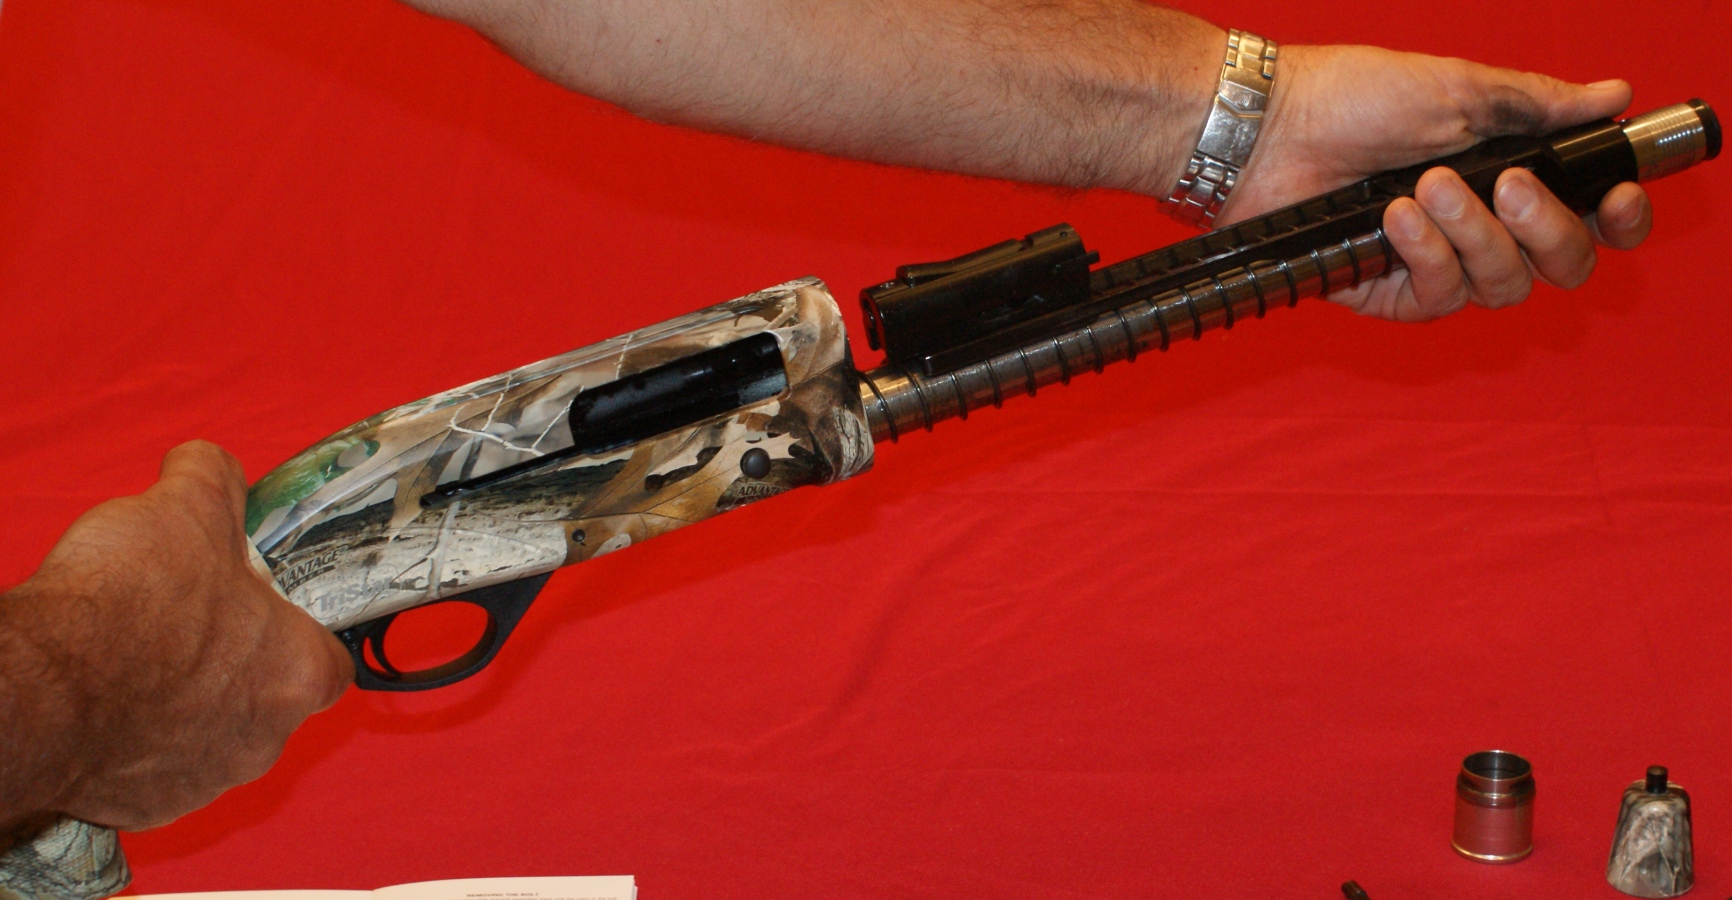
Figure 14

The next photos shows the bolt lifted from the bolt action arm and the action arm sleeve removed.
Figure 15

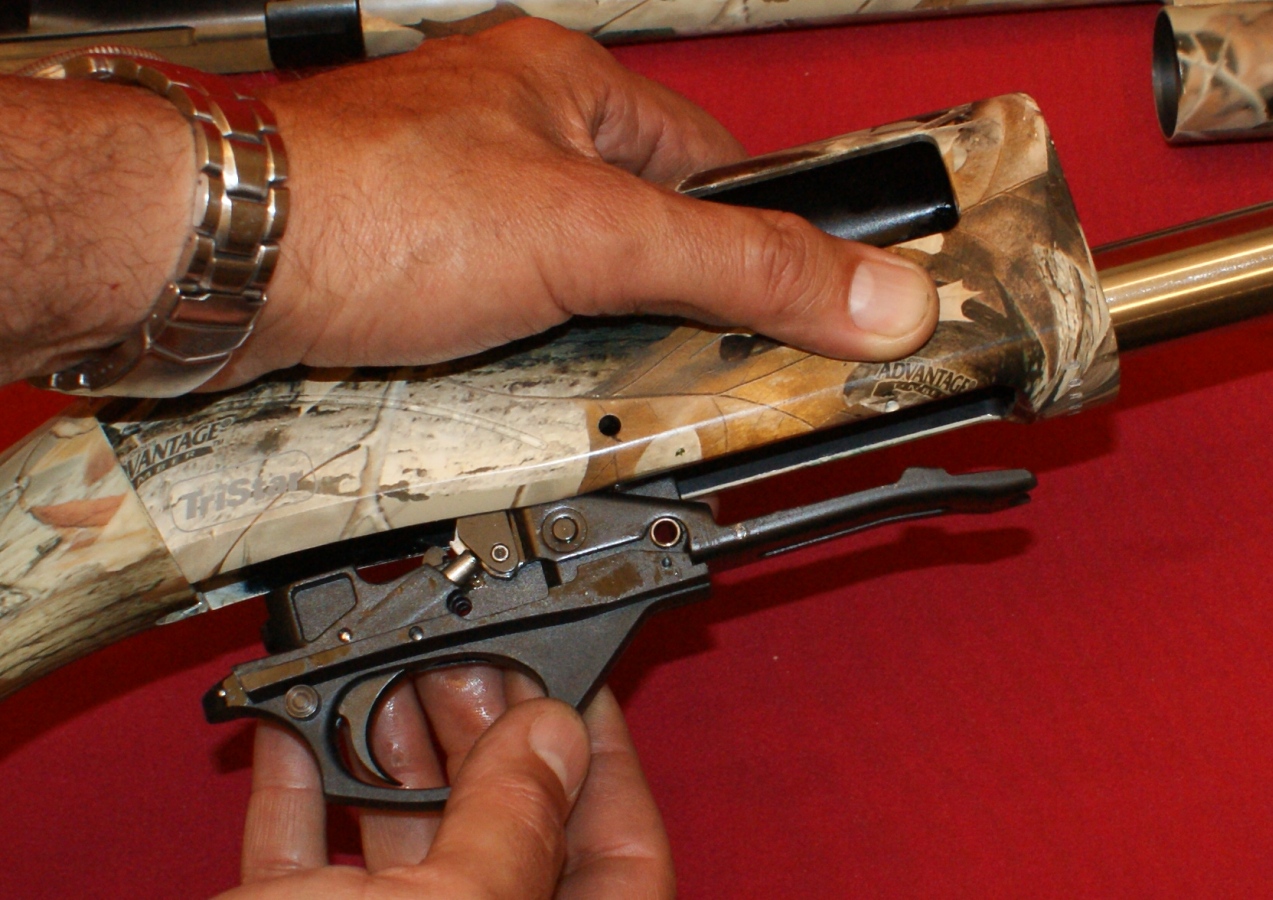
Step 4 - Removing the Trigger Housing Assembly
To remove the trigger housing assembly, you need to push out the trigger housing retainer pin.
Figure 16
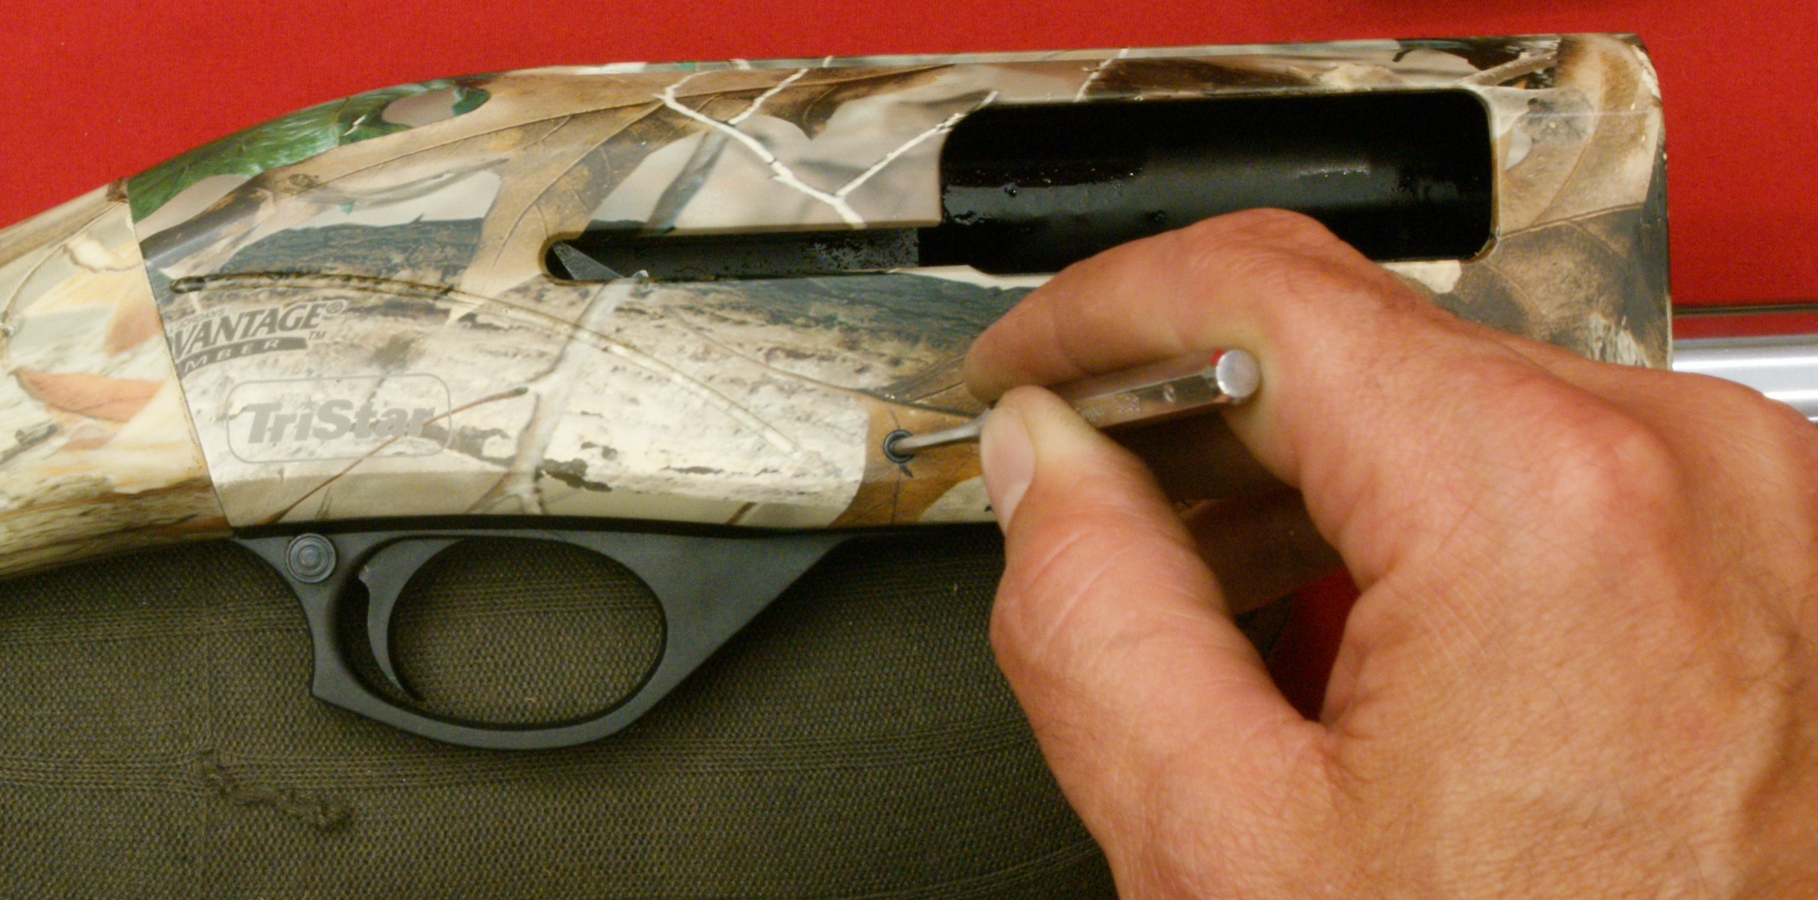
Make sure you place your receiver on something soft or the receiver is properly supported so that the pin can be knocked out the other side of the receiver.
Figure 17
With the pin removed, press the bolt release button and slide the trigger housing assembly forward and down out of the receiver.
Figure 18
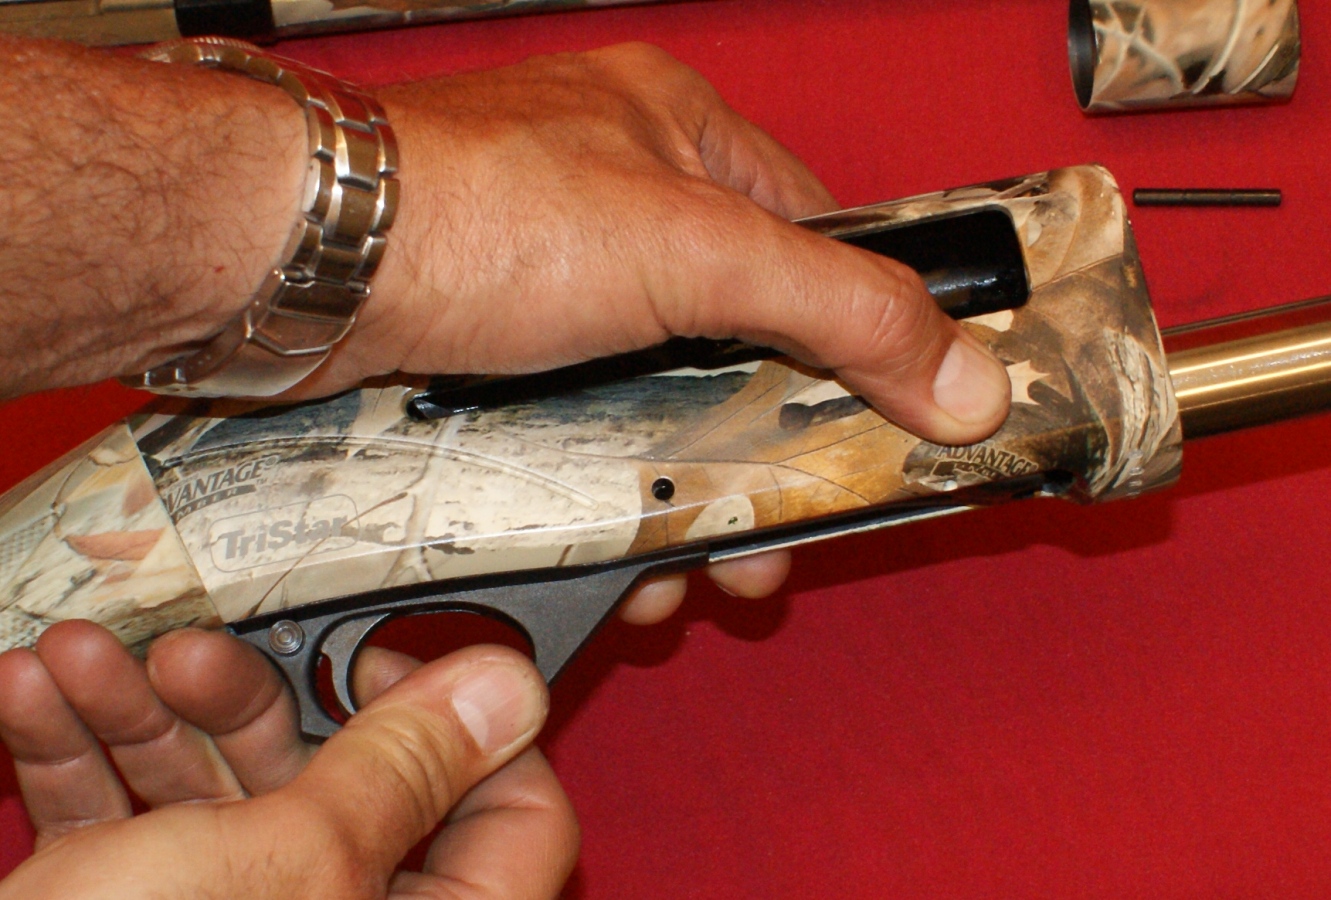
Figure 19
Normal field disassembly is now complete and at this level you should be able to perform normal cleaning of the shotgun.
Figure 20
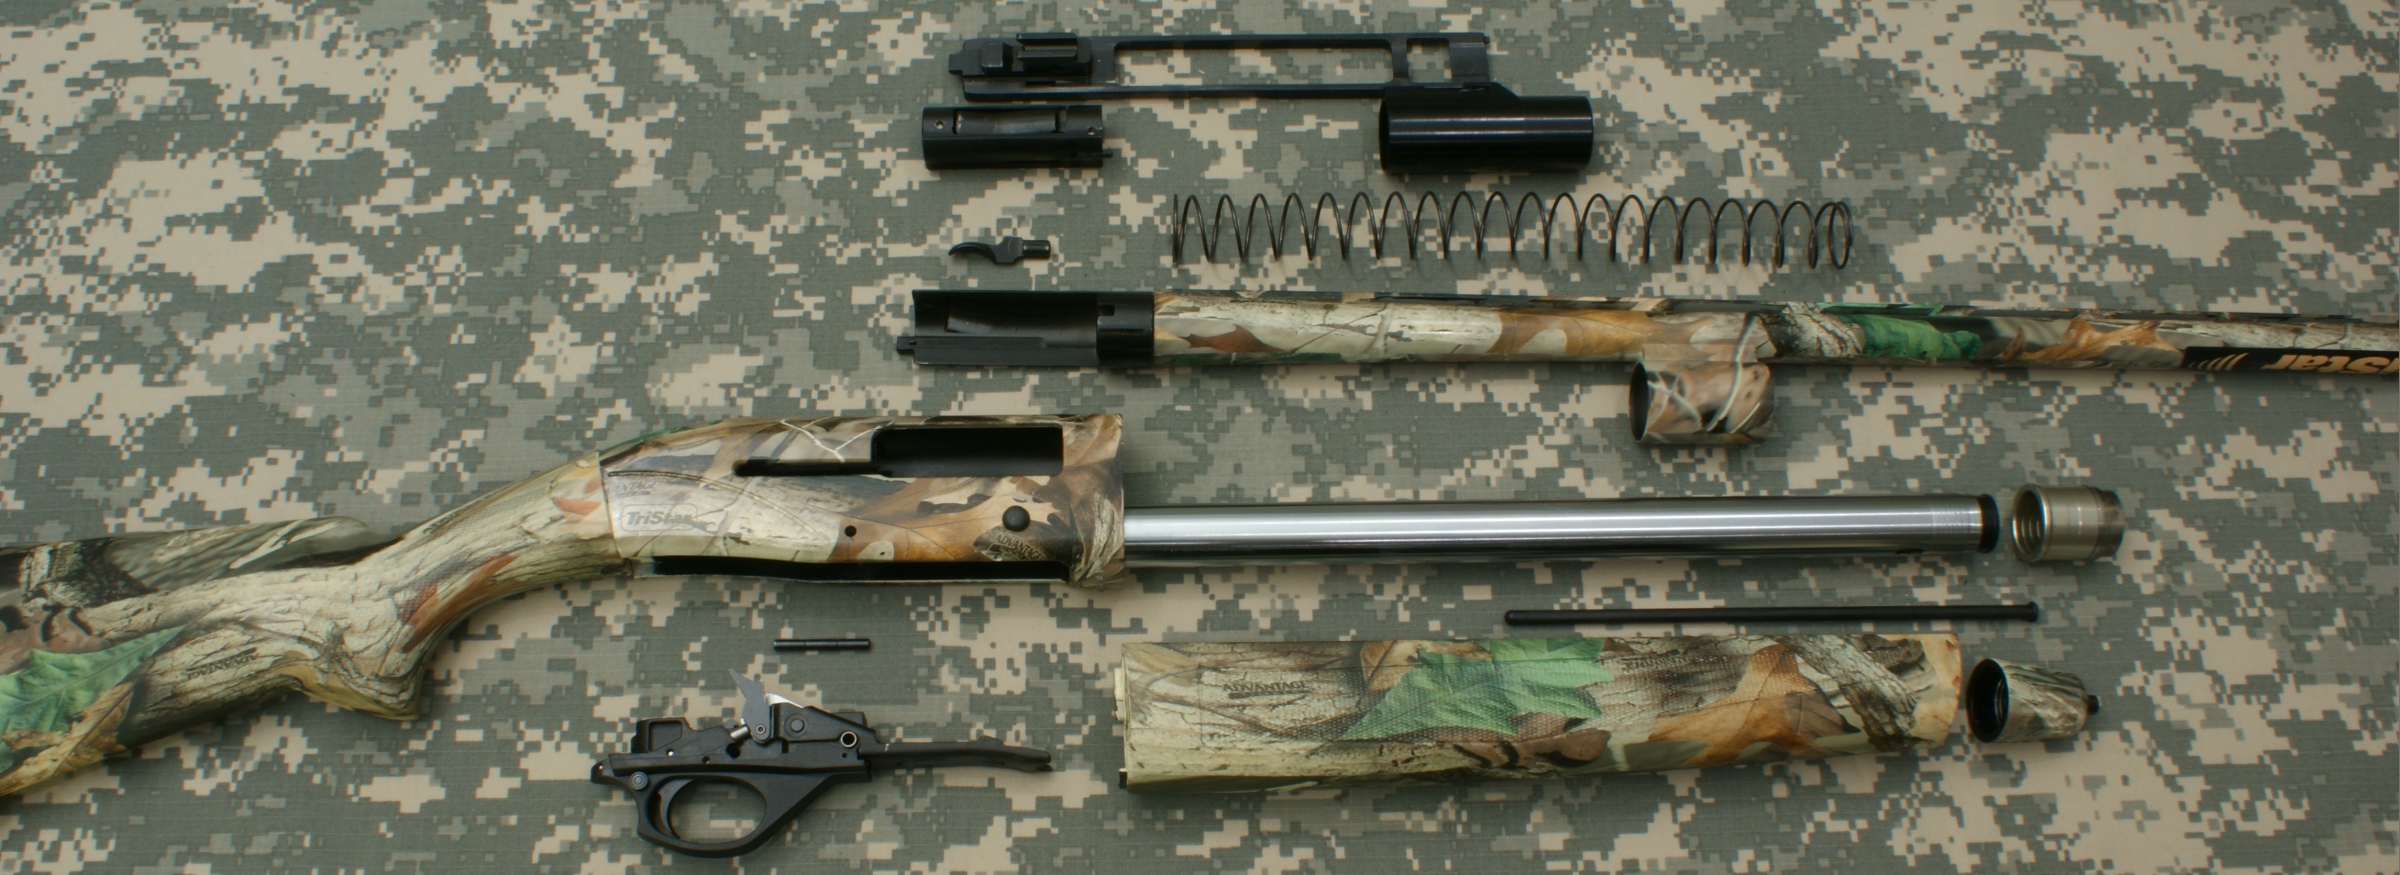
Additional Disassembly
I continued with disassembly by removing the stock, magazine spring caps and magazine spring. The stock removes like most other shotgun stocks. You first remove the two screws holding the butt pad in place and then remove the stock bolt. The magazine spring cap can be removed by pressing in on the two tabs on each side of the magazine tube. Make sure you have a good hold on the cap because it is spring loaded and could easily fly out of your hand. I would not disassemble the shotgun any further than this level unless you are experienced with working on firearms.
Figure 21
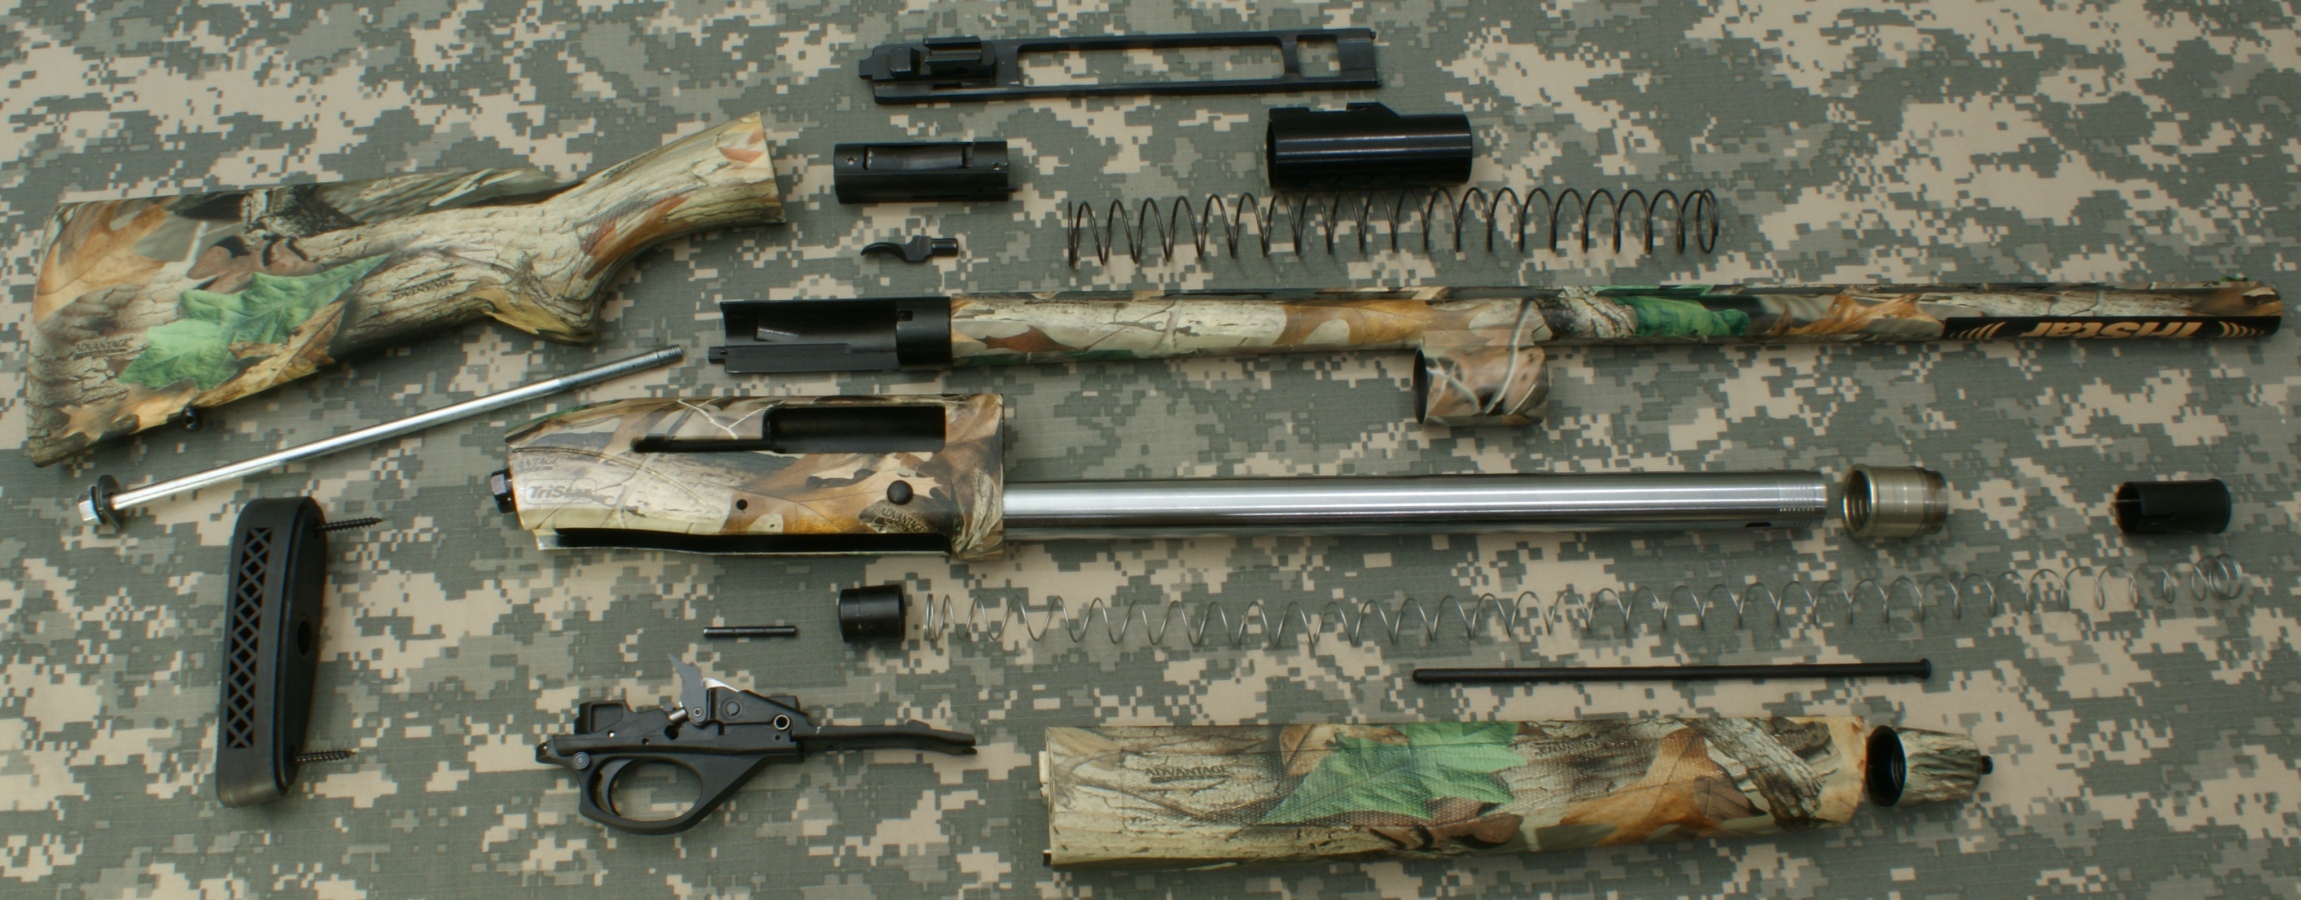
In this next section of the review, I will show many detailed photos of the parts from the TriStar Viper G2 T/W Shotgun. From these photos, you should get a good idea on the internal features and workmanship of the shotgun. I have added comments to point out some features I feel are significant.
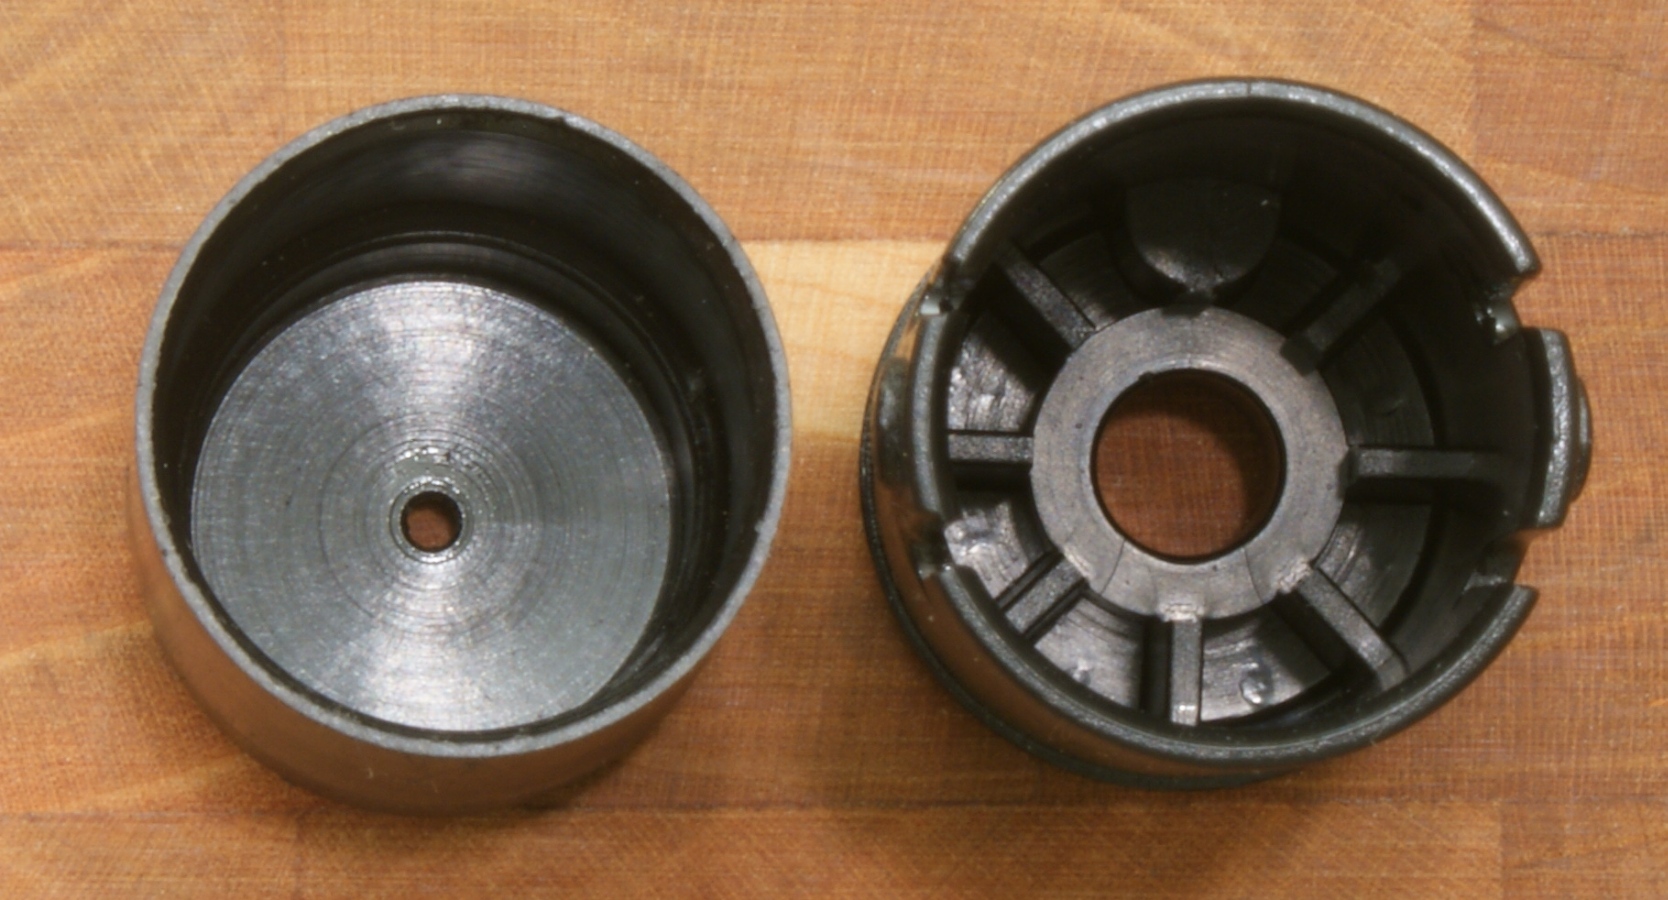
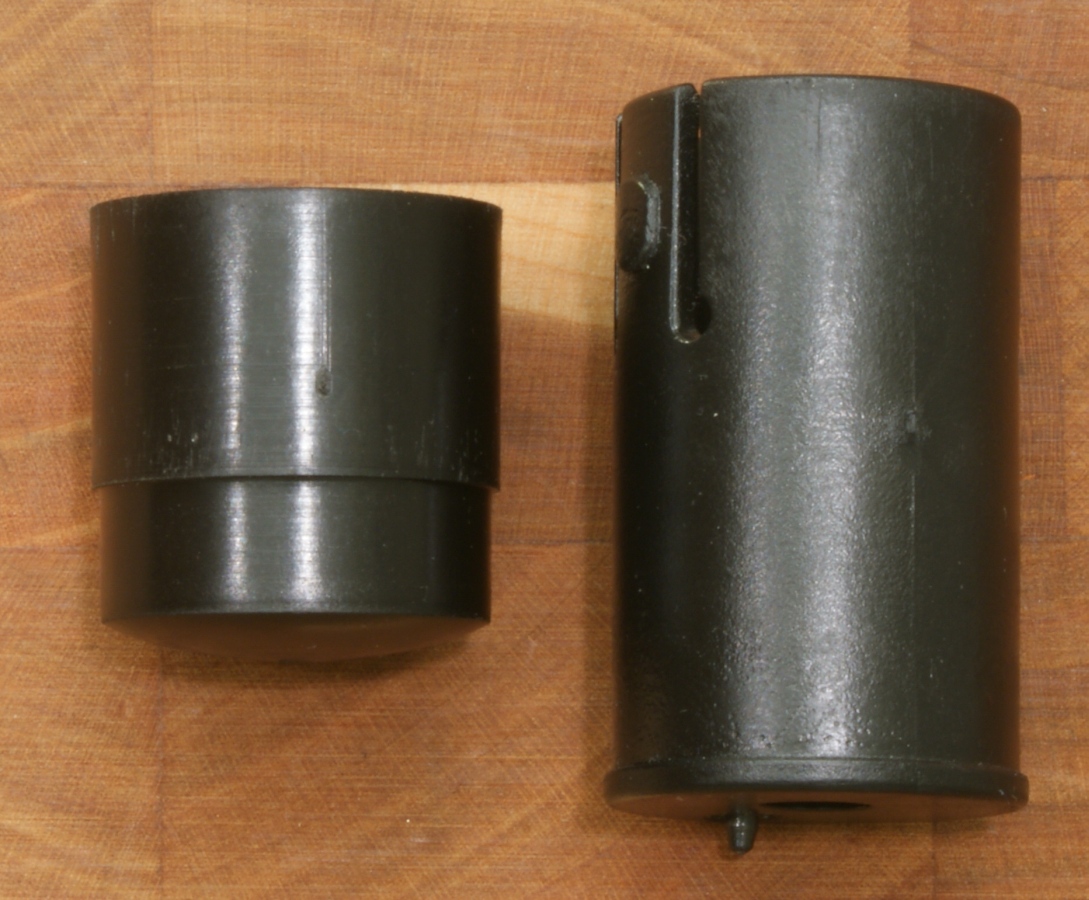
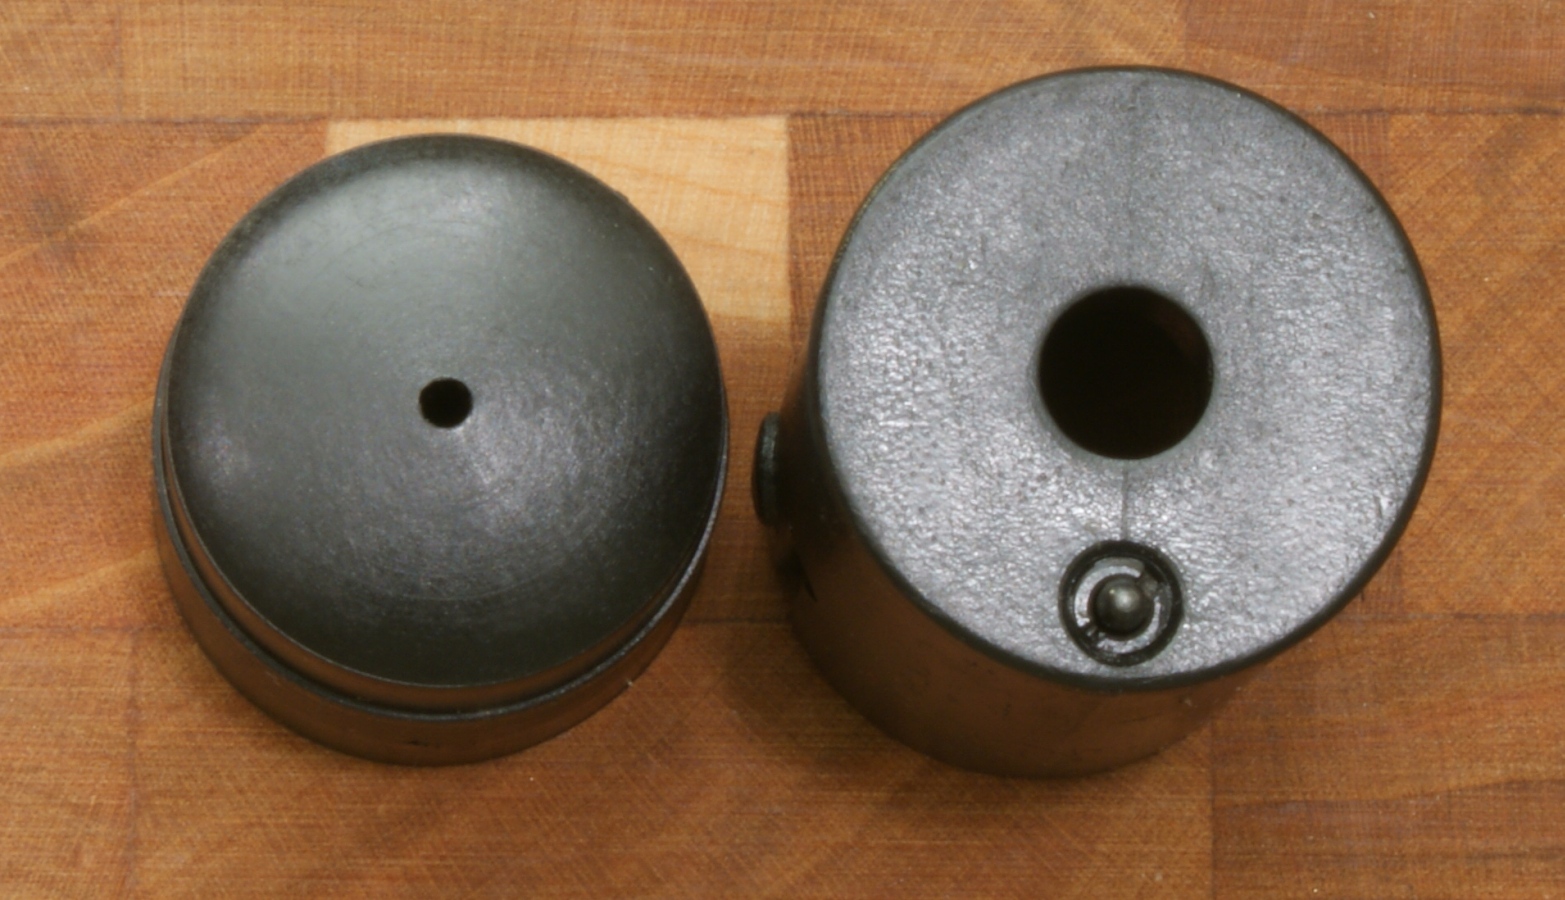
Magazine Spring Cap and Short Spring Cap
Both the spring and short spring magazine caps are manufactured from some type of synthetic material.
Figure 22
Figure 23
Figure 24
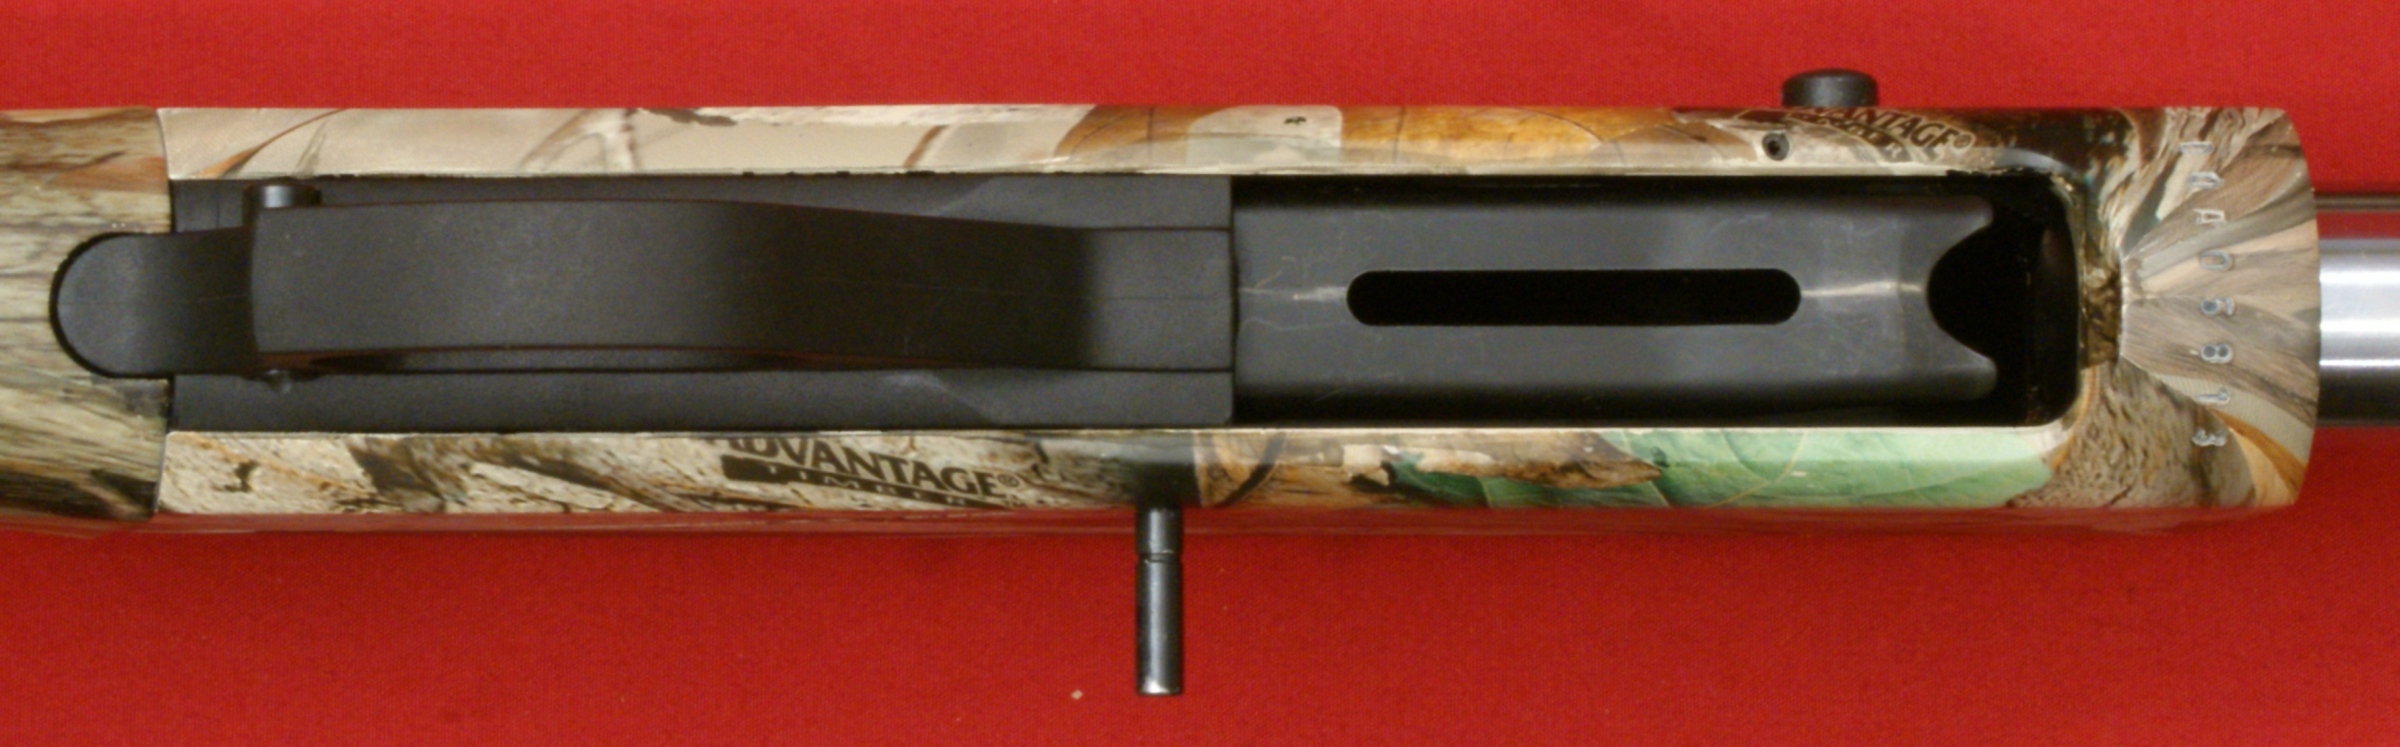
Receiver
The receiver is manufactured from an aluminum alloy and starts out as a raw blank and is then machined to it's final form.
Figure 25
In the next couple of photos, you should notice the beefy side walls of the receiver which measured about 0.275" thick.
Figure 26
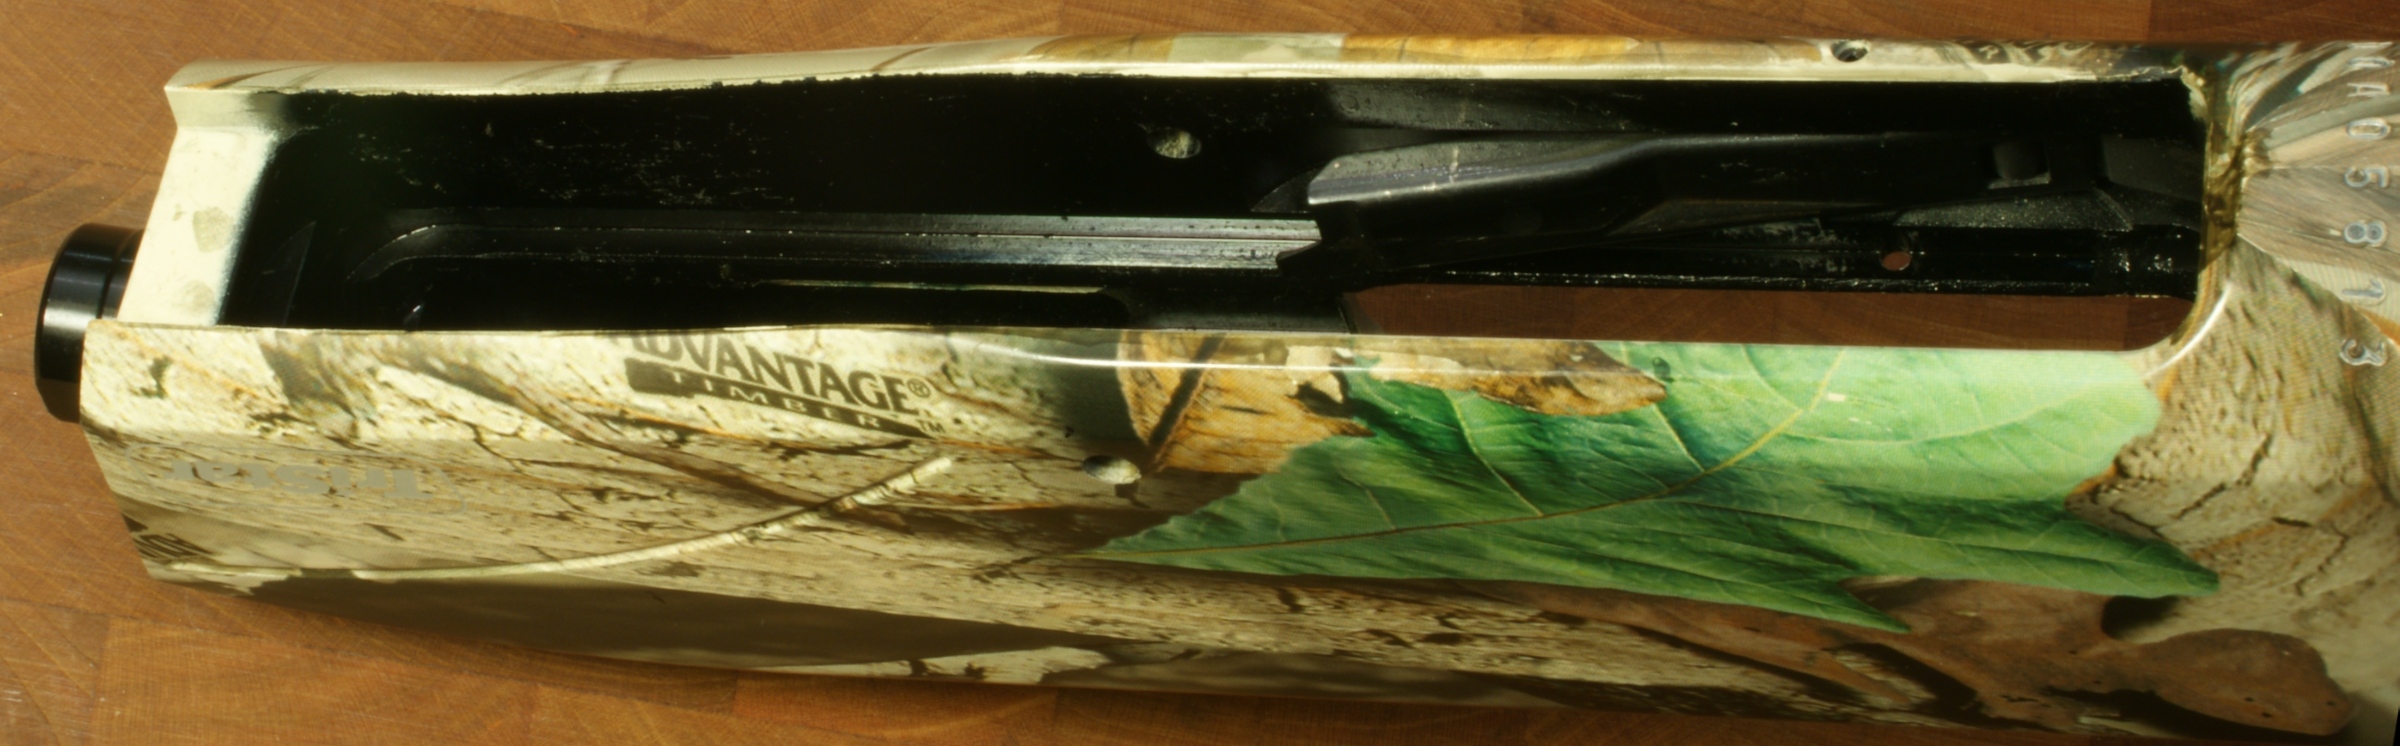
Figure 27
In the event you may want a replacement stock in the future, the receiver to stock interface is neither a Remington nor Mossberg style so I'm not sure if you would have any choices. I don't see this being an issue on this shotgun because it is clearly a hunting gun and I believe the preference by most people will be a standard stock.
Figure 28

Stock
The stock is fabricated from some type of synthetic material and actually comes as two pieces. The main piece is what you see. The other is a block that fits in the end of the stock.
Figure 29

Figure 30
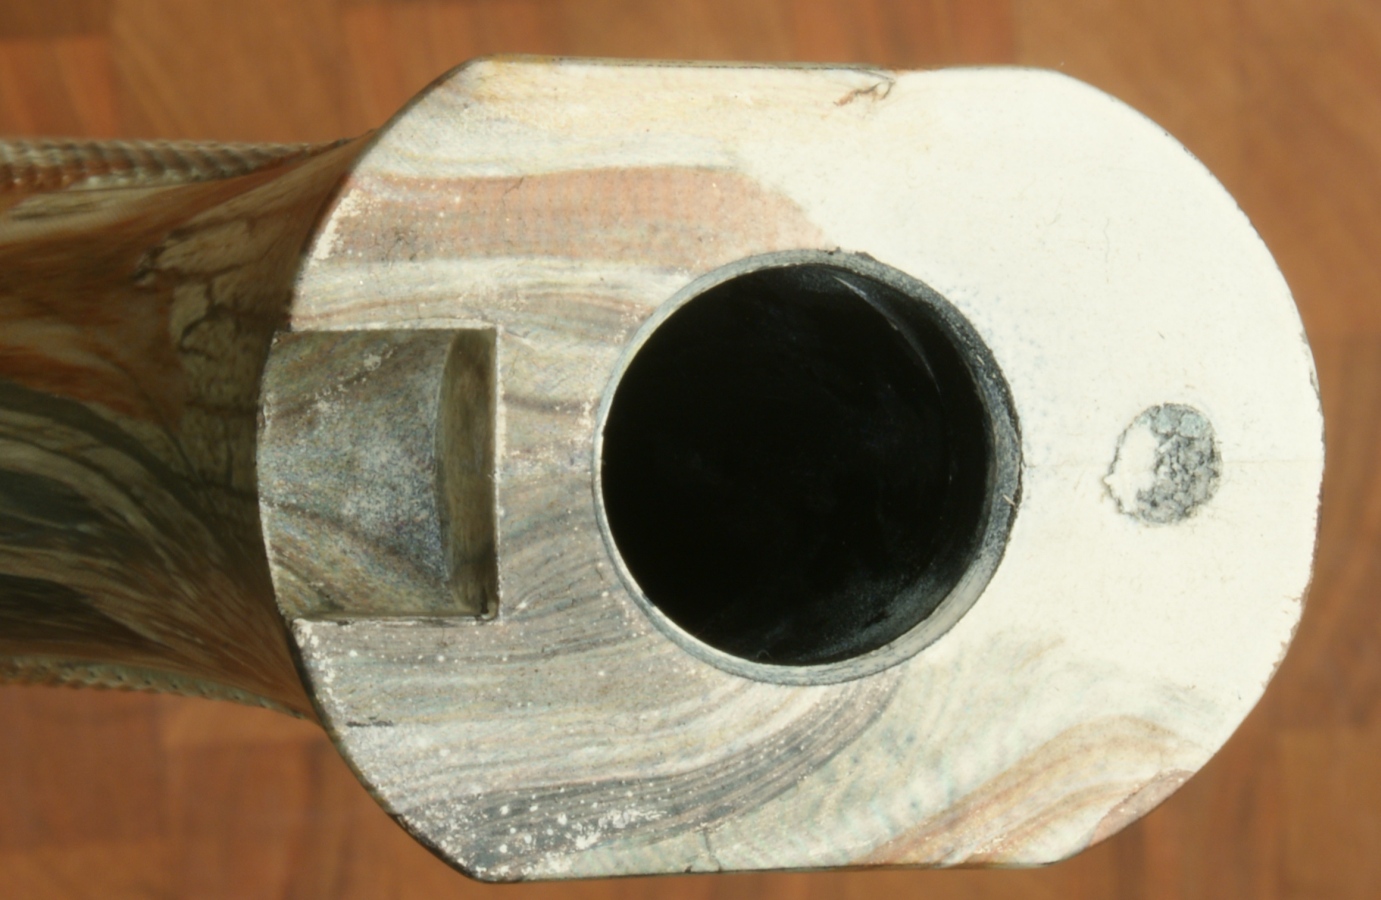
Figure 31
The block inside the stock may be intended to adjust the cast of your stock. Cast is the offset of the buttstock from the center line of the shotgun. Some right-handed shooters like the stock to angle away (cast off) from their face, making the line of sight more directly in line with the barrel. Angling the stock to the left for left-handed shooters is "cast on". I gave it a try and tried to position the end of the stock bolt in the outer two slots and did detect a change in stock cast.
Figure 32
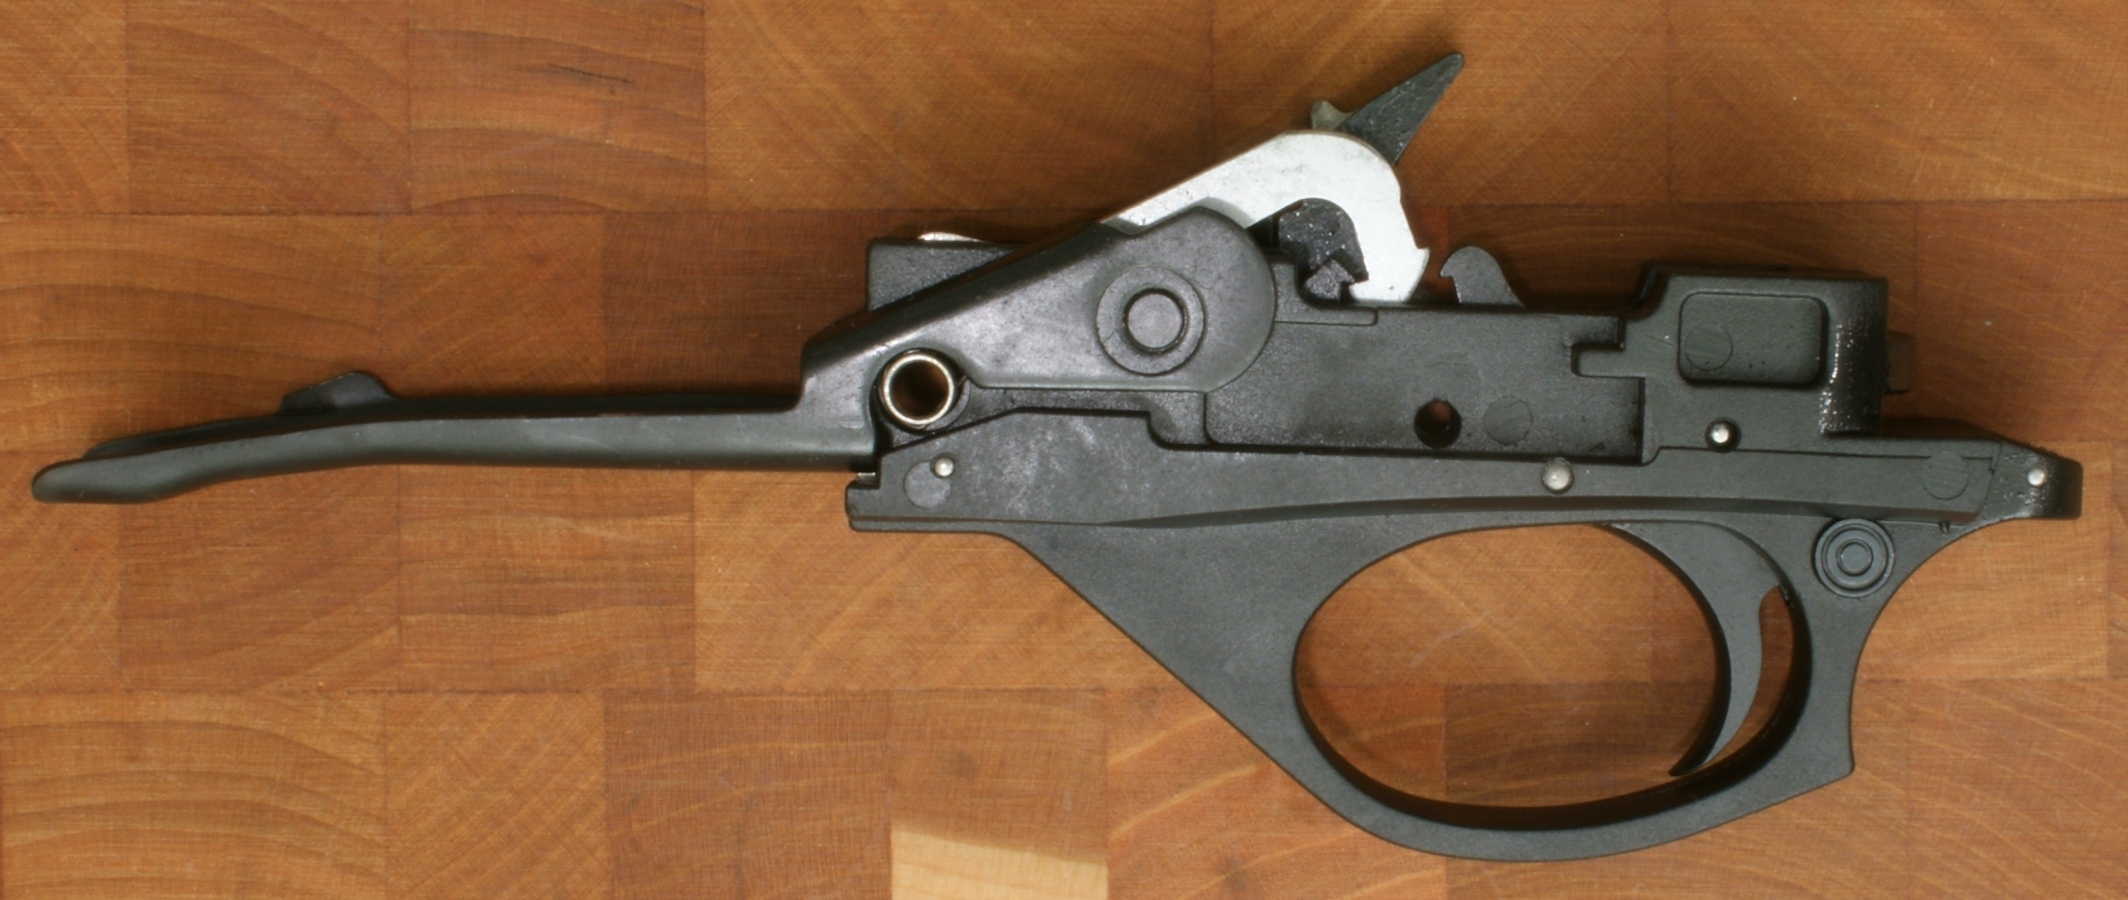
Trigger Group Assembly
Like most trigger group assemblies, I would not recommend further disassembly unless you are experienced with these types of mechanisms. The trigger guard is some type of synthetic material (my bet would be glass filled nylon). The trigger guard housing is held in place by the single retainer and a rounded tab that nests in the back of the receiver.
Figure 33
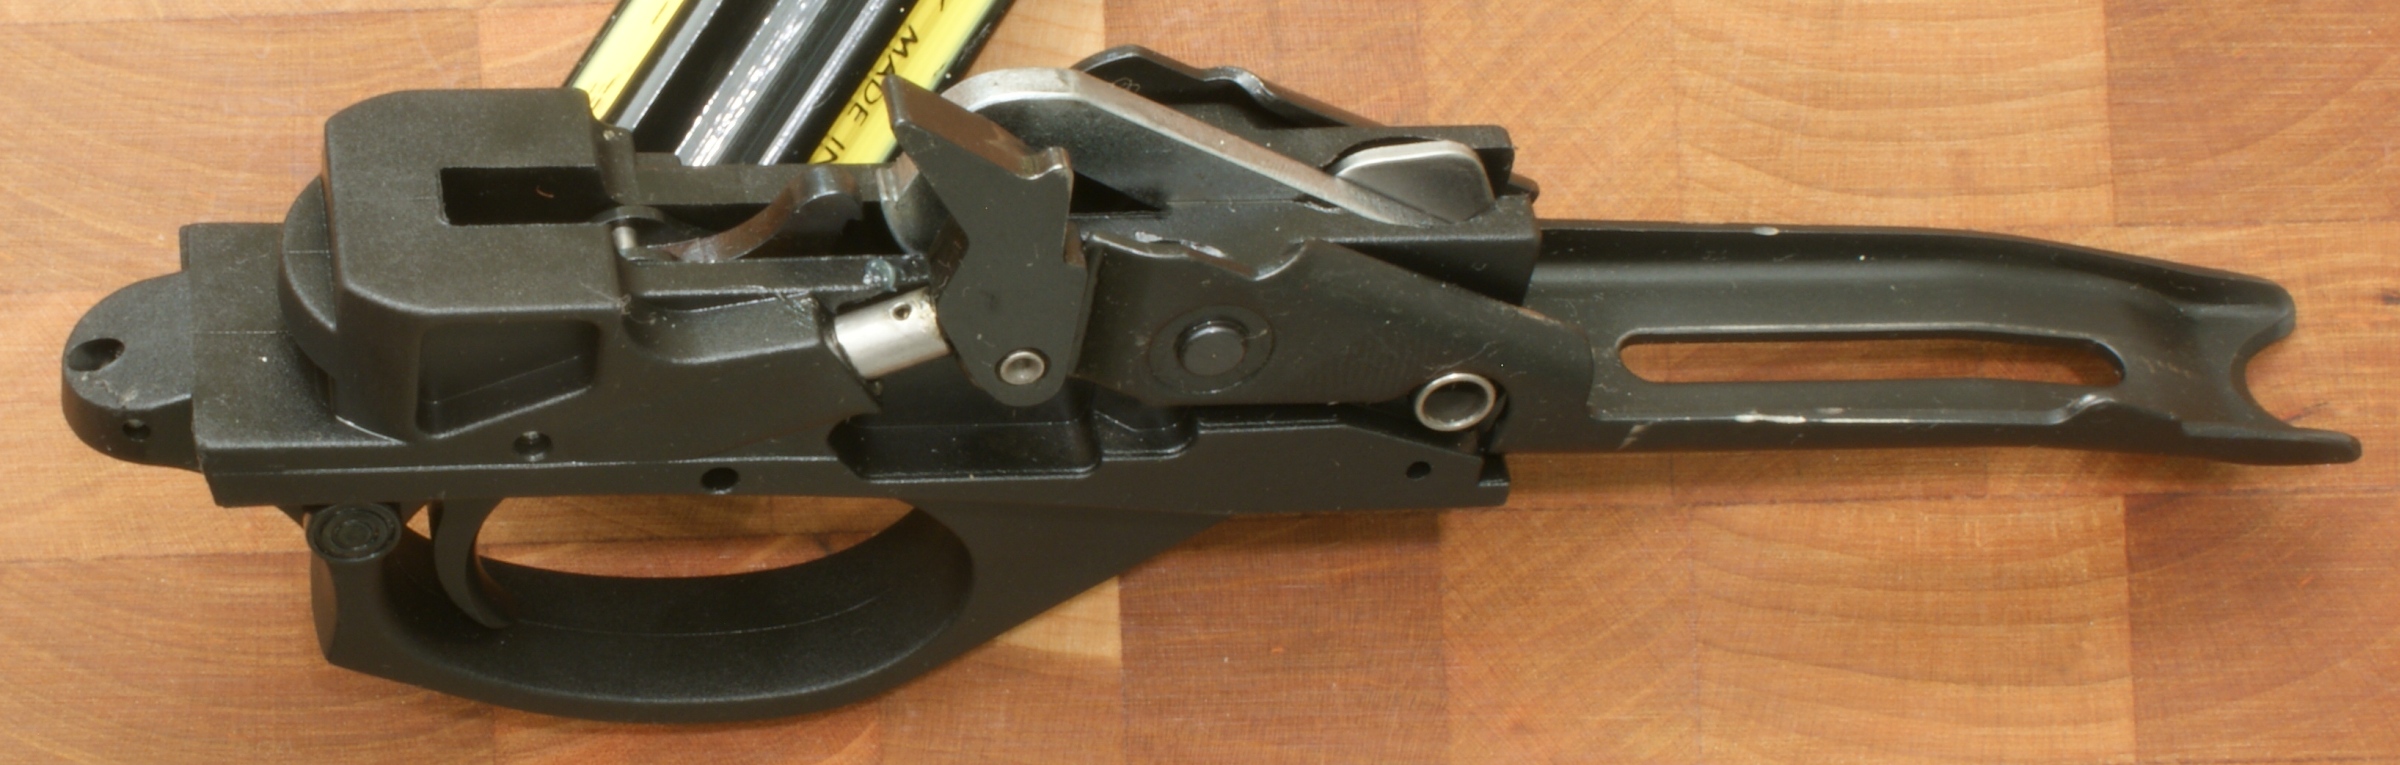
Figure 34
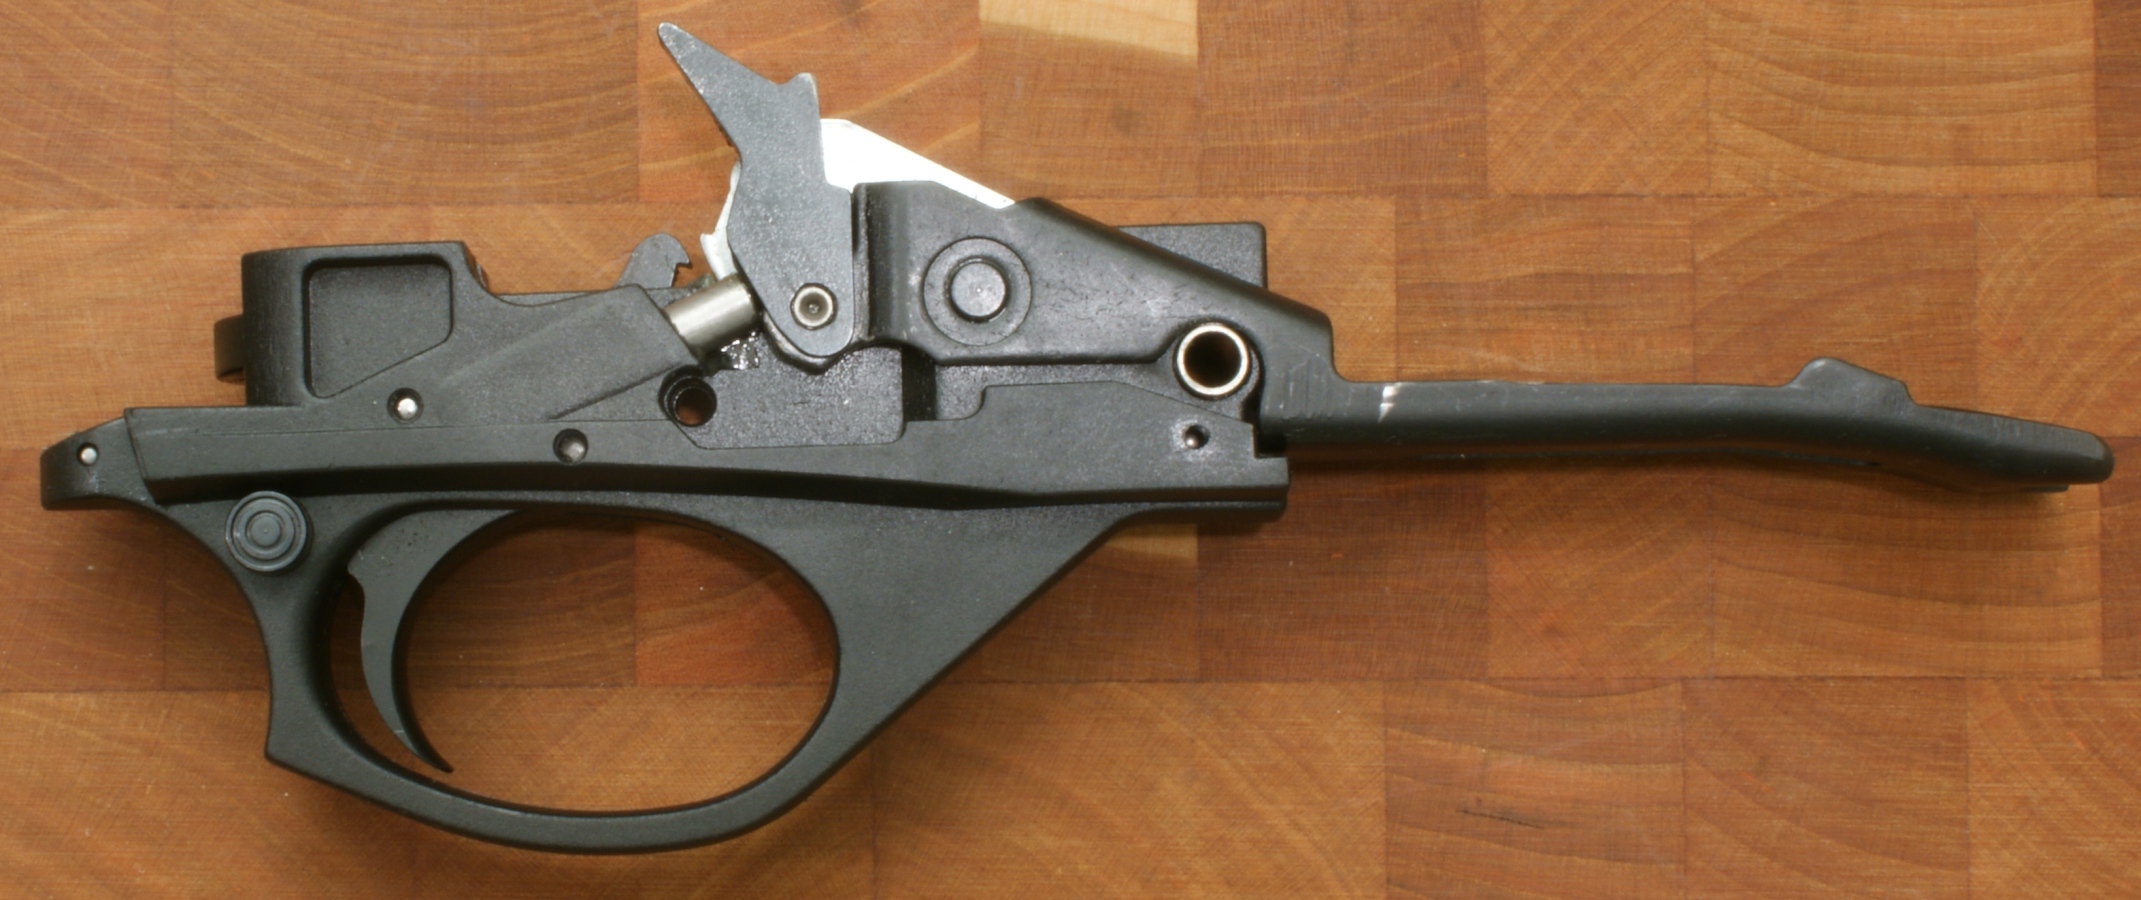
Figure 35
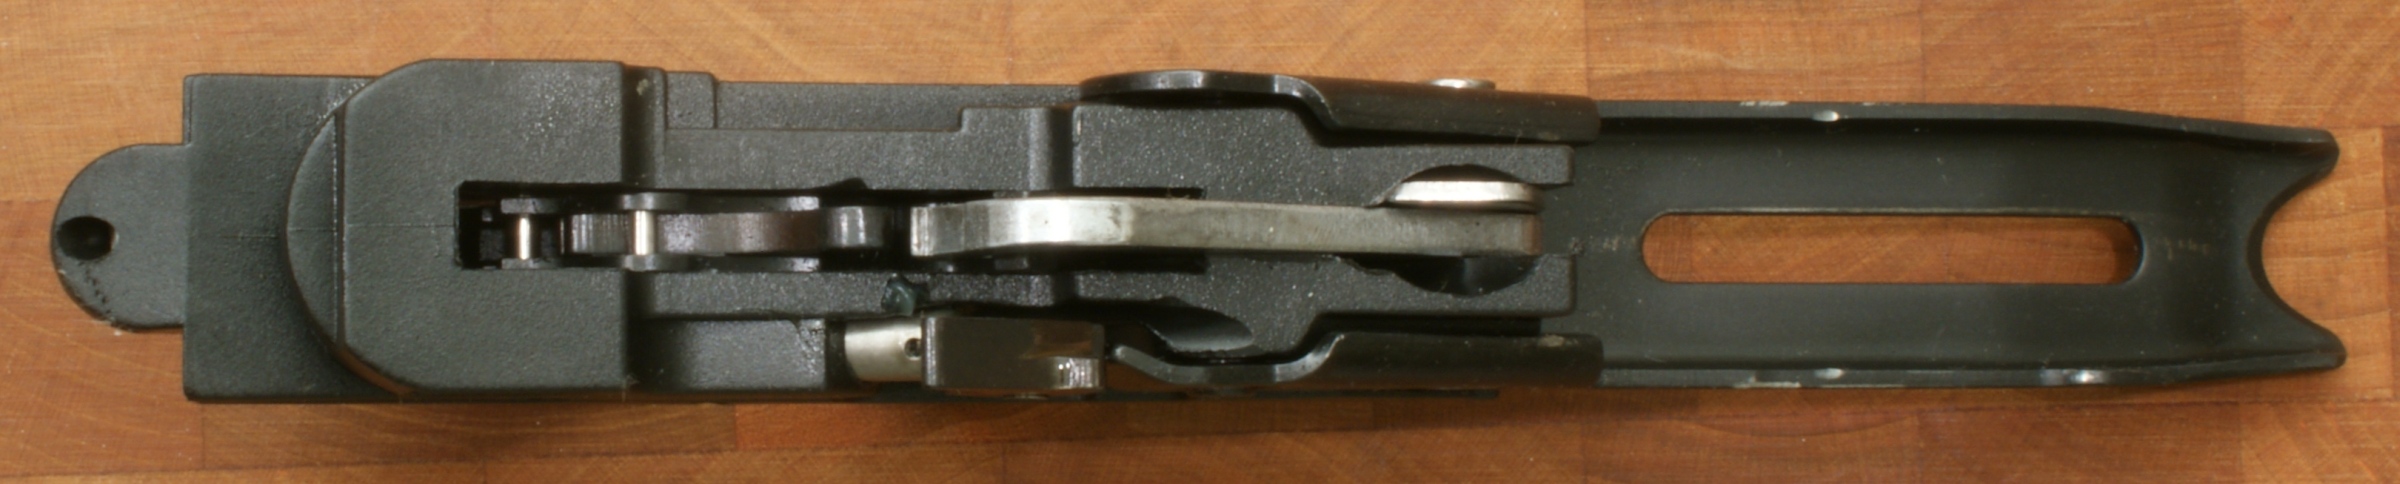
Figure 36

Figure 37
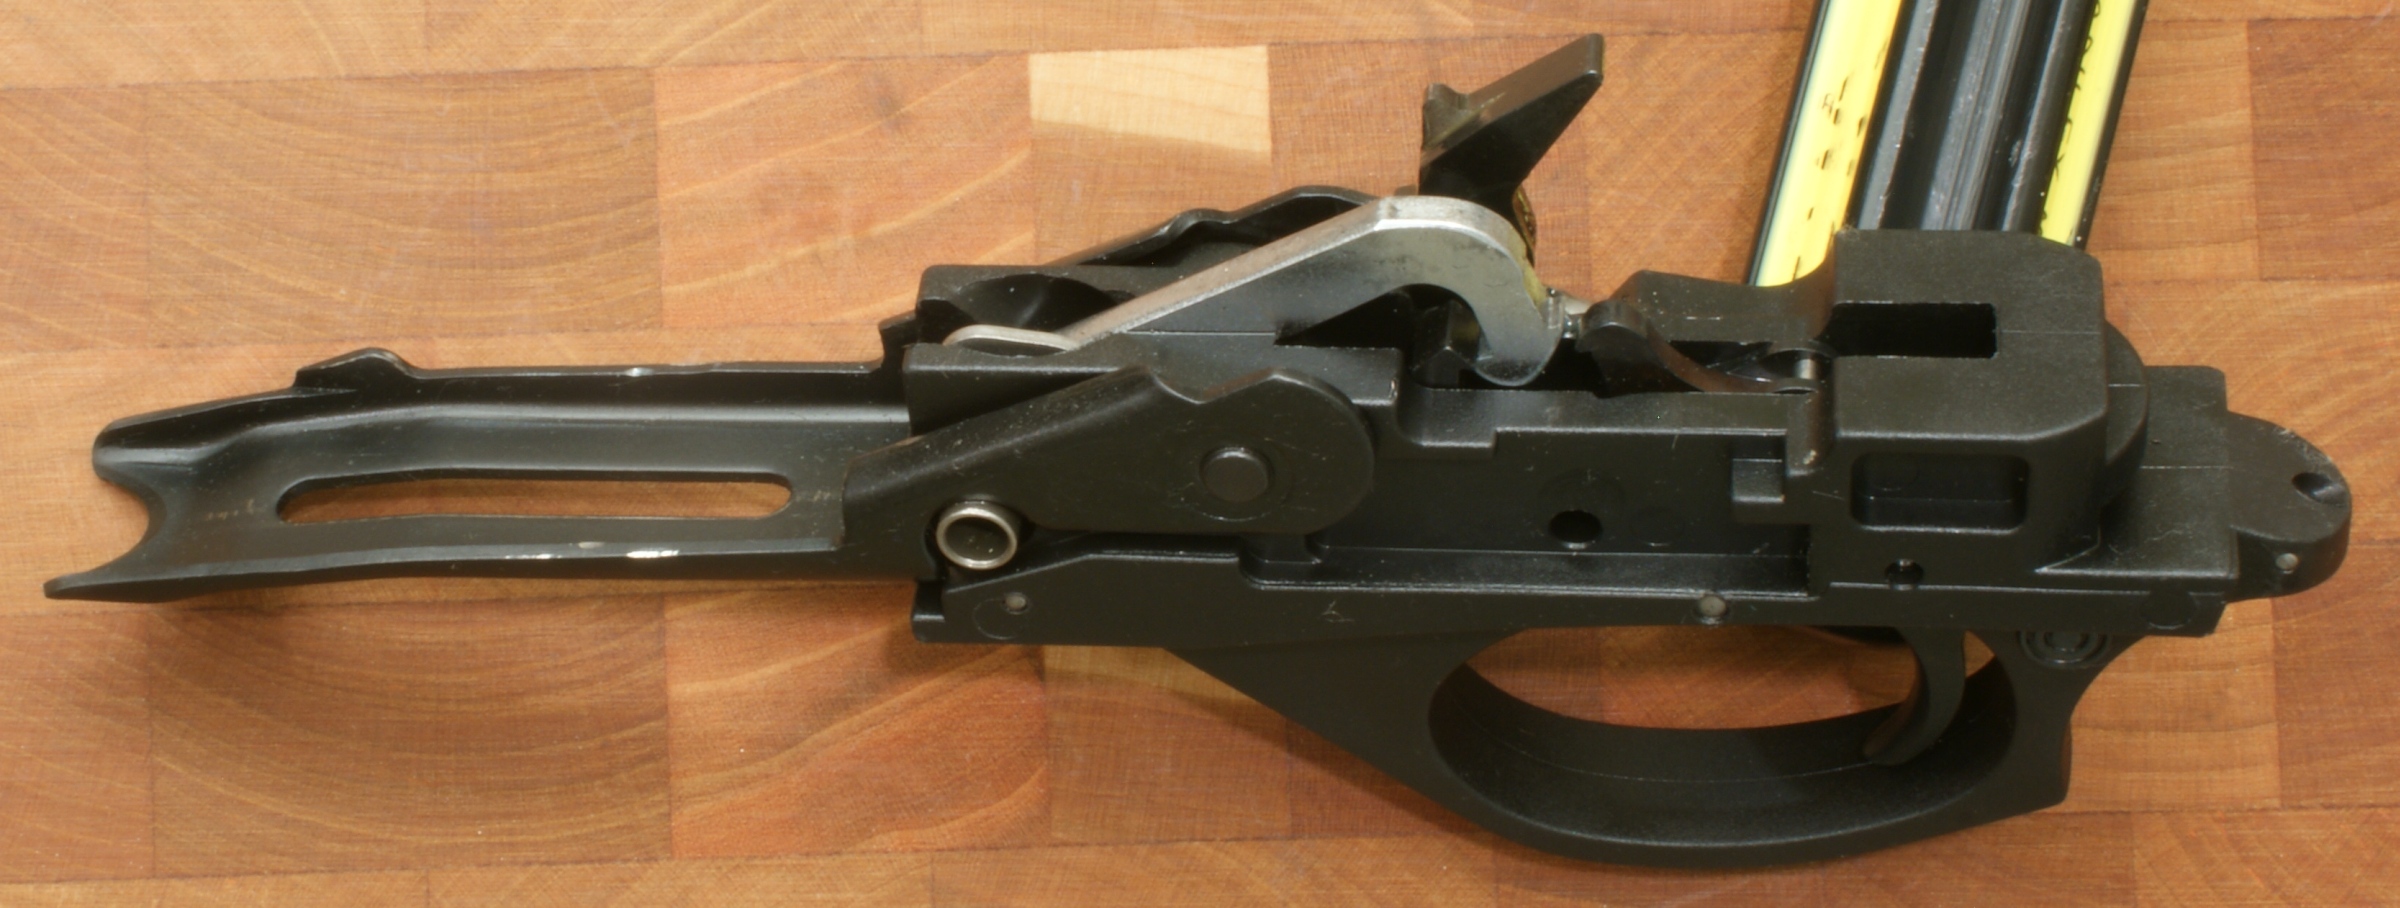
Figure 38
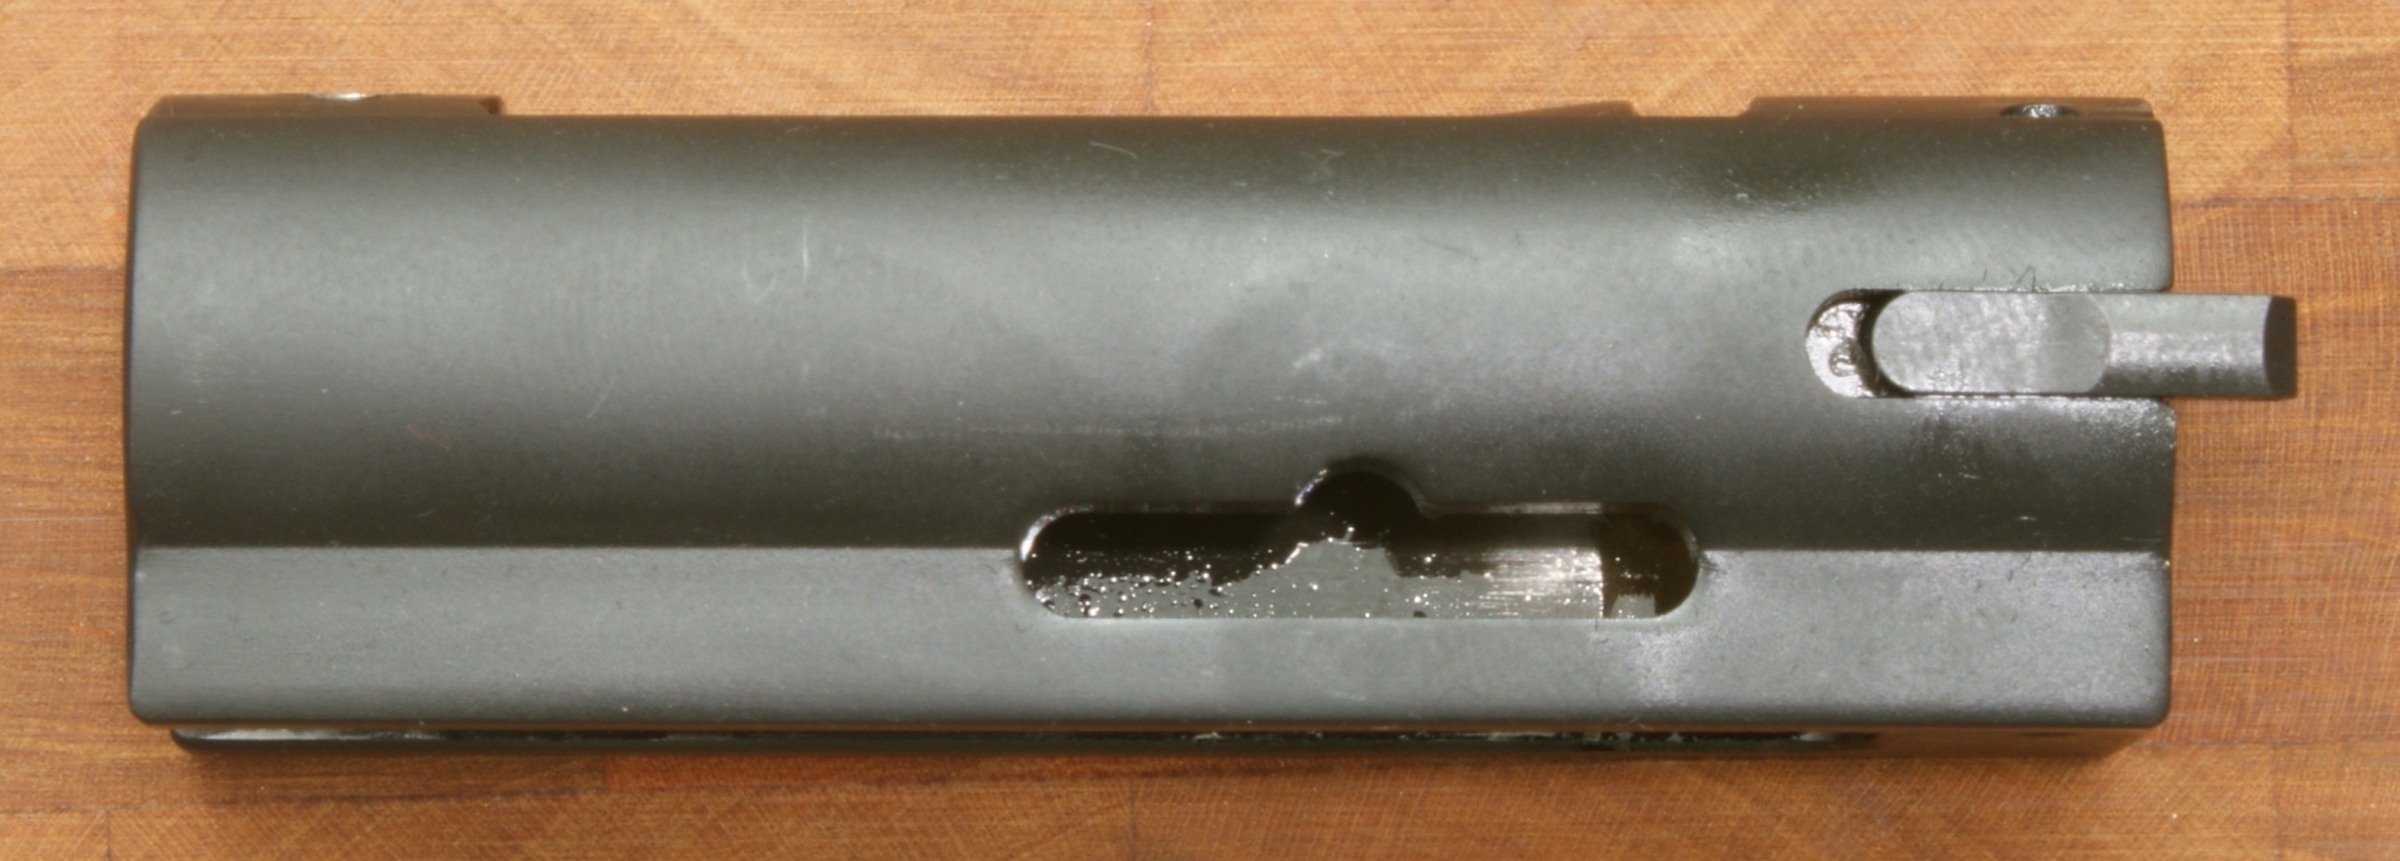
Bolt
The bolt assembly parts appear to be fabricated from some type of steel alloy. The various pins are staked in place.
Figure 39

Figure 40
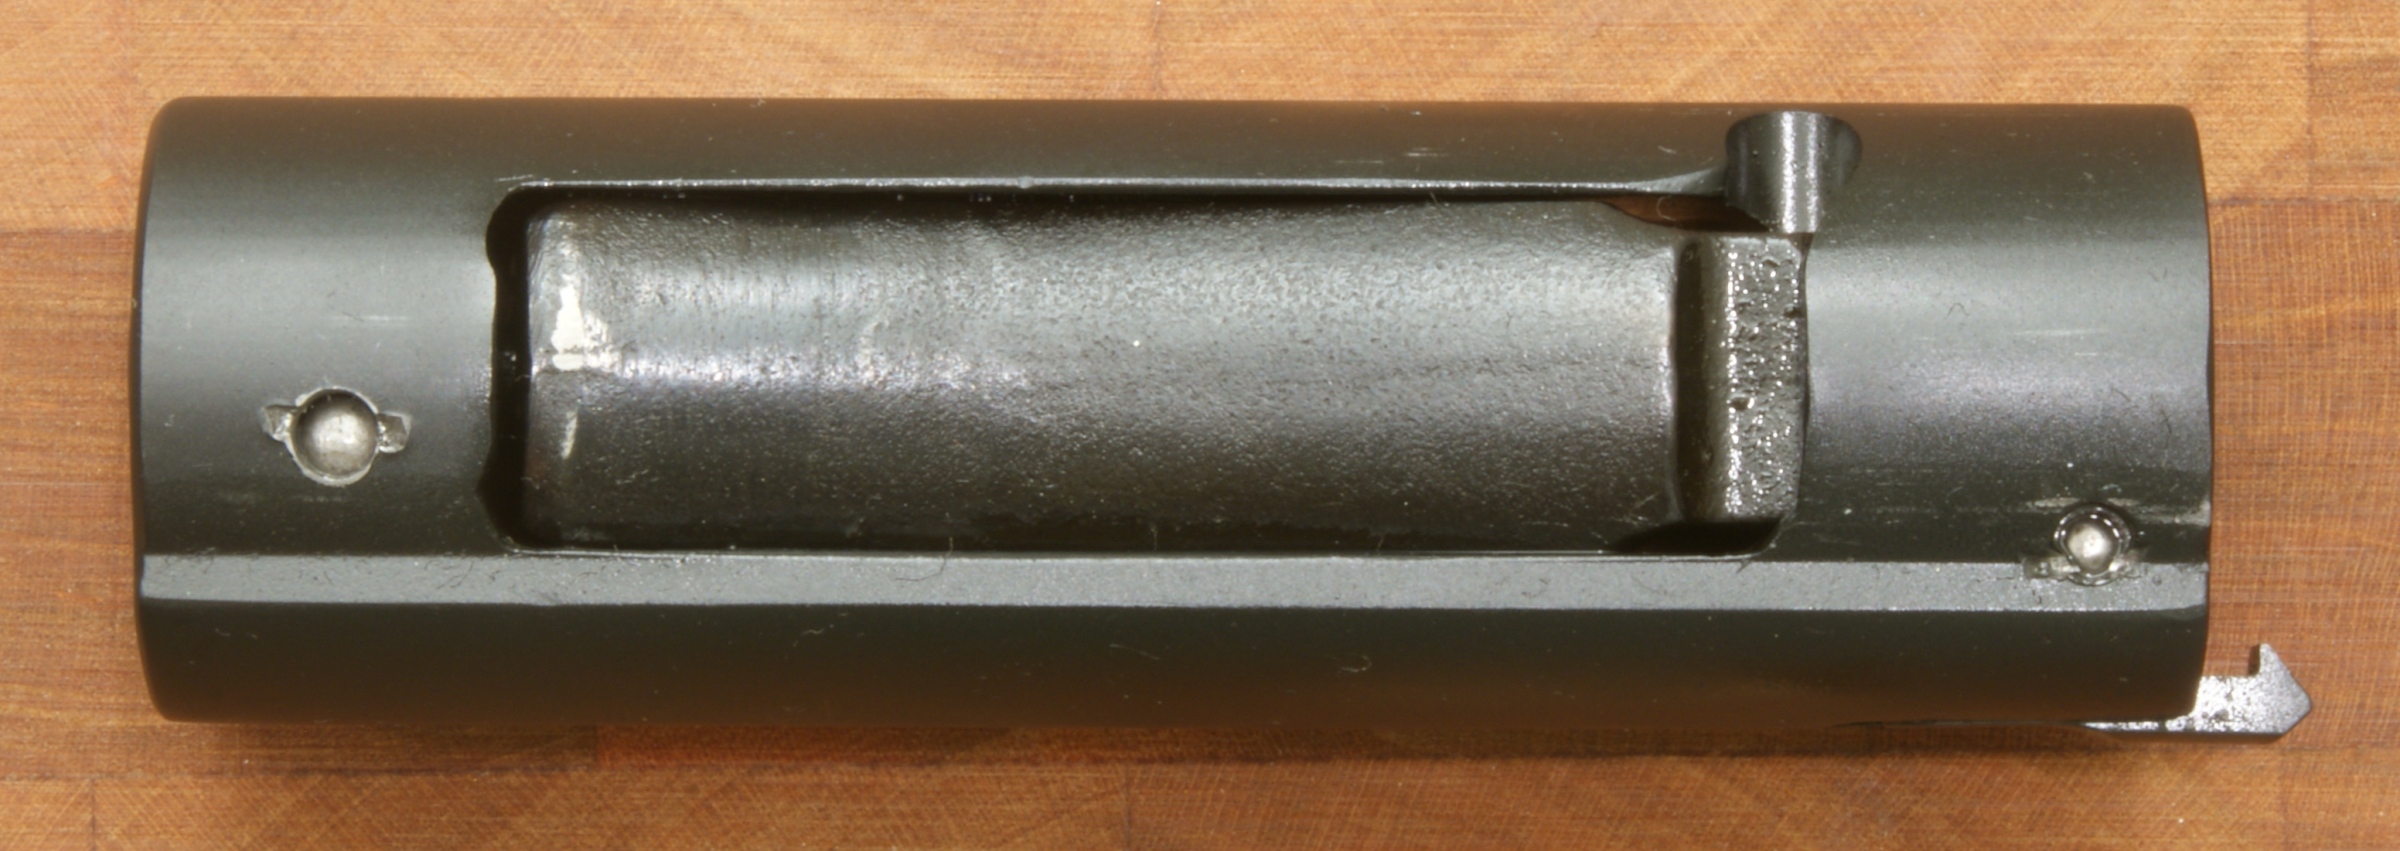
Figure 41
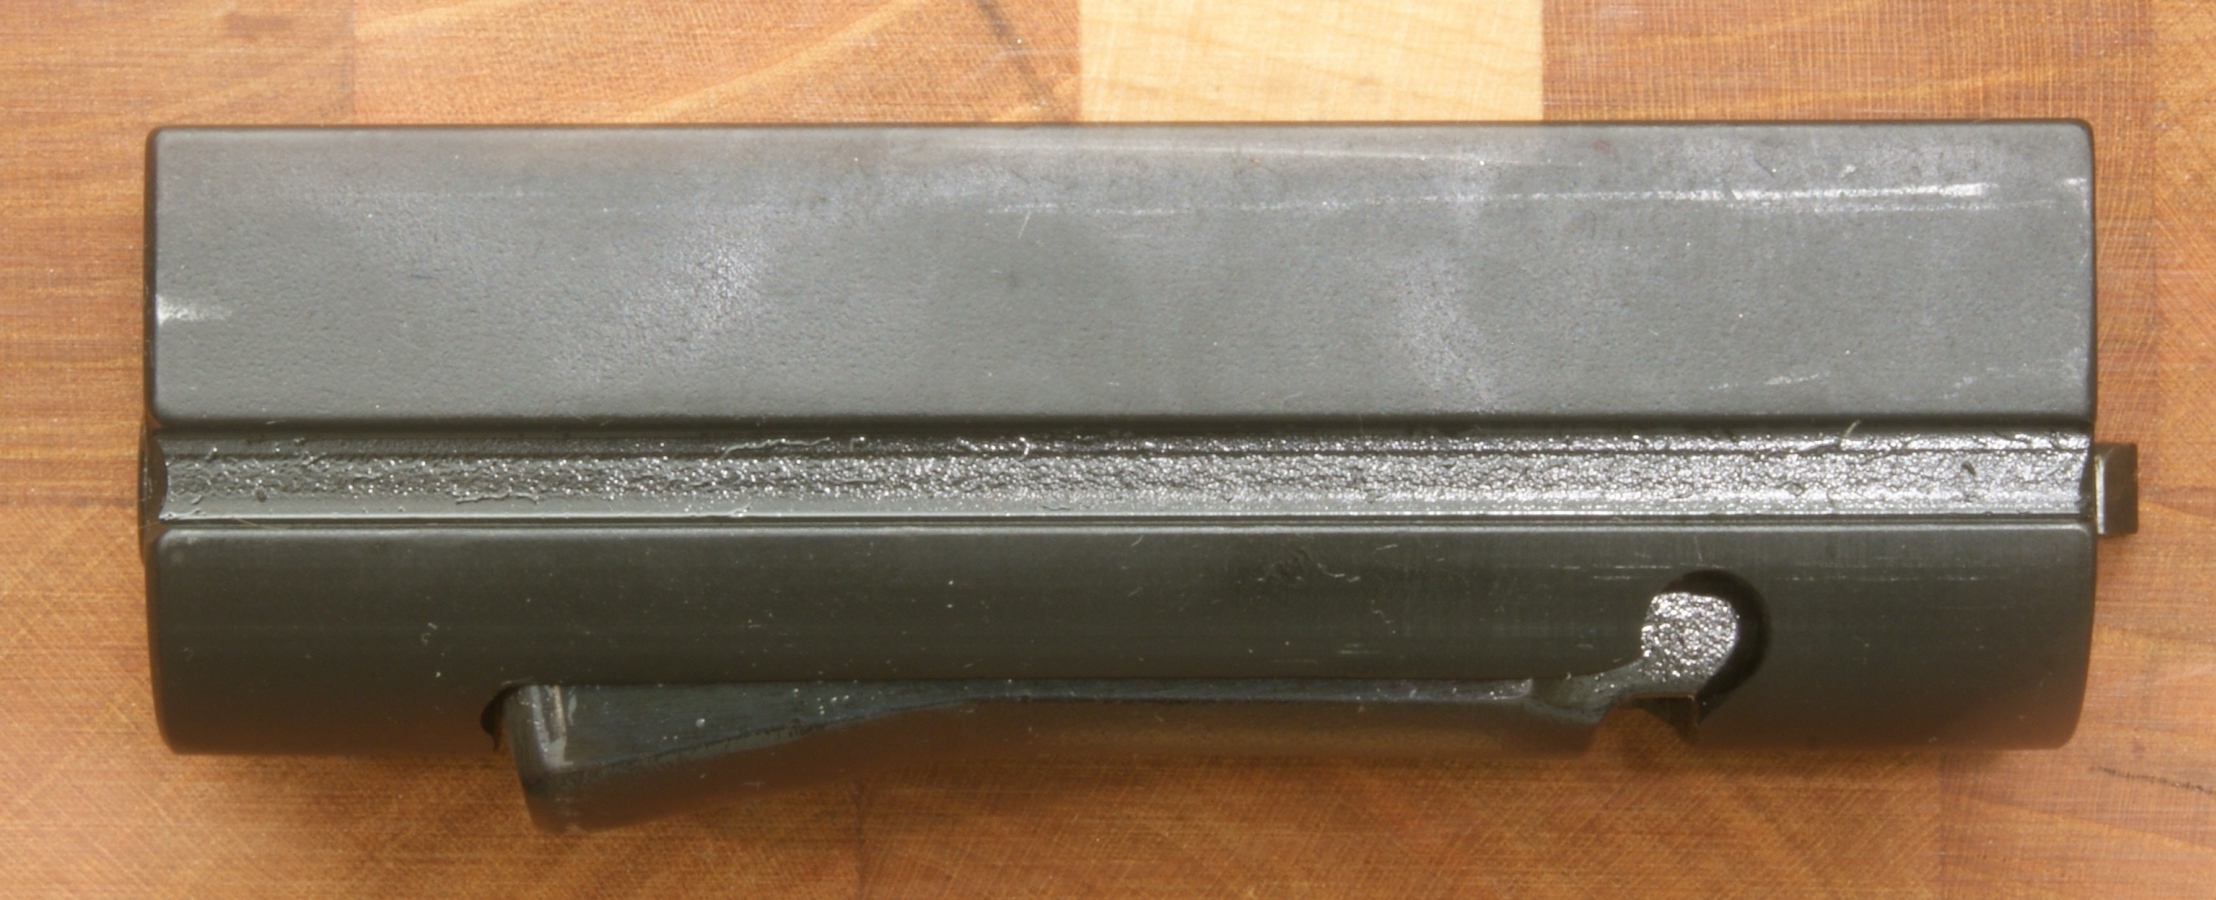
Figure 42
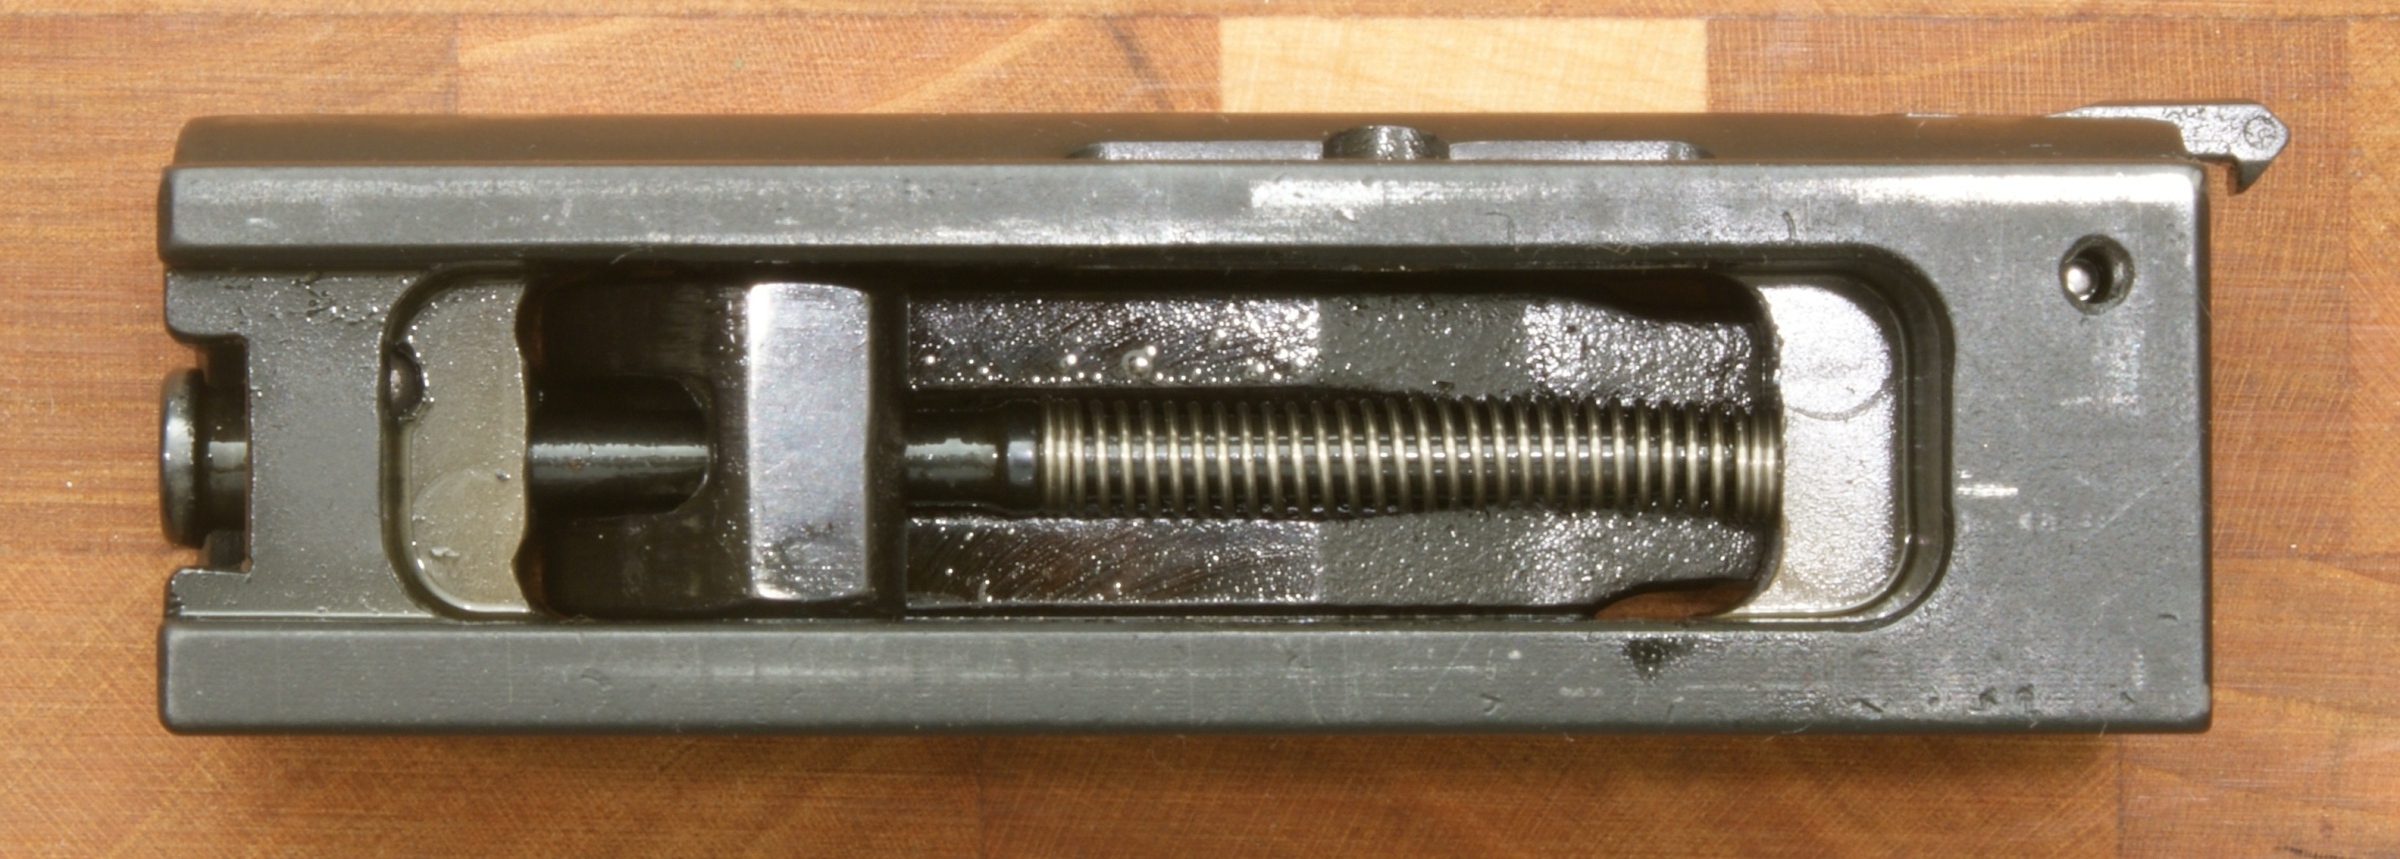
Figure 43
The only identifying marks I was able to find on the bolt were these 6 indentions at the rear. This appear to be hardness testing marks which would indicate that they verified heat treatment of the bolt to ensure strength. I was not able to find any proof mark on the bolt assembly.
Figure 44
Figure 45
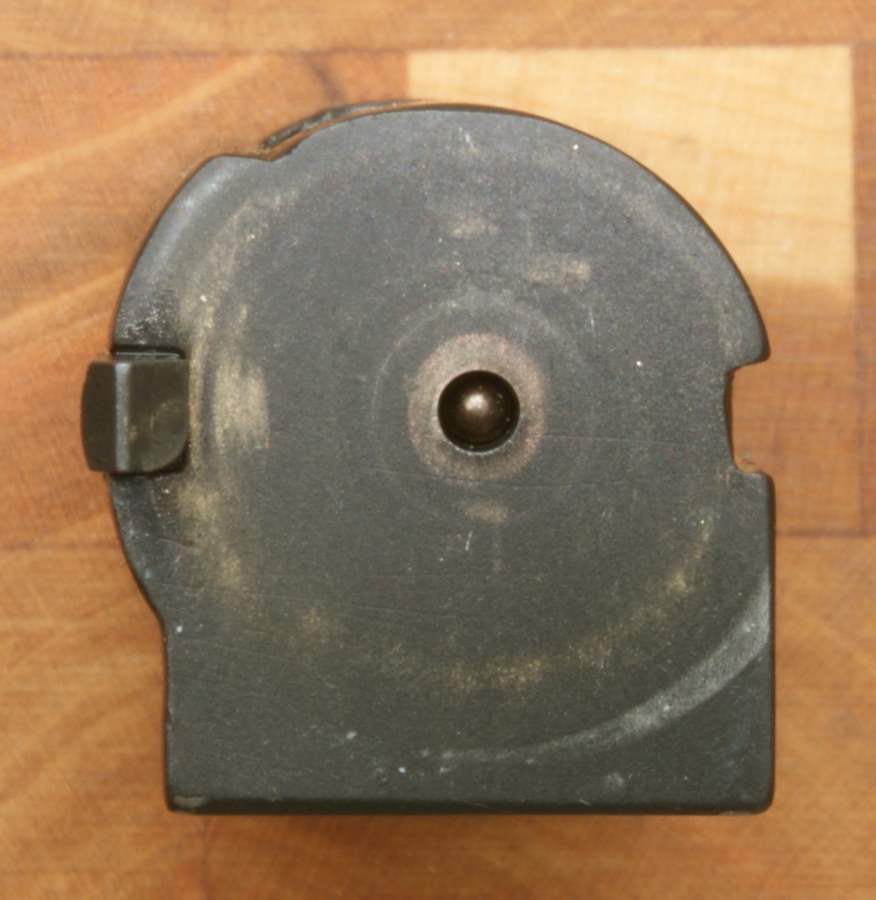
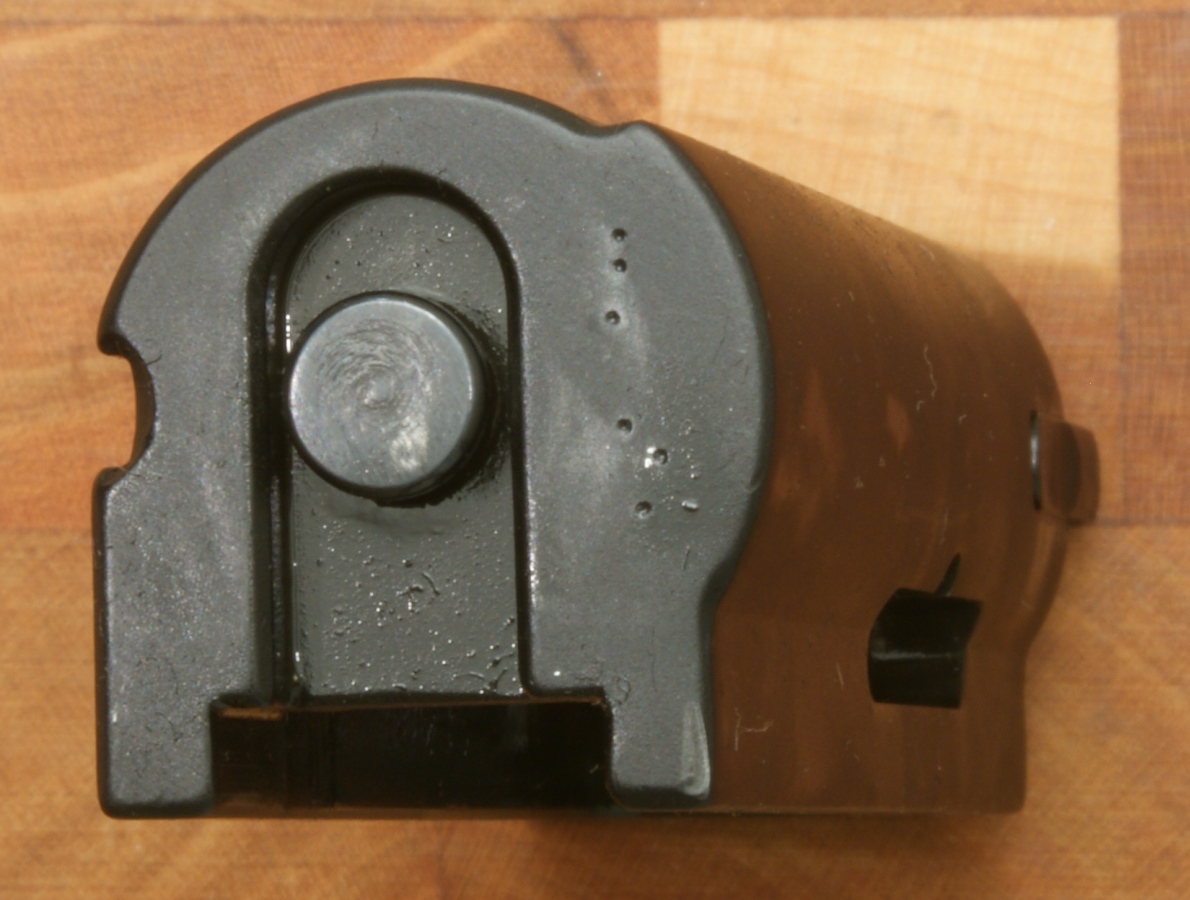
Figure 46
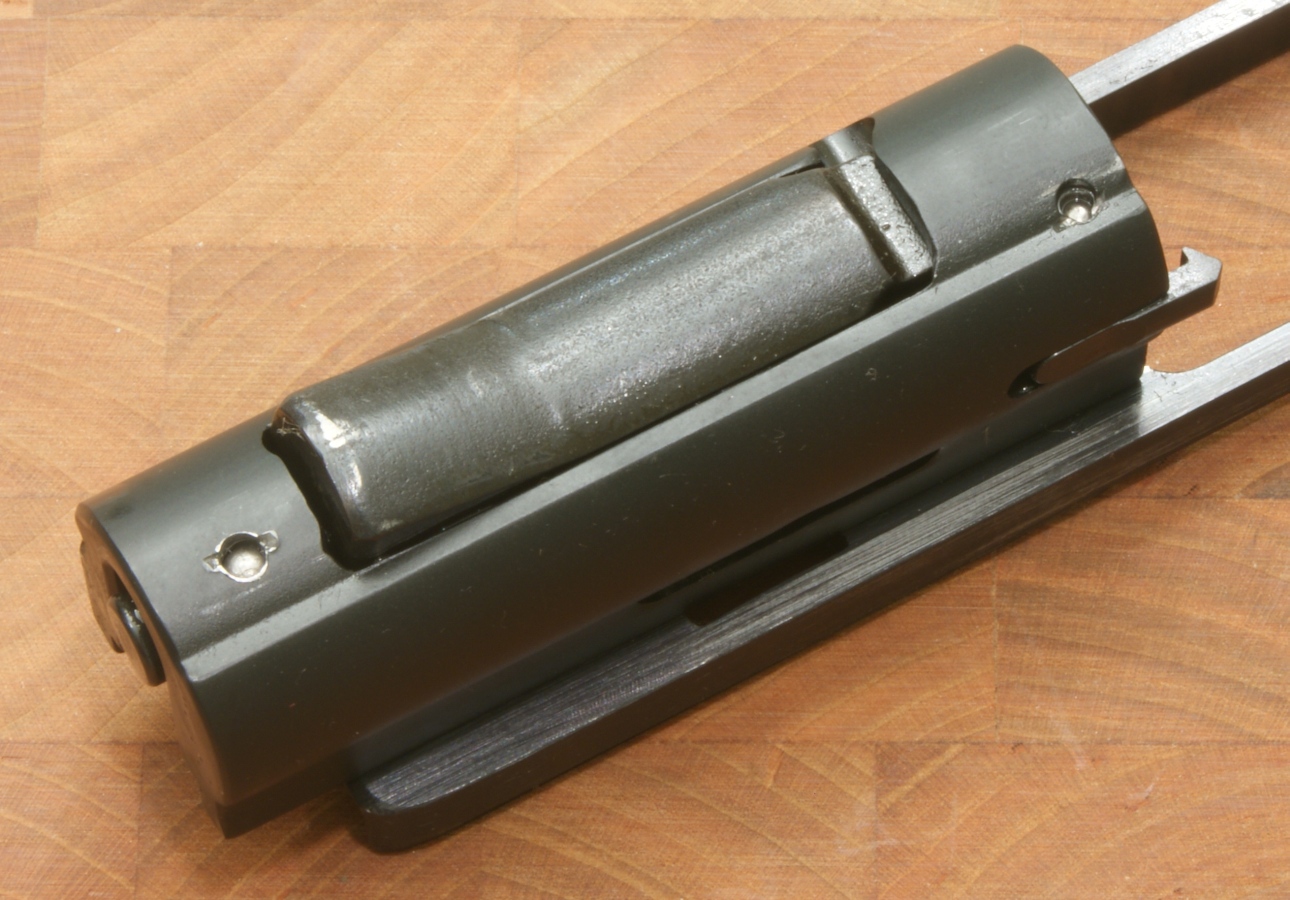
Action Arm
The action arm is fabricated from some type of steel alloy.
Figure 47
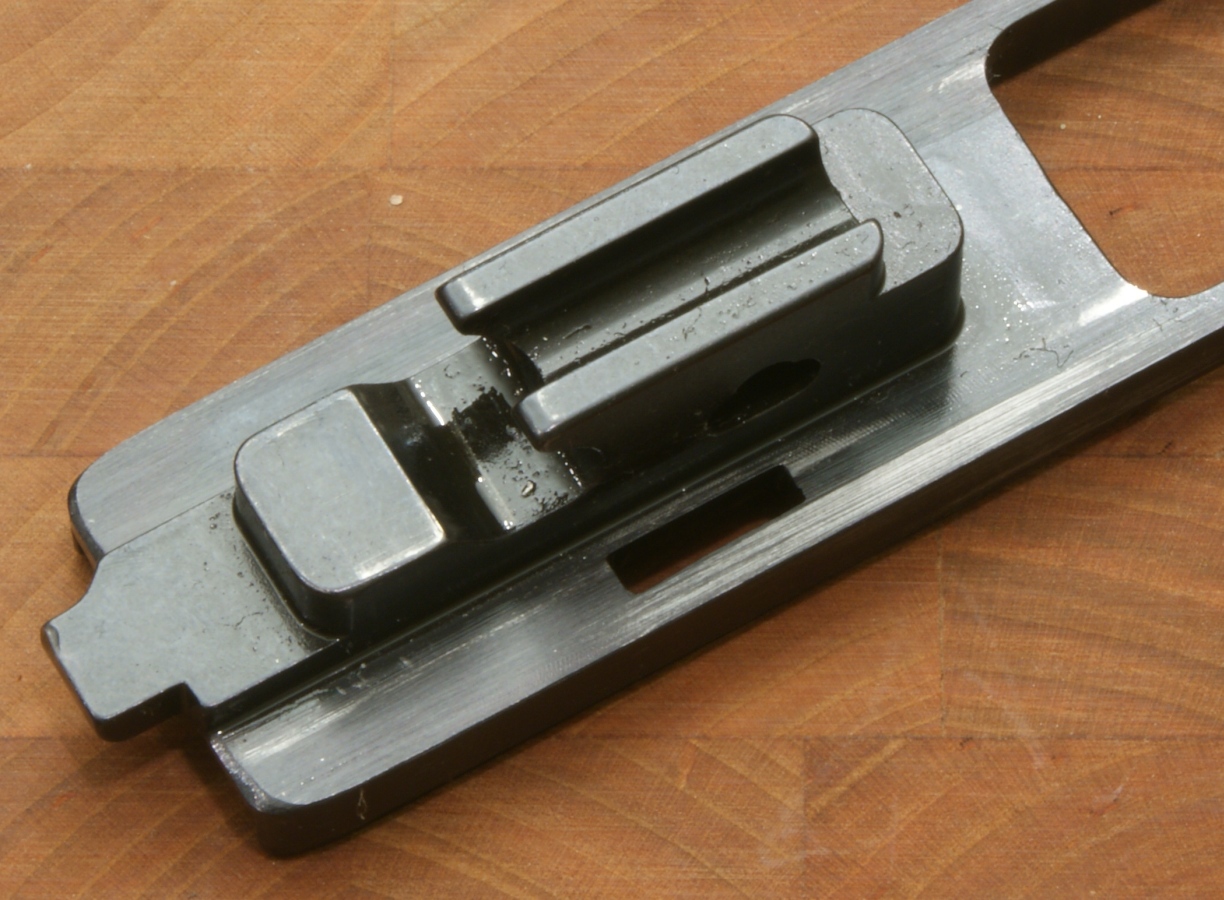
Figure 48

Figure 49

Figure 50

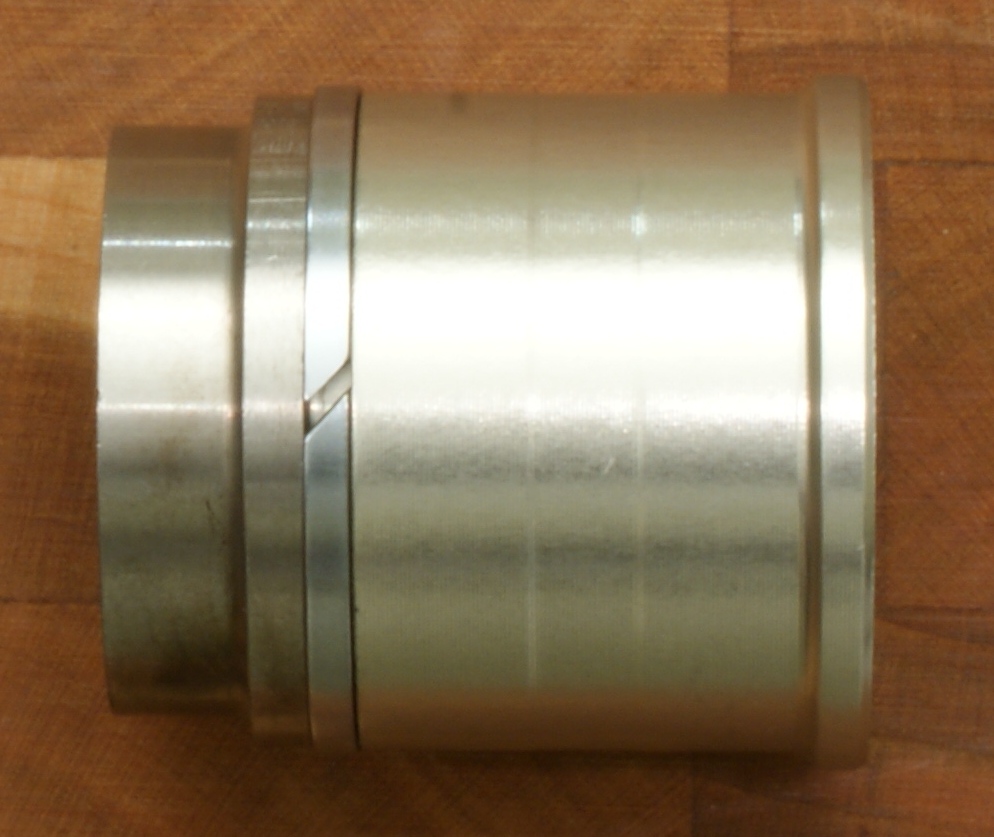
Action Arm Sleeve
The action arm sleeve is machined from some type of aluminum alloy.
Figure 51
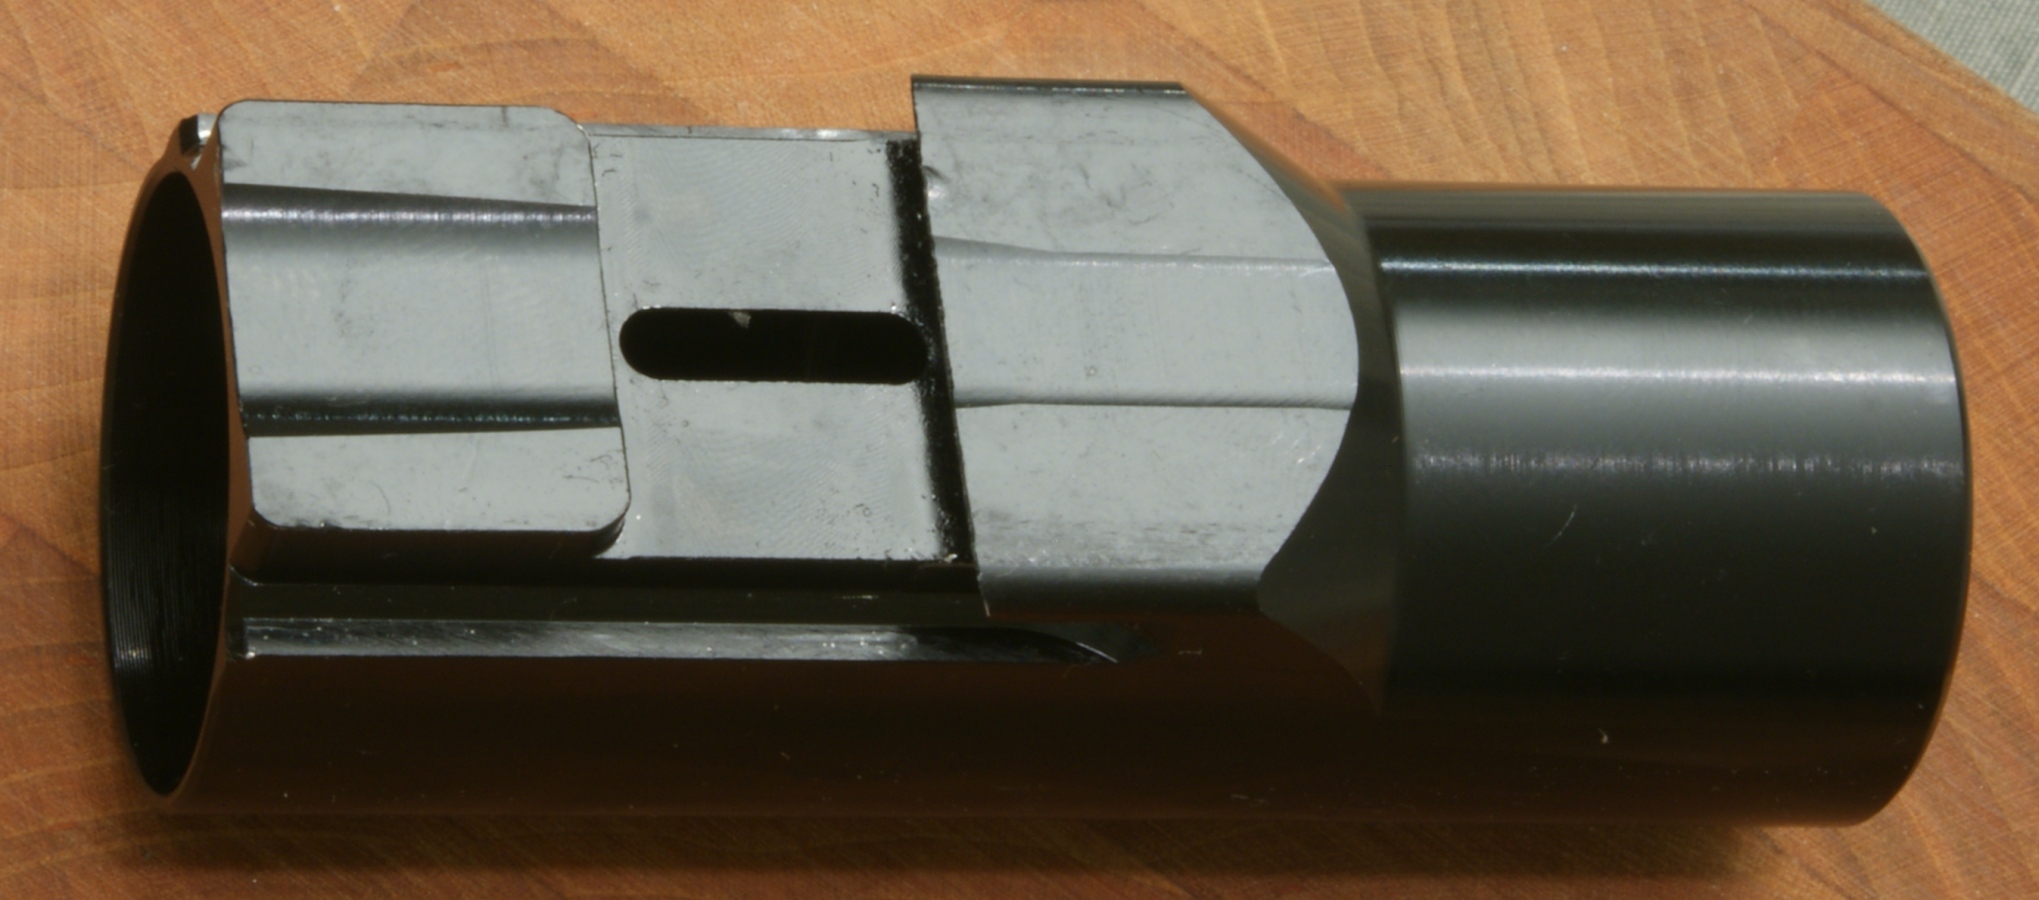
Figure 52
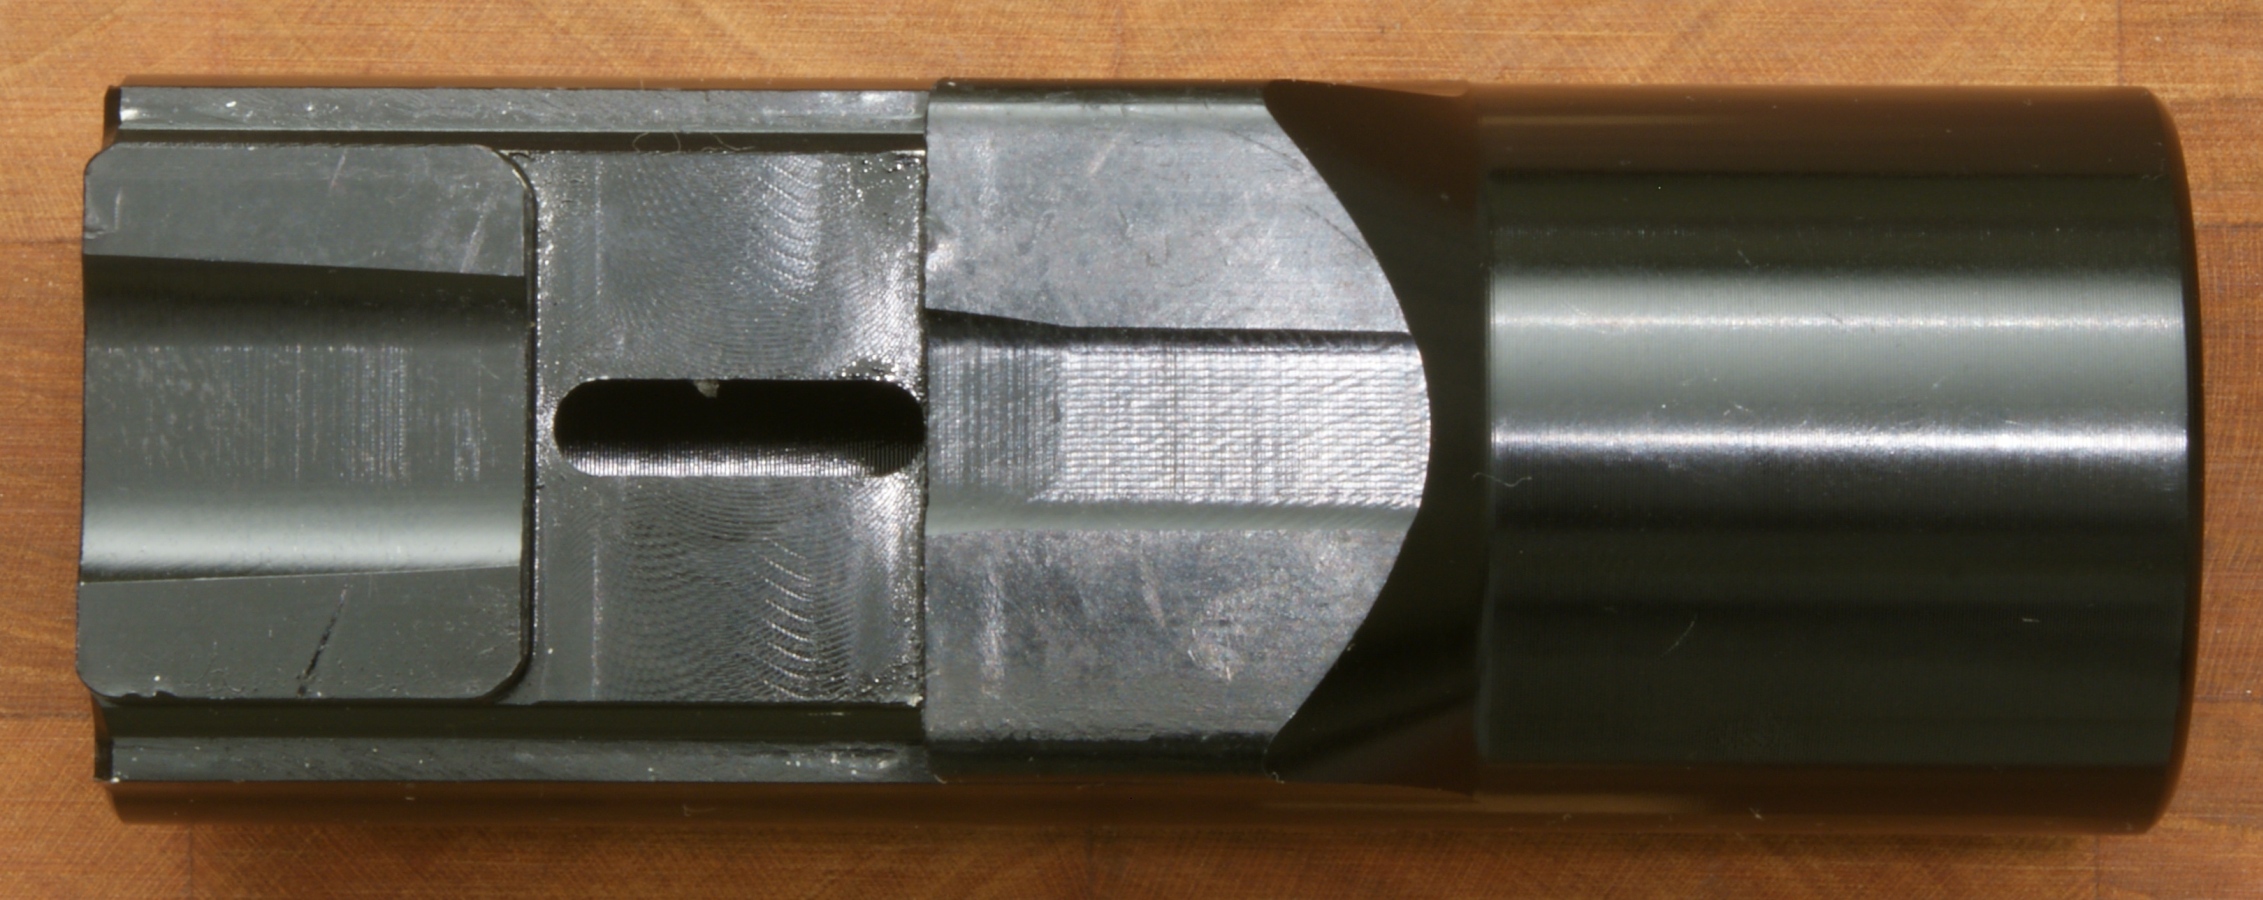
Figure 53
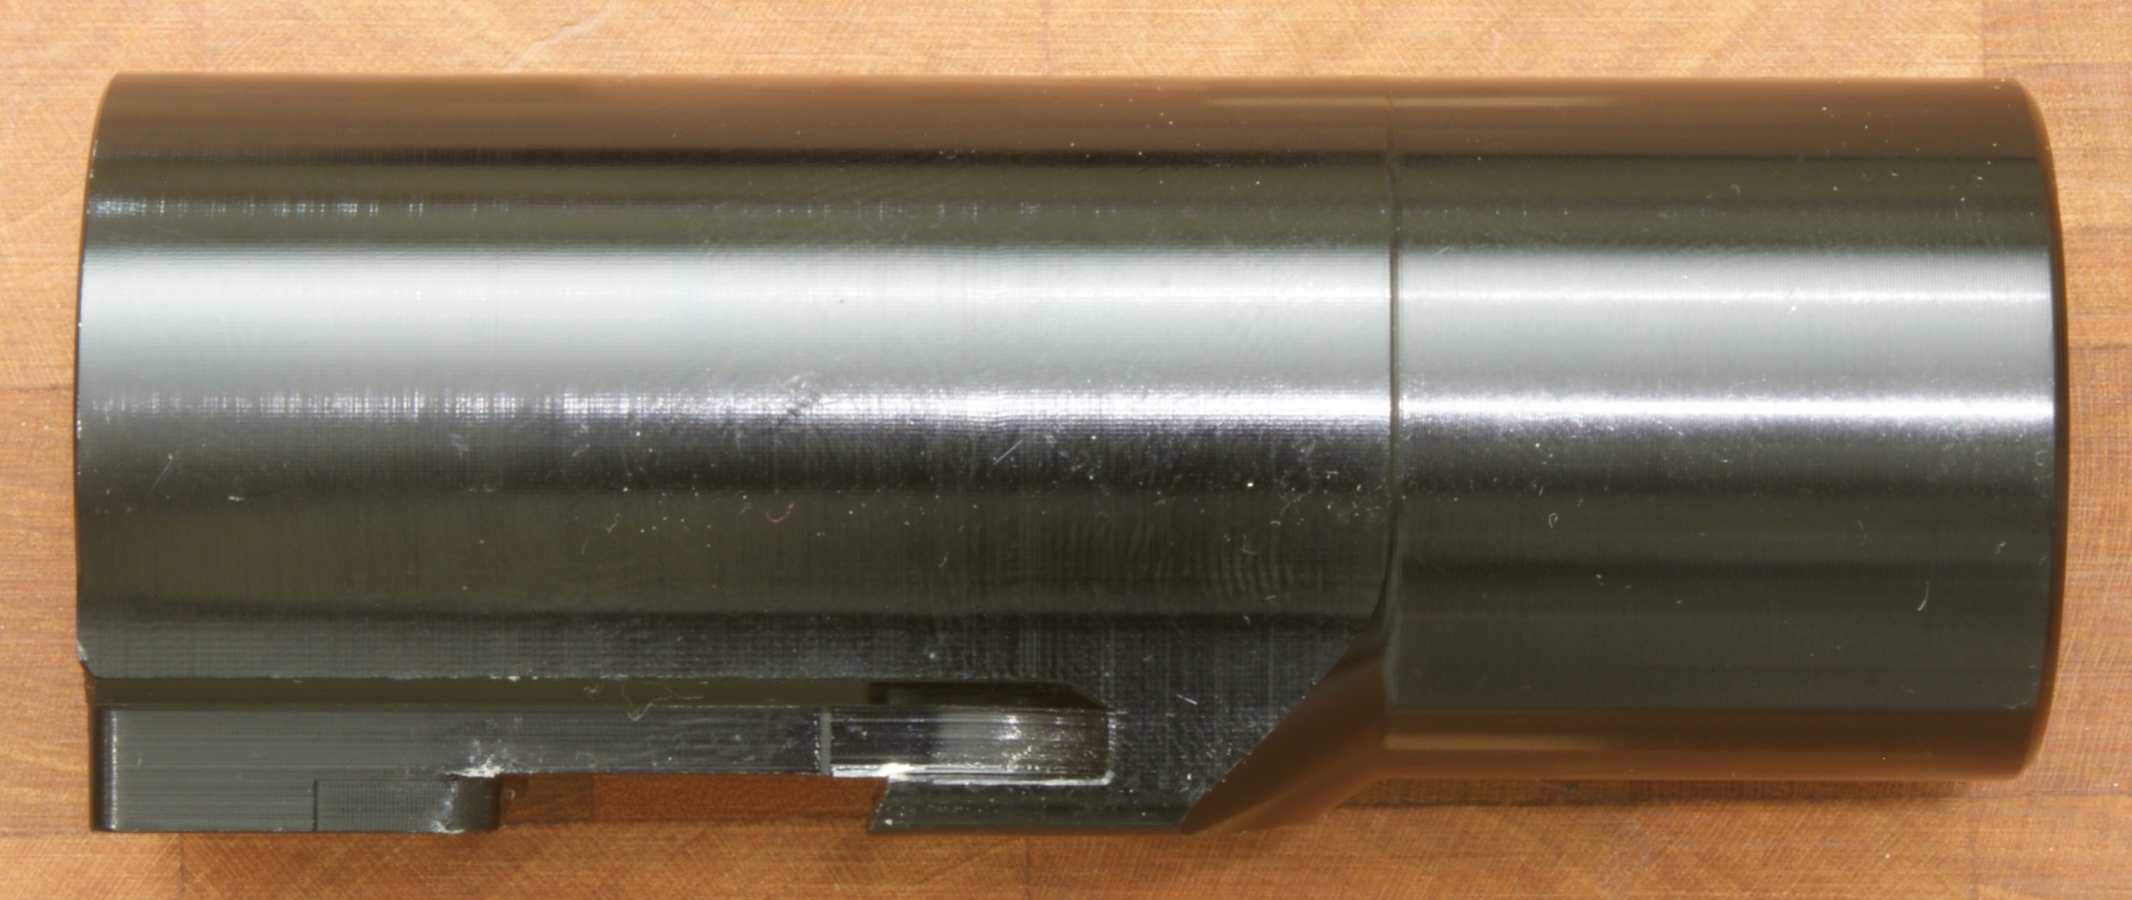
Figure 54
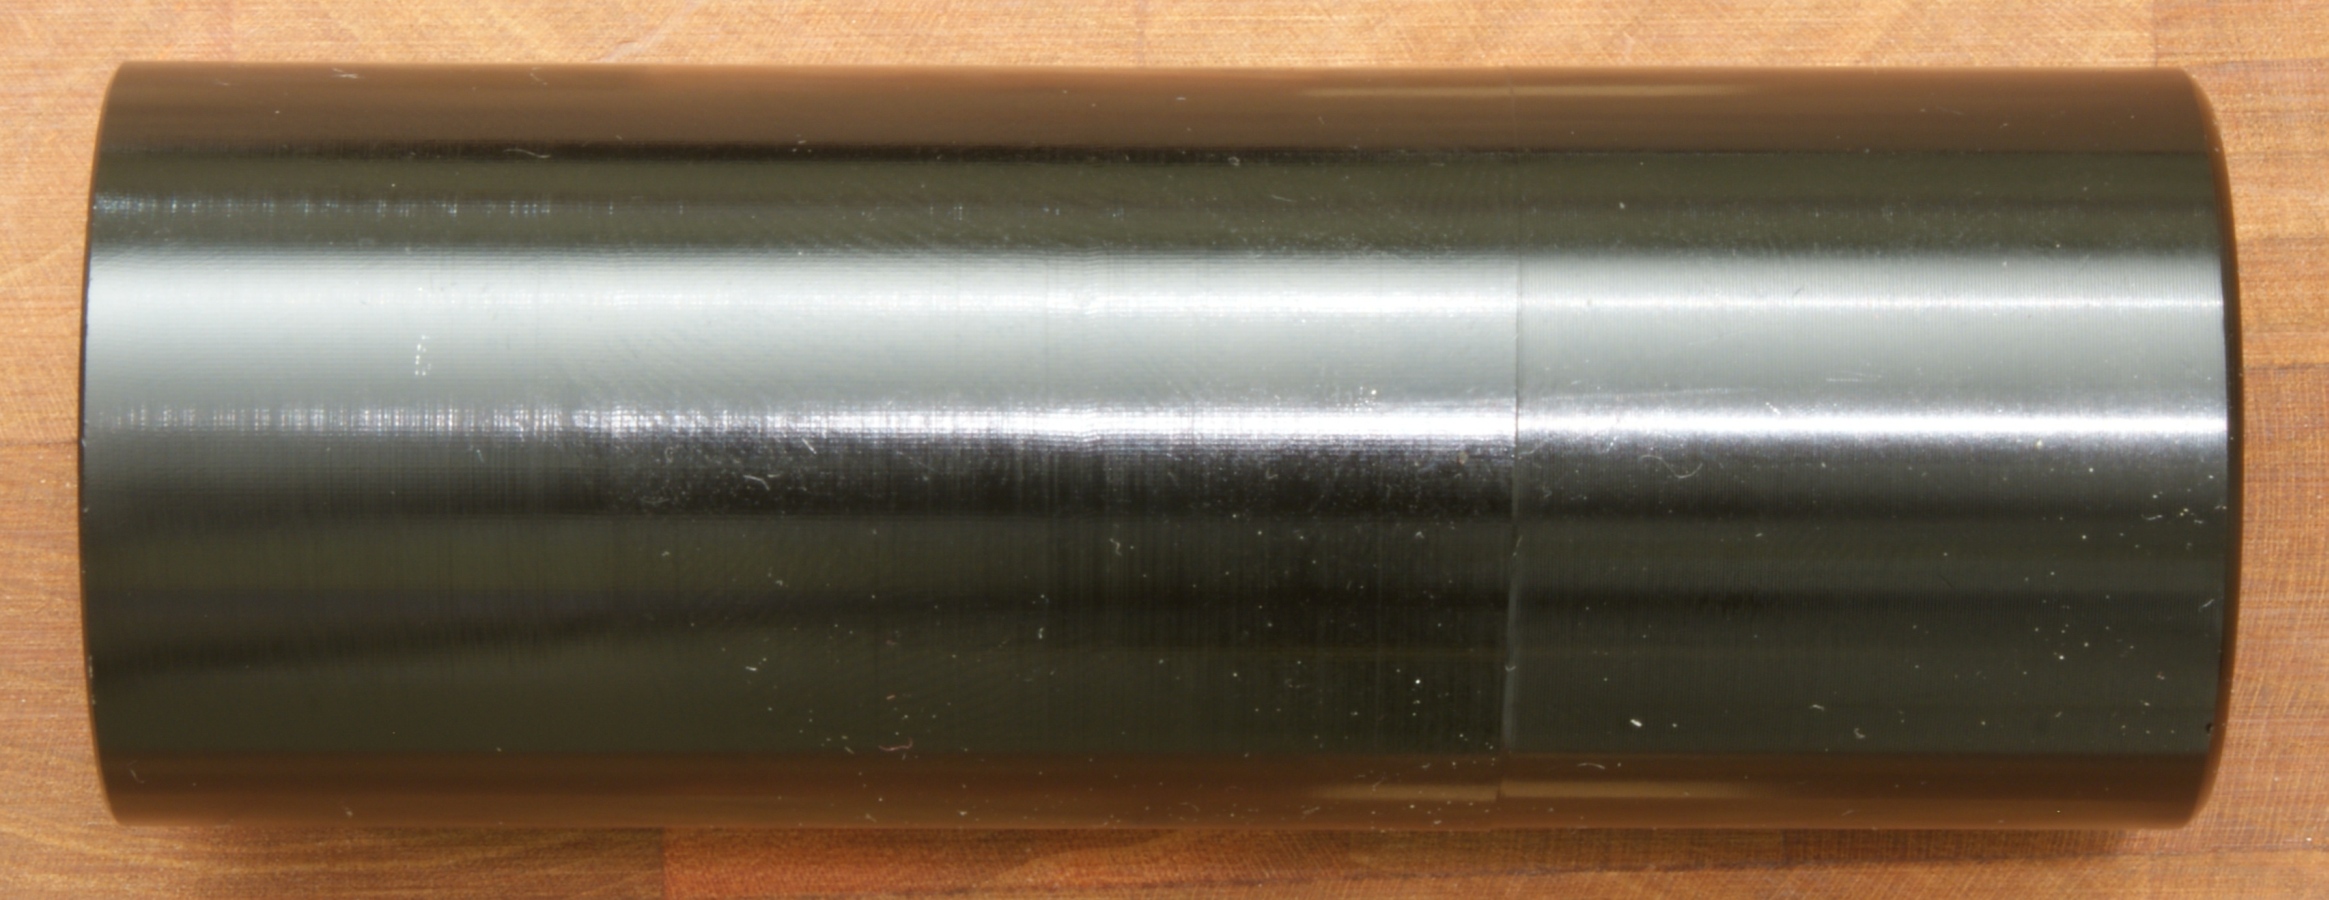
Figure 55
Figure 56
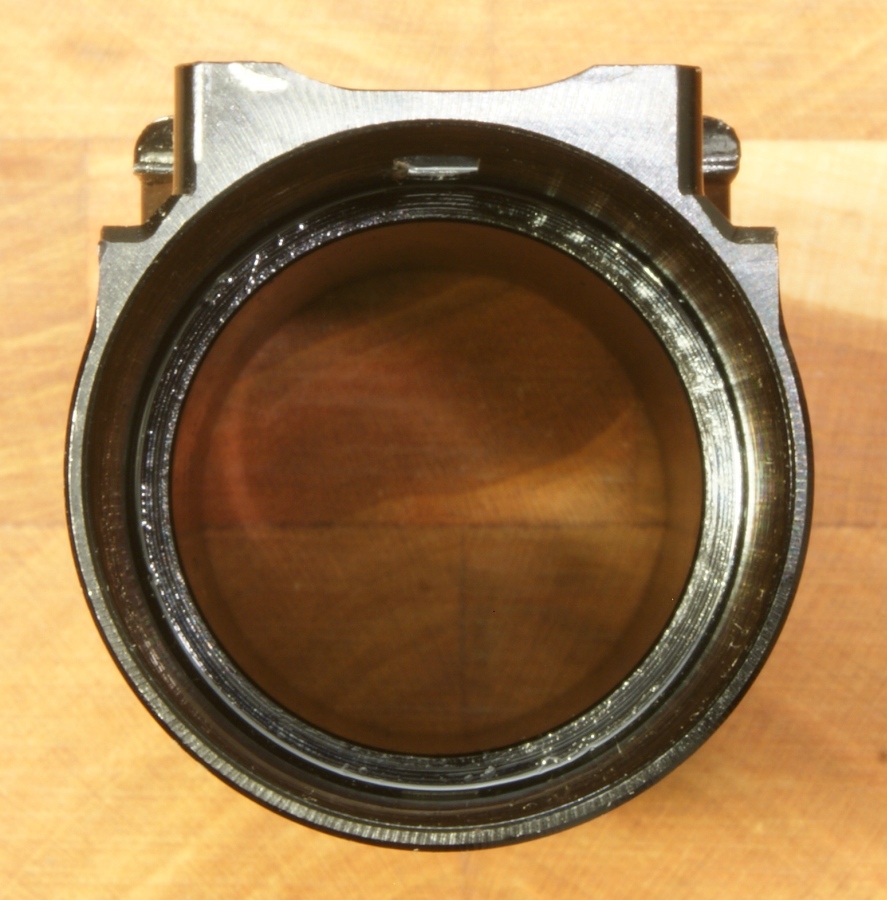
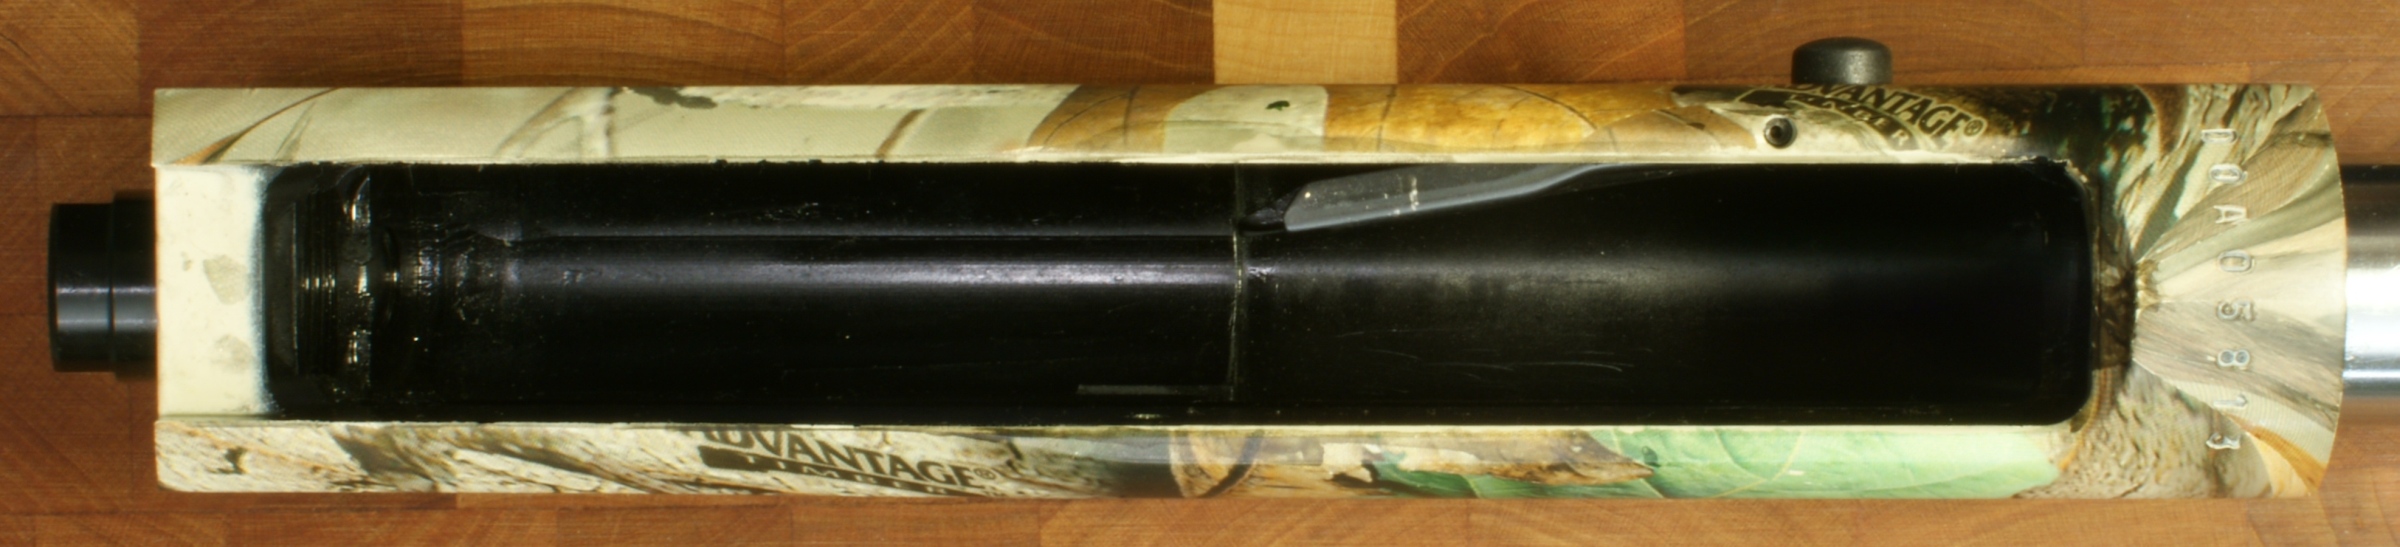
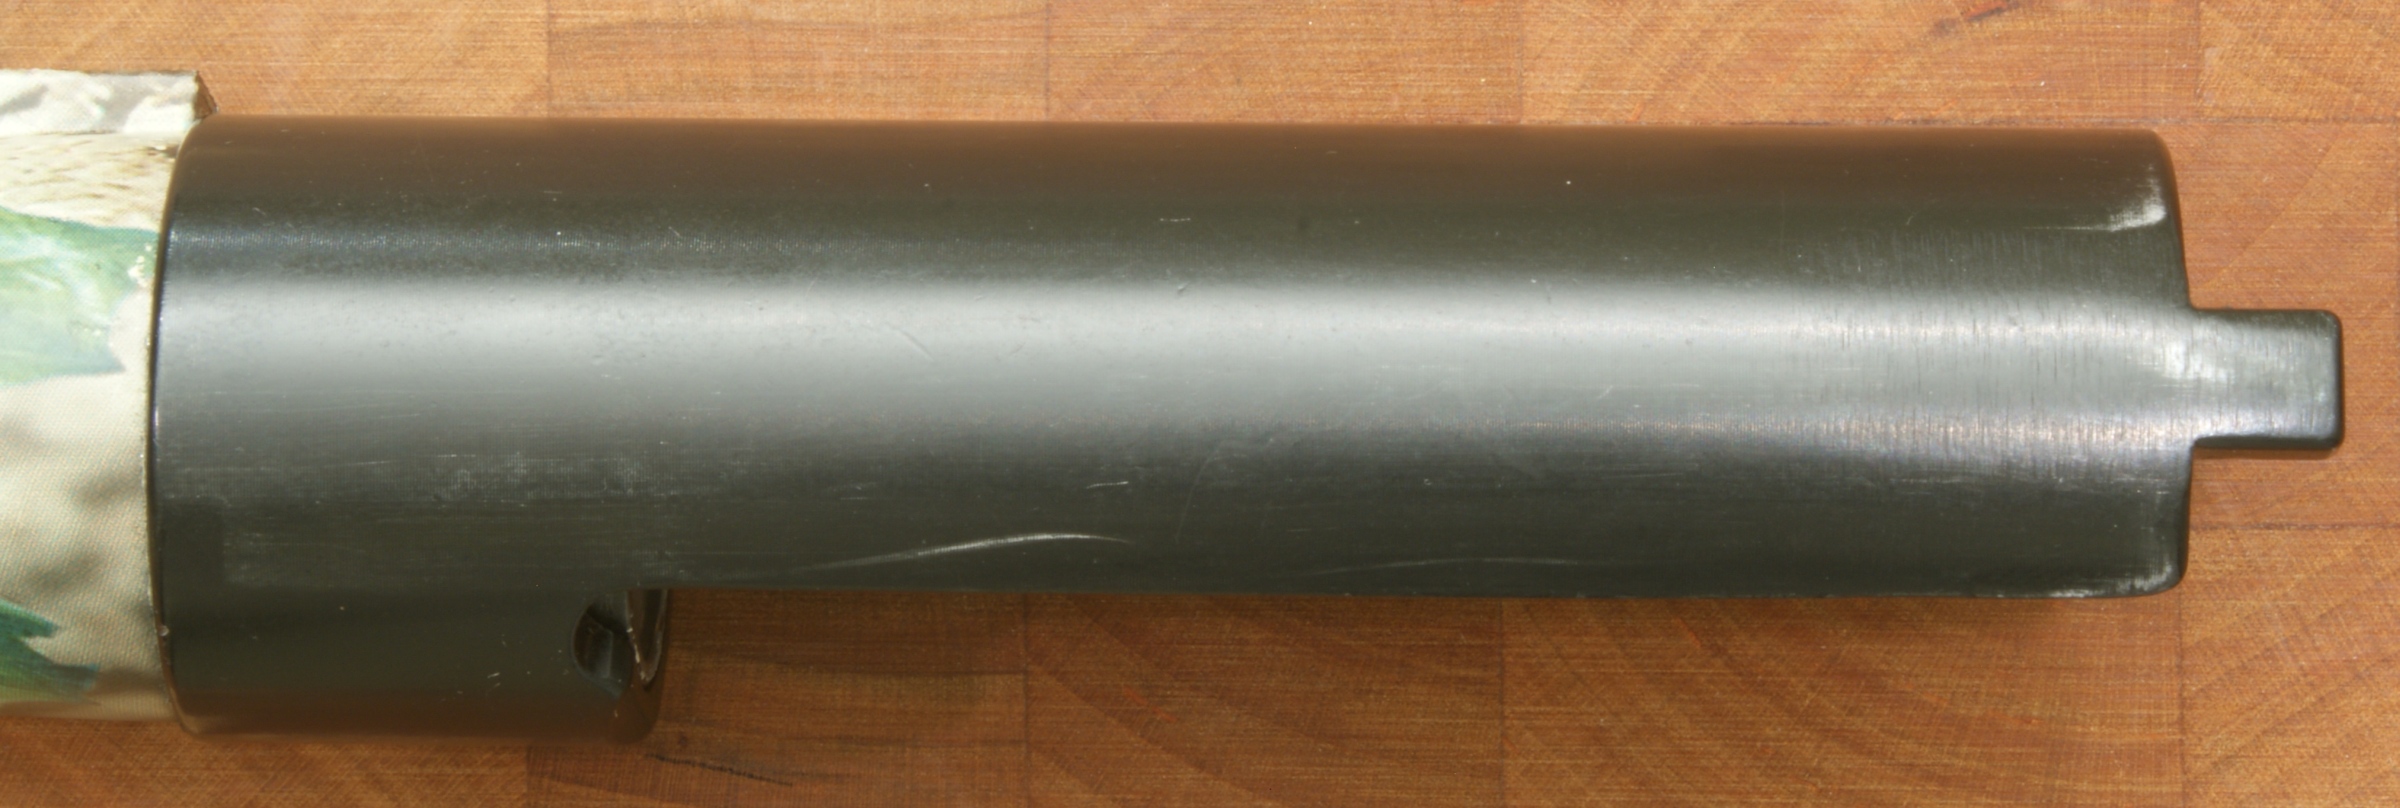
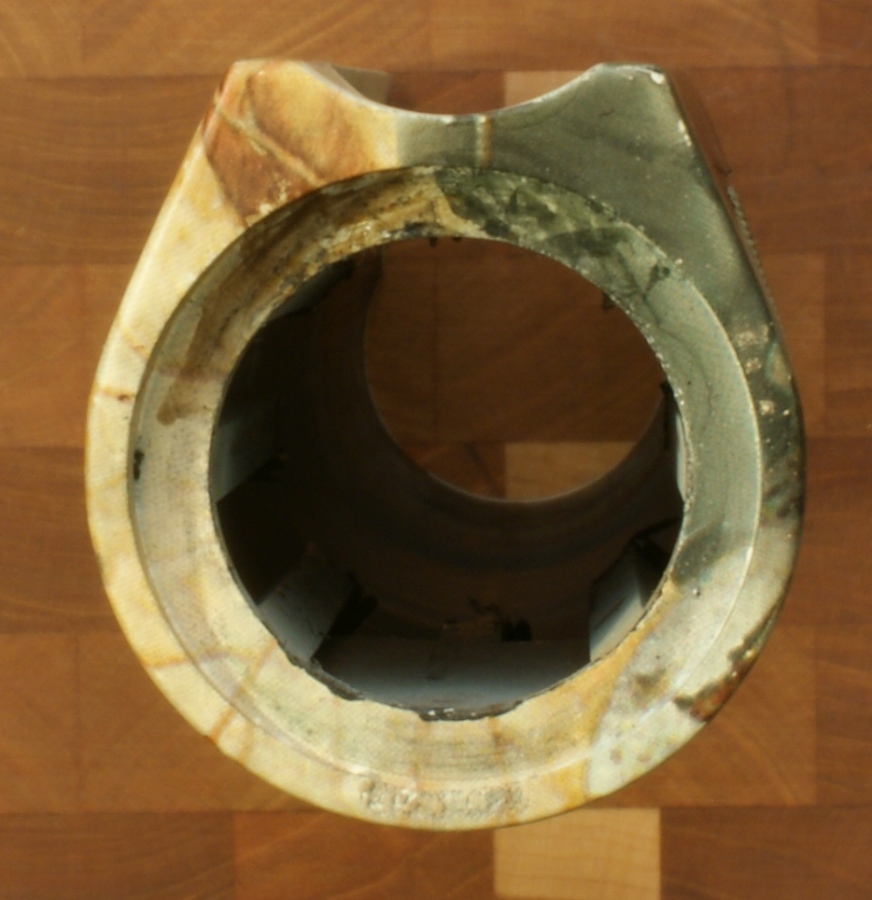
Barrel
Just like with the bolt assembly, I was not able to find any proof marks on the barrel assembly. The reason I say barrel assembly is that it appears that the barrel is mated inside the barrel extension that interfaces with the receiver.
Figure 57
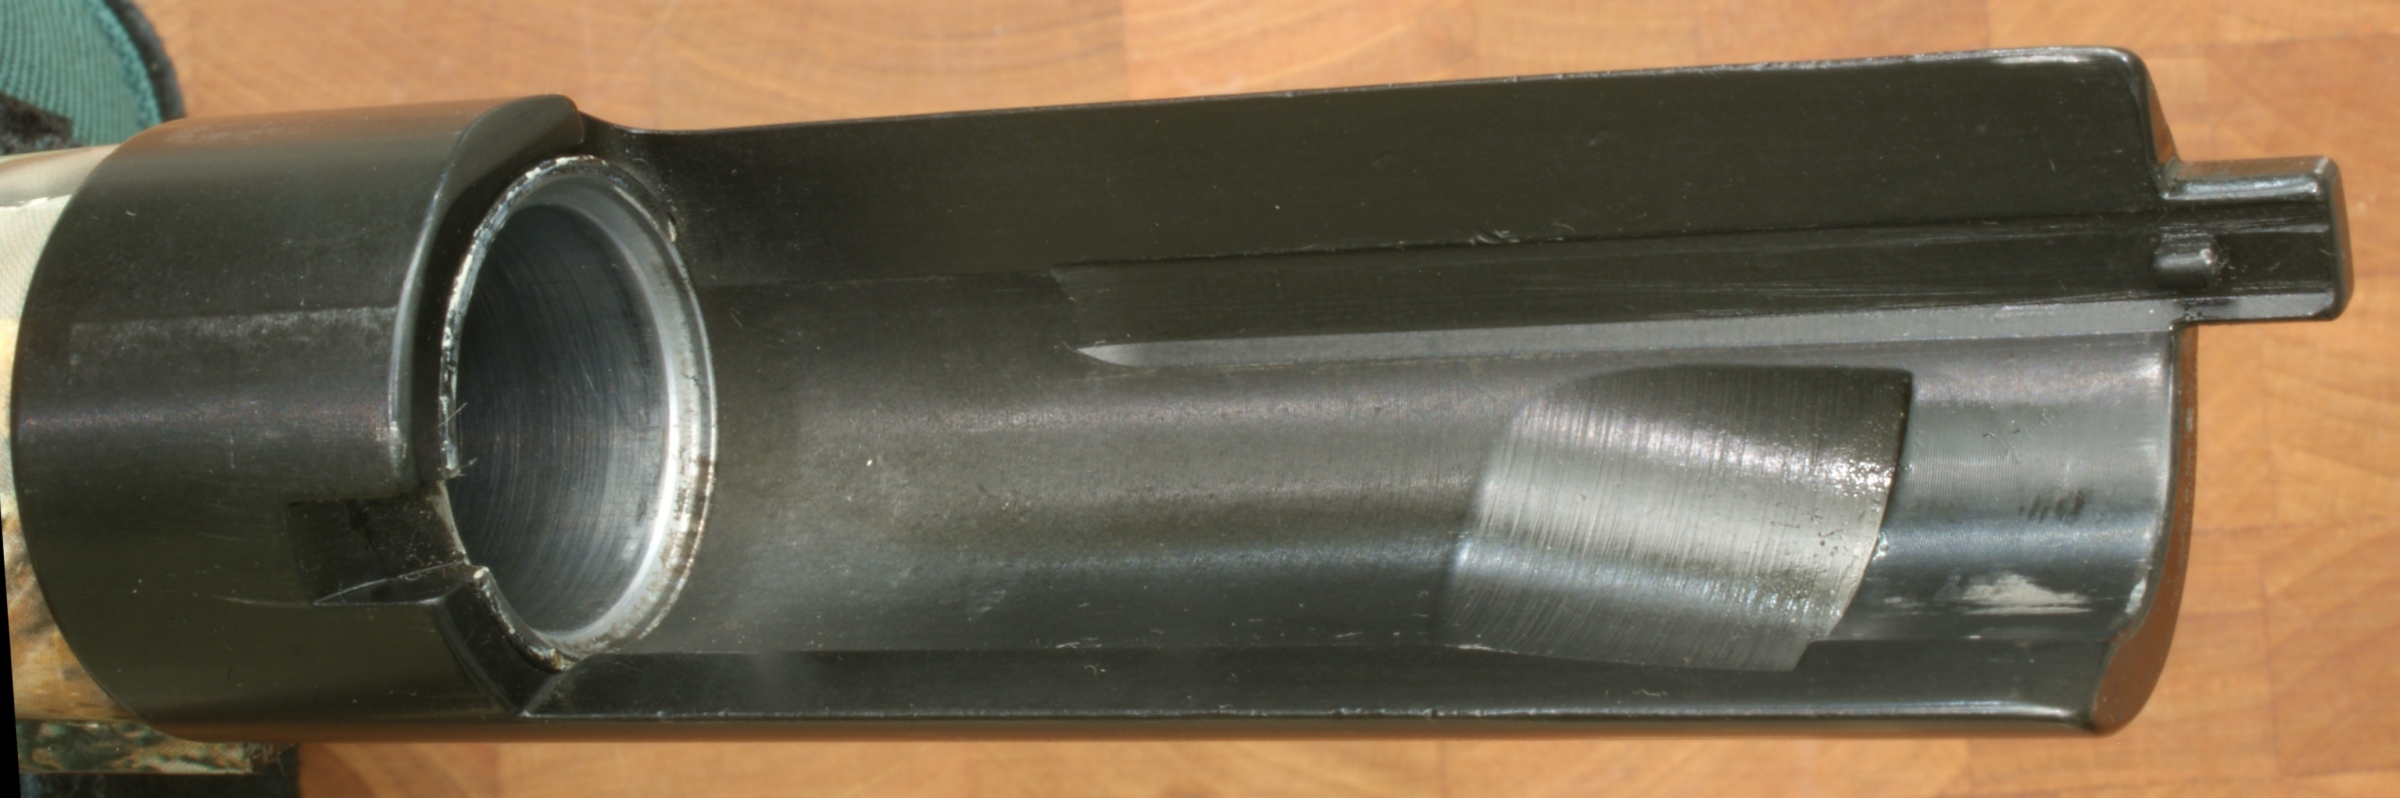
Figure 58
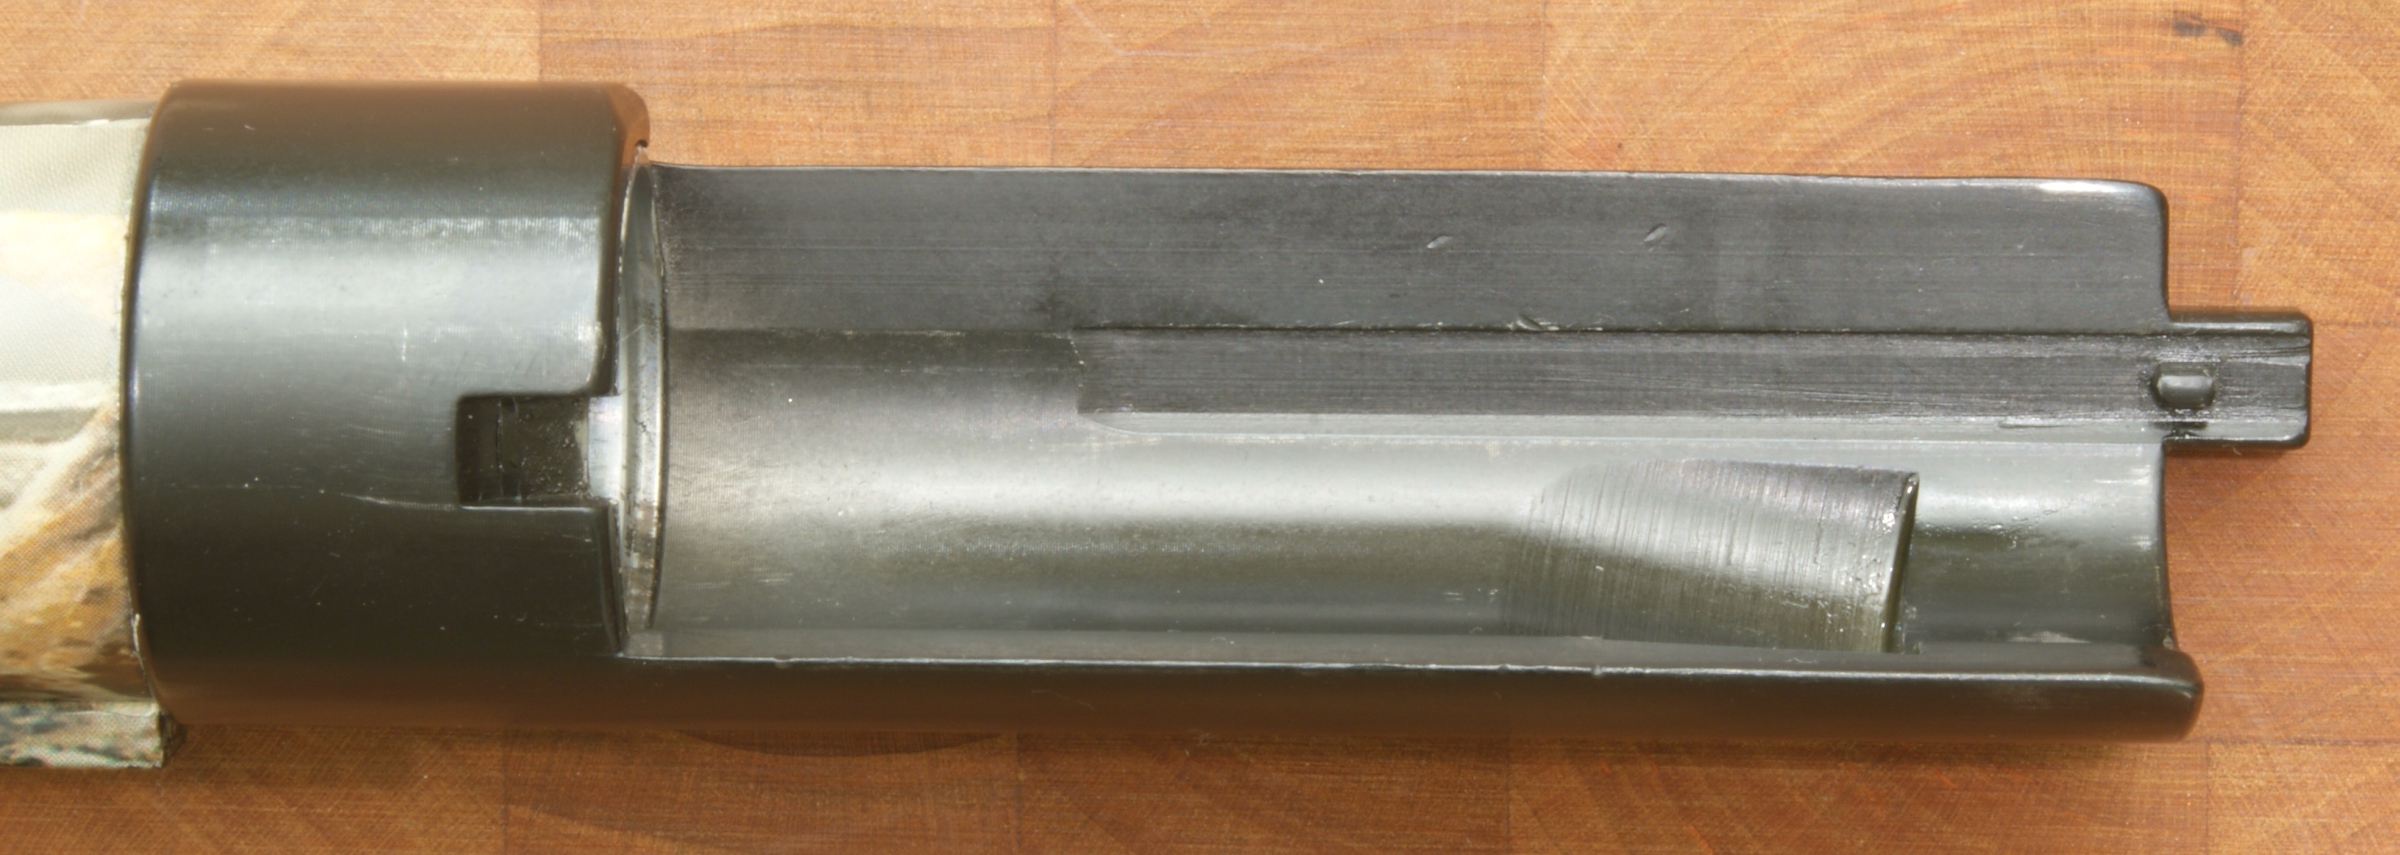
Figure 59
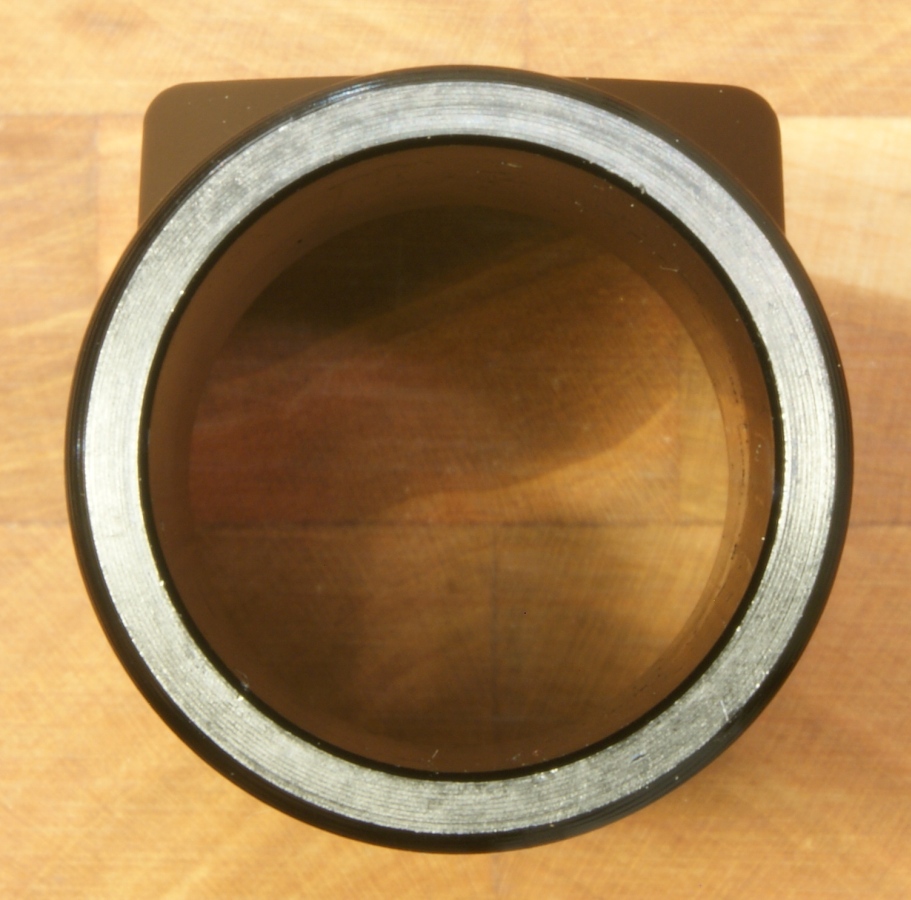
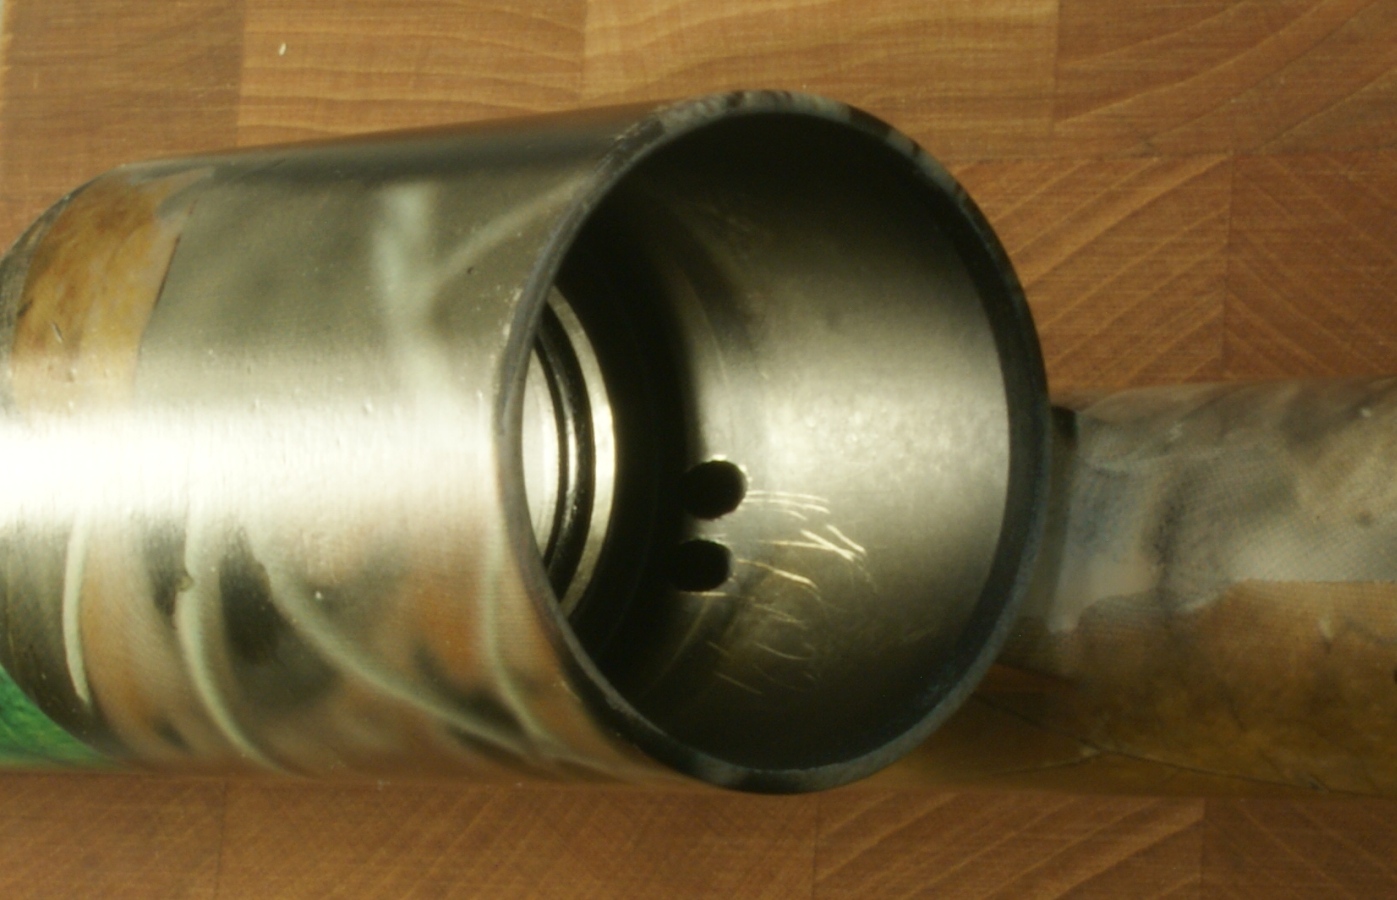
In the next two photos you can see the magazine tube O-ring and gas ports into the barrel.
Figure 60 - Looking Backwards Inside the Cylinder
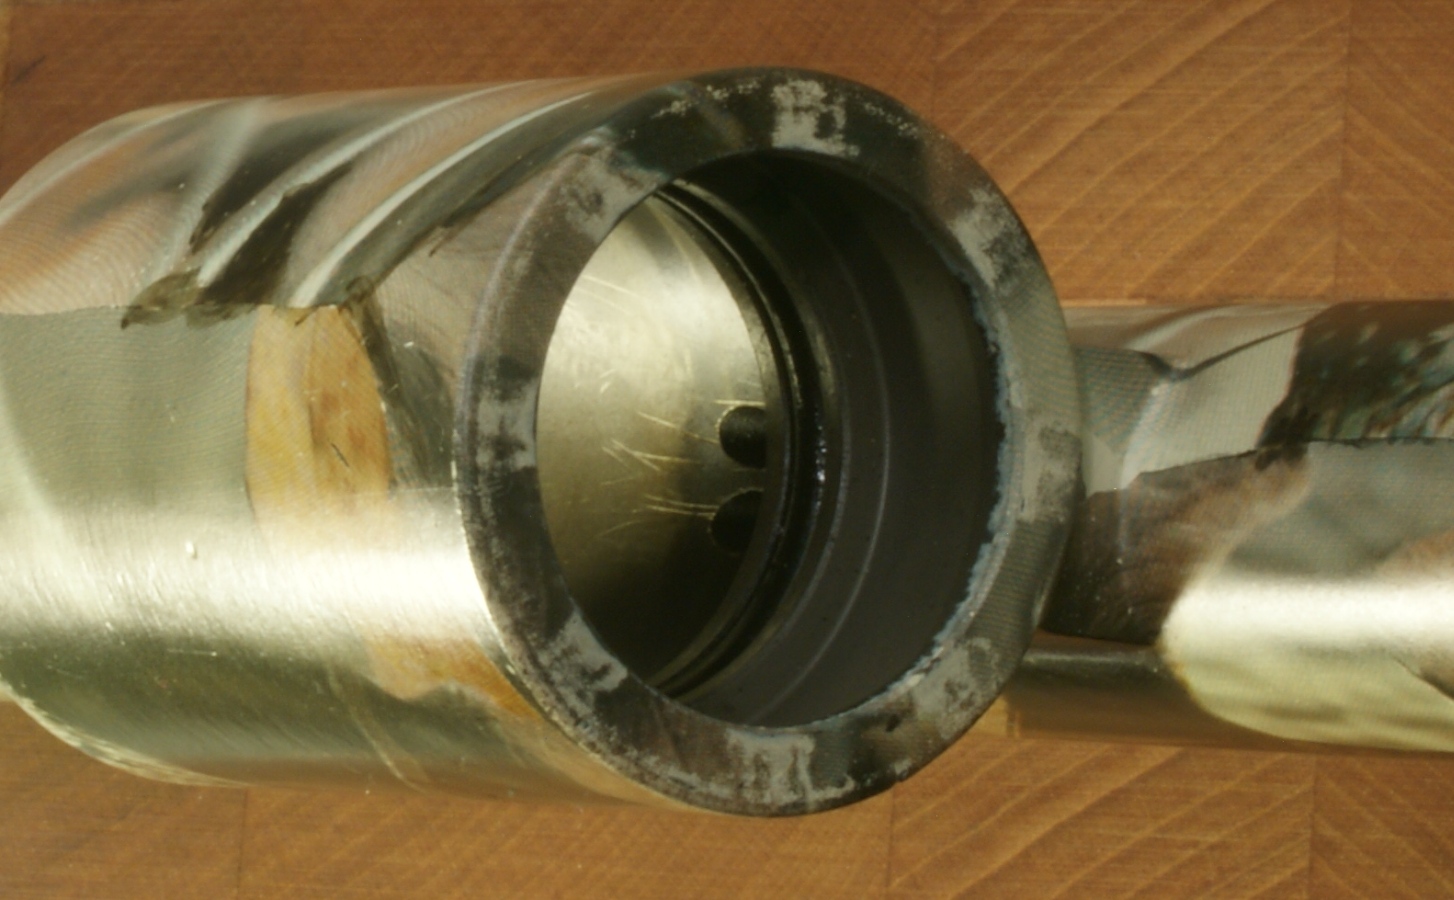
Figure 61 - Looking Forward Inside the Barrel Cylinder
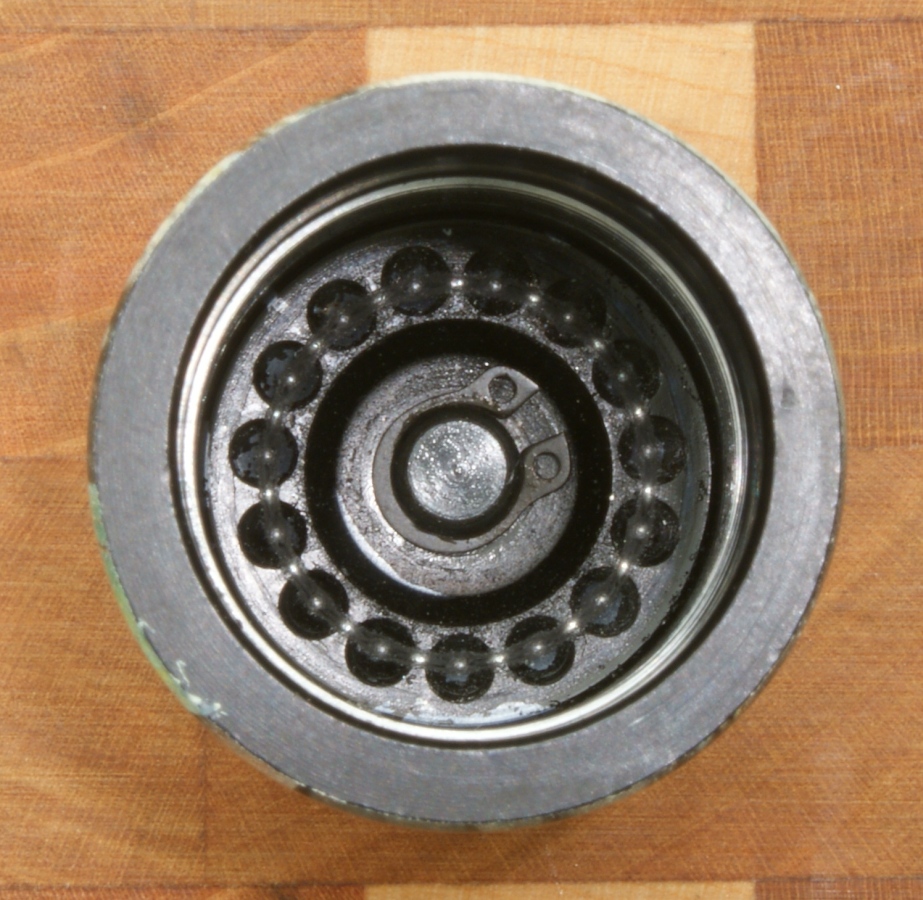
Gas Piston
The gas piston is made from an aluminum alloy and has a steel split ring as a gas seal.
Figure 62
Figure 63
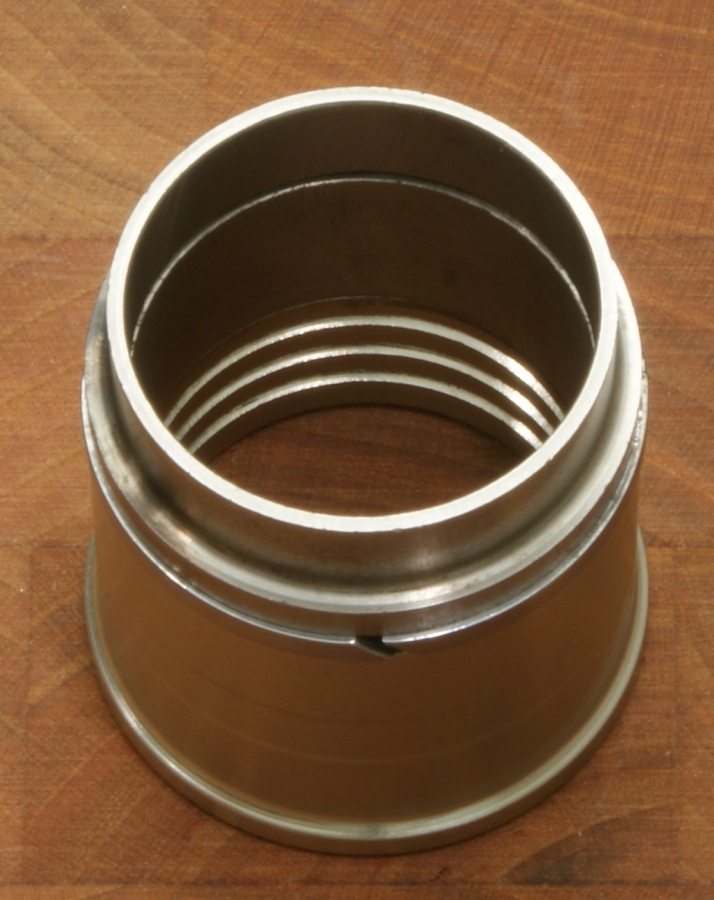
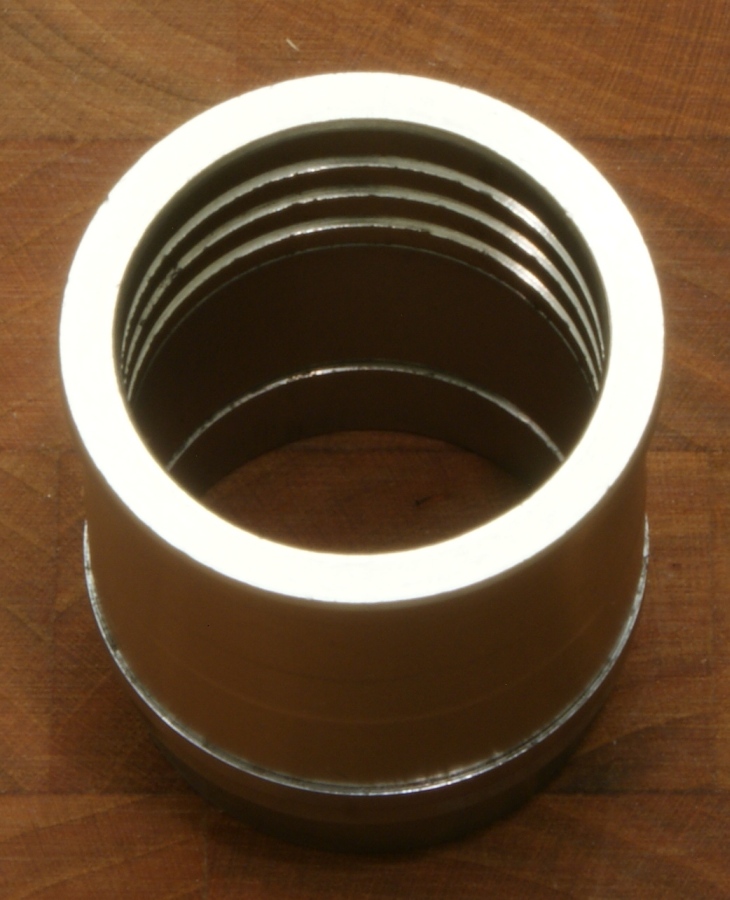
Figure 64
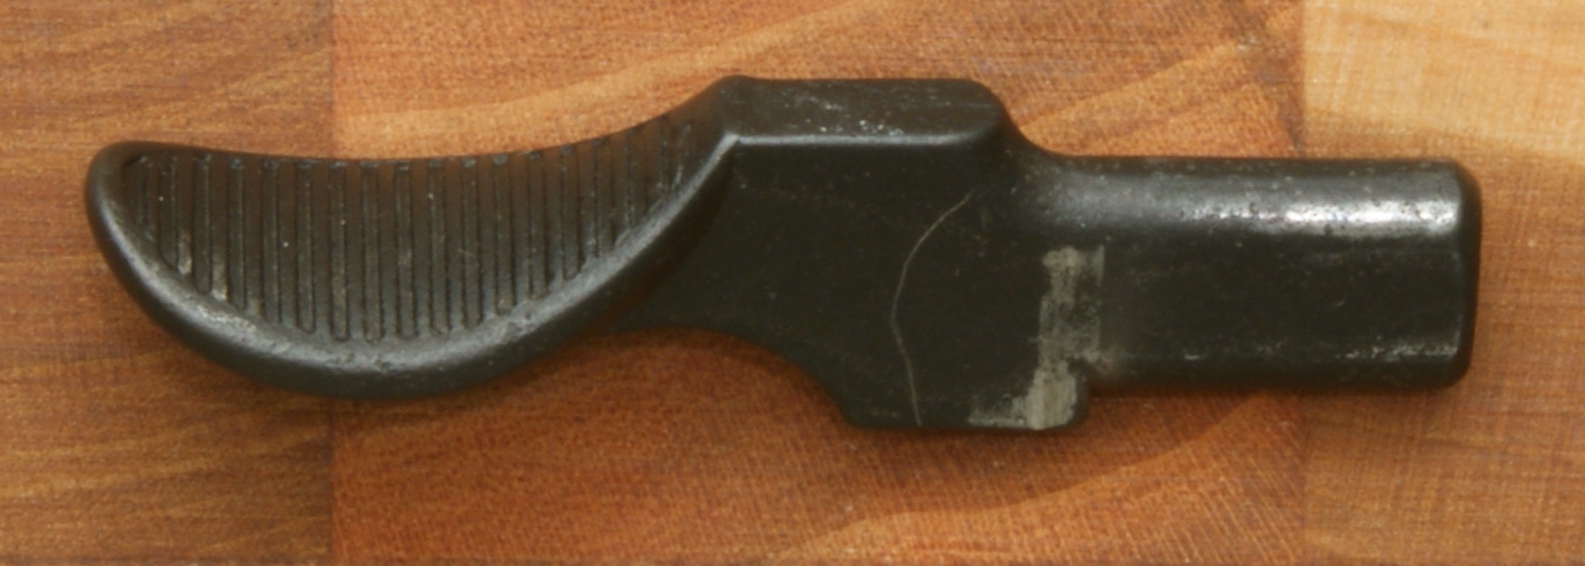
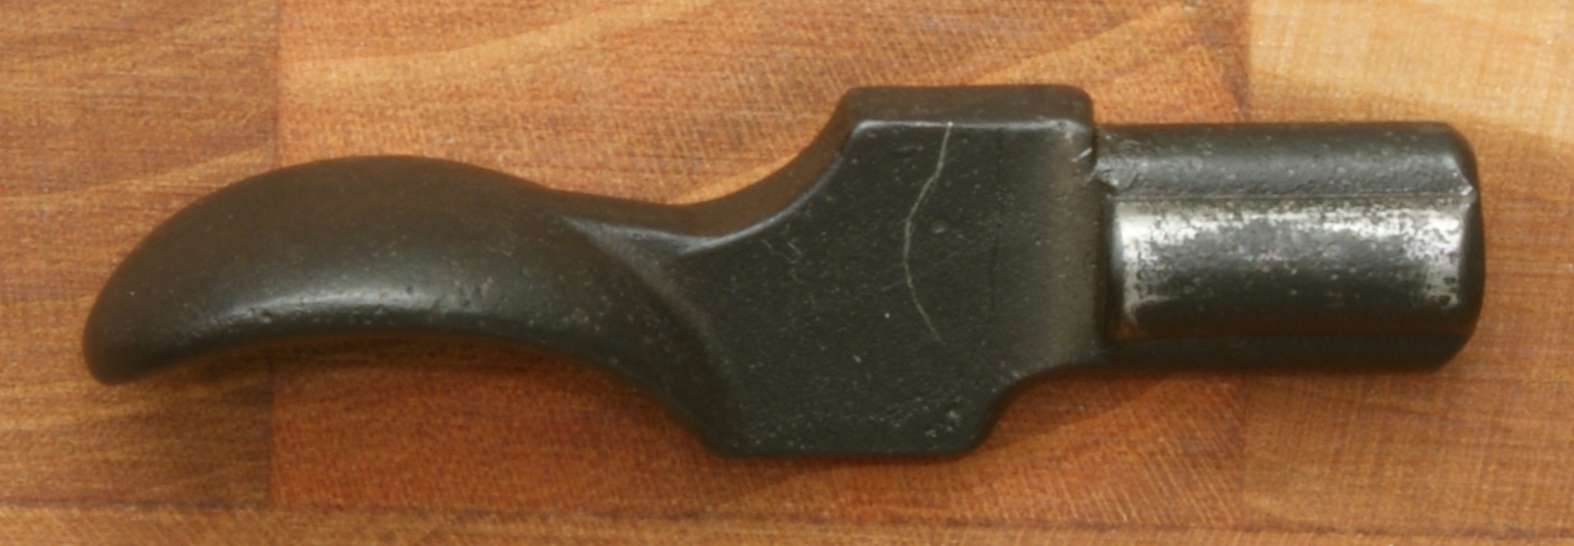
Operating Handle
The operating handle appears to be a steel casting.
Figure 65
Figure 66
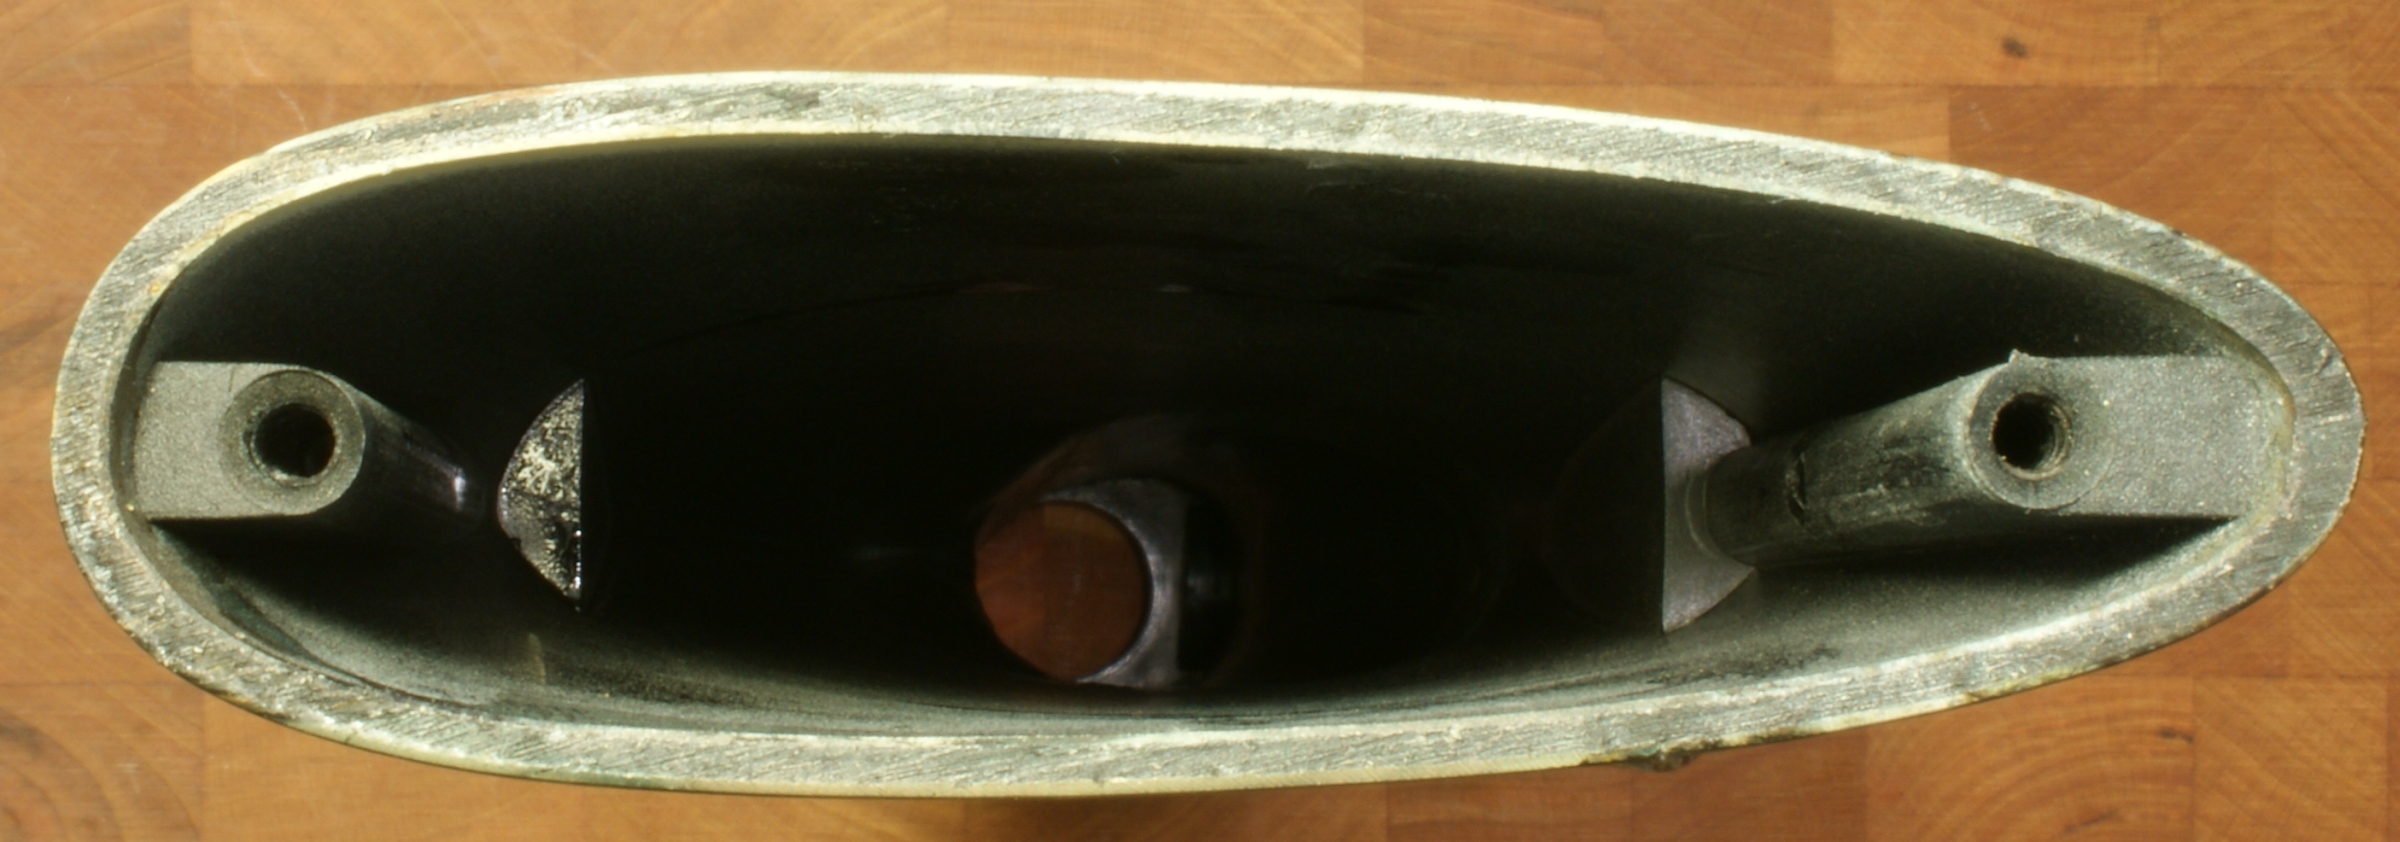
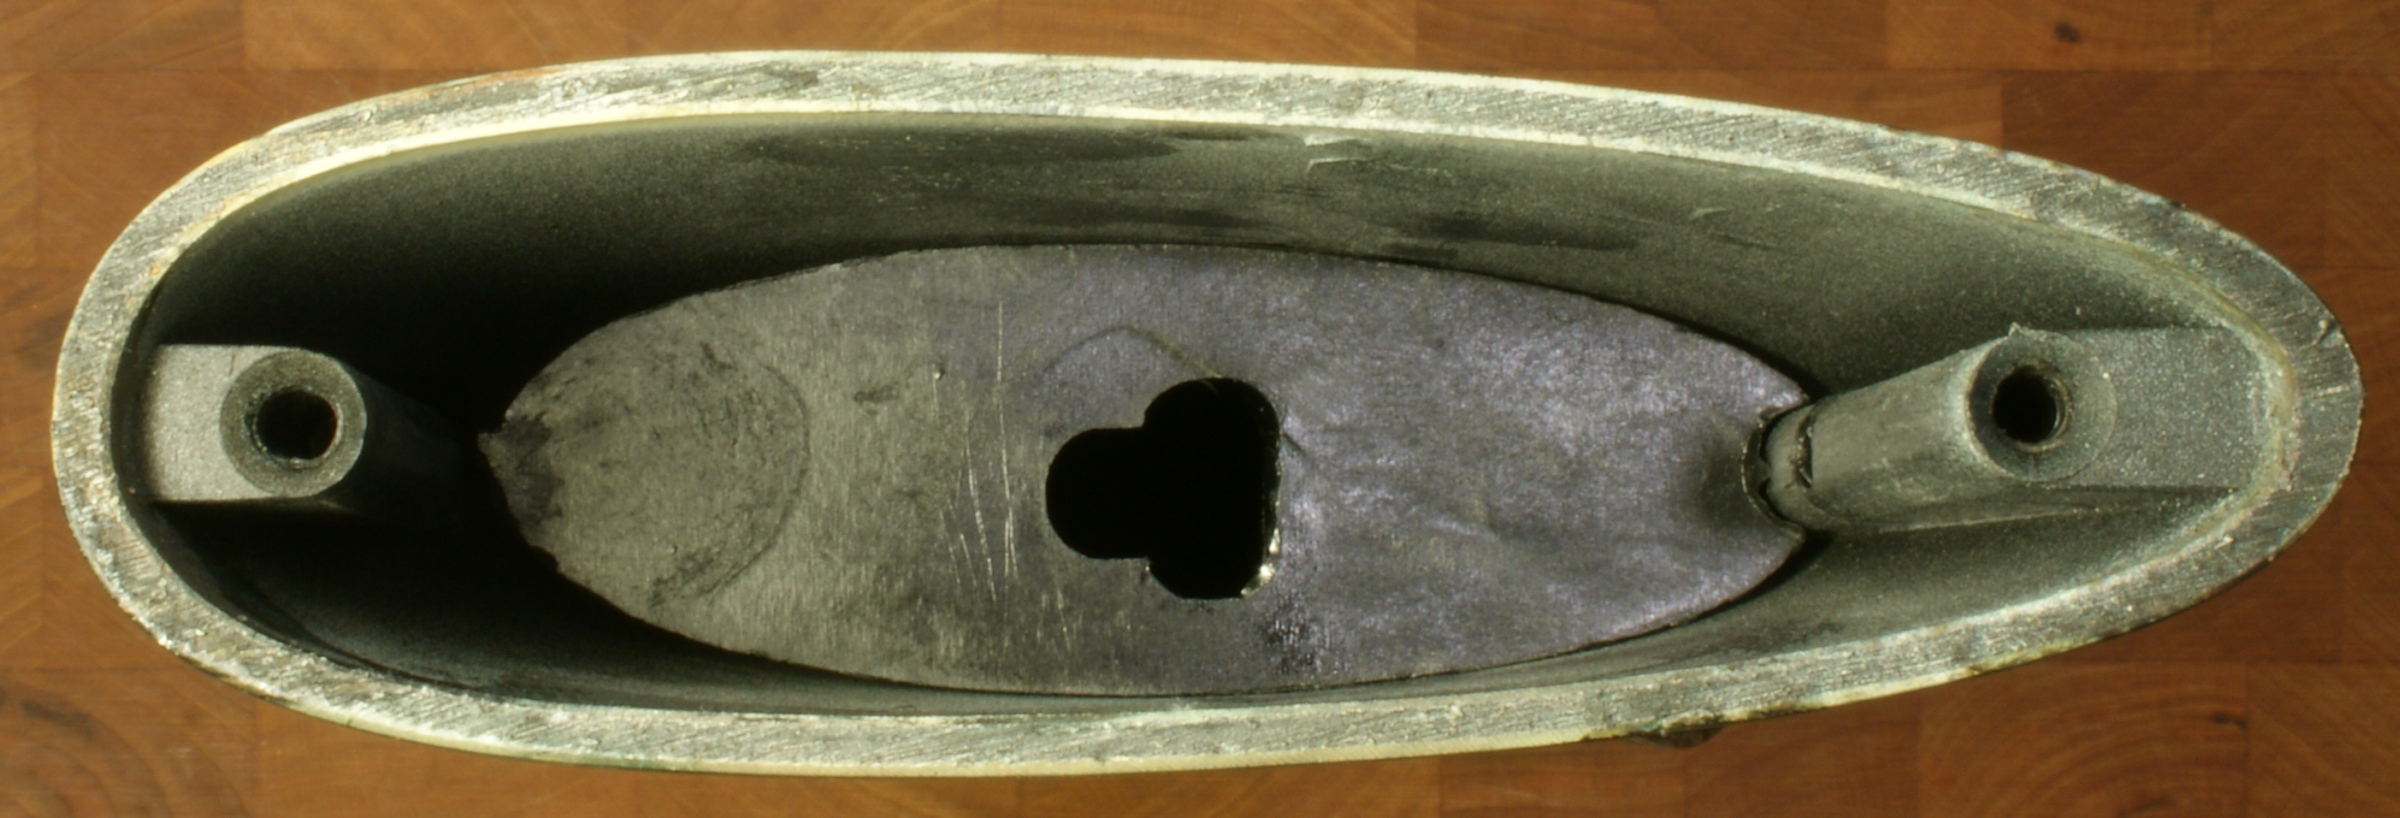
Forearm
The forearm is fabricated from some type of synthetic material.
Figure 67

Figure 68

Figure 69

Figure 70

Figure 71
Figure 72

Magazine Cap
The magazine cap appears to be made from an aluminum alloy and includes a sling swivel stud.
Figure 73
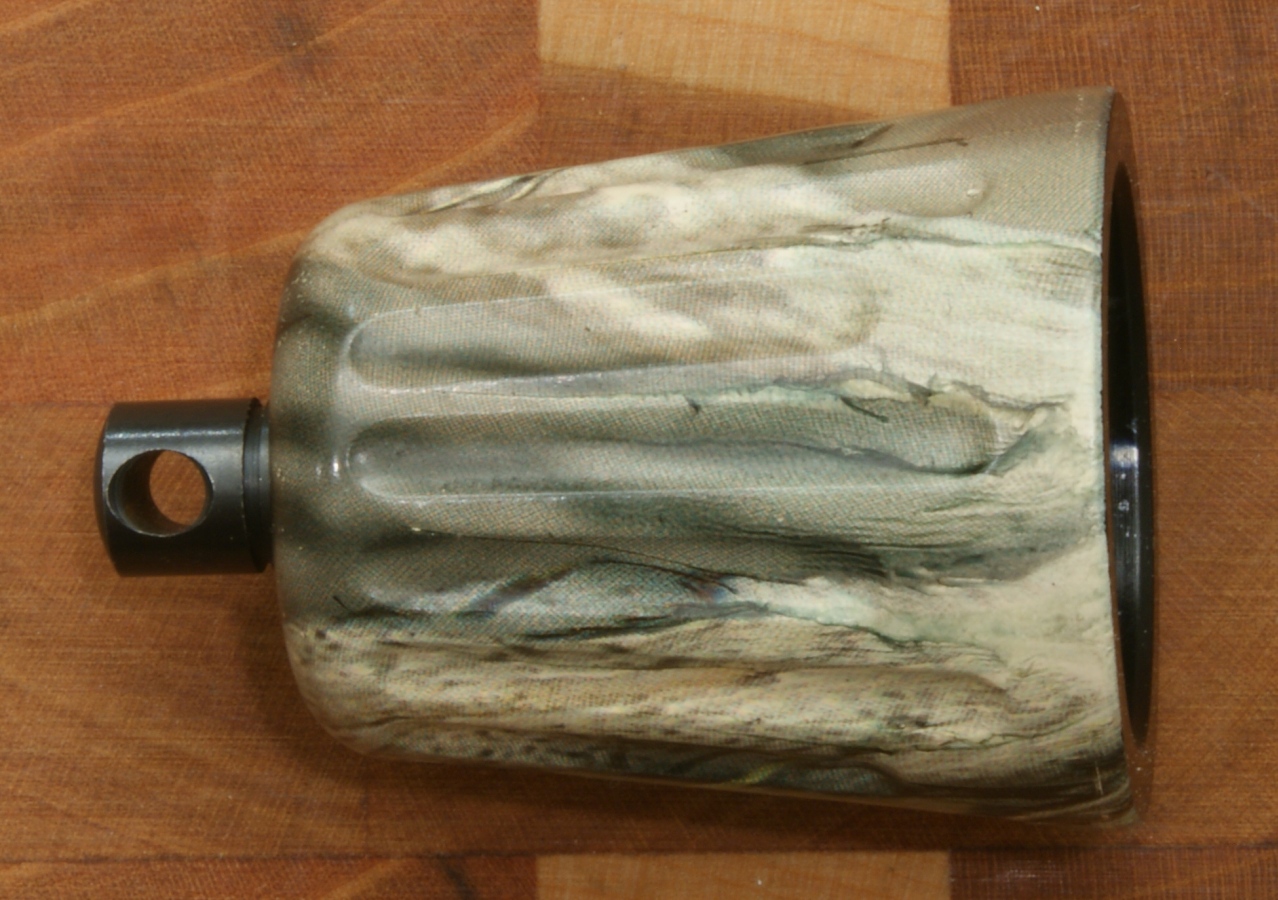
Figure 74
Figure 75

Thoughts
Disassembly was simple and easy. After looking at the detailed parts, the three areas that stand out are the forearm, stock and barrel. The forearm and stock are made from some type of synthetic material that may in the end prove to be very durable, but I have no details on this actual material used. The barrel extension and barrel are not one integral part. Instead they are two separate parts attached using some type of interference fit joint (I think). These differences may never be a problem and would not sway my thought against the TriStar Viper G2 Shotgun. Also, I want to point out that the TriStar Limited Warranty will provide parts and services on the shotgun for five years (wood 1 year only) so if an issue is truly a manufacturing problem with the shotgun, it will most likely show up in less than 5 years and would be covered by the warranty. As a note, this is an increased warranty period from that stated in the instruction manual and you can see more details at their website.
You can view the other parts of this review by using the links below.
- TriStar Viper G2 T/W Review: Part 1 - Introduction, Specifications and Summary
- TriStar Viper G2 T/W Review: Part 2 - What's in the Box & First Impressions
- TriStar Viper G2 T/W Review: Part 3 - External Features
- TriStar Viper G2 T/W Review: Part 4 - Disassembly and Internal Features (this page)
- TriStar Viper G2 T/W Review: Part 5 - Range Test
Or
If you would like to be notified about future Gunsumer Reports reviews via Facebook, make sure "You Like This" by clicking the Facebook "Like" button at the bottom or top of this page. If it already says "You Like This" beside the button, clicking it again will uncheck the "Like" status and you will not be notified.
| Share on Facebook | |
© 2010, 2011, 2012, 2013, 2014, 2015, 2016, 2017, 2018, 2019, 2020, 2021, 2022, 2023 & 2024 Gunsumer Reports™, All rights reserved.
FTC Disclosure