|
|
Gunsumer Reports TM Providing Detailed Objective Reviews for Firearms and Firearm Accessories |
Ruger LC9 Review With LaserMax
Part 5 - Internal Features
March 11, 2012
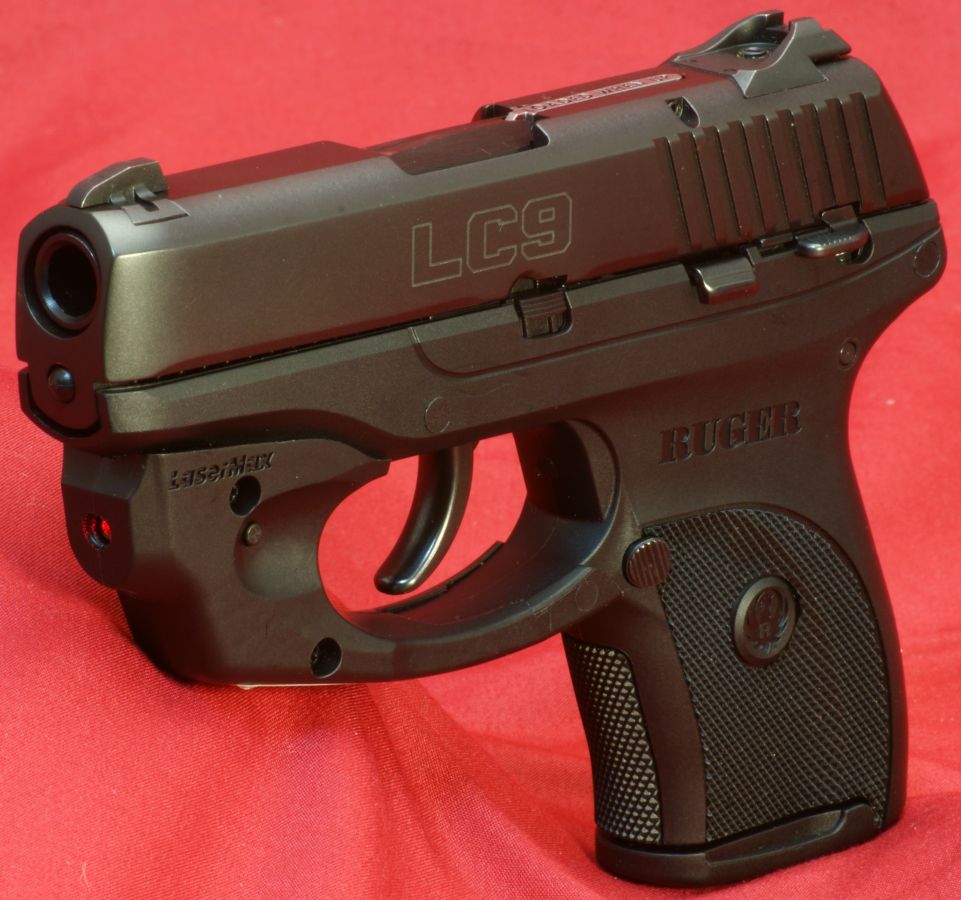
At this point in my review of the Ruger LC9 w/LaserMax Pistol I have covered many details in the other parts of the review, so I'm going to try and focus on the internal features of the LC9 Pistol that you would see after disassembly. Although I have tried to include photos showing these parts in great detail, I may not comment on all the photos. Keep in mind that a picture is worth a 1000 words and many of these pictures are included for your own study. Also, remember that you can click on any photo to bring up a high resolution photo.
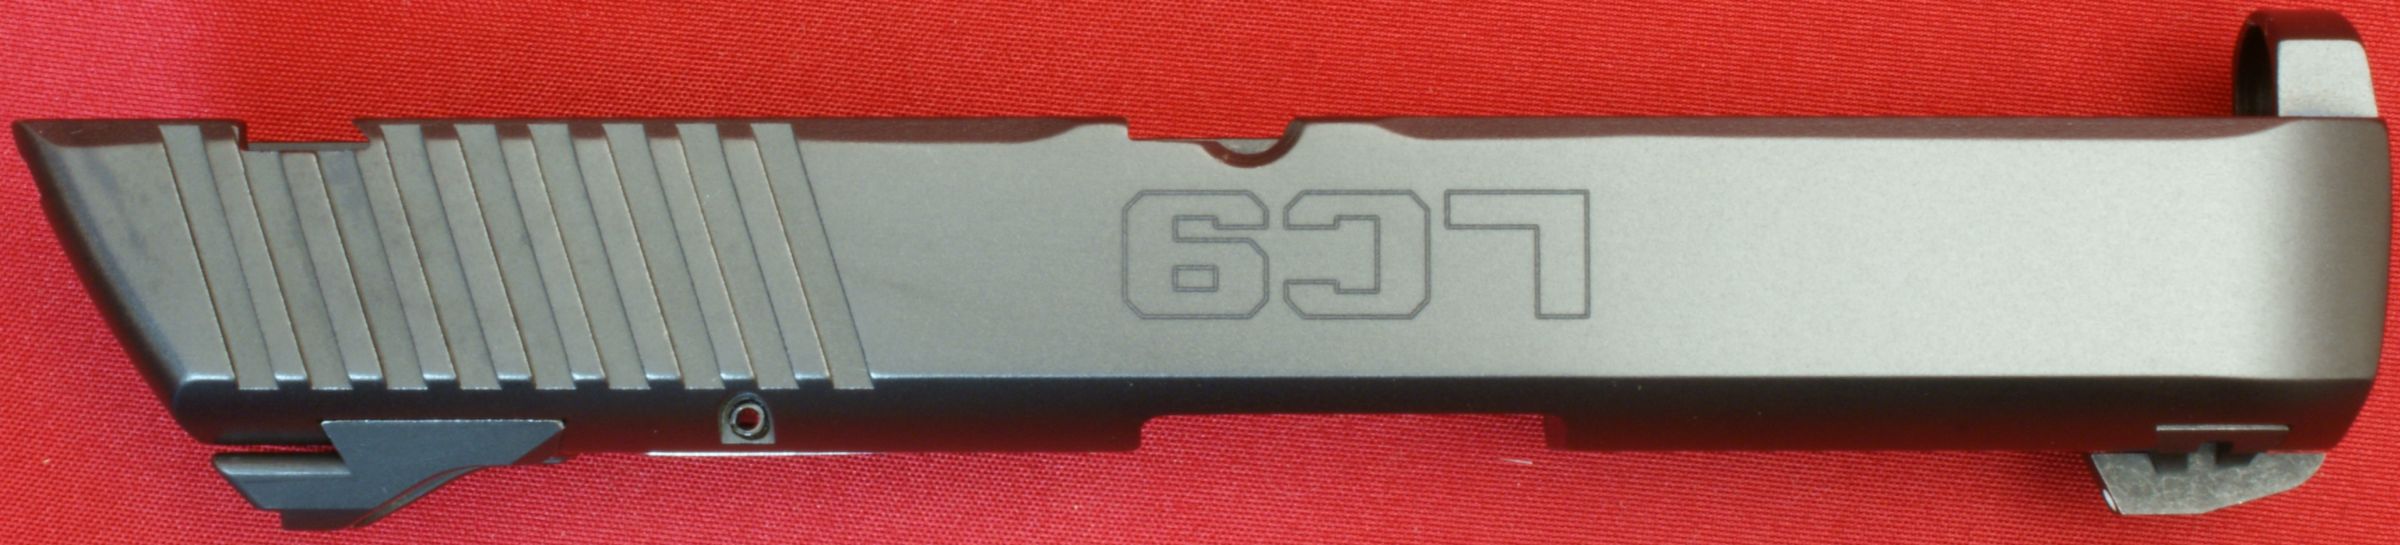
Slide Assembly
The slide on the Ruger LC9 is made from through-hardened alloy steel and has a blued finish. The slide material is 4140 alloy steel and the slide is machined from bar stock which is common for many handgun slides.
Figure 1
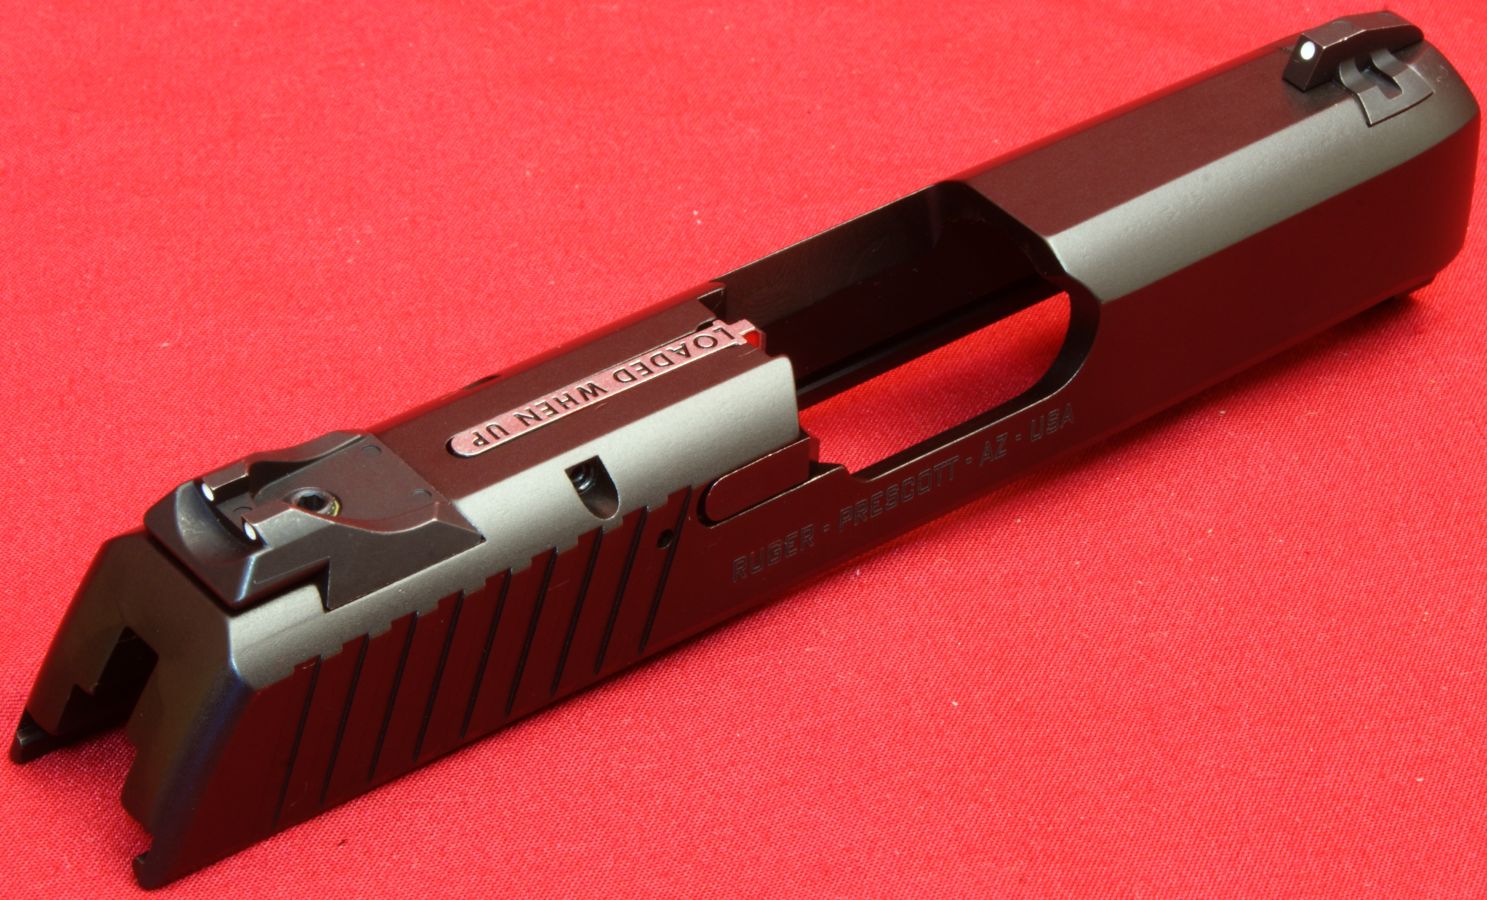
Figure 2

Figure 3
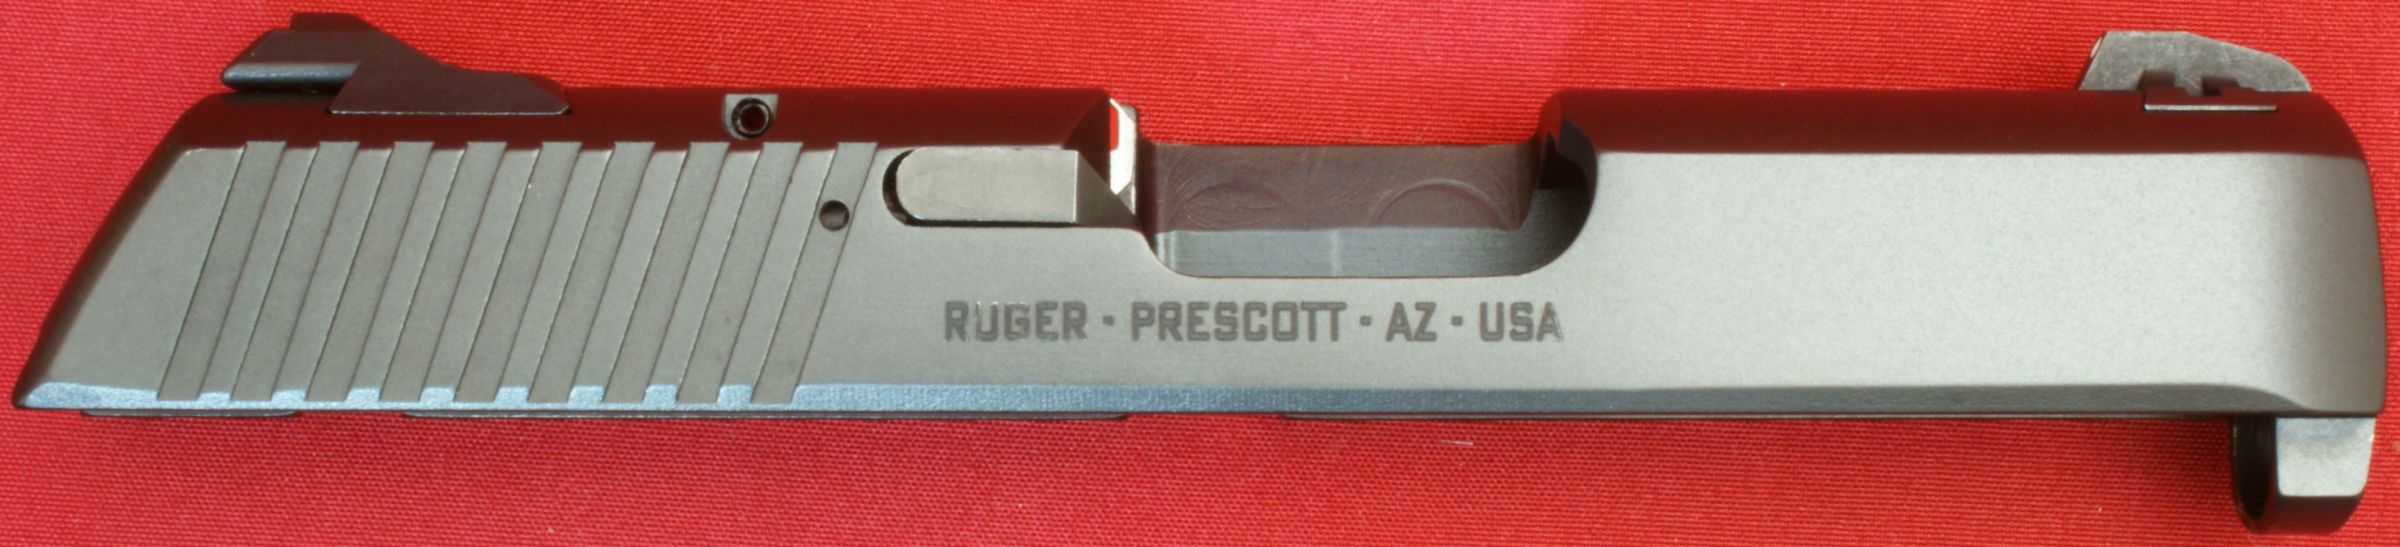
Figure 4

Figure 5
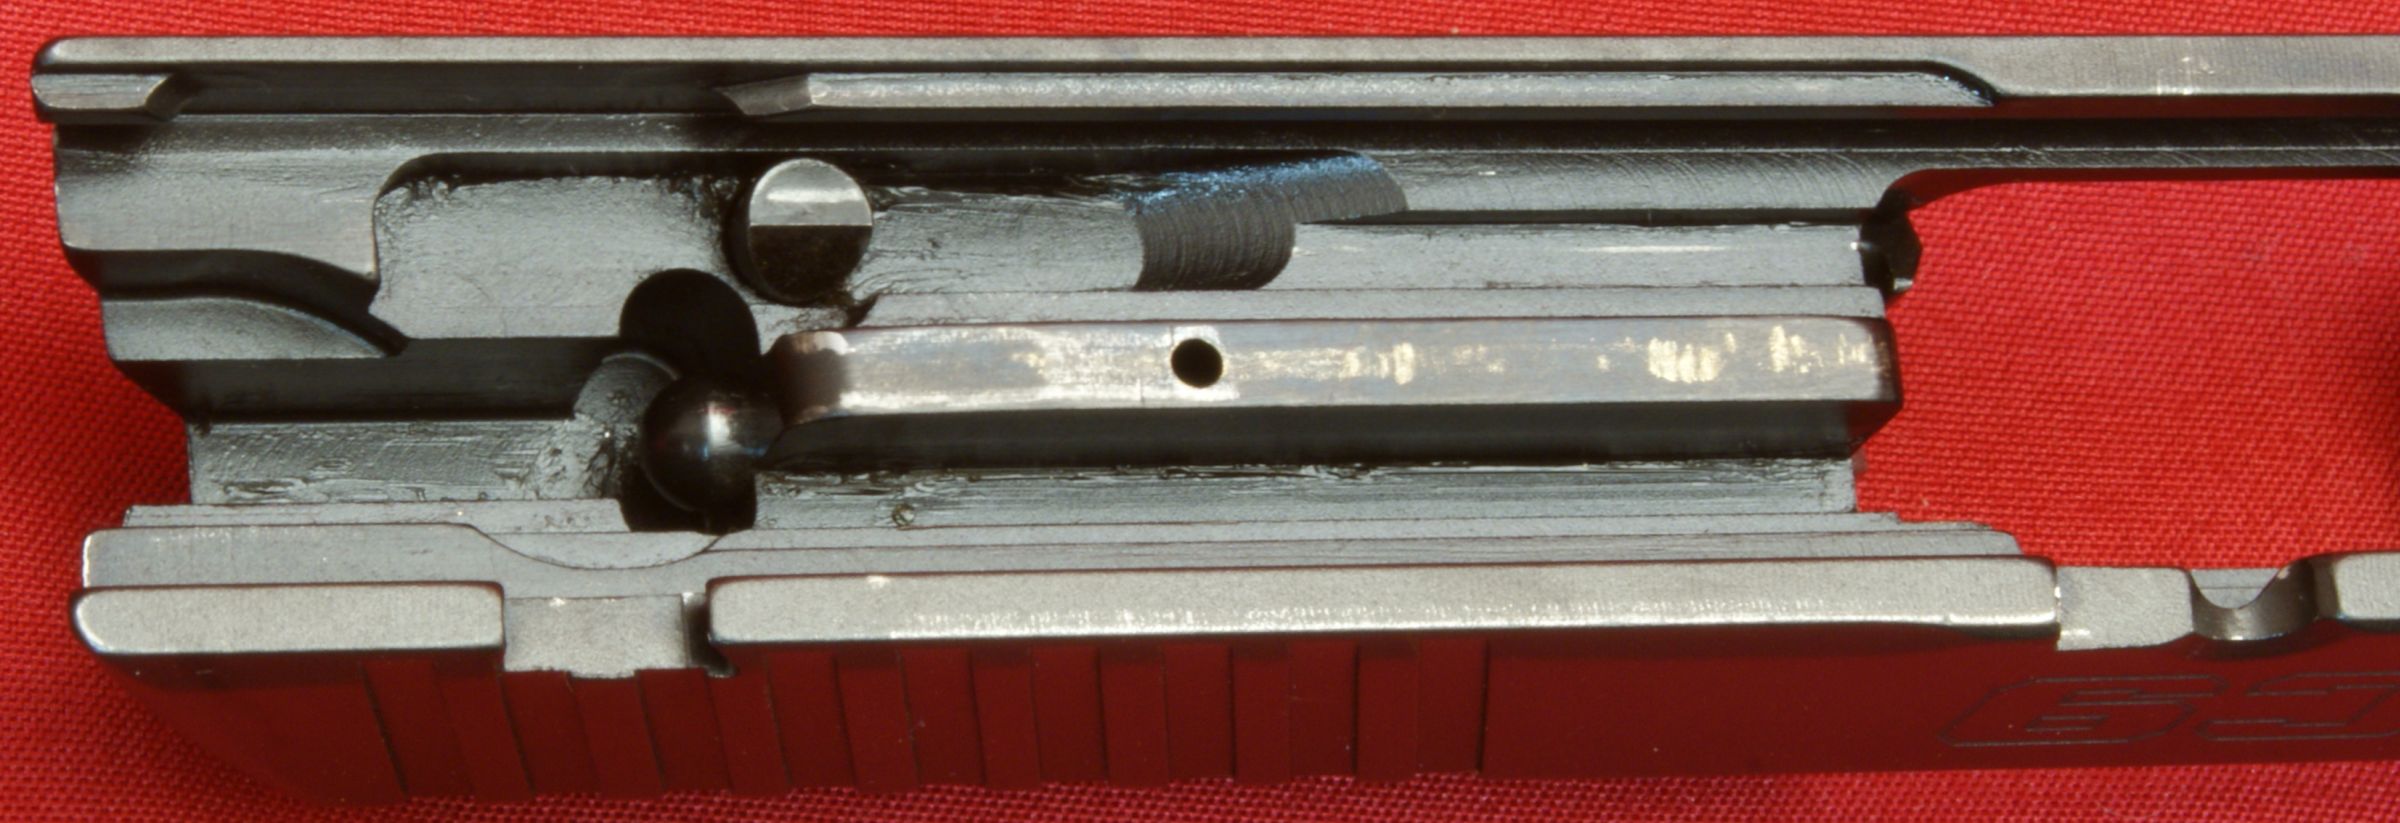
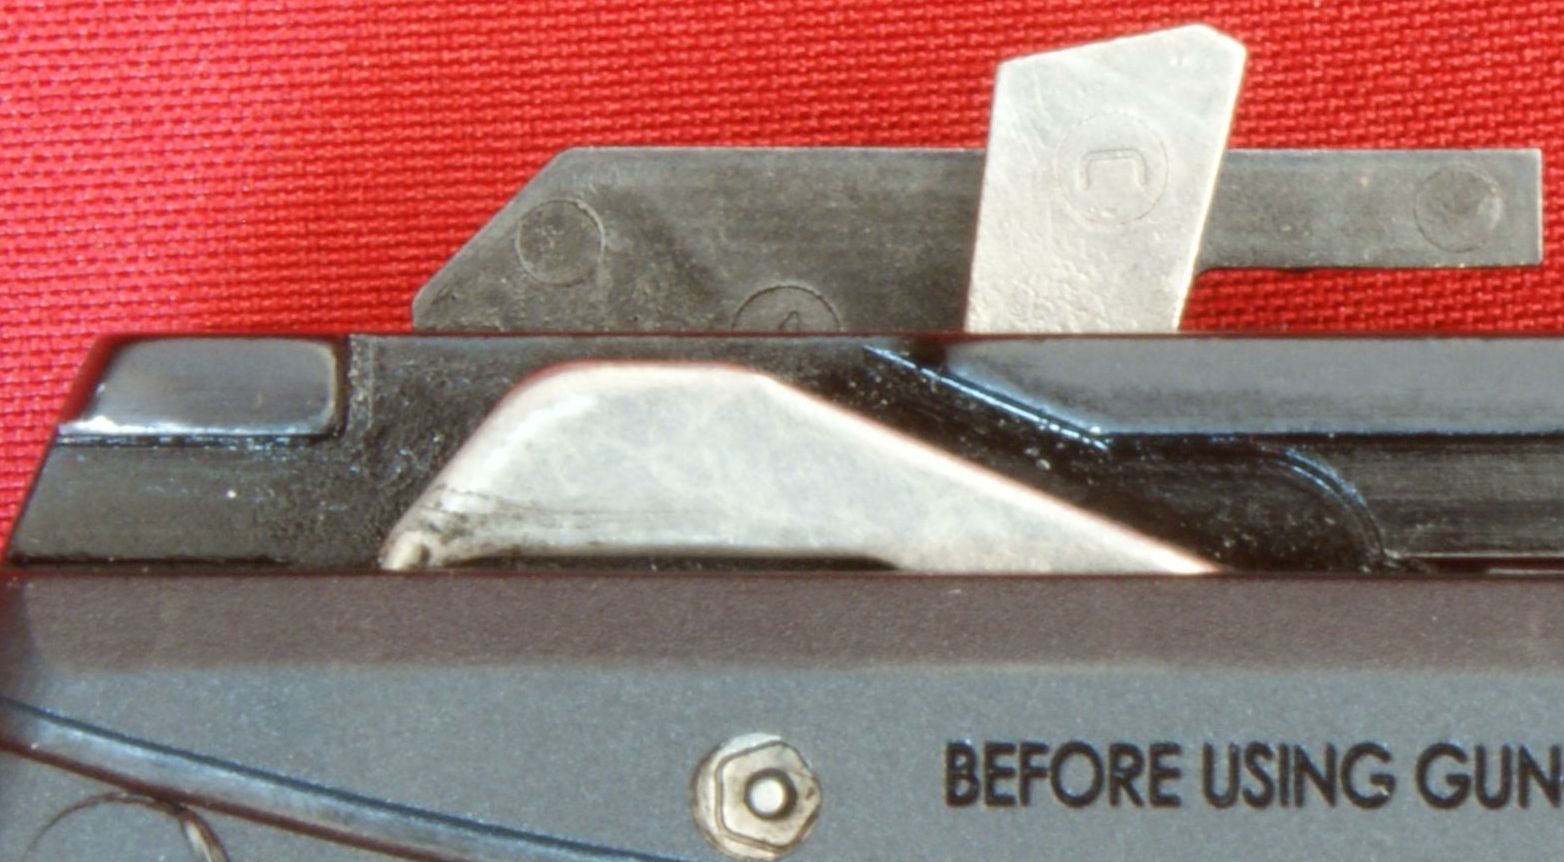
In the photo below you can see the end of the firing pin blocker (A) and the end of the firing pin (B). When you pull the trigger, the blocker lever pushes up on the firing pin blocker to allow the firing pin to be able to impact the primer.
Figure 6
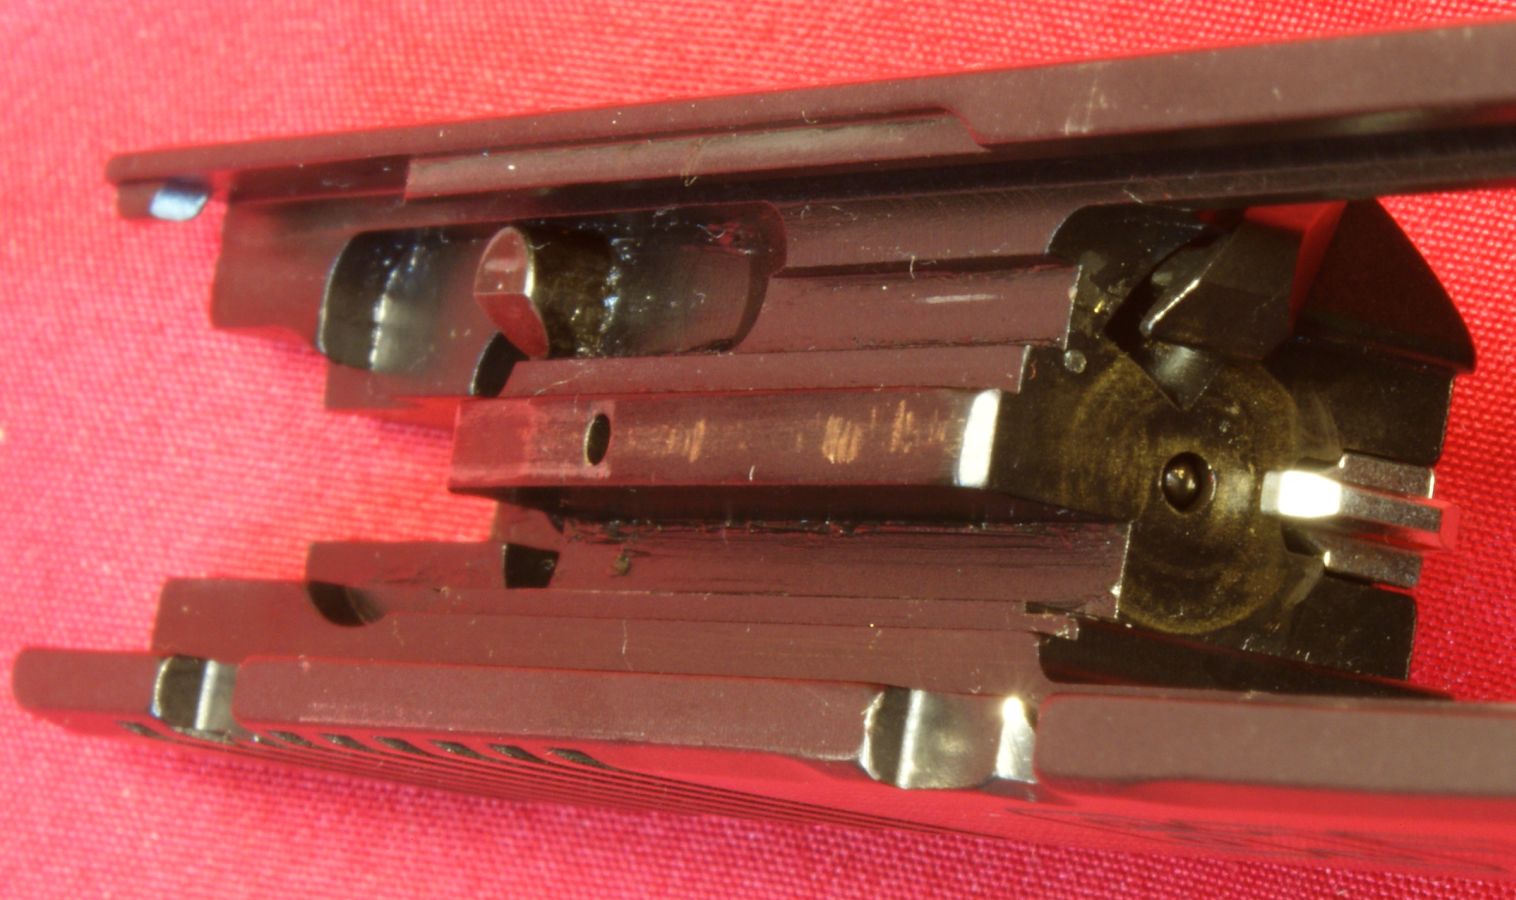
In the photo below you see the forward end of the firing pin along with the end of the extractor.
Figure 7
On the inside upper surface of the slide were a couple of stamped marks which I have yet to identify.
Figure 8
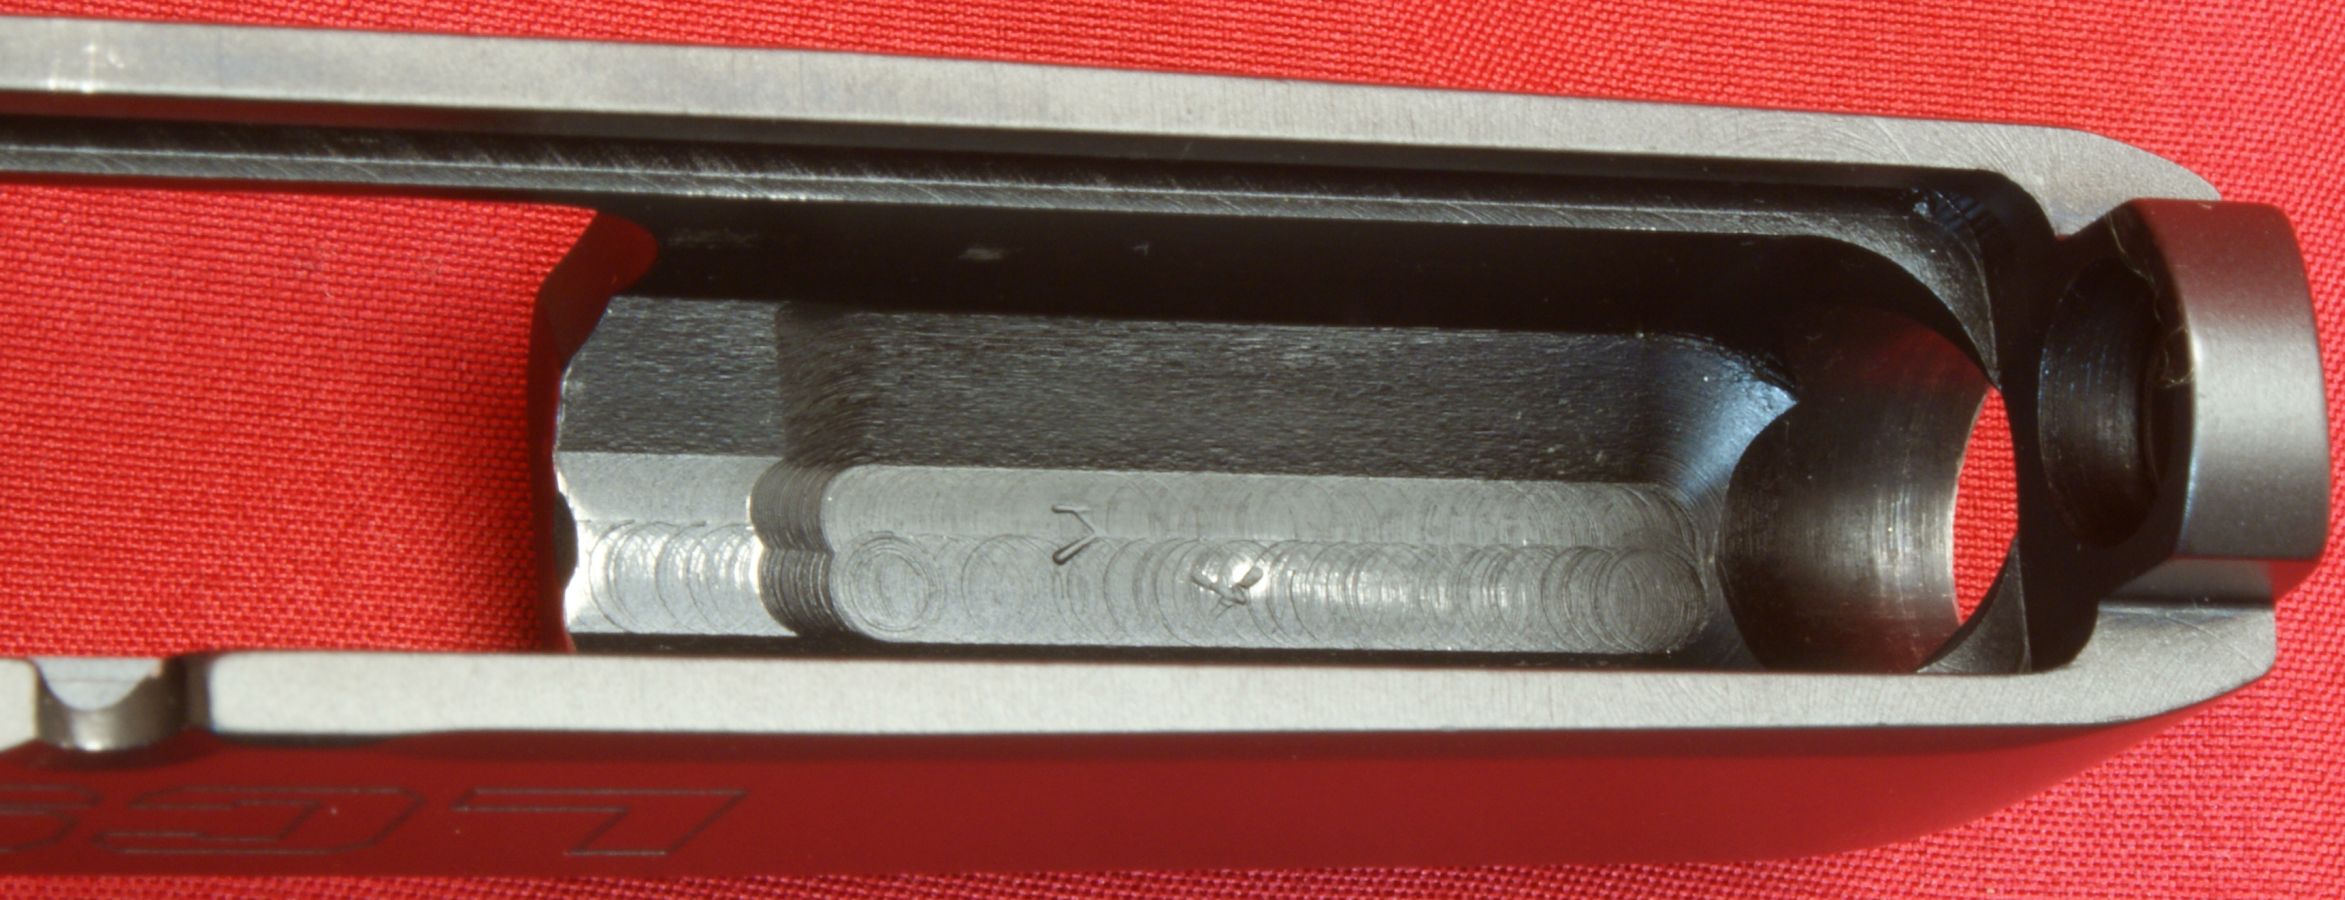
Figure 9

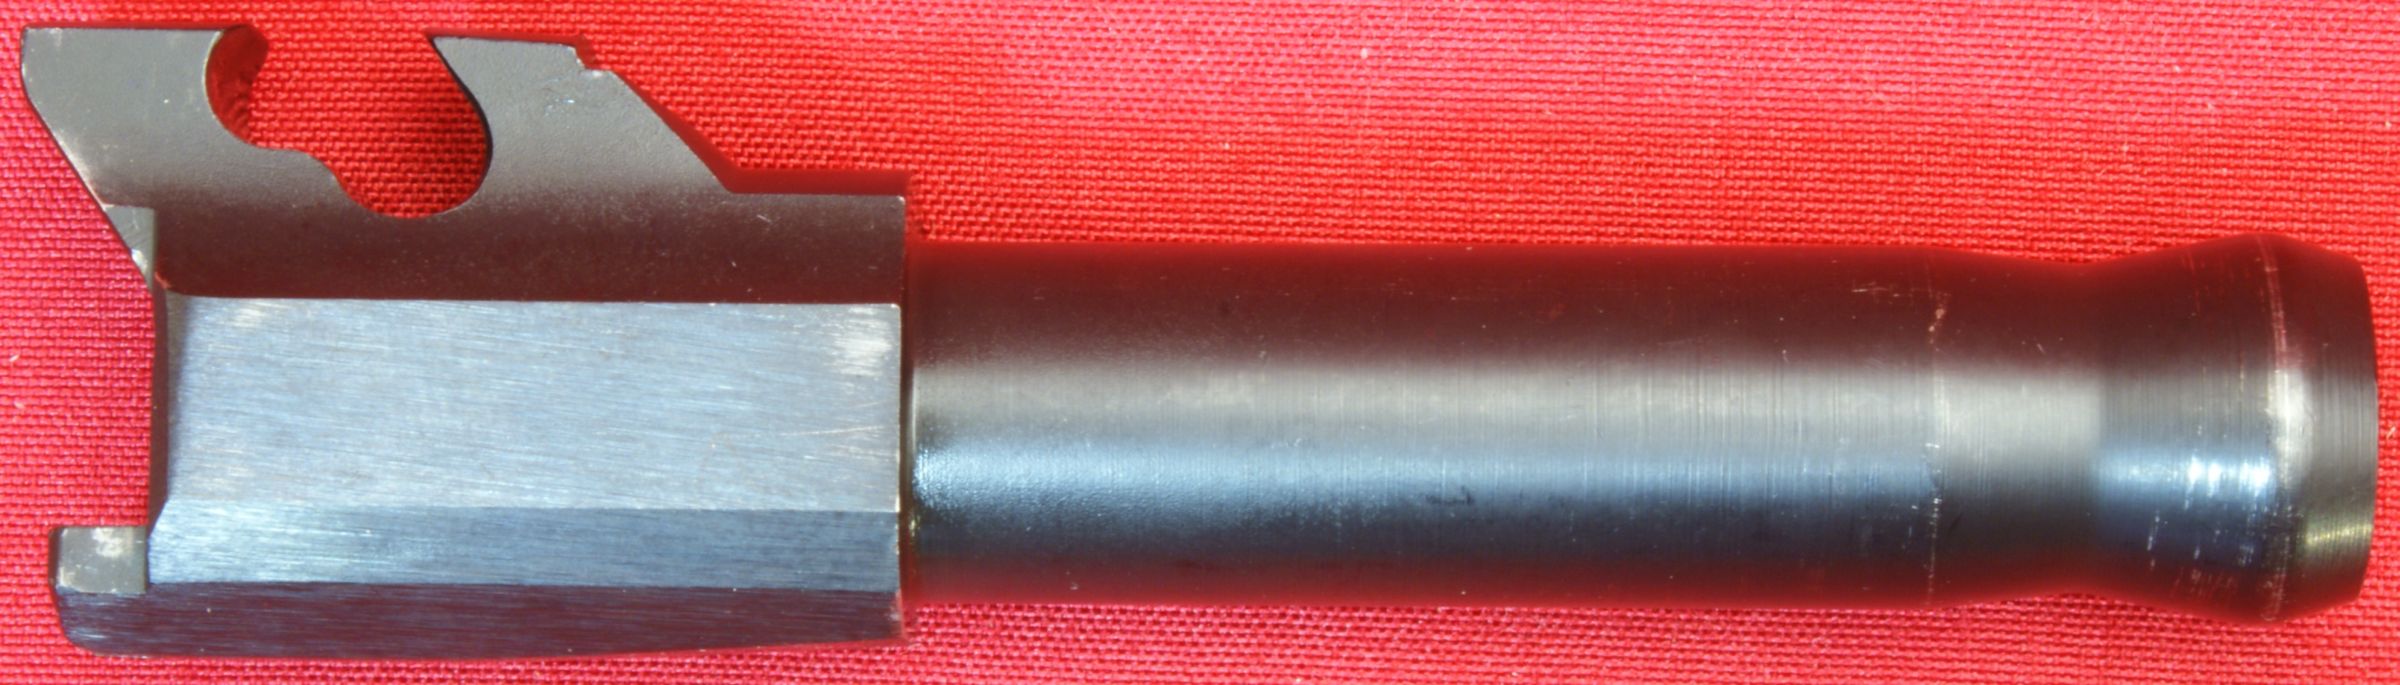
Barrel
The barrel is machined from 4140 alloy steel and has a blued finish. It has the caliber "9mm x 19" along with a proof mark engraved/stamped into the right side.
Figure 10
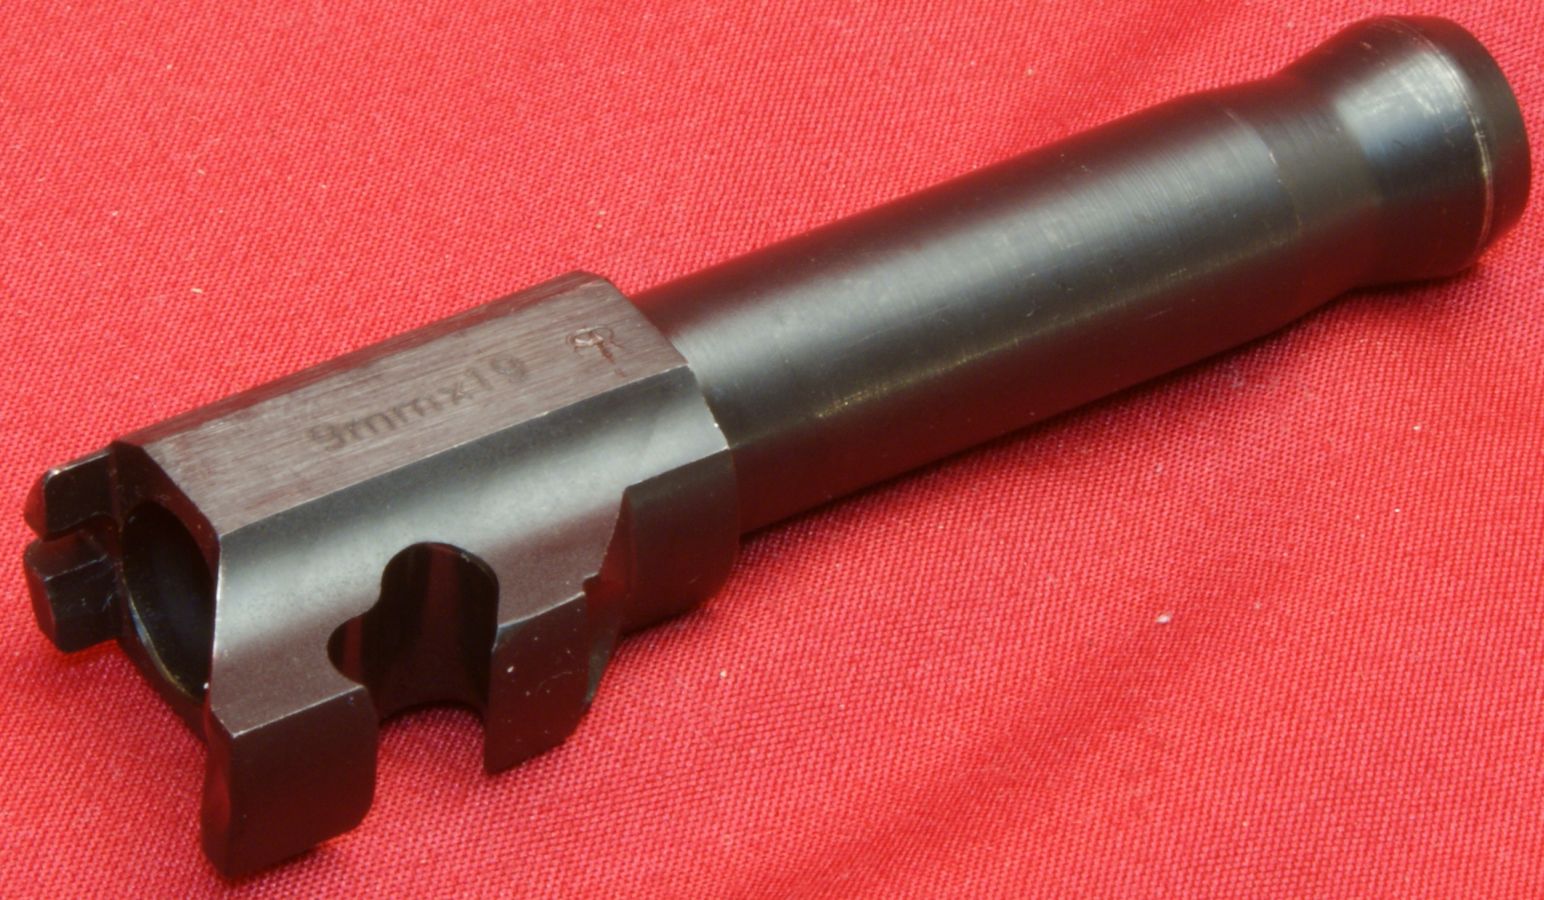
Figure 11
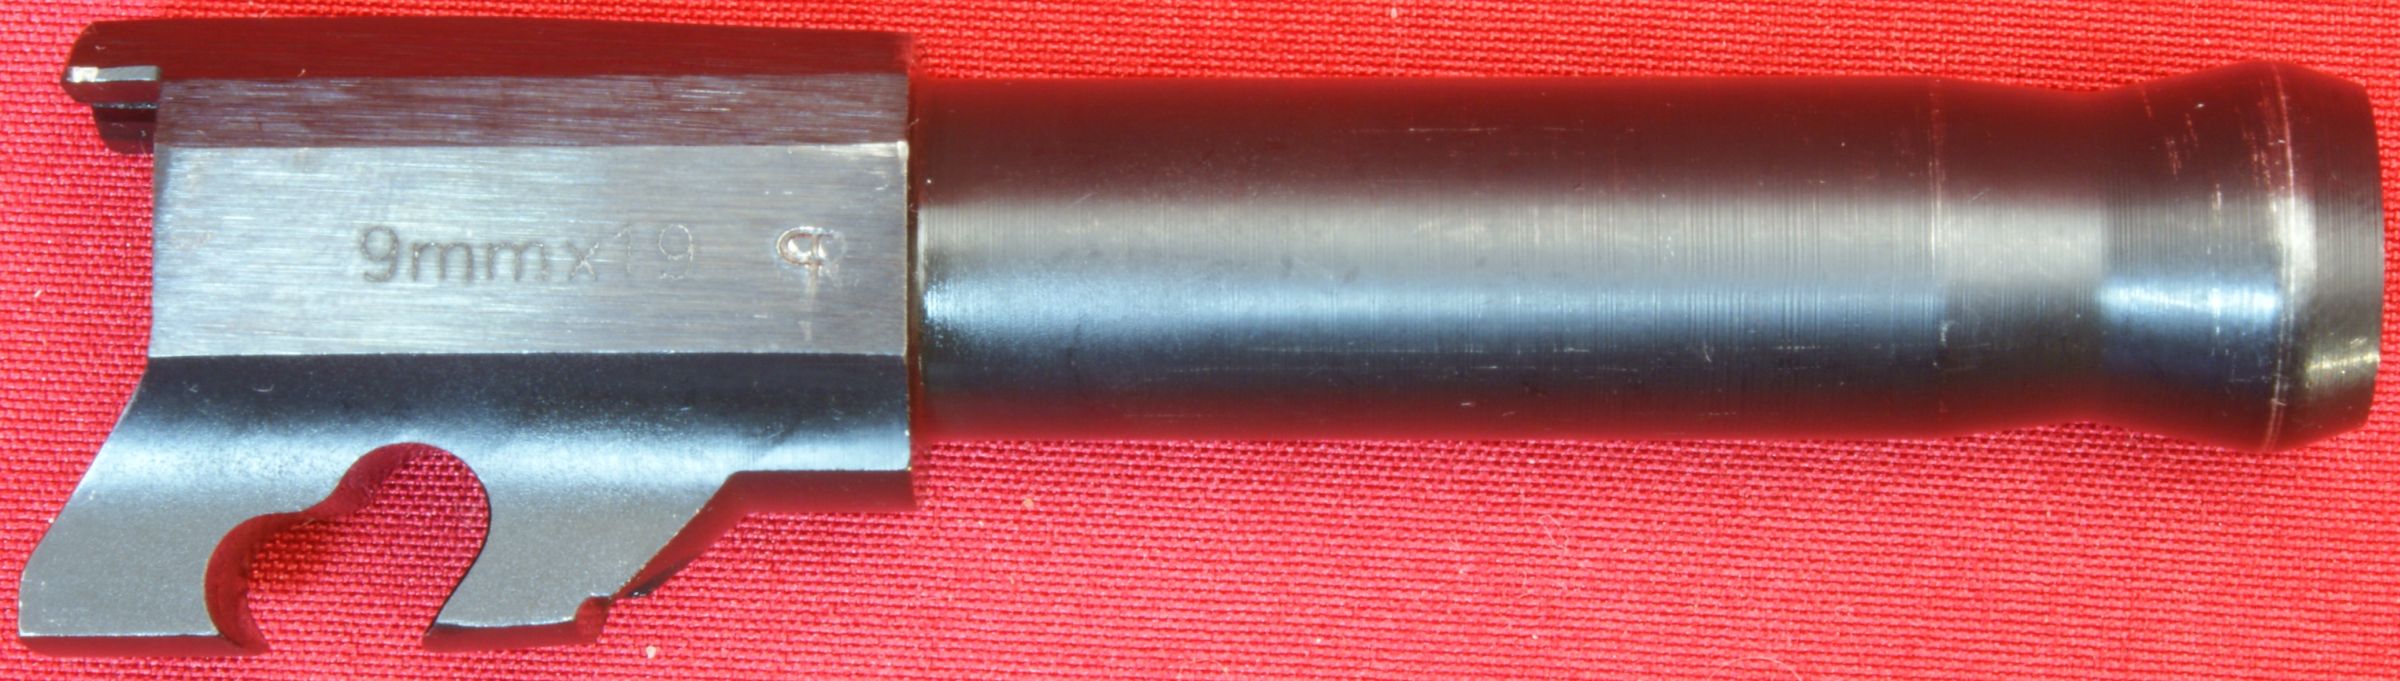
Figure 12

Figure 13
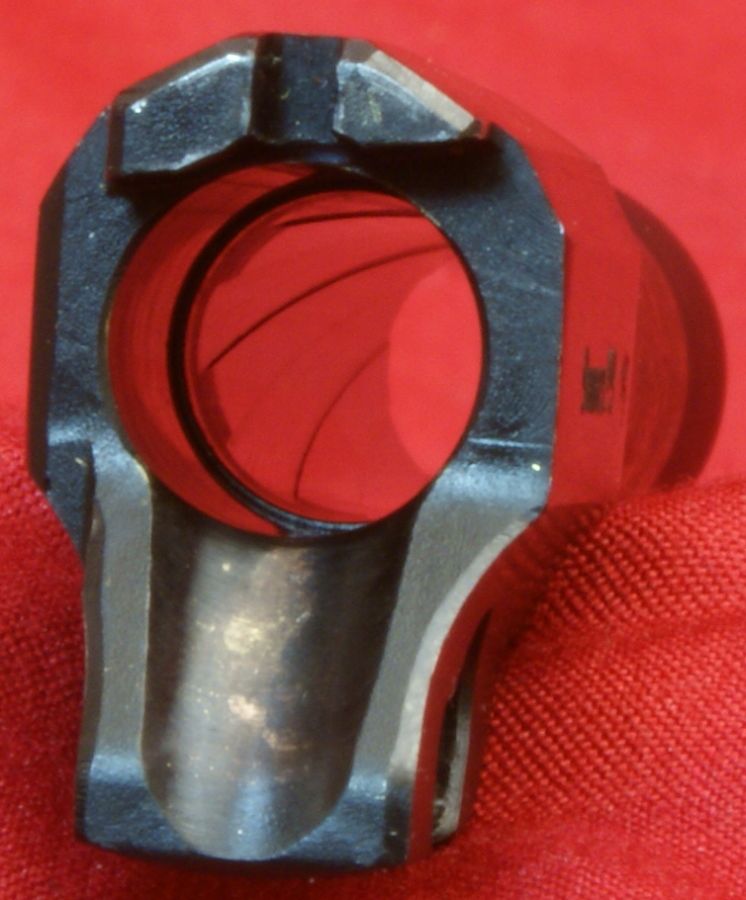
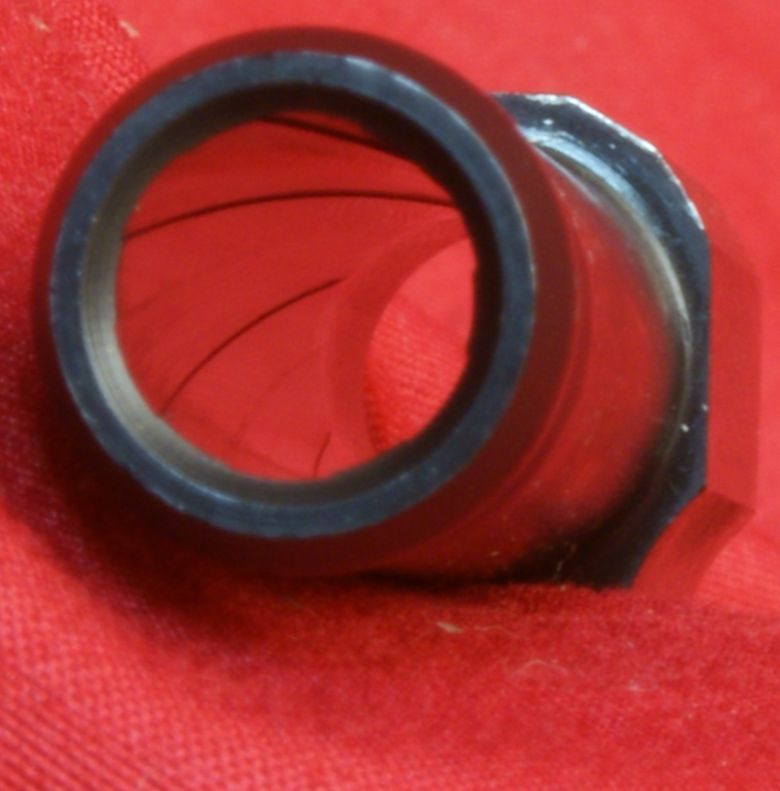
The rifling inside the barrel is a 6 groove 1:10" RH twist.
Figure 14
Figure 15
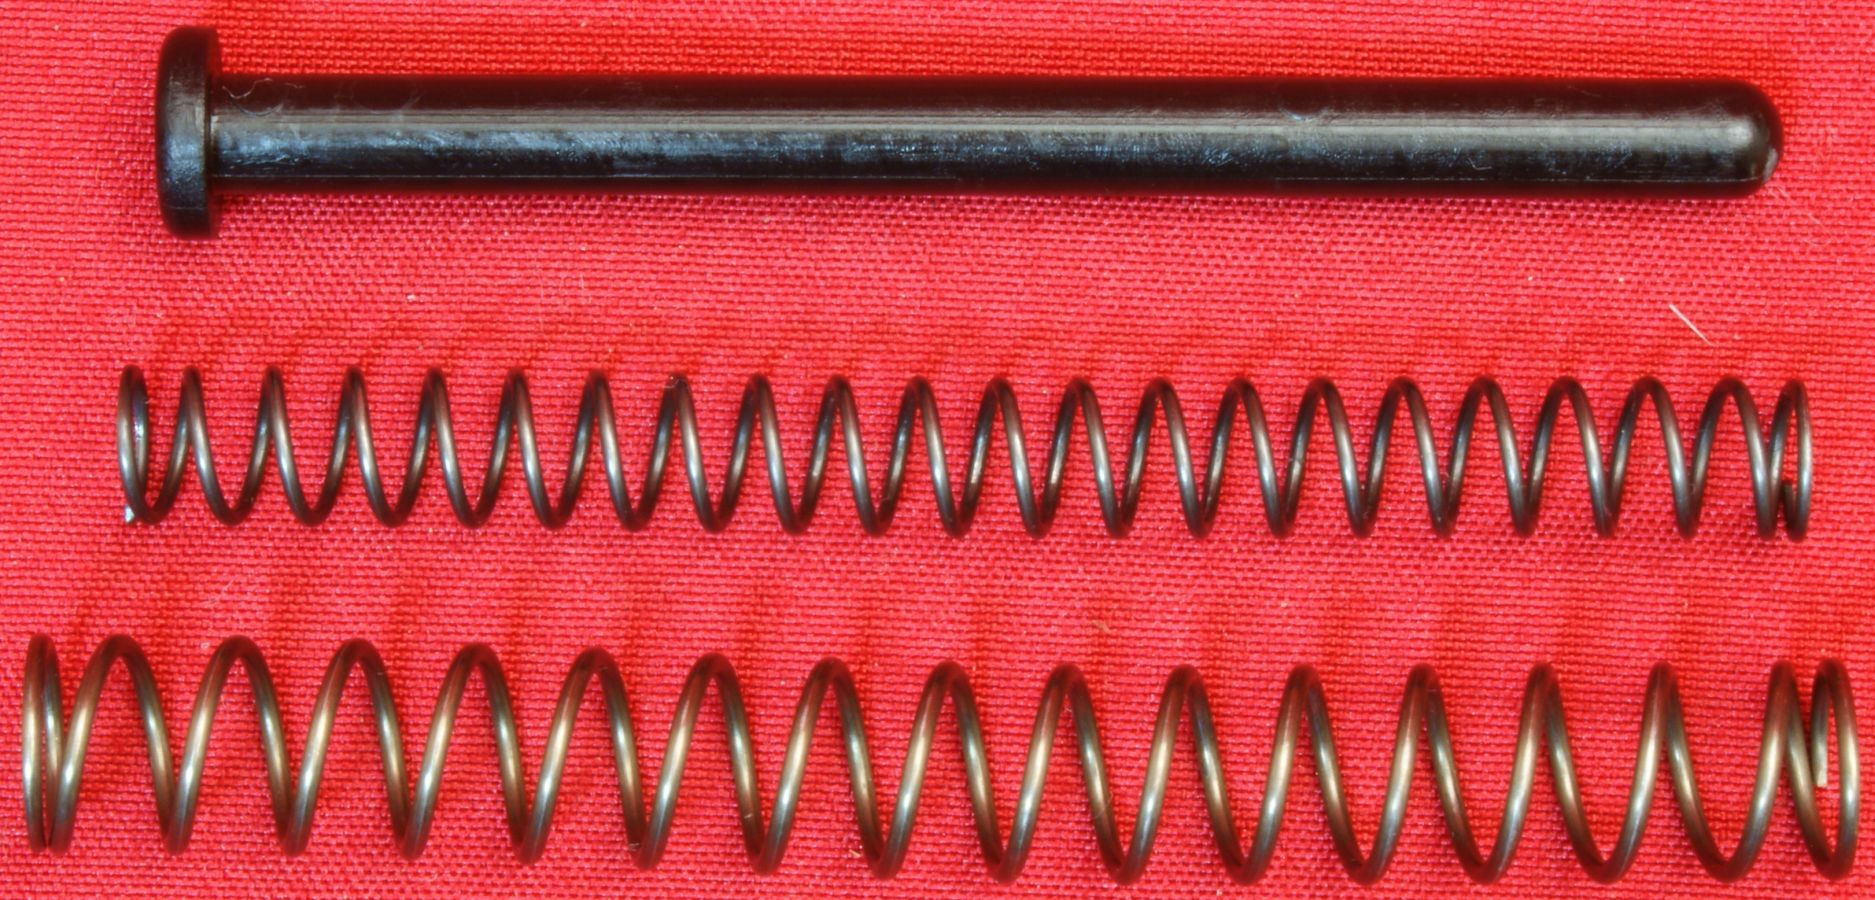
Spring Assembly
The spring assembly consists of a guide rod and two recoil springs. These parts easily slide apart and each end of the springs appears to be the same diameter so reassembly orientations are not critical.
Figure 16

Figure 17
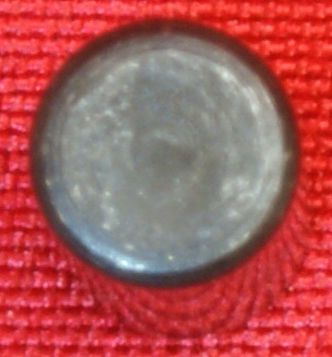
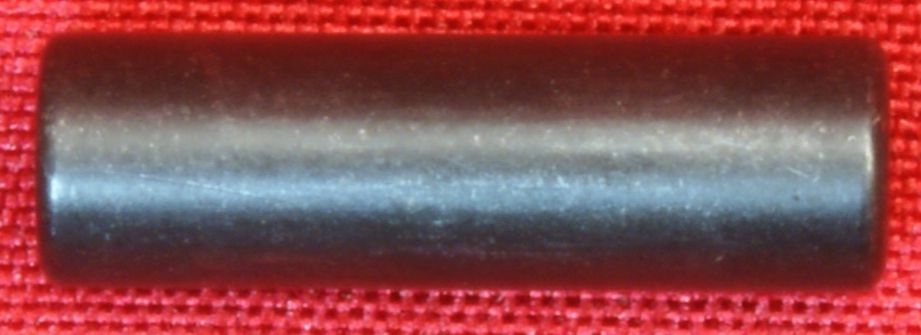
Takedown Pin
The takedown pin is a solid steel pin.
Figure 18
Figure 19
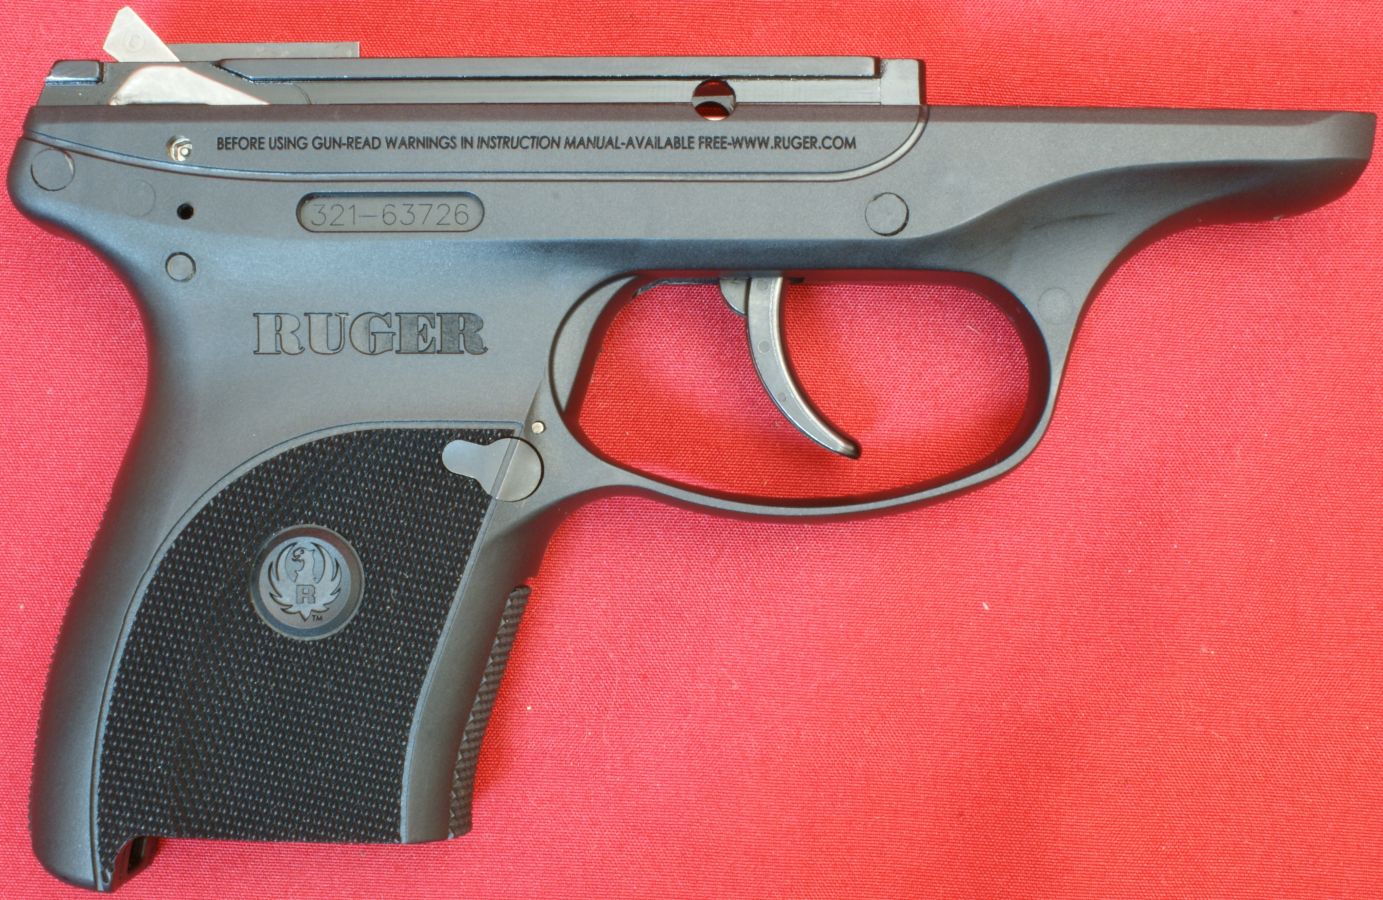
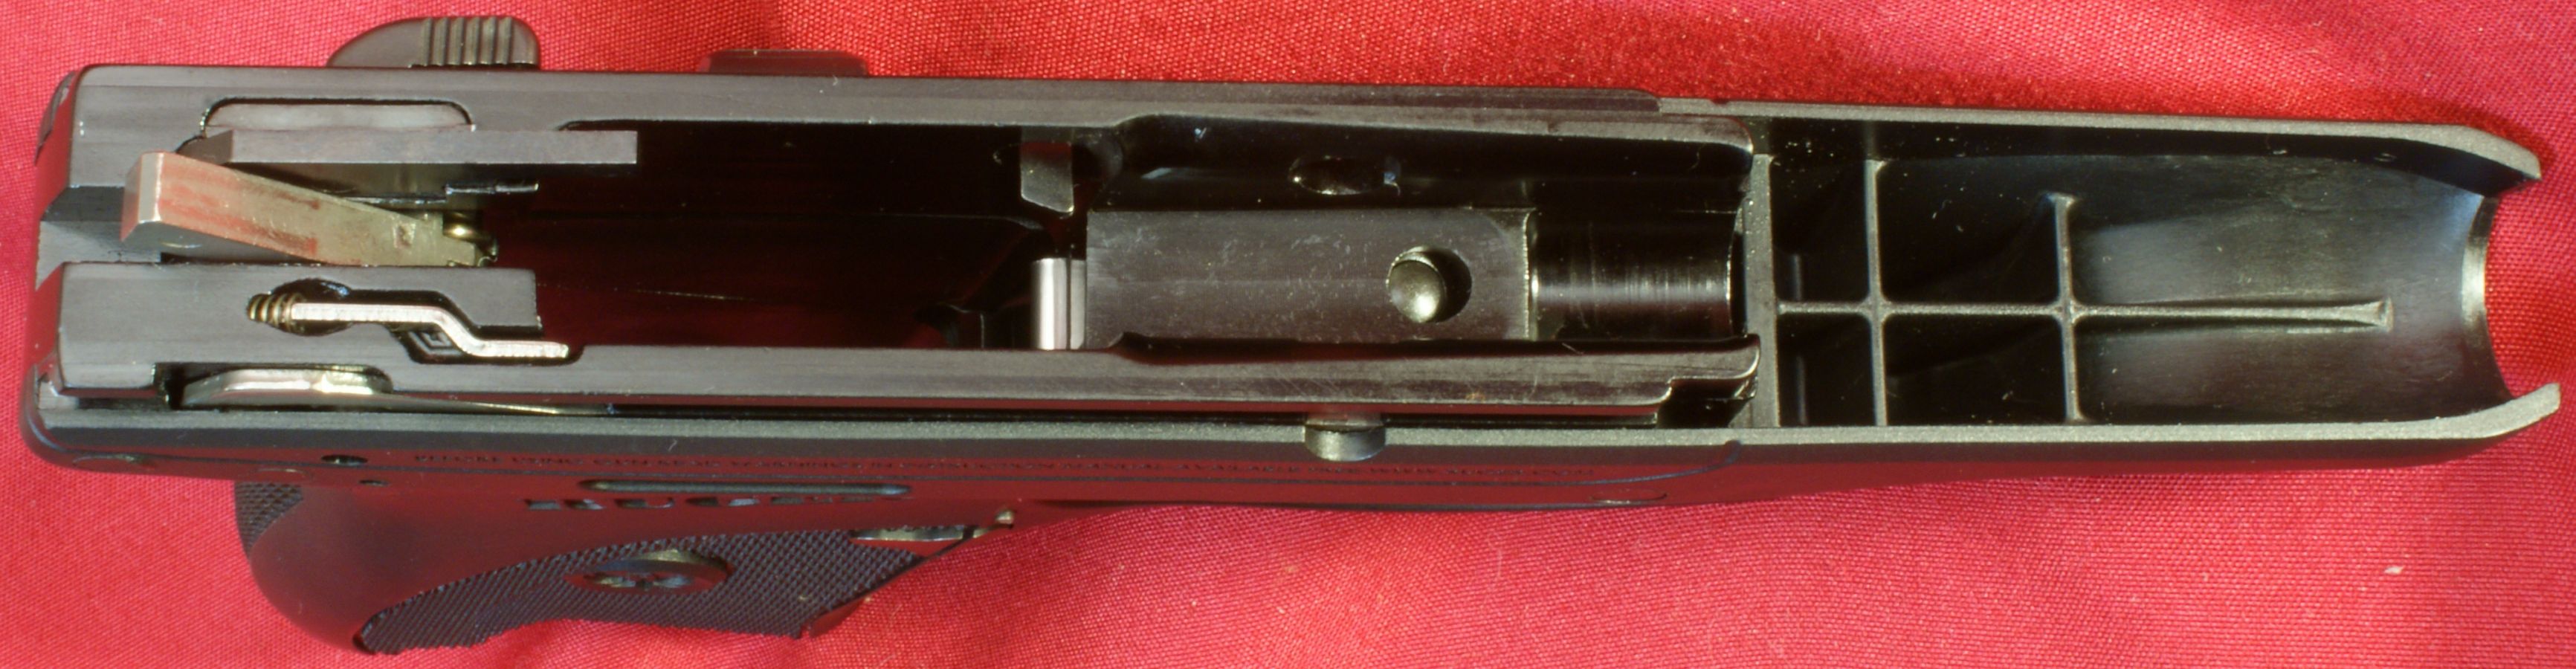
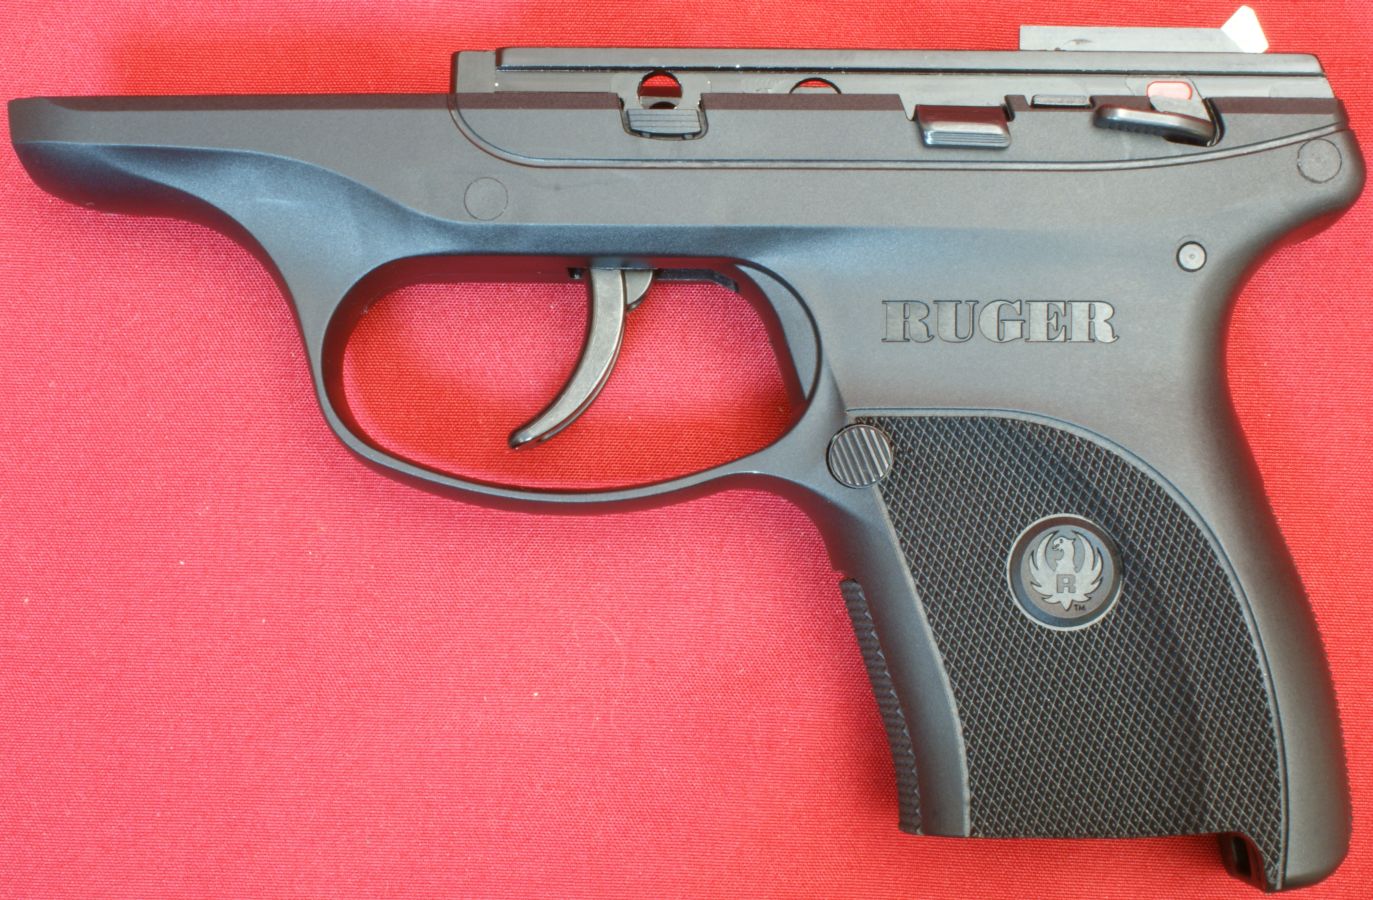
Frame Assembly
The Ruger LC9 frame assembly is made up of two main parts which are the grip frame (the polymer portion you see externally) and the frame insert which is an aluminum insert that houses the other mechanisms and provides rails for the slide to slide on. In these next couple of photos the hammer is in the semi-cocked position and the trigger is fully forward.
Figure 20
The front part of the aluminum frame insert has a channel on top that nests the barrel lug. On the bottom are the trigger attachments and the magazine disconnect.
Figure 21
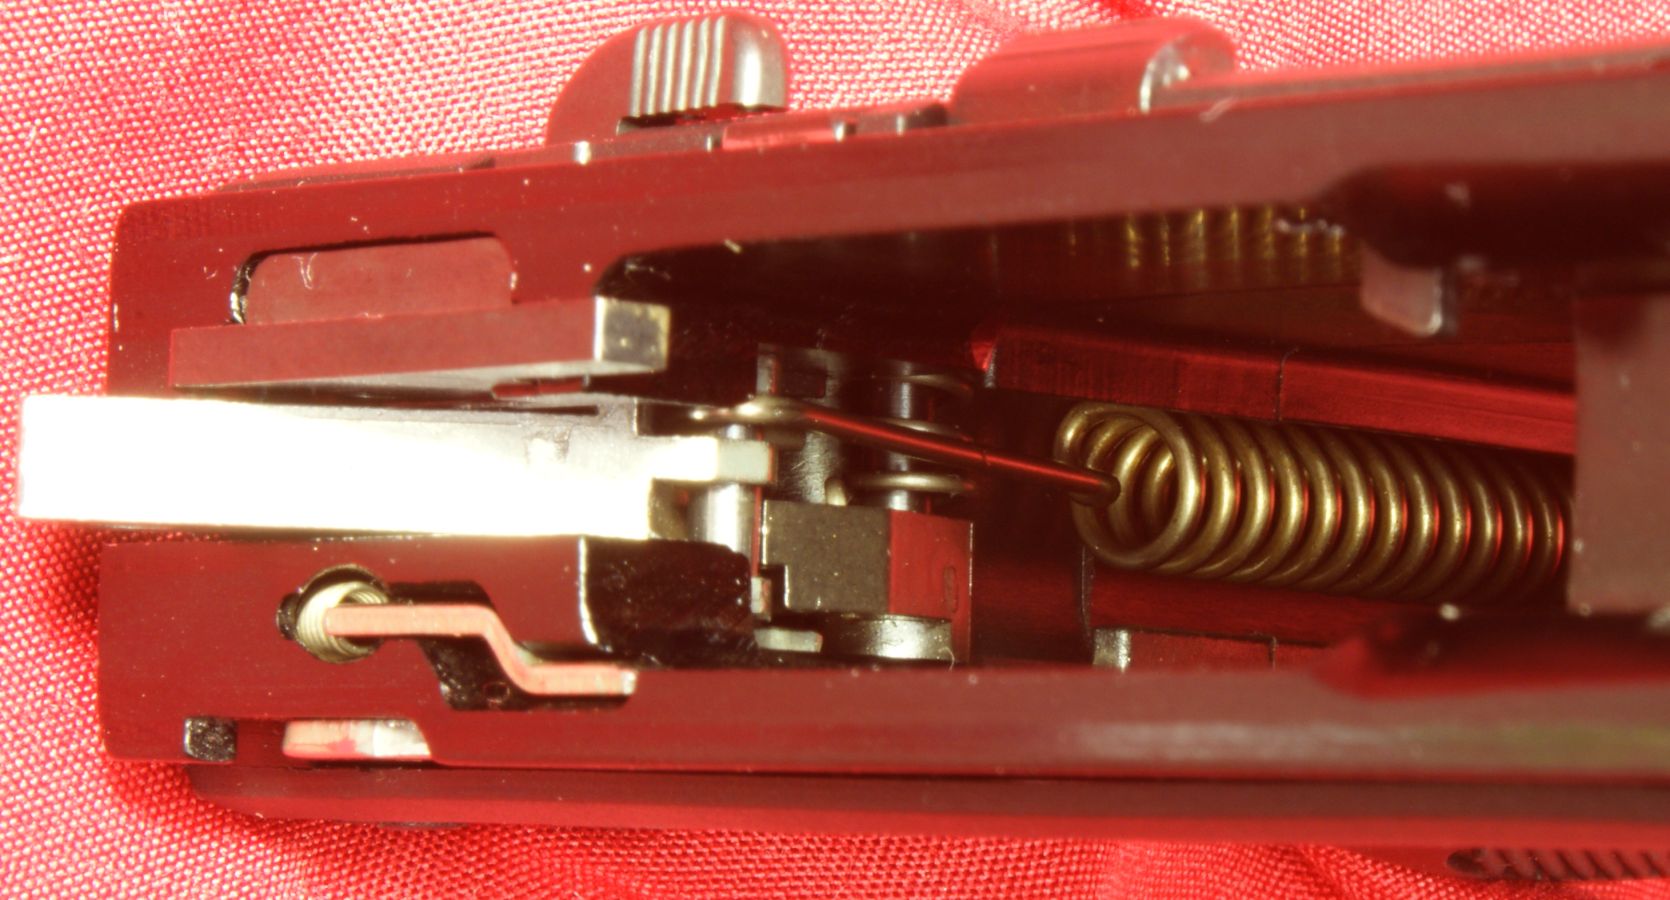
Within the circled area below, you can see the end of the magazine disconnect (shiny part on right). When you insert a magazine, this disconnect is pushed forward and no longer blocks trigger travel. Also you can see the C or U shaped piece of spring steel which is the magazine latch spring.
Figure 22
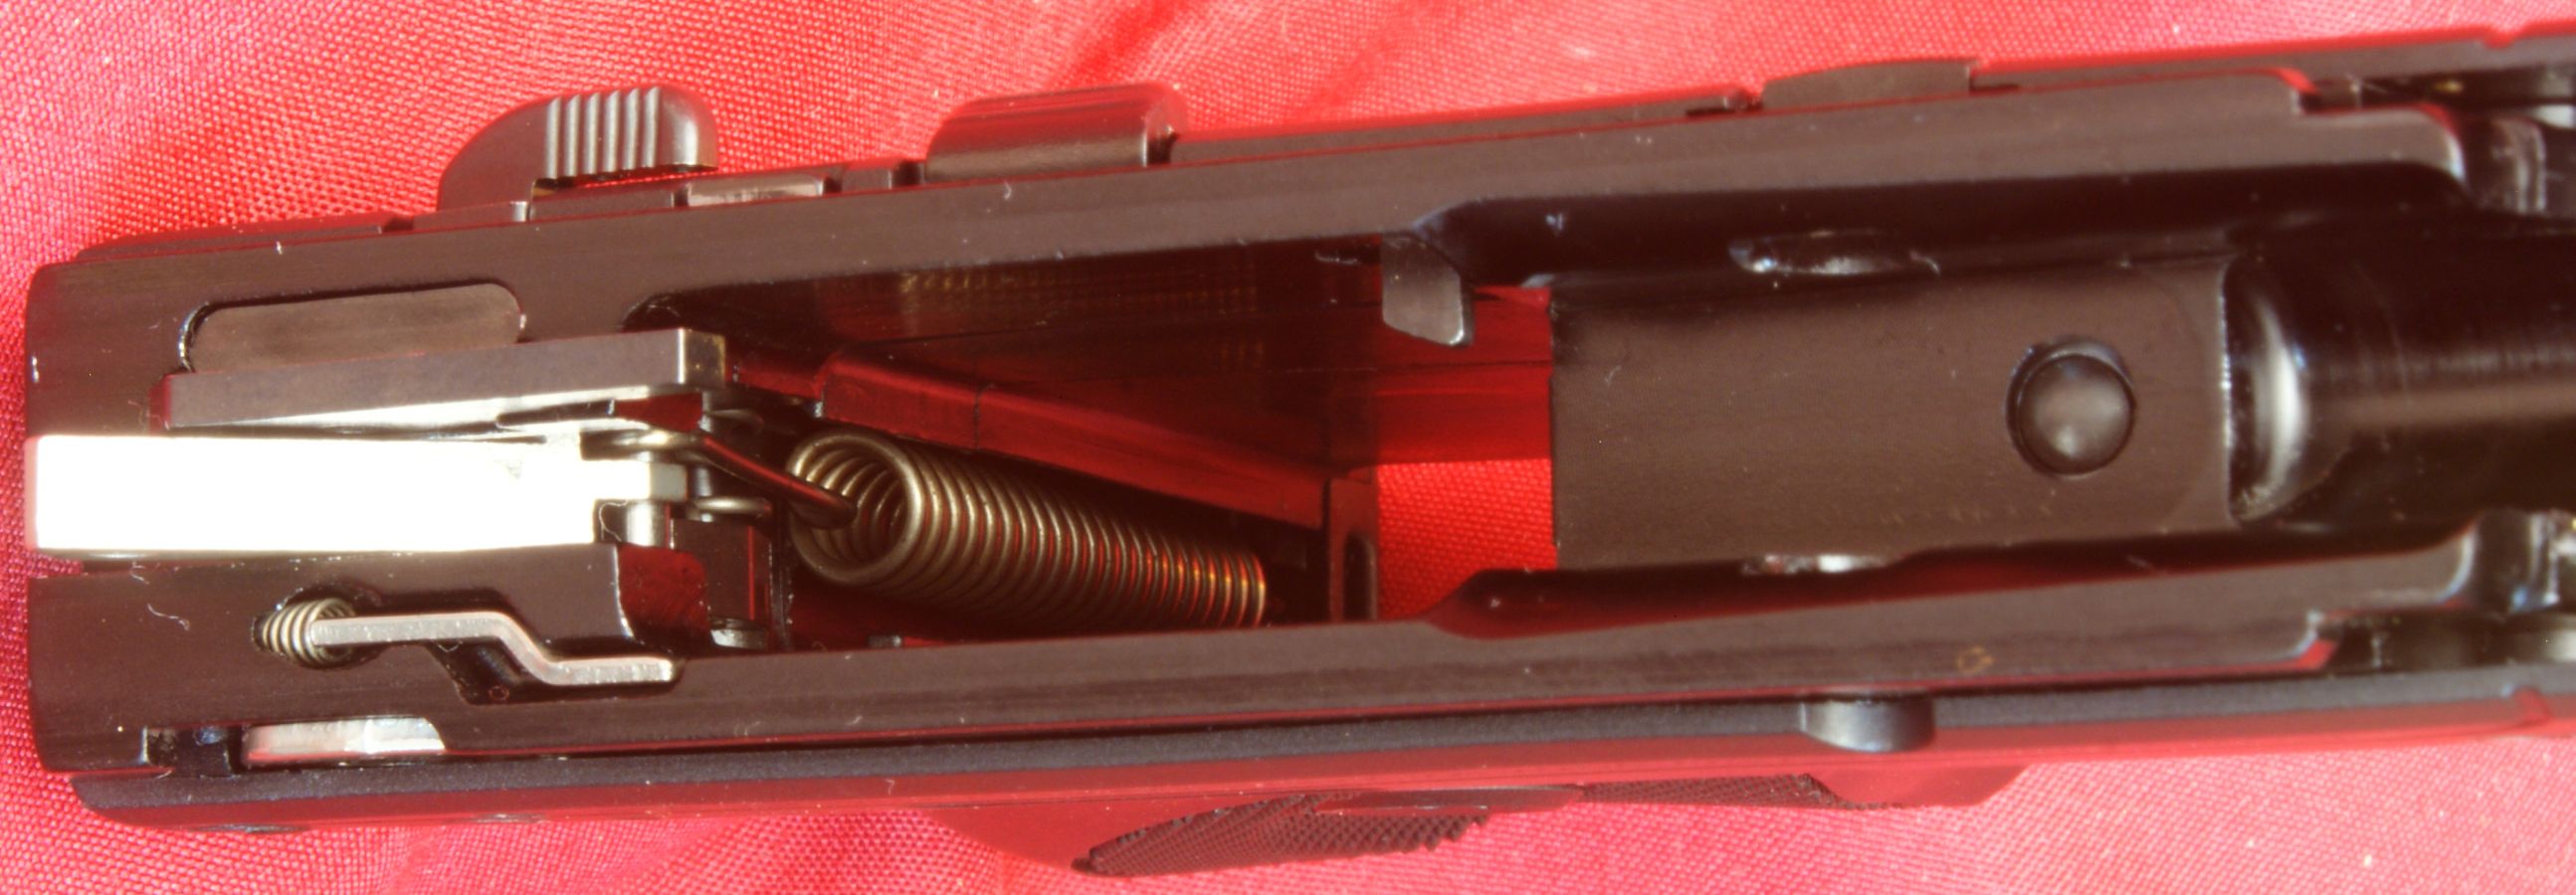
On the rear side of the magazine well you can see the hammer spring which is looped over the hammer roll pin.
Figure 23
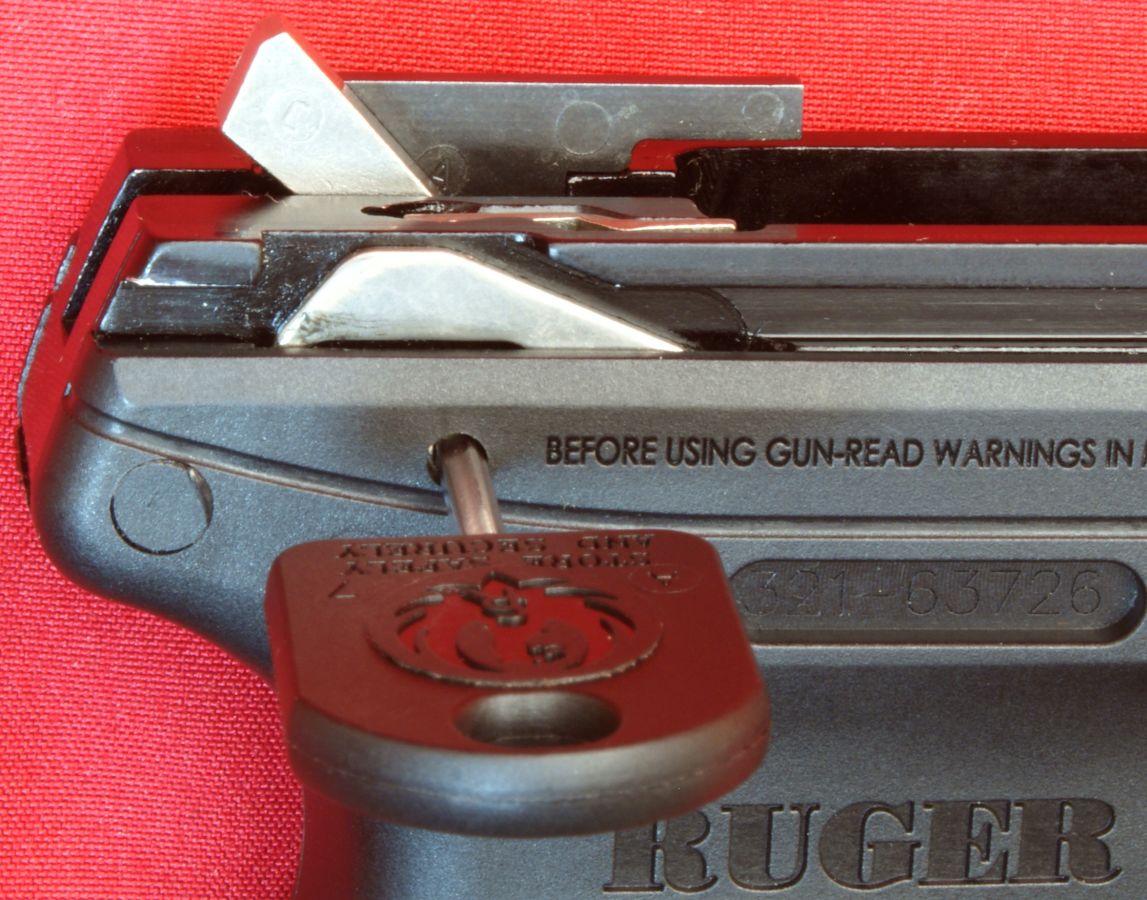
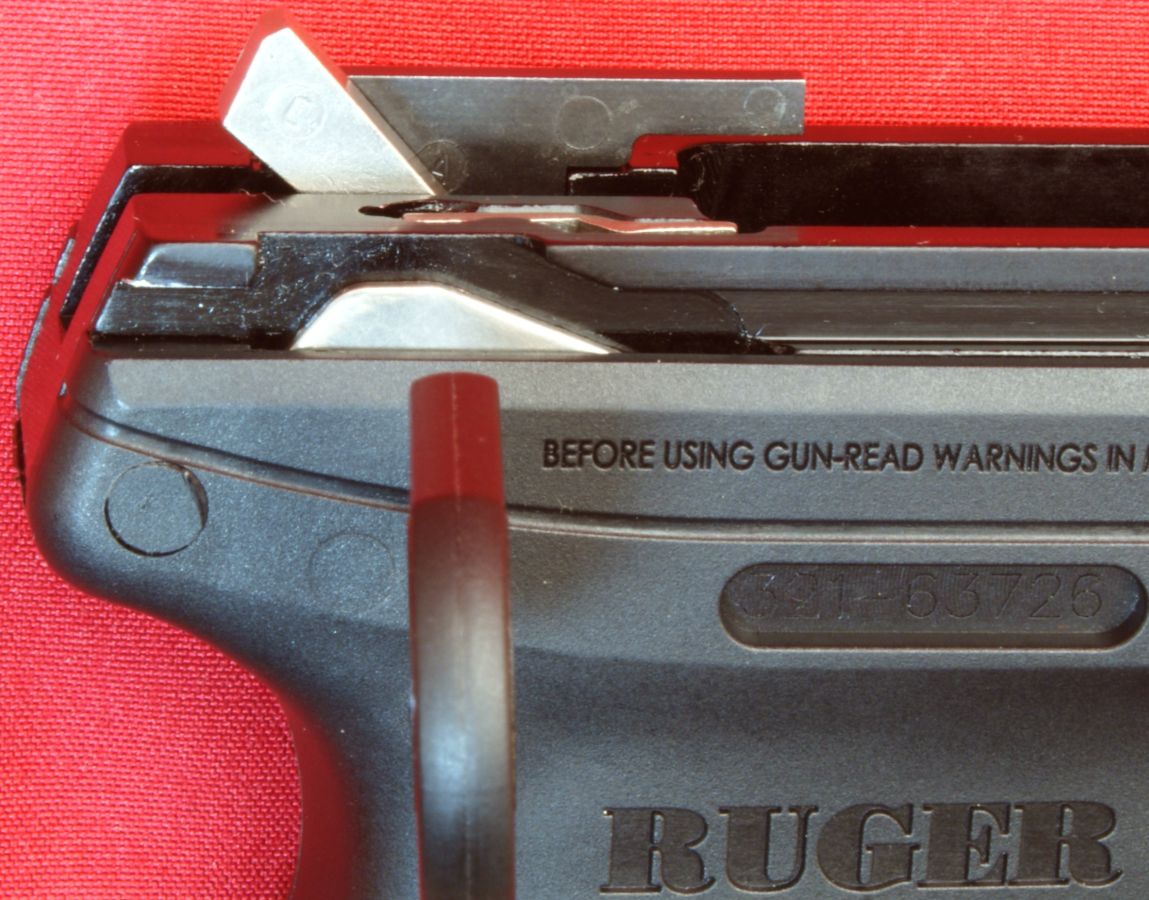
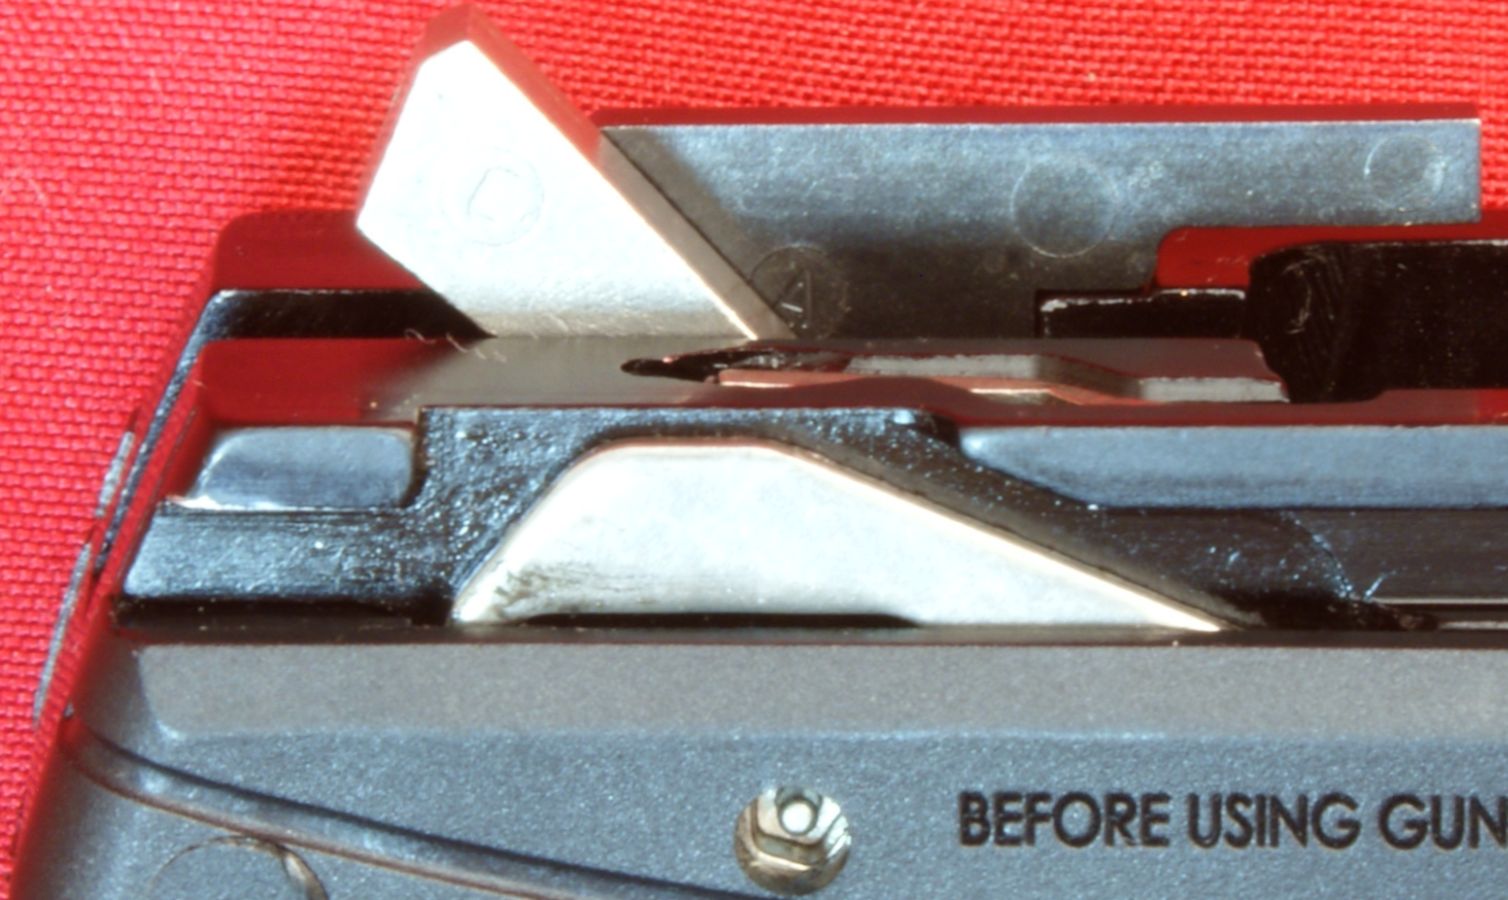
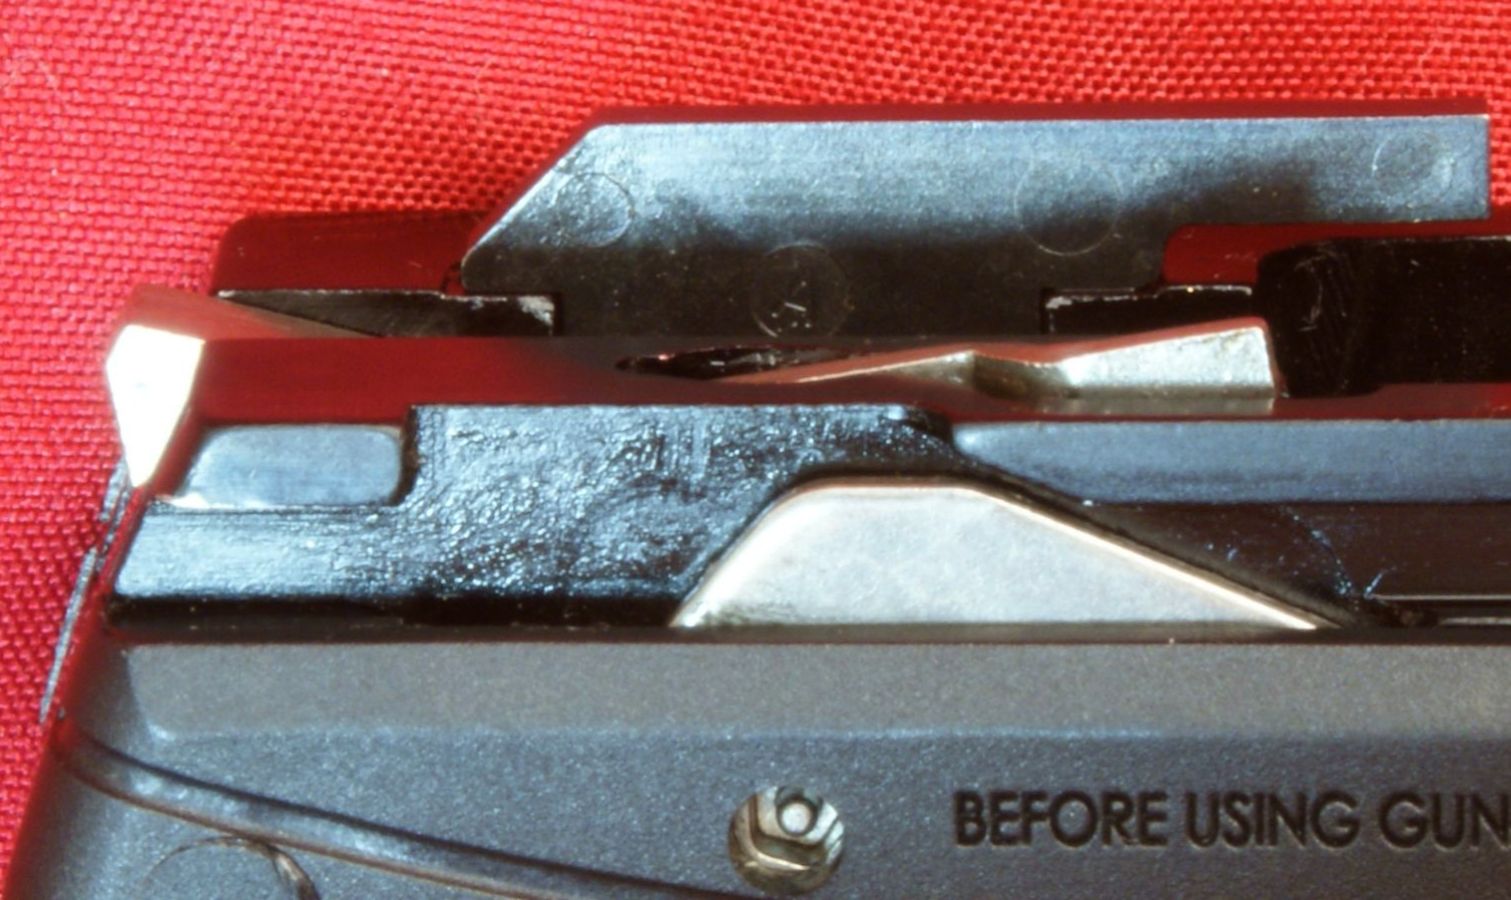
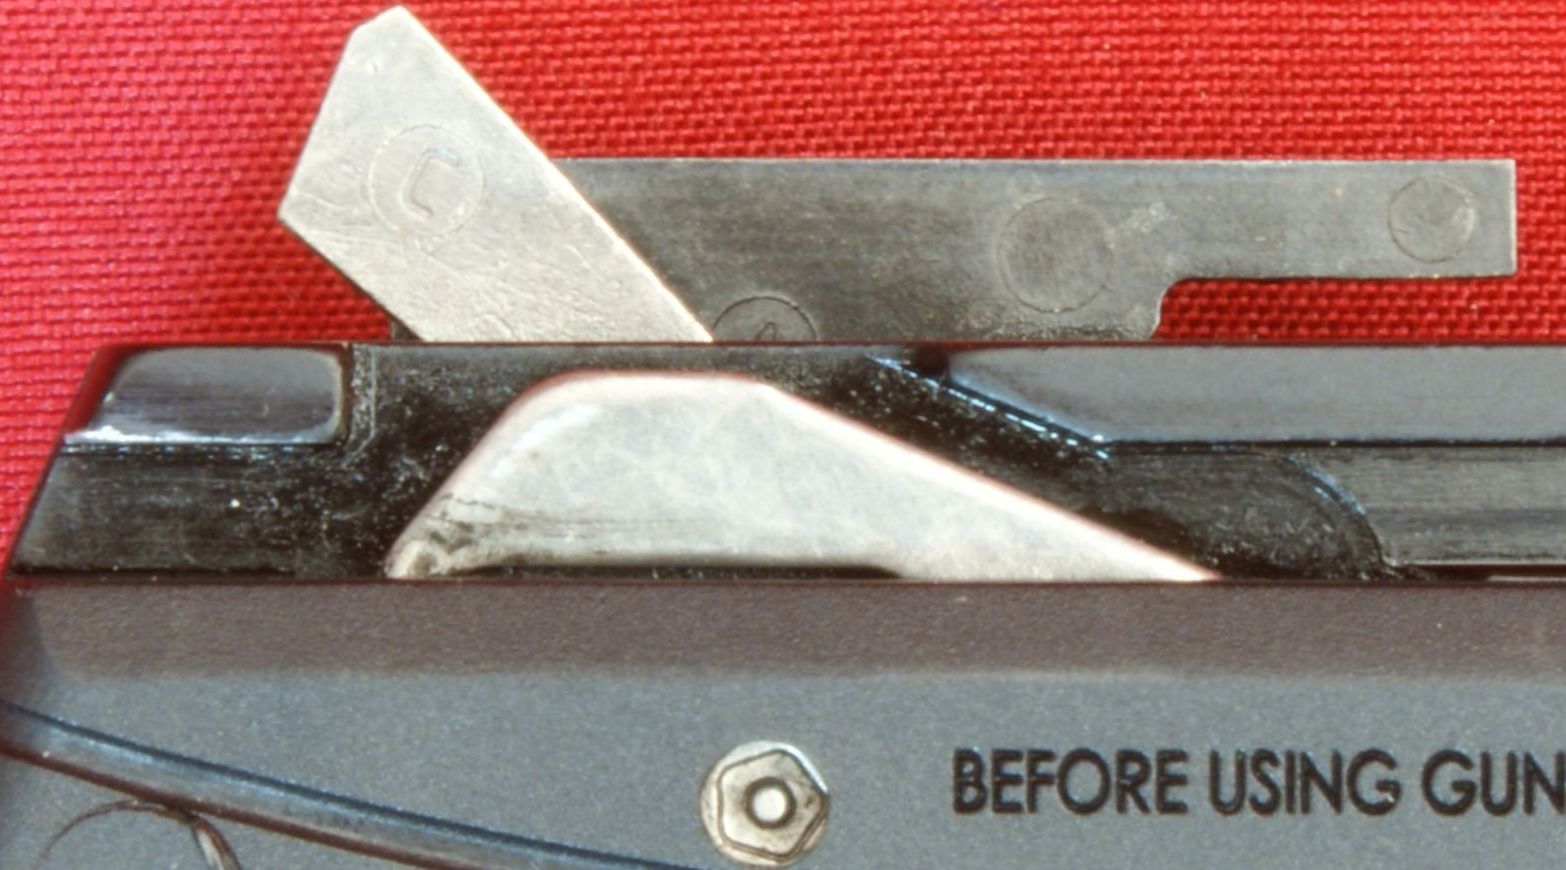
These next two photos are intended to show what happens when you rotate the internal lock feature. The photo on the left is in the unlocked position. The photo on the right is in the locked position. When you rotate the internal lock to the locked position, this rotation moves the trigger bar down (as shown in the photo) so that the trigger bar cannot cock the hammer when you pull the trigger.
Figure 24 - Unlocked
Figure 25 - Locked
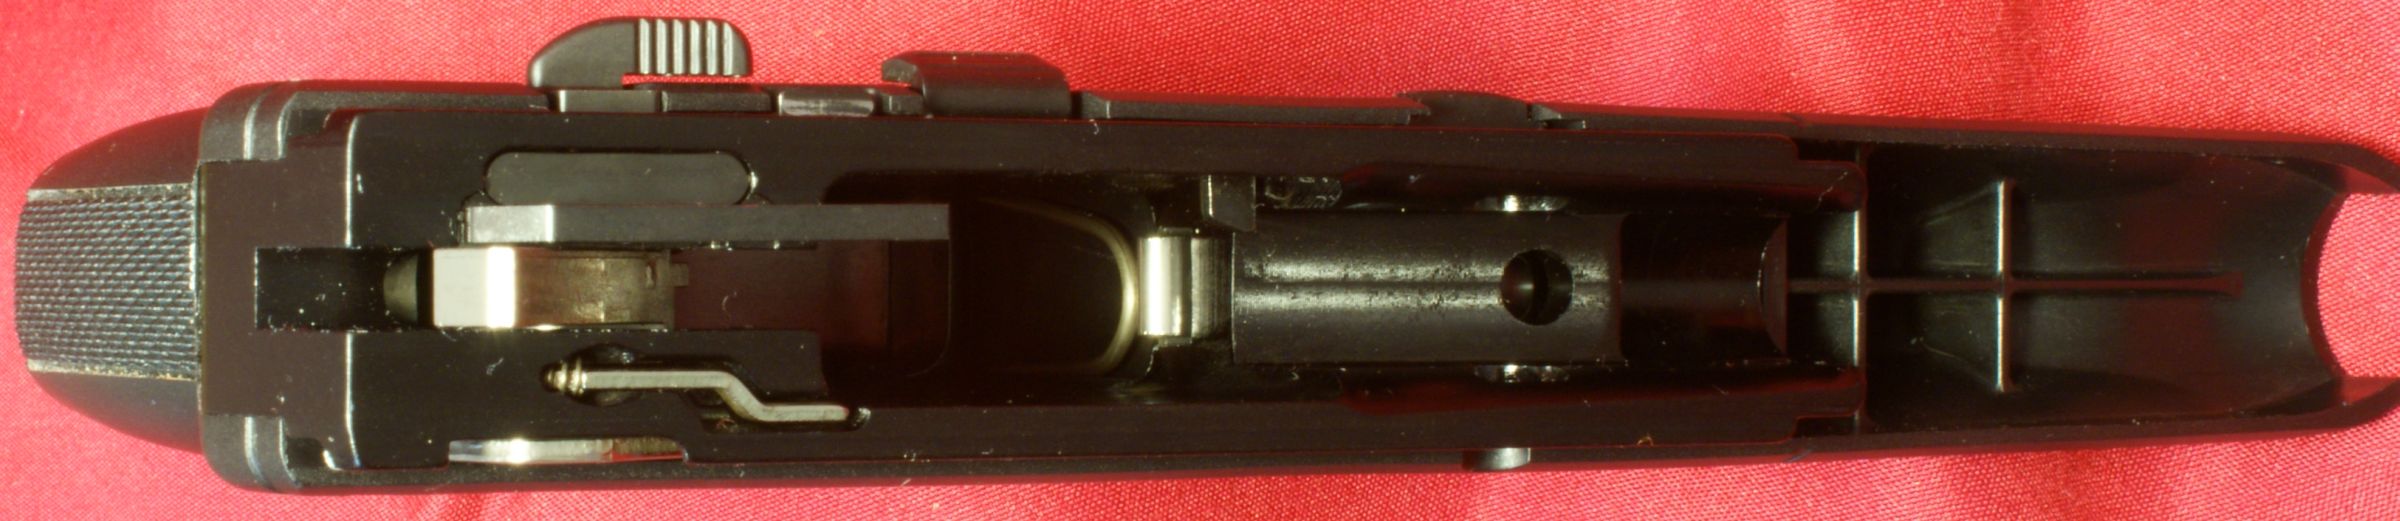
In these next two photos, you can see the hammer in the semi-cocked position (left) and in the cocked position (right). When you pull the trigger to the cocked position, you can see the blocker lever rotates up to press on the firing pin blocker in the slide assembly.
Figure 26
Figure 27
These next two photos show the hammer in the semi-cocked position (left) and the uncocked position (right). Also notice the ejector (A) that kicks out the case as the slide is actuated.
Figure 28
Figure 29
The hammer rests against the hammer catch (A) when in the semi-cocked position. When you pull the trigger, the hammer moves rearward to the fully cocked position and the hammer catch rotates forward to allow the hammer to fall behind the catch and strike the firing pin. I would consider this to be similar to a hammer blocker safety.
Figure 30
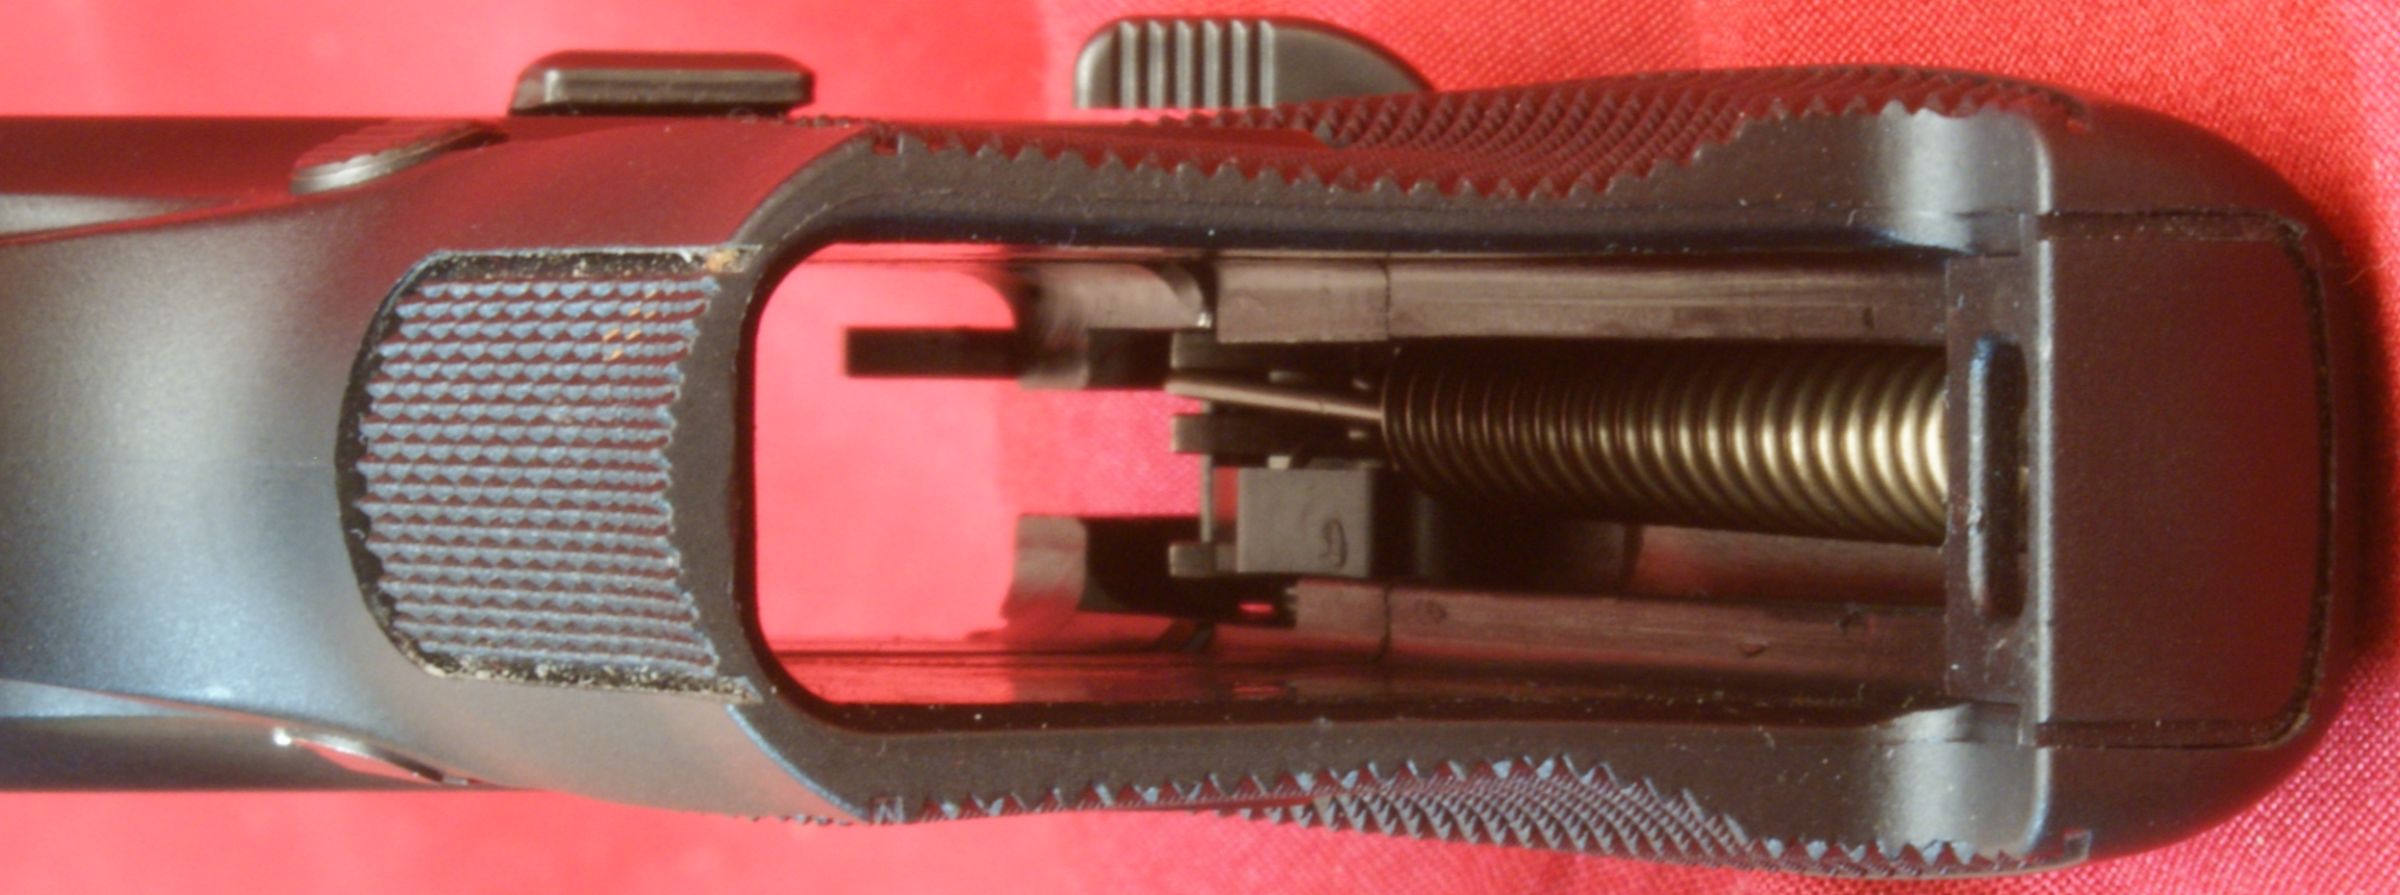
The photo below shows the tab (A) on the "slide hold open" bar that is pushed up by the magazine follower after the last round is chambered. This will cause the slide to be locked in the open position after the last round is fired.
Figure 31
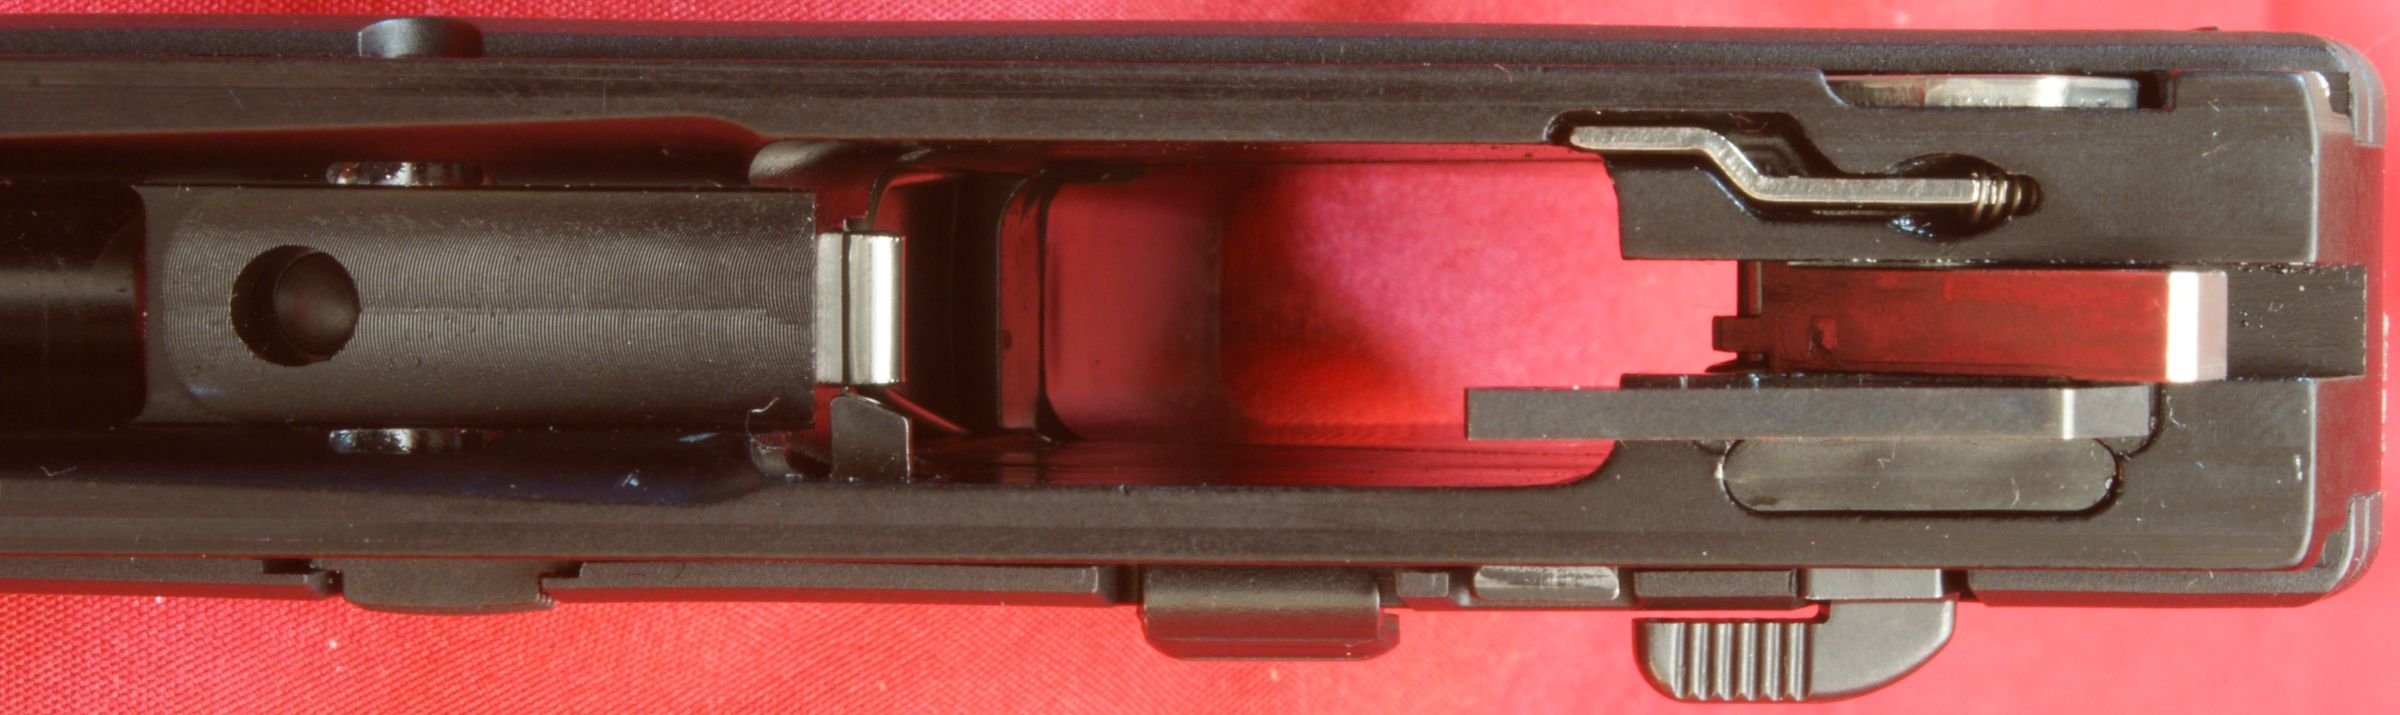
Figure 32
This photo is looking up the grip and gives you another view of the hammer spring. At the bottom of the hammer spring and grip is a piece of plastic that will pop off/out to allow you to access the hammer spring anchor pin.
Figure 33
Thoughts
With the Ruger LC9 disassembled to this level, the mechanisms seem very simple and Ruger did a nice job of keeping a simple appearance. If I were to disassemble the pistol further and remove the aluminum frame insert, I may have a different opinion, but for now I still need a working pistol for range testing so I will save removing the frame insert for a rainy day.
For more detailed photos and commentary, make sure you check out the other parts of this review and feel free to leave comments on my Reader's Comments page. The following links are provided to help you see other parts of this review.
- Ruger LC9 Review: Part 1 - Introduction, Specifications and Summary
- Ruger LC9 Review: Part 2 - What's in the Box
- Ruger LC9 Review: Part 3 - External & Operational Features
- Ruger LC9 Review: Part 4 - Disassembly
- Ruger LC9 Review: Part 5 - Internal Features (this page)
- Ruger LC9 Review: Part 6 - Range Test
Or
If you would like to be notified about future Gunsumer Reports reviews via Facebook, make sure "You Like This" by clicking the Facebook "Like" button at the bottom or top of this page. If it already says "You Like This" beside the button, clicking it again will uncheck the "Like" status and you will not be notified.
| Share on Facebook | |
© 2010, 2011, 2012, 2013, 2014, 2015, 2016, 2017, 2018, 2019, 2020, 2021, 2022, 2023 & 2024 Gunsumer Reports™, All rights reserved.
FTC Disclosure