|
|
Gunsumer Reports TM Providing Detailed Objective Reviews for Firearms and Firearm Accessories |
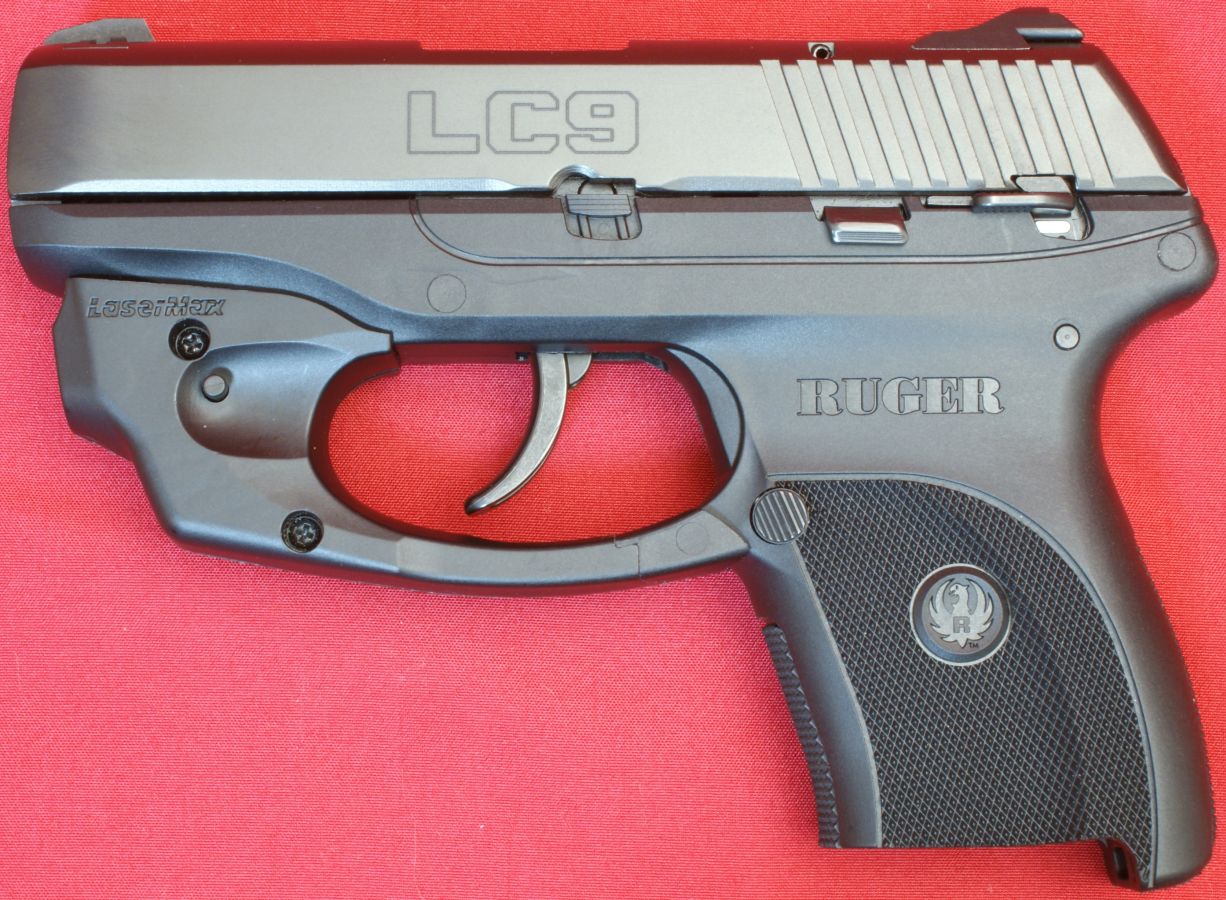
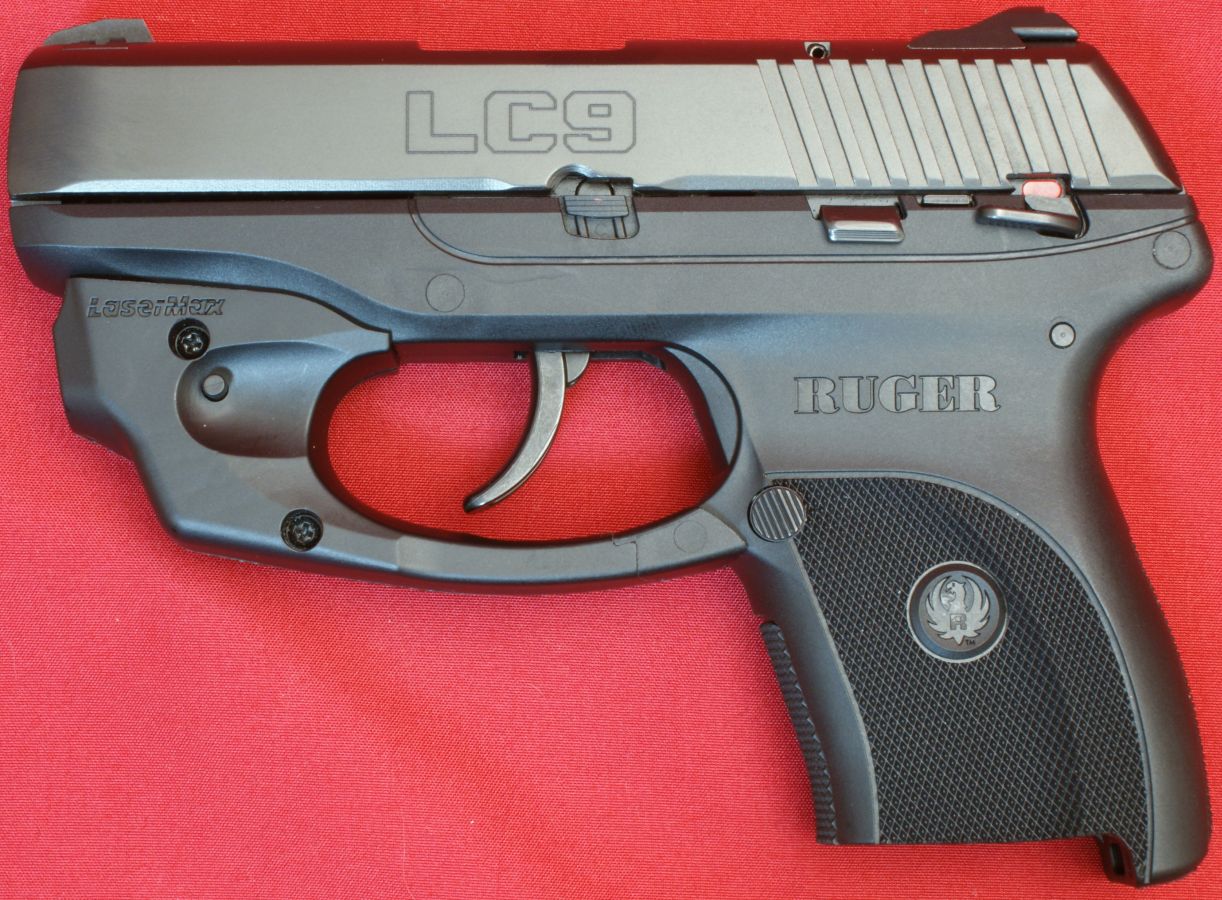
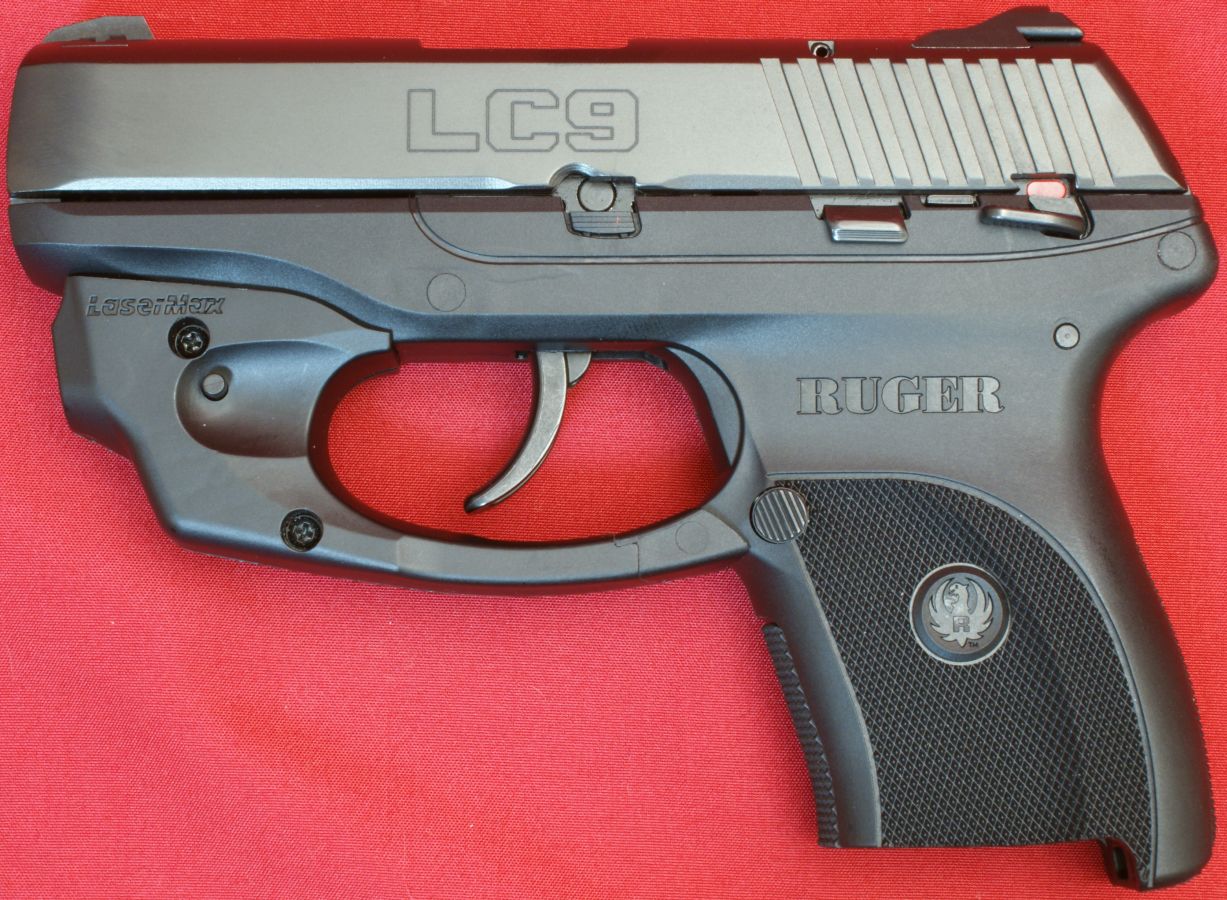
Ruger LC9 Review With LaserMax
Part 4 - Disassembly
March 10, 2012
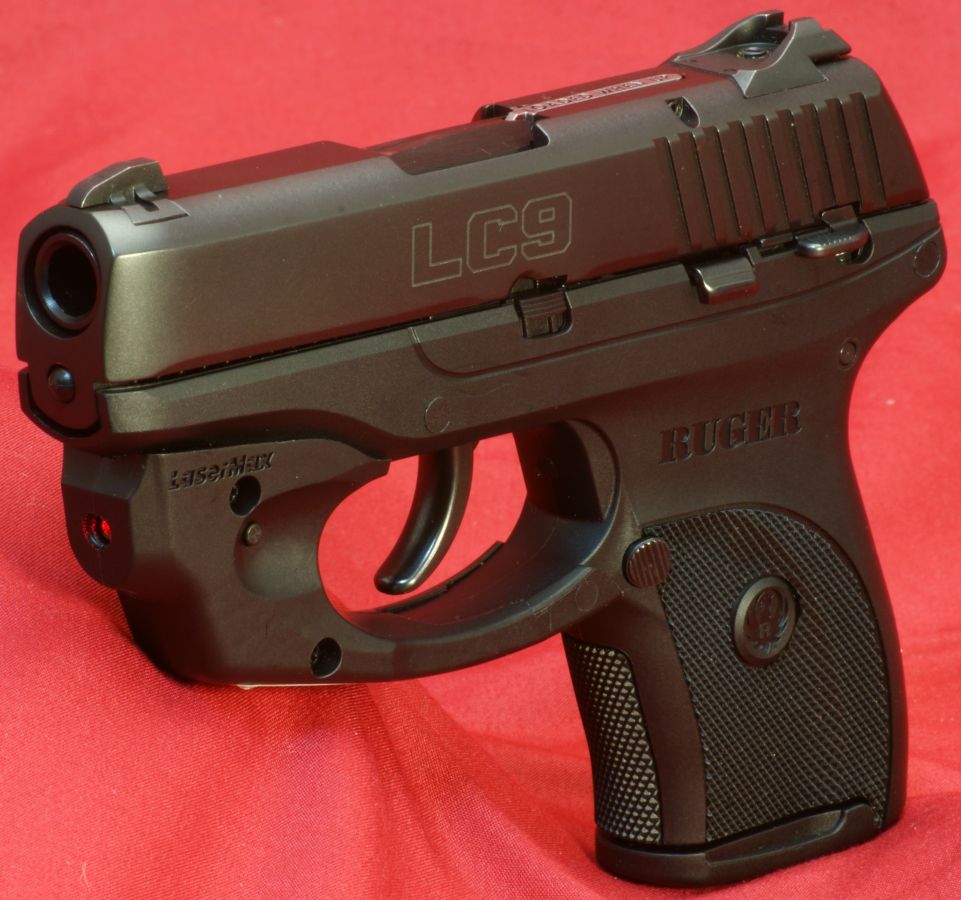
In this part of my Ruger LC9 w/LaserMax Pistol review, I'm going to show disassembly of the LC9 Pistol. Although I'm going to show and follow the steps which are outlined in the Ruger Instruction Manual, you should always consider the manufacturer's instructions as the official source when disassembling any firearm. The Ruger Instruction Manual contains many comments related to safety that you should read and be aware of before using your LC9 Pistol.
Pistol Disassembly
Step 1 - Safety and Remove Magazine
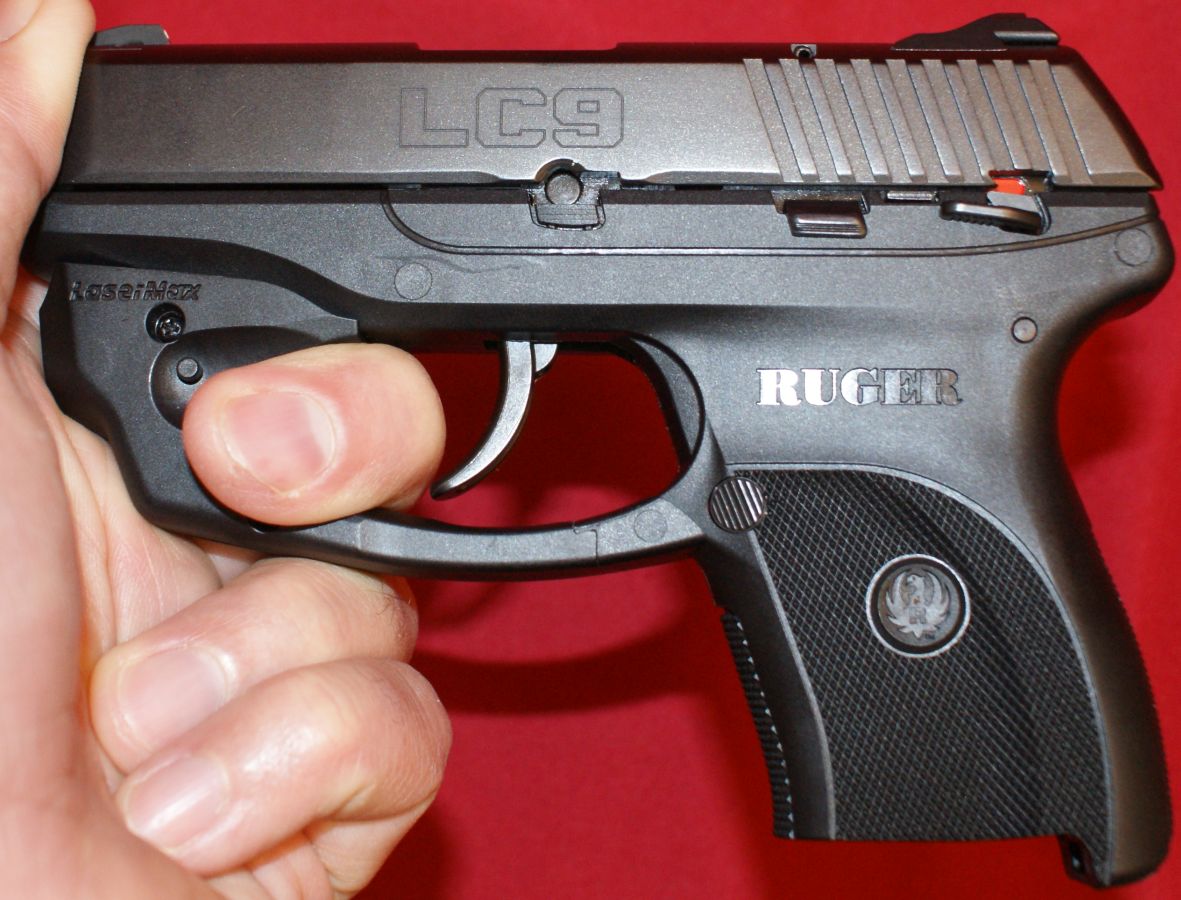
Before you work with any firearm, you should remove the magazine and check to see that there is no round in the chamber. After you check once, check it again.
Figure 1
Steps 2, 3 & 4
The instruction manual states to pull the slide open, lock in place, inspect the chamber to make sure it is empty and then close the slide. After doing this, the manual safety should be in the fire/down position.
Figure 2
Step 5 - Push Down Takedown Plate
Press the takedown plate to the down position as shown below which will expose the takedown pin. I was able to do this with my thumb nail.
Figure 3
Step 6 - Remove Takedown Pin
With one hand, press the slide back slightly to line up the takedown pin with the notch in the slide.
Figure 4
On the other side of the pistol, you must push the takedown pin out using the key provided (or other similar shaped object).
Figure 5
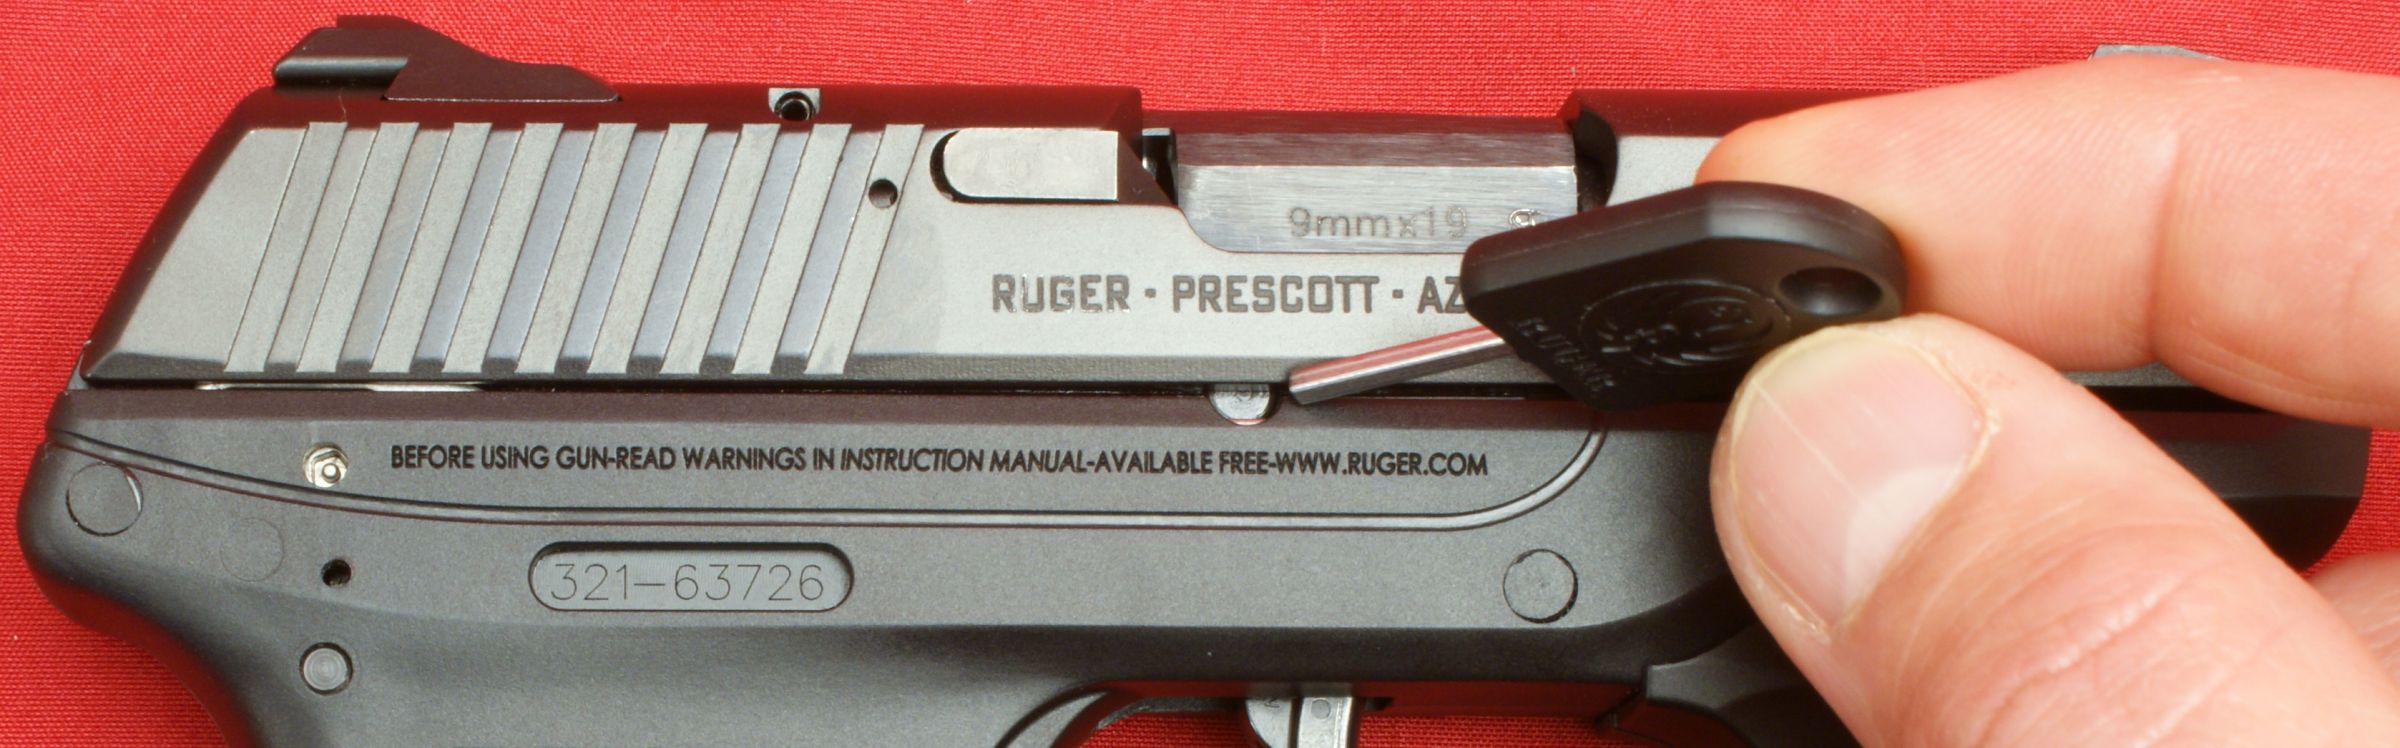
The photo below shows the key pushed in on the right side and the takedown pin pushed out on the left side of the pistol.
Figure 6

The takedown pin will come completely out of the pistol.
Figure 7
Step 7 - Remove Slide
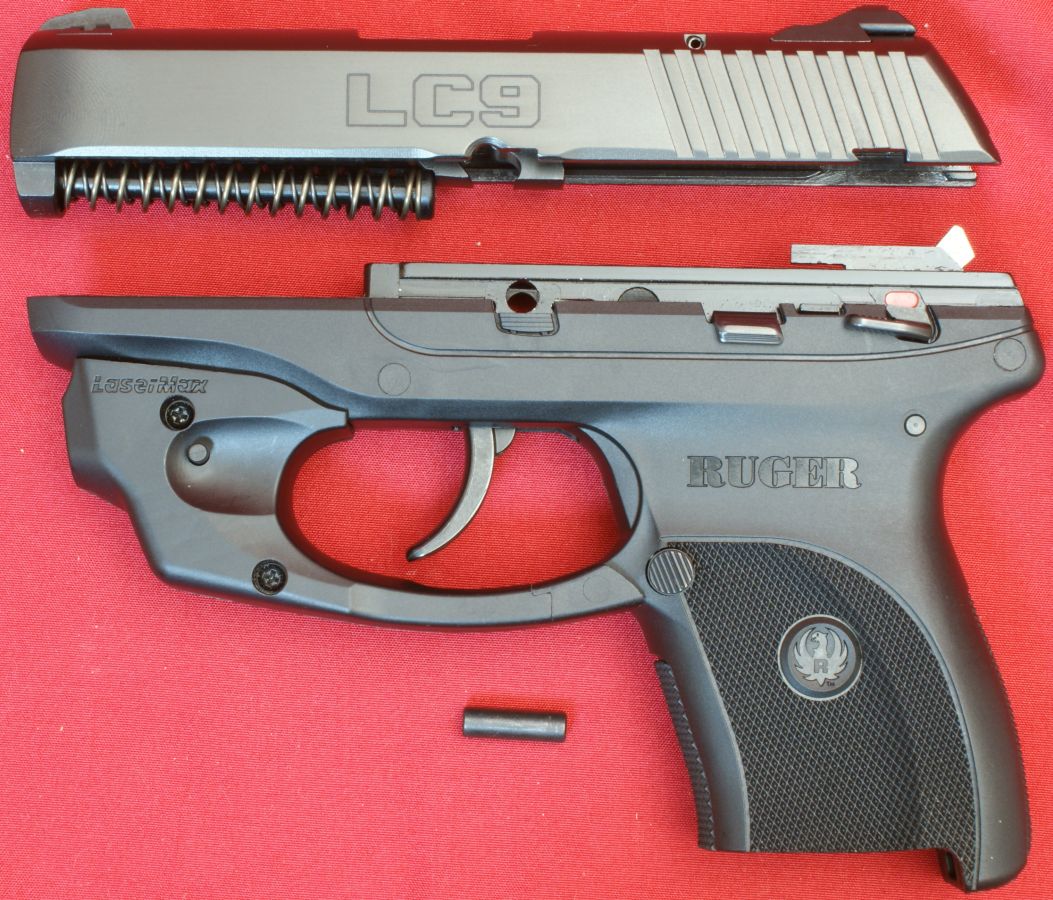
With the takedown pin removed, the slide will easily move forward on the pistol frame and can be removed.
Figure 8
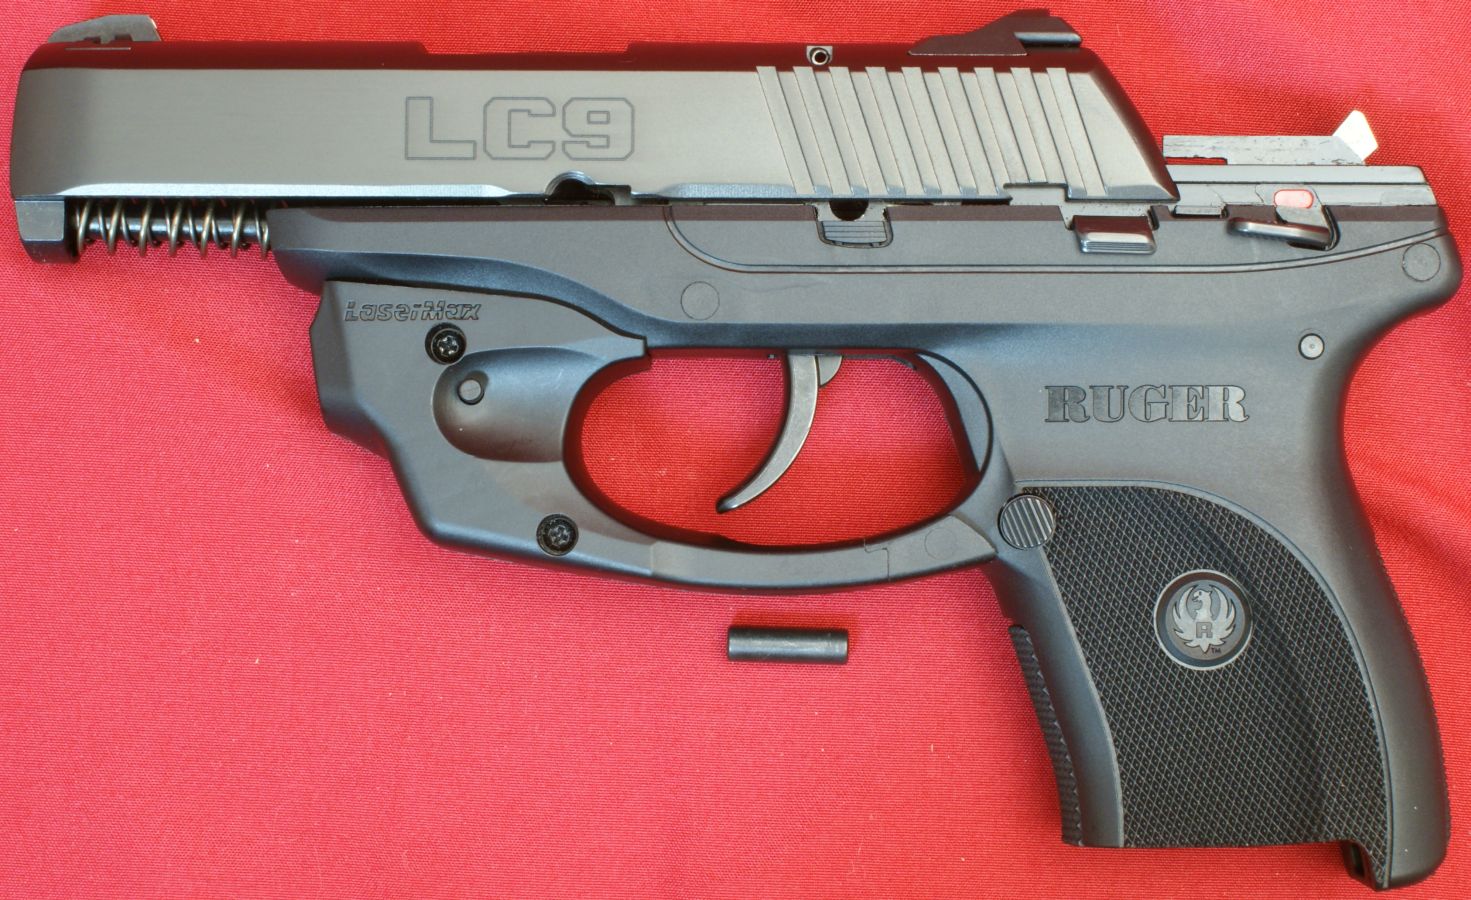
Figure 9
Step 8 - Remove Guide Rod and Recoil Spring
By lightly compressing the spring assembly, you can rotate the assembly up from the barrel lug and remove the assembly.
Figure 10
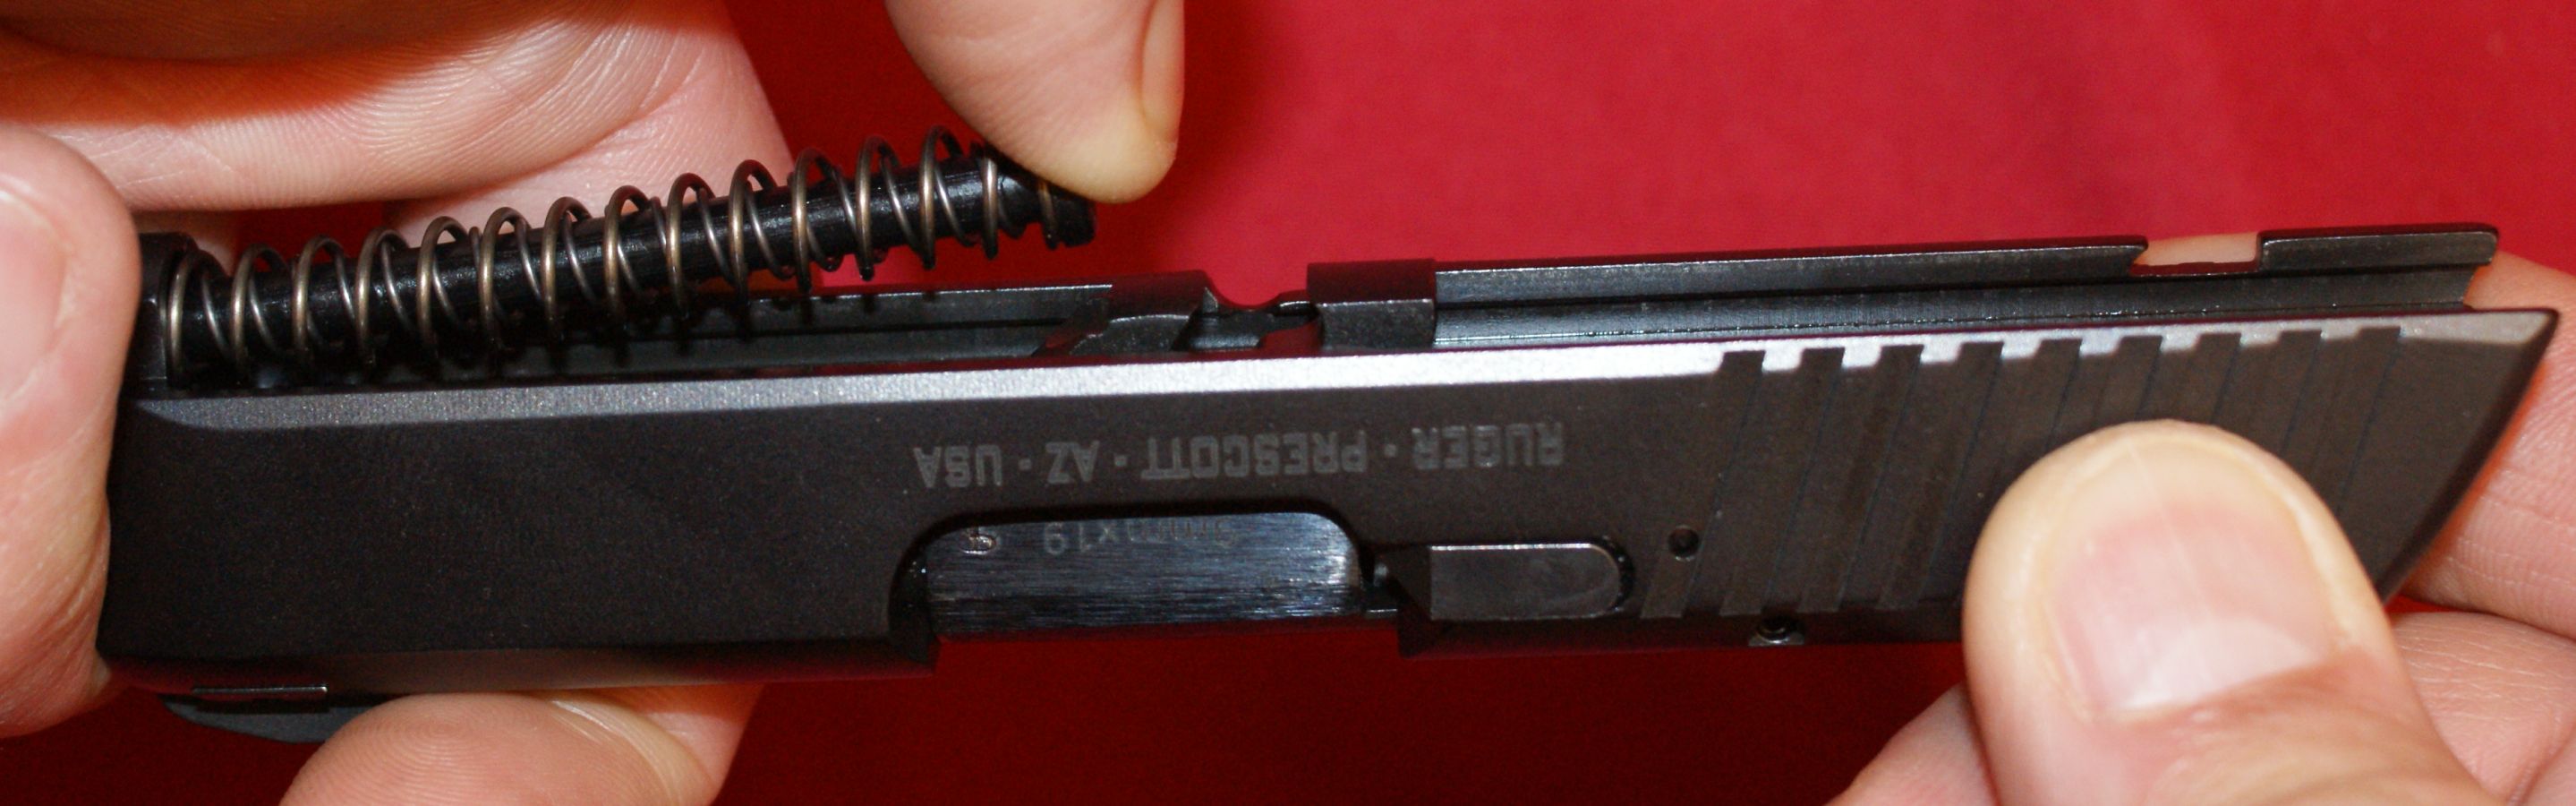
Figure 11
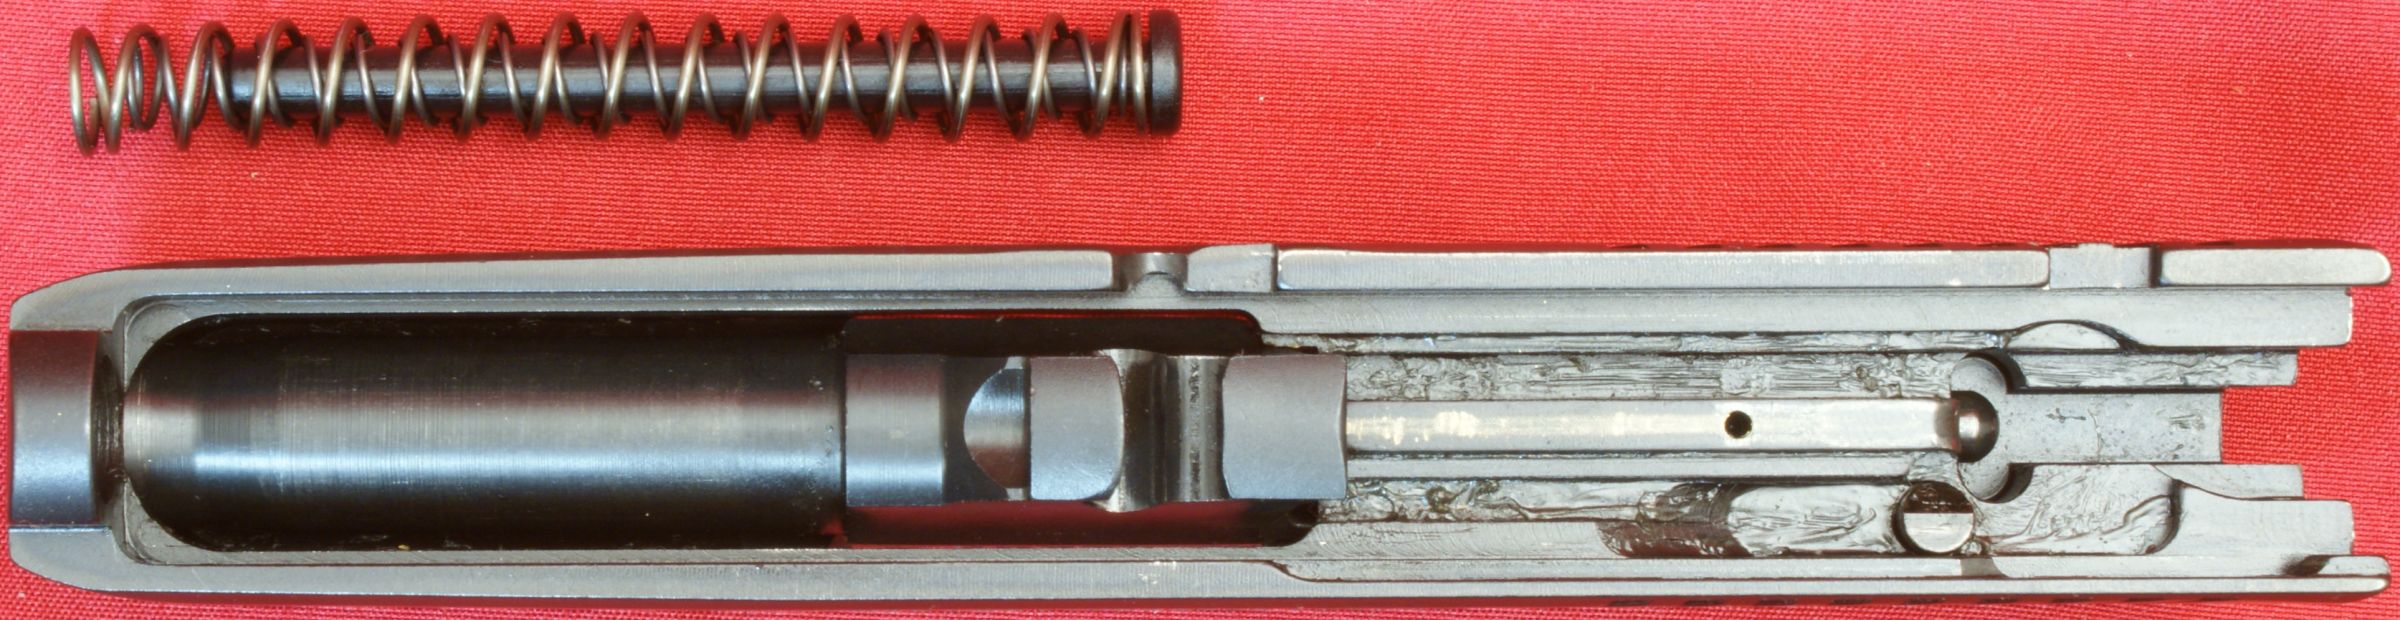
Step 9 - Remove Barrel
To remove the barrel, move it slightly forward and then up (if the slide assembly is upside down) and back and it will come out of the slide.
Figure 12
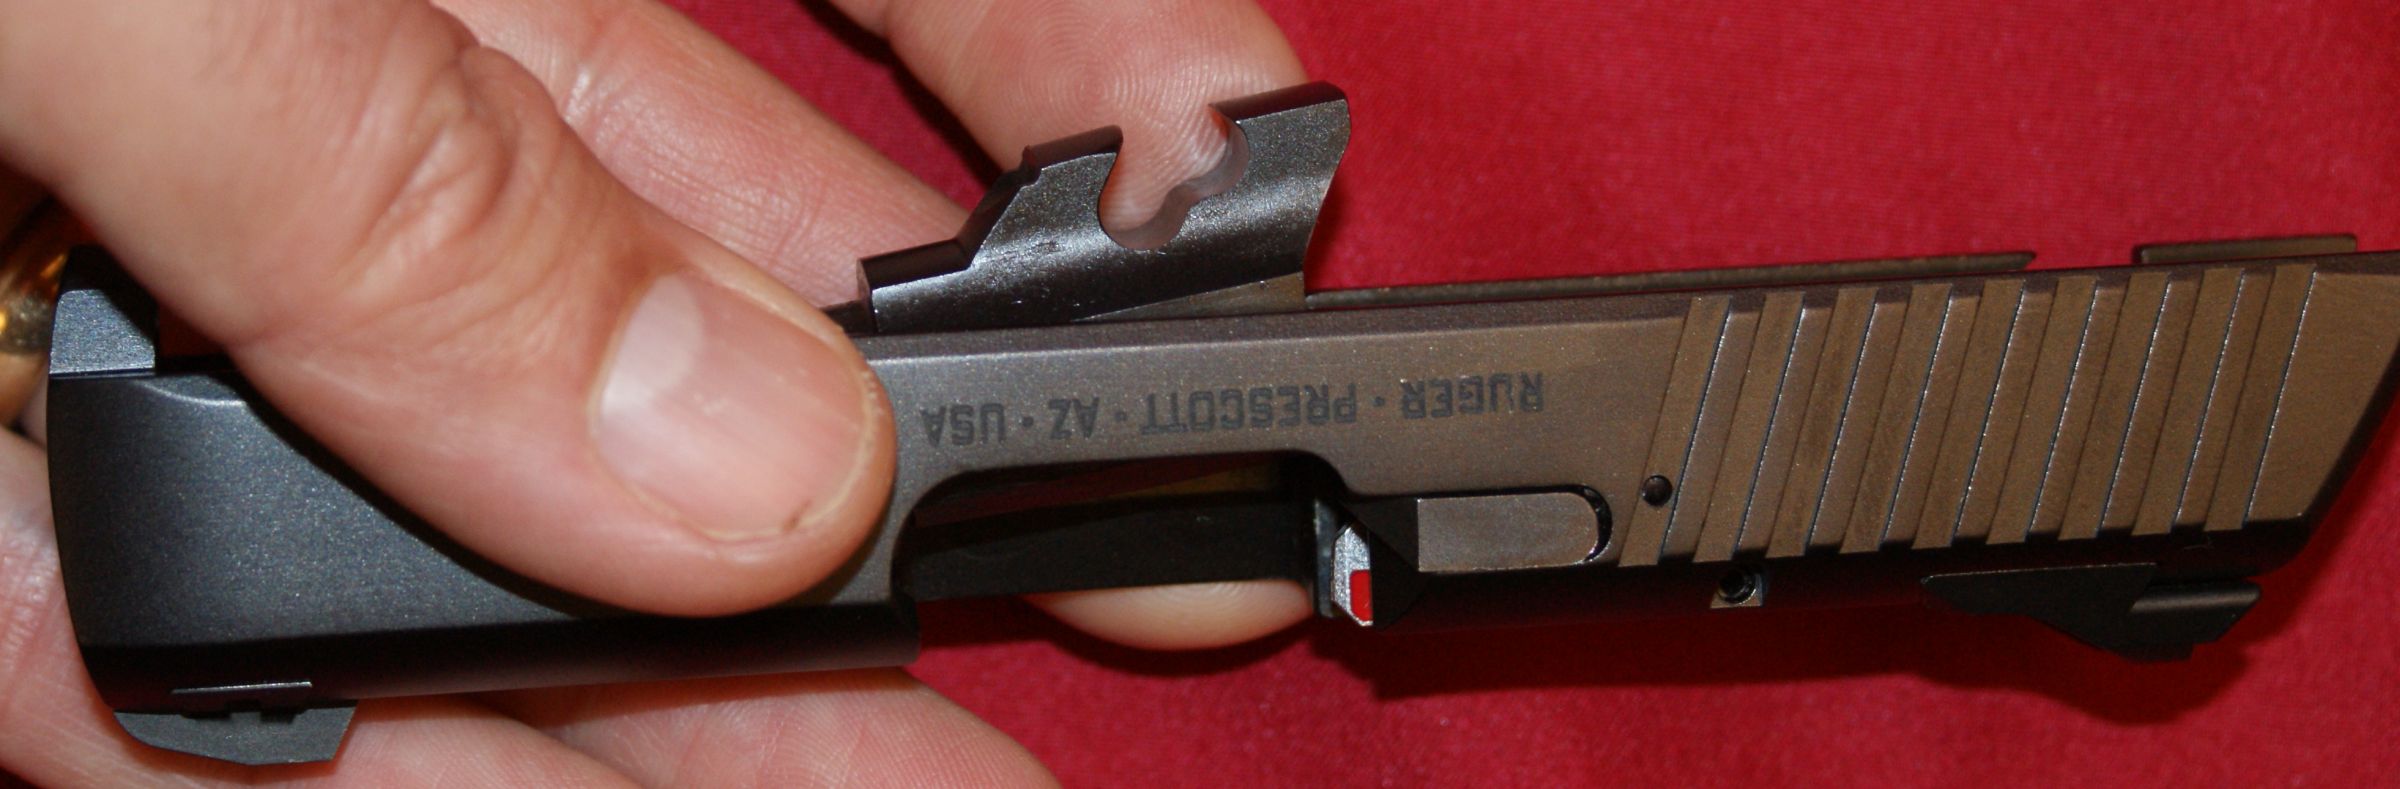
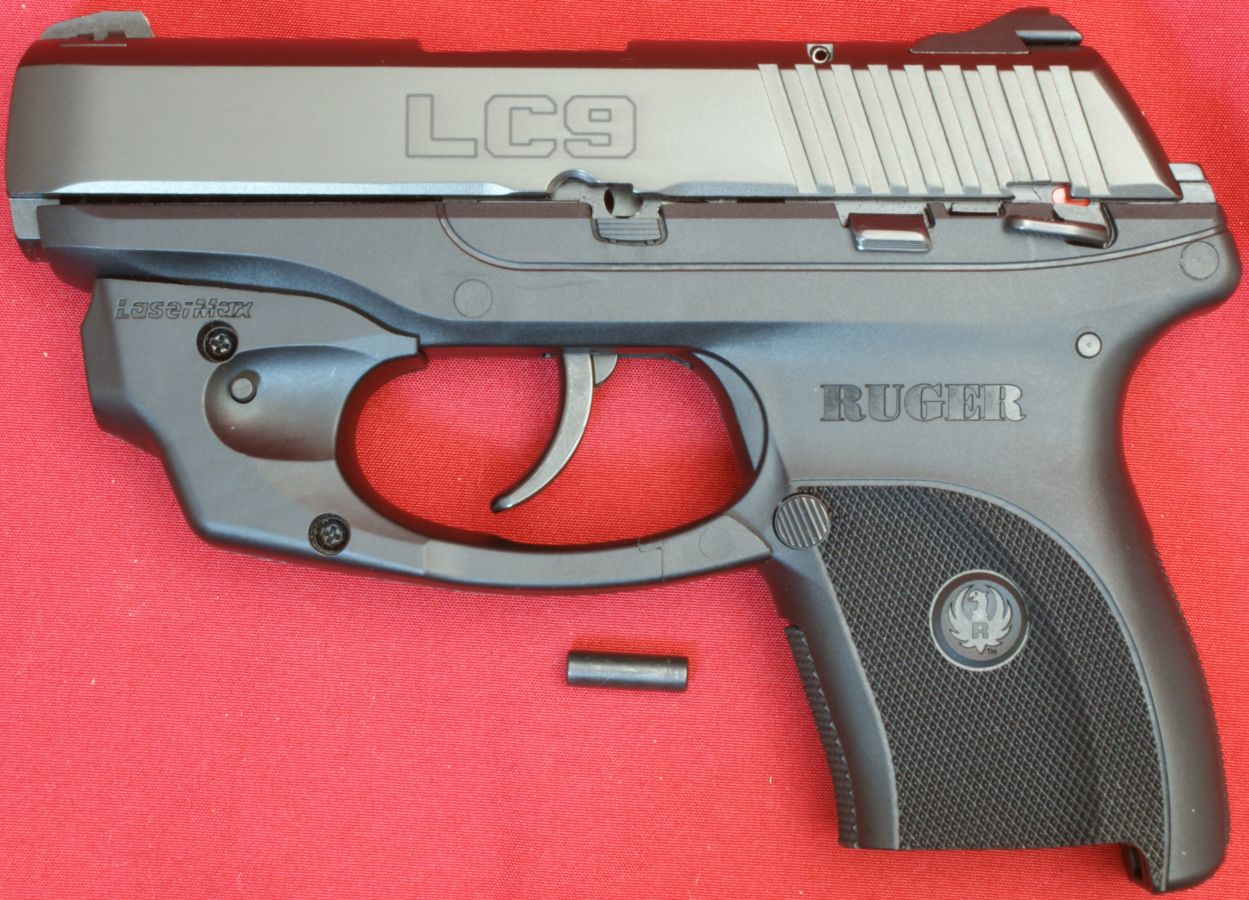
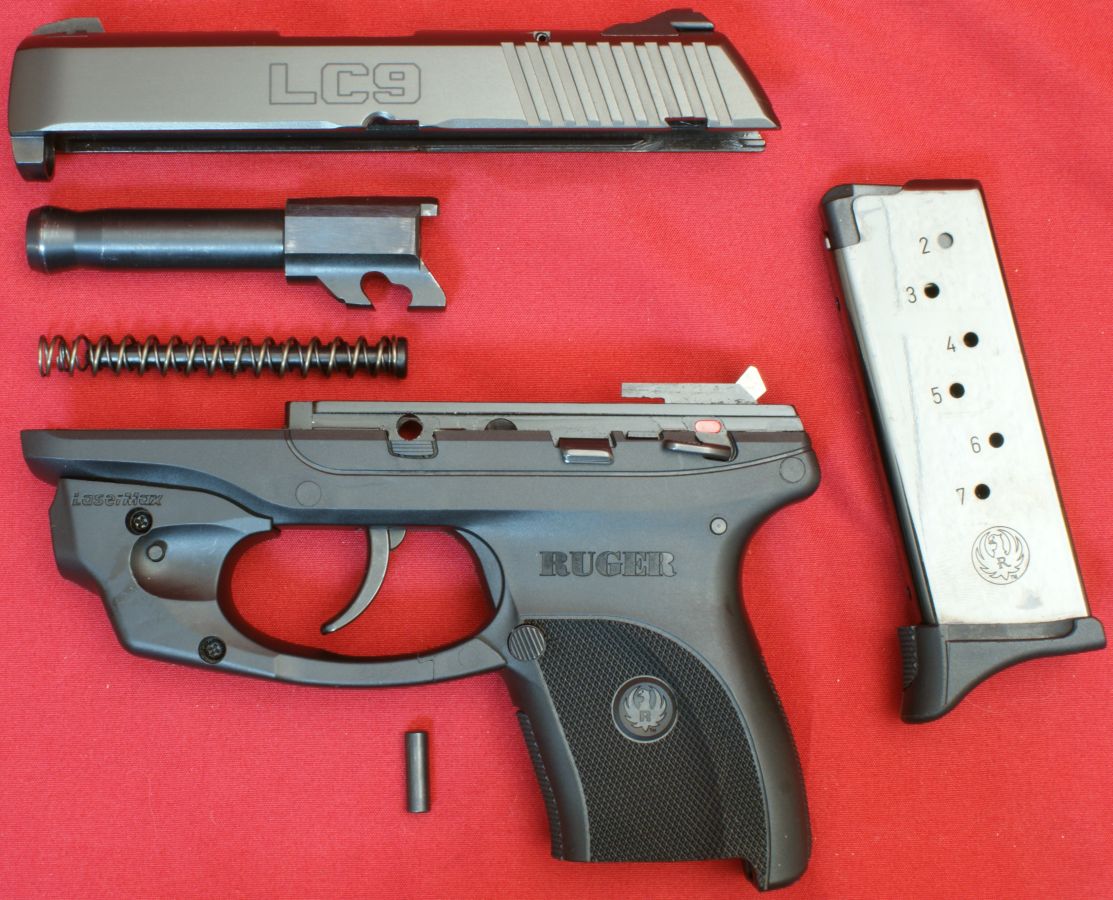
Disassembly Complete
This is the maximum level of disassembly shown in Ruger Instruction Manual for cleaning. I agree that you should be able to clean your pistol at this level and would not recommend further disassembly unless you are very familiar with firearm disassembly at greater levels.
Figure 13
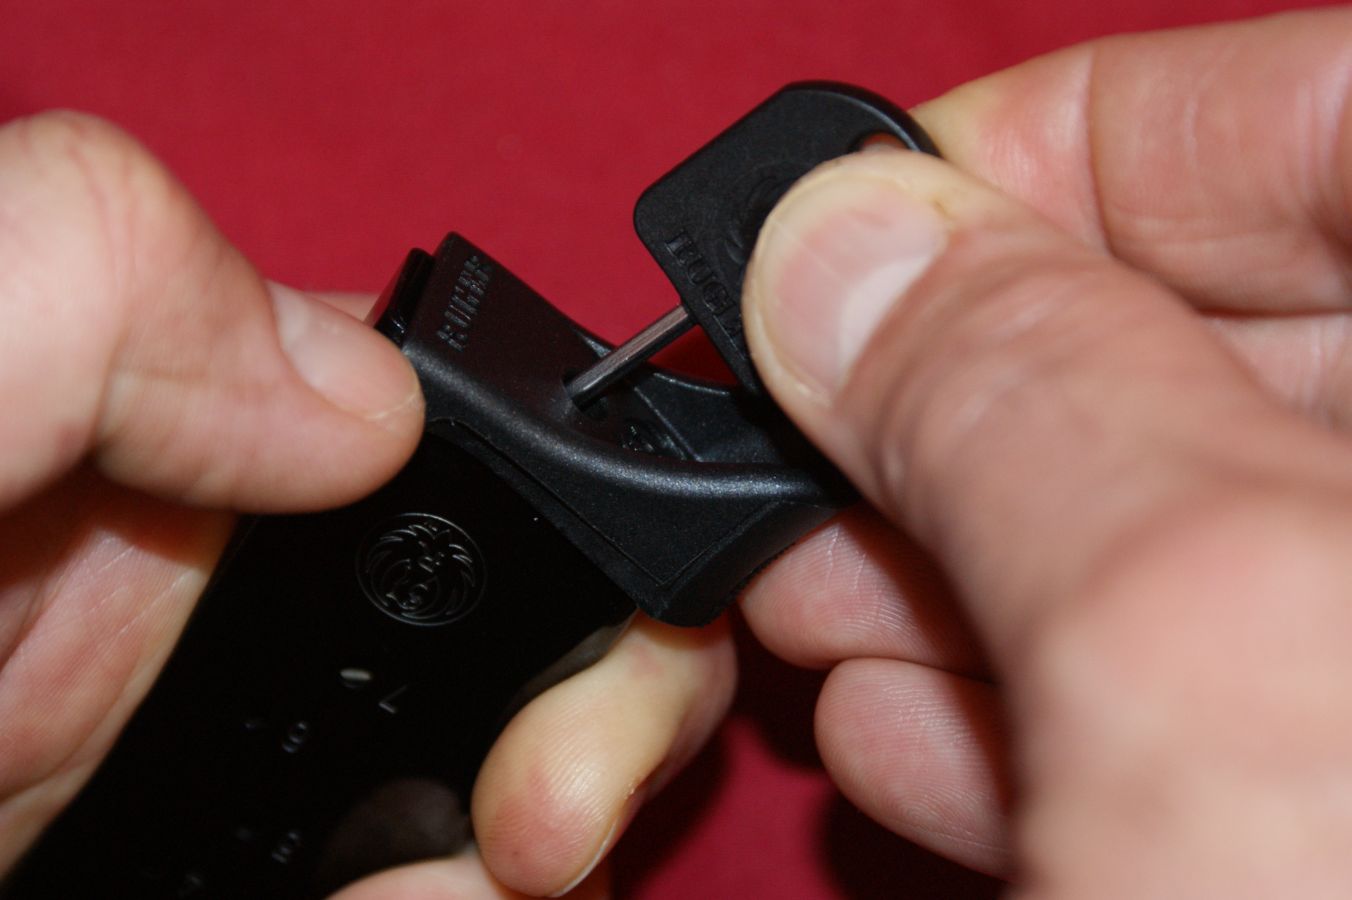
Magazine Disassembly
Using the key provided with the pistol, press down on the magazine spring seat by pressing through the hole in the center of the magazine floor plate. Once the spring seat protrusion is below the floor plate, start sliding the floor plate off the magazine base while keeping your thumb against the spring seat to prevent it and the spring from flying across the room.
Figure 14
Figure 15
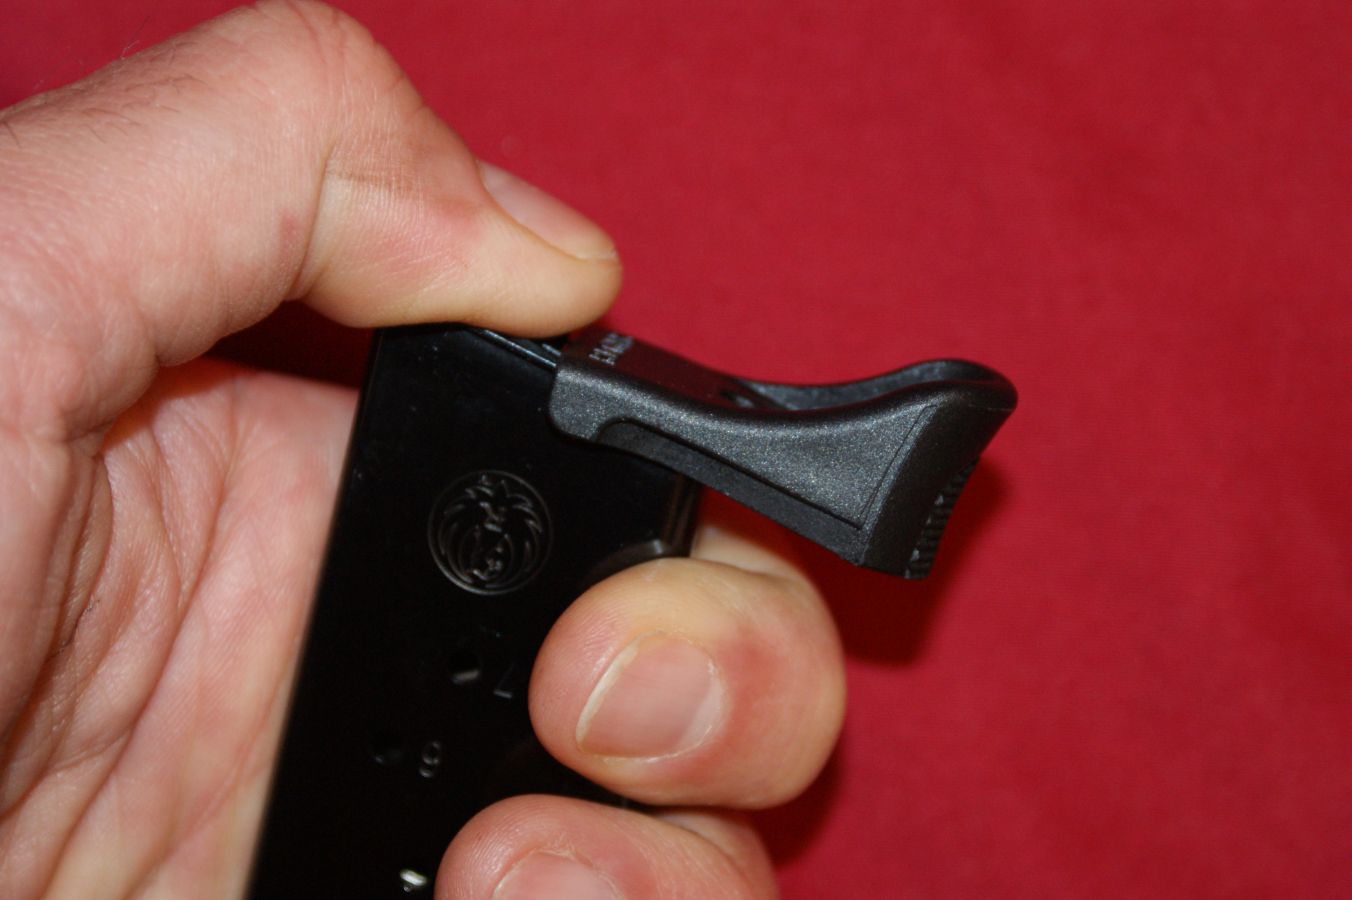
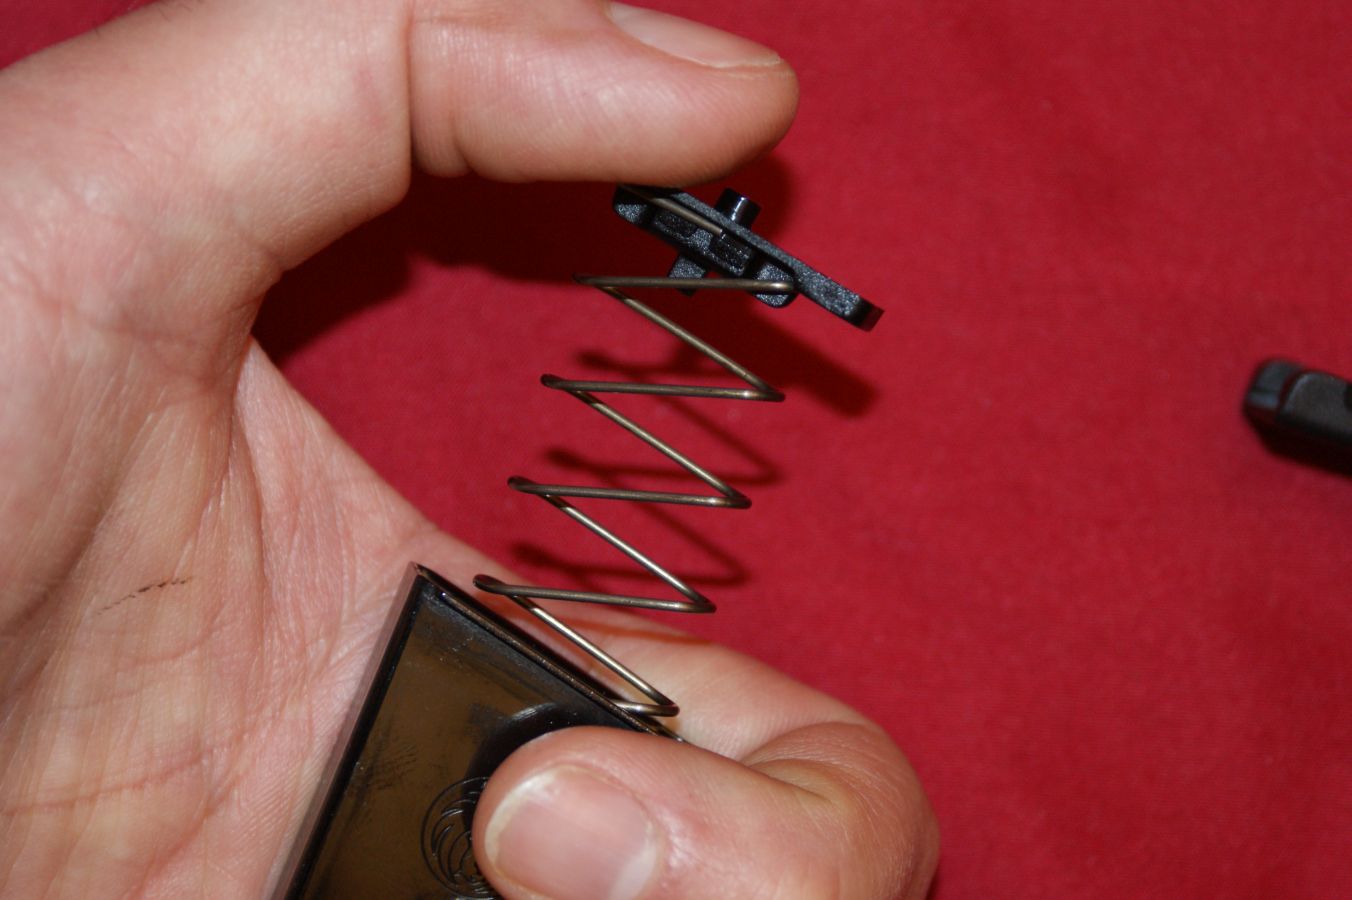
With the floor plate removed, you can release the compression on the magazine spring by relaxing your thumb pressure.
Figure 16
Figure 17
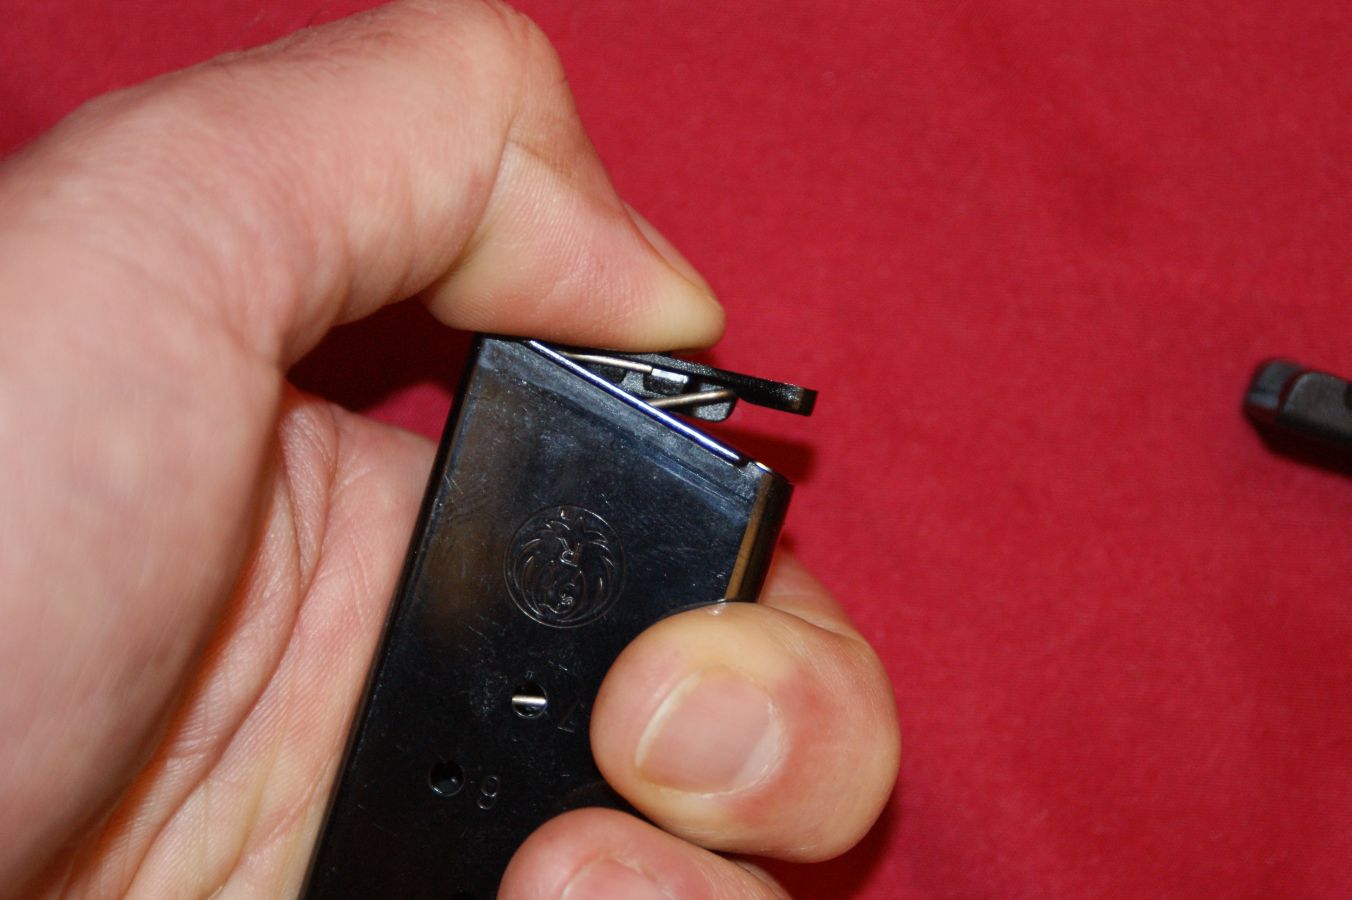
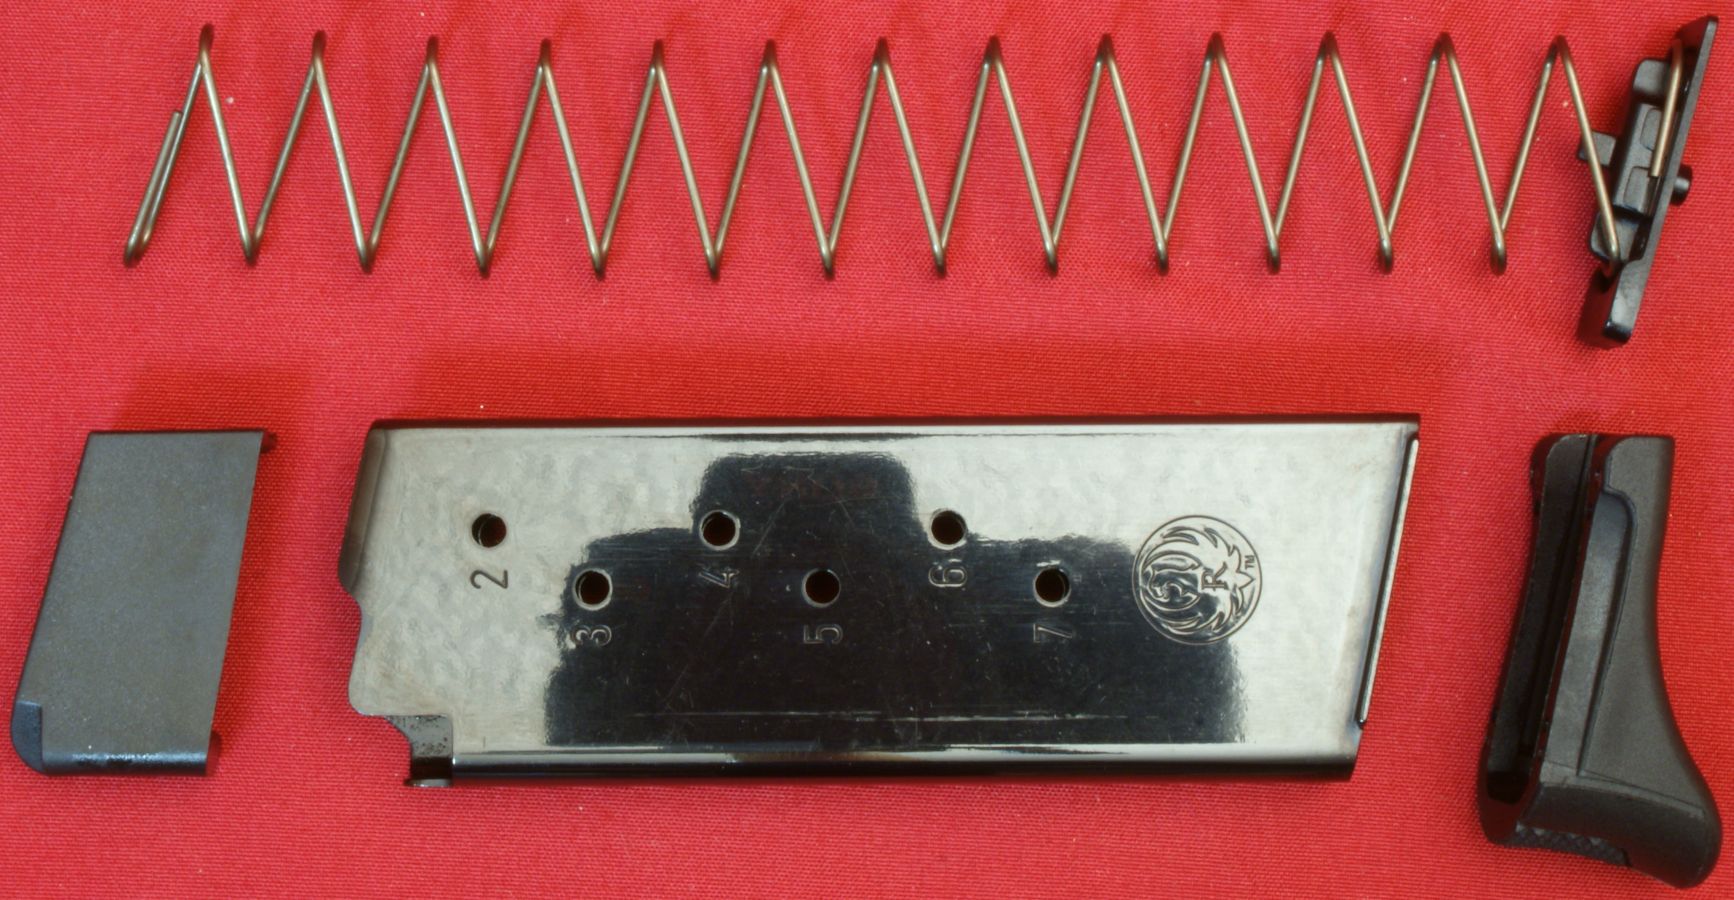
The photo below shows all the parts of the magazine assembly. They are a steel magazine body and spring along with polymer follower, floor plate and spring seat.
Figure 18
LaserMax Removal
Removing the LaserMax Centerfire Laser is very simple. Start by removing the two screws on the left side of the pistol.
Figure 19
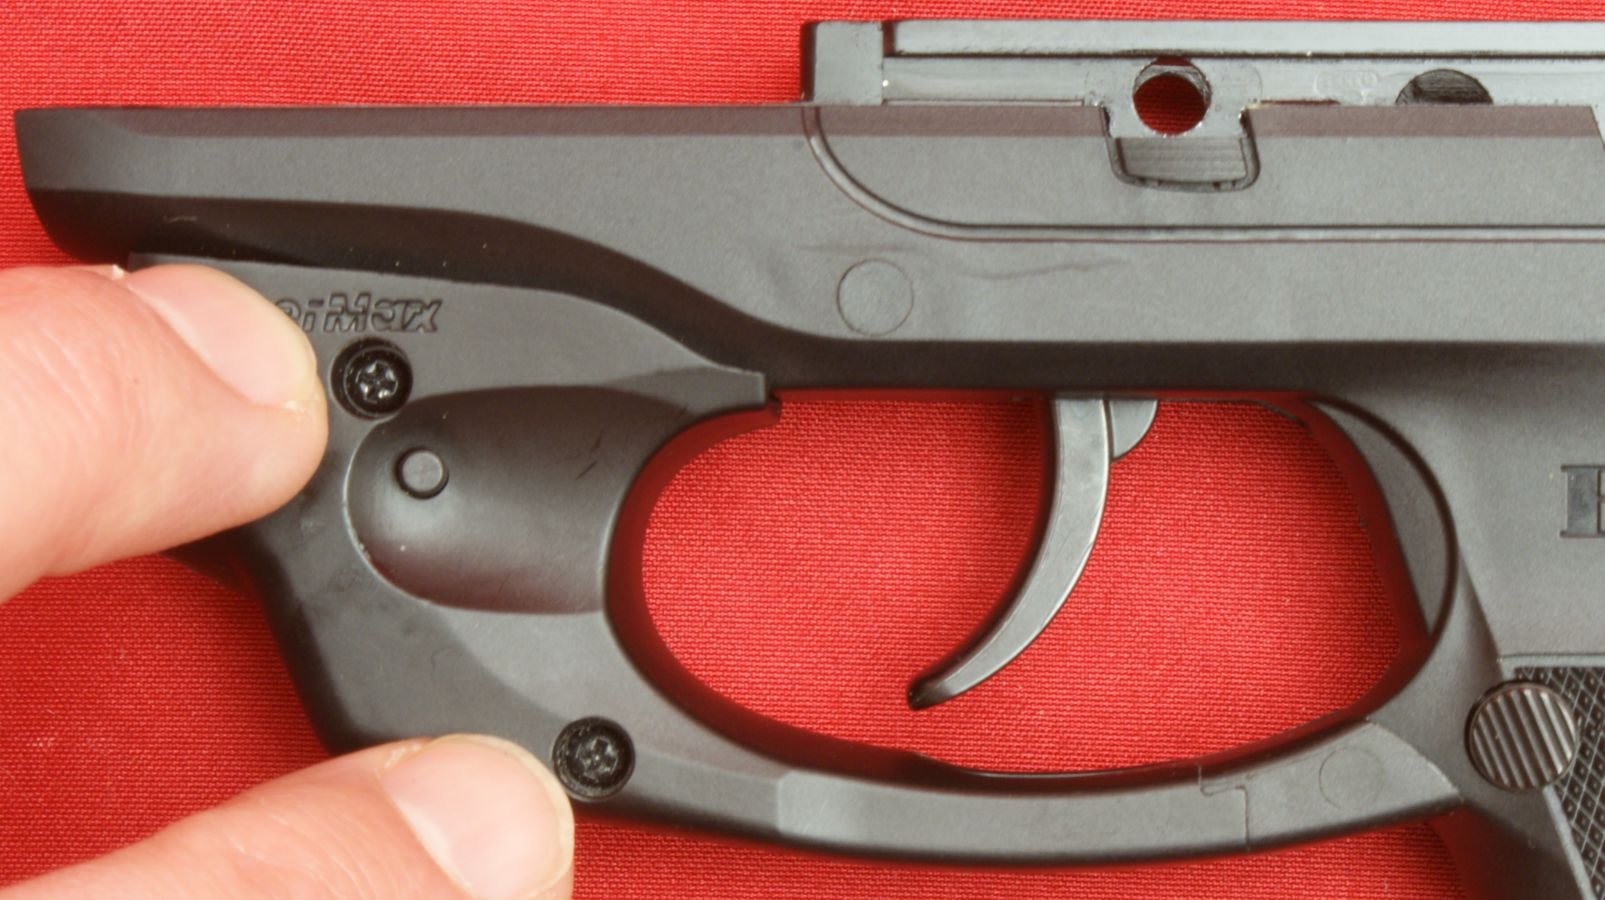
Figure 20
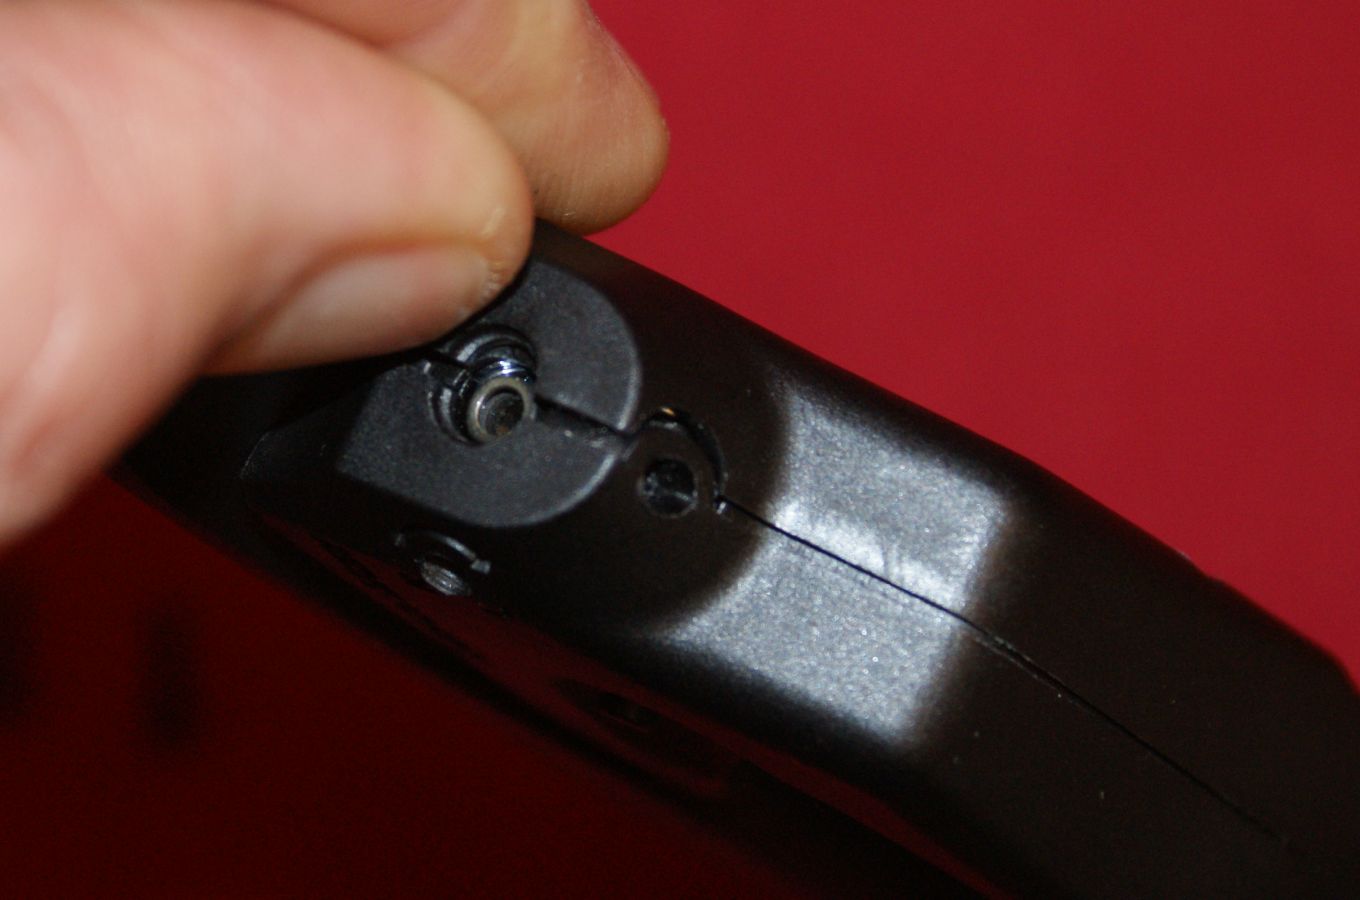
With the screws removed, you can take your finger nail and lightly pry open the two halves of the LaserMax body at the front of the assembly.
Figure 21
Once you get the two halves separated slighty, you can continue to lift the left half up at the front and it will rotate off the opposite half.
Figure 22
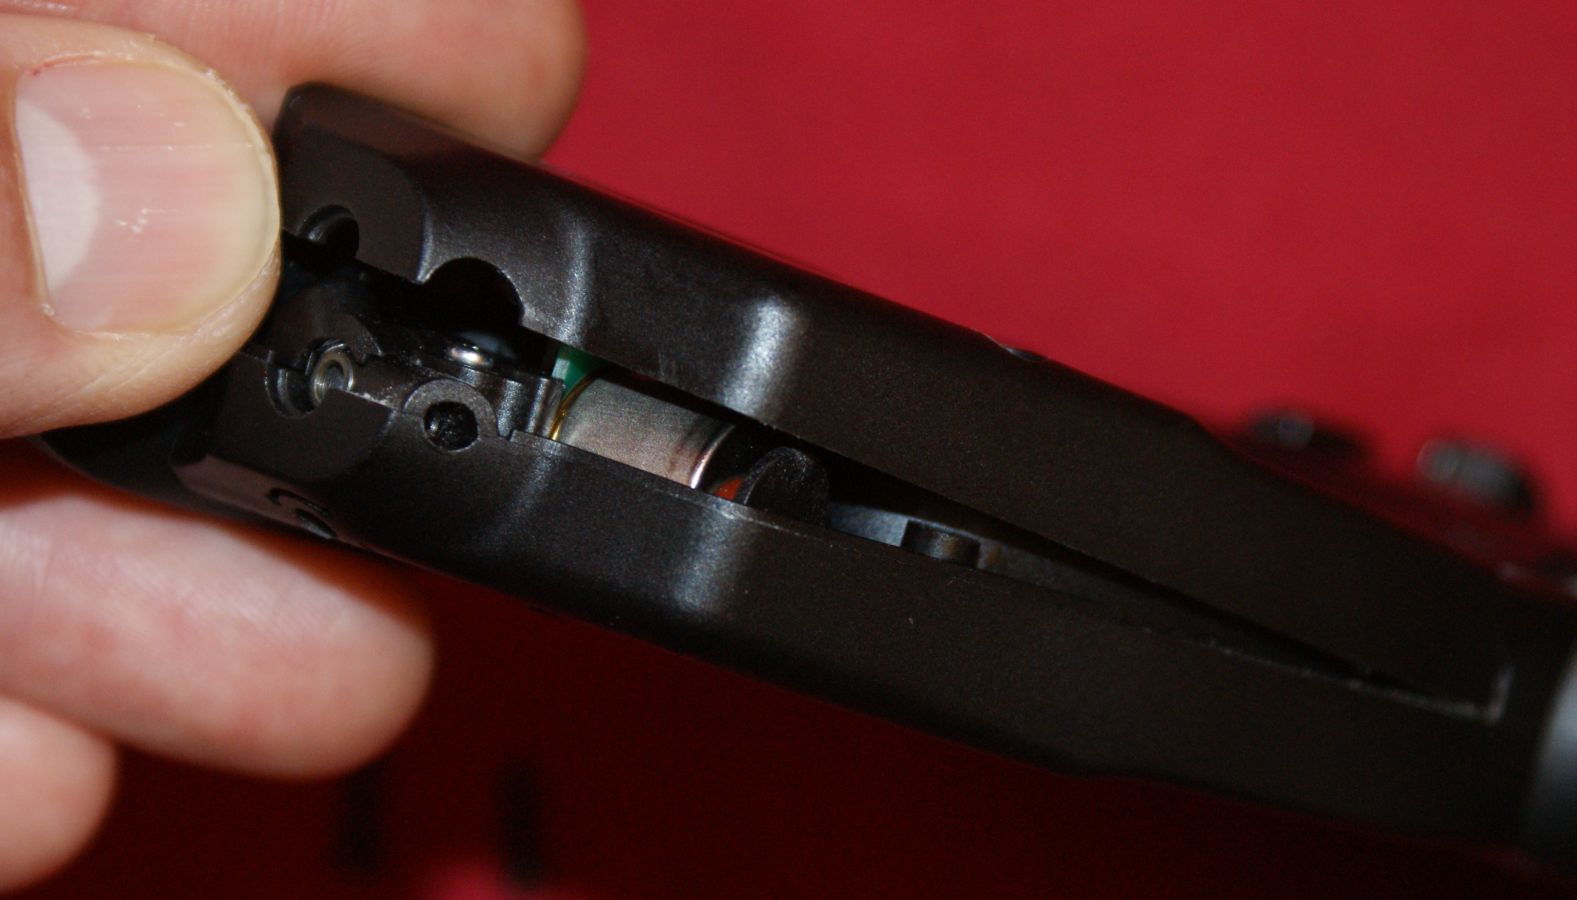
Figure 23
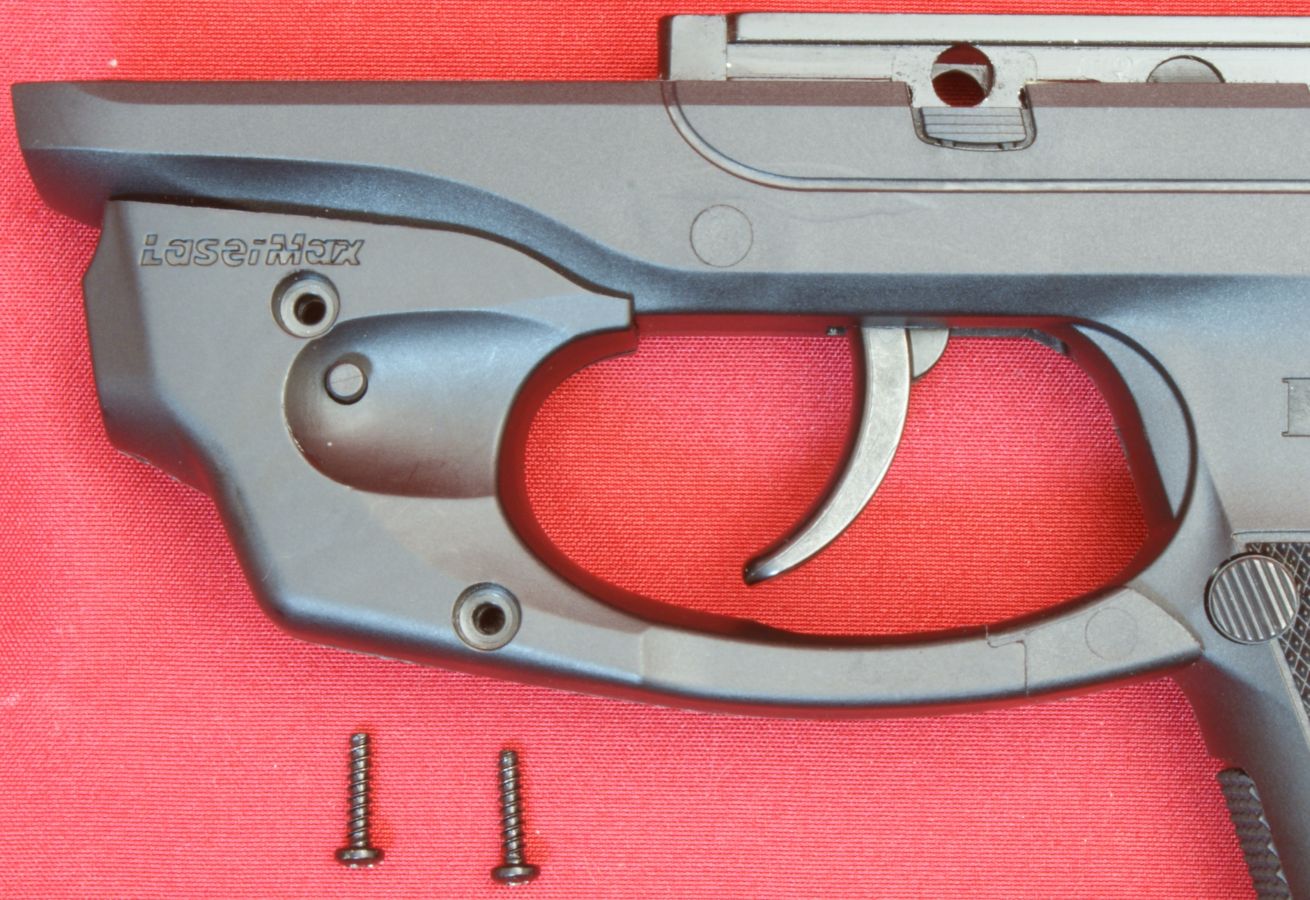
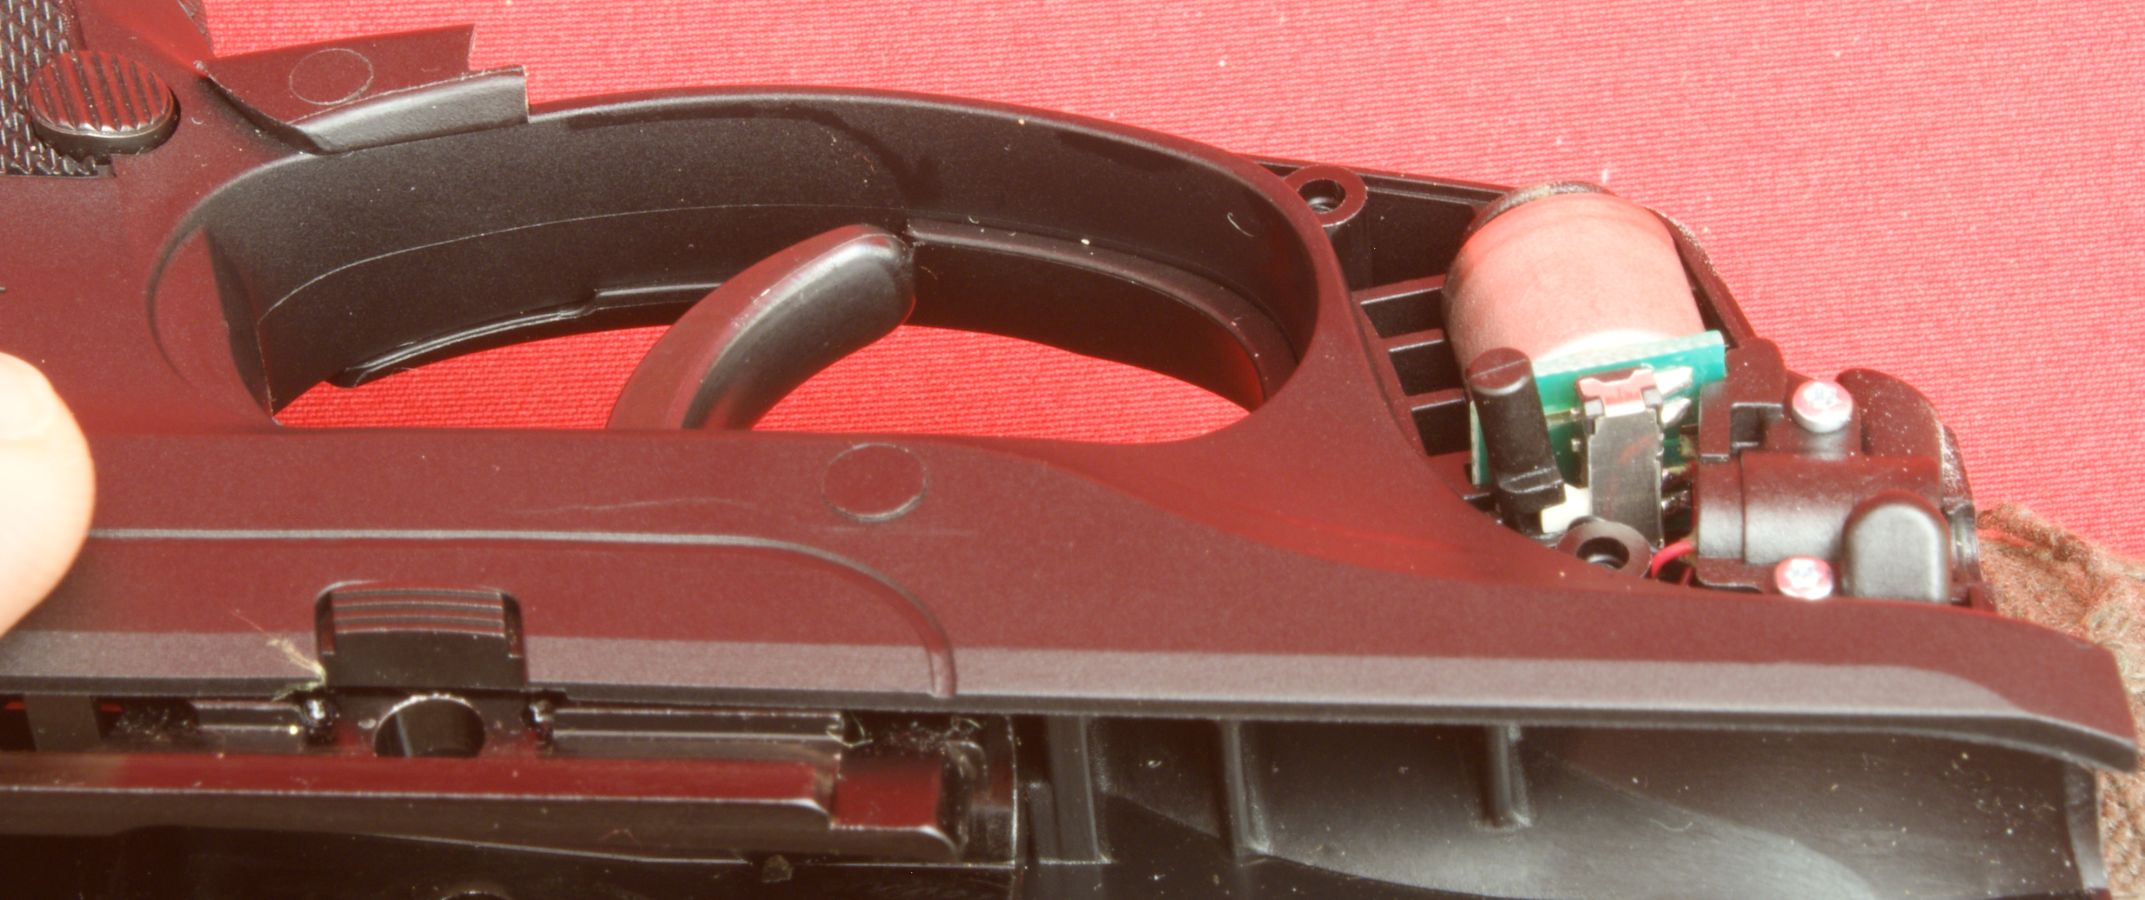
To remove the right half of the LaserMax body, you will need to push down on the rear edge of the body on the left side. This area of the LaserMax wraps around the trigger guard and must be shifted down slightly to be able to remove the right half.
Figure 24
Once you get that portion below the trigger guard, the right half of the LaserMax will easily slide off the trigger guard.
Figure 25
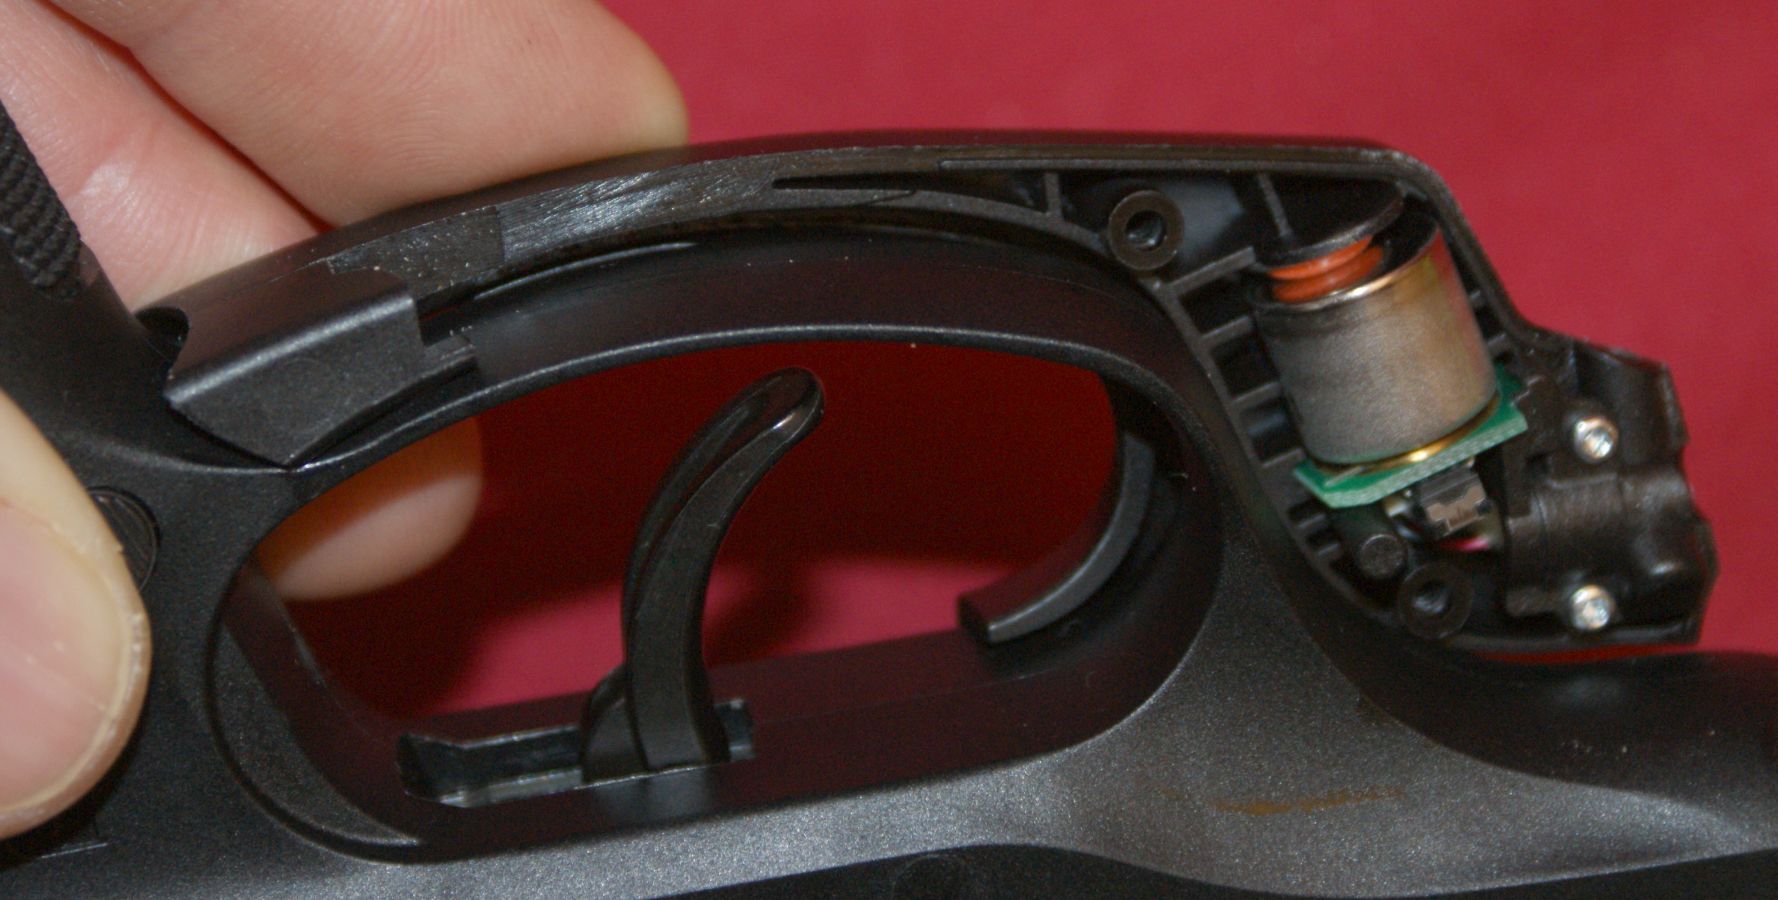
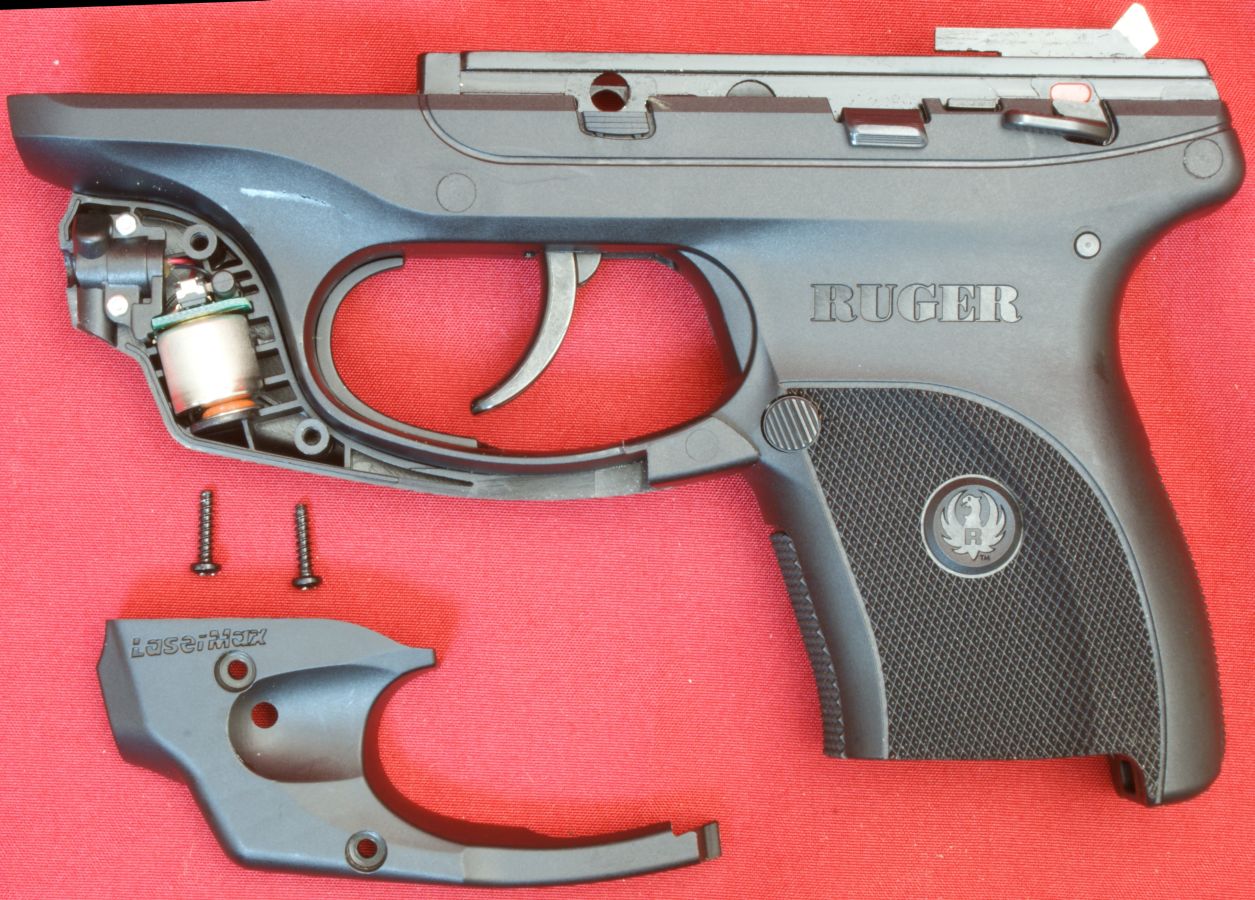
This photo below shows the LaserMax assembly removed from the frame of the RugerLC9 pistol.
Figure 27

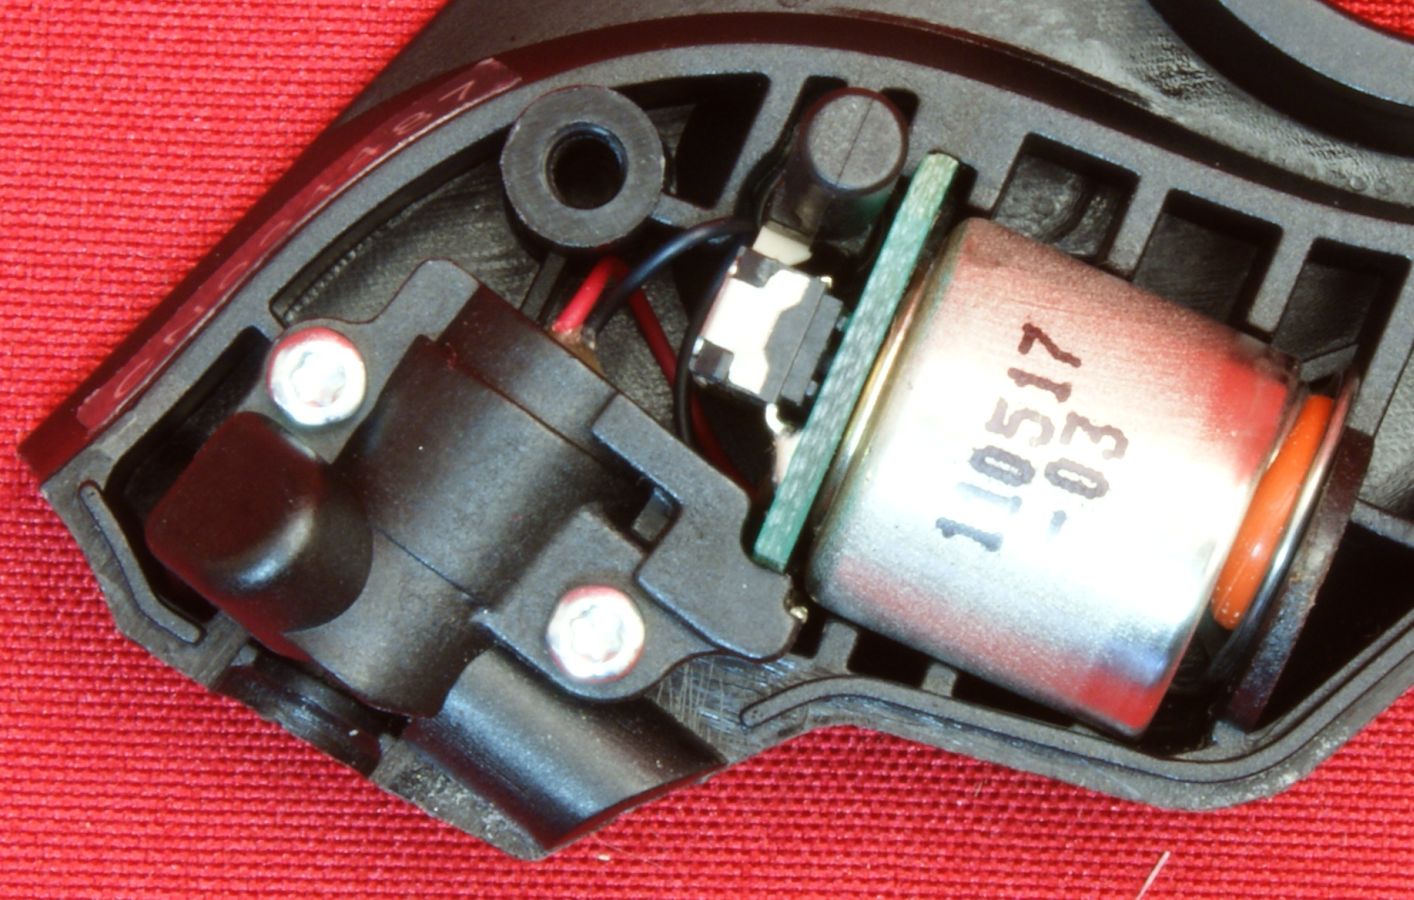
If you needed to replace your LaserMax battery, you would have to at least remove the left half of the LaserMax body. The installation instructions that came with the pistol state that the battery can be either one 1/3N Lithium battery (~$3) or two 357 Silver Oxide batteries (~ $1 each).
Figure 28
Complete Normal Disassembly
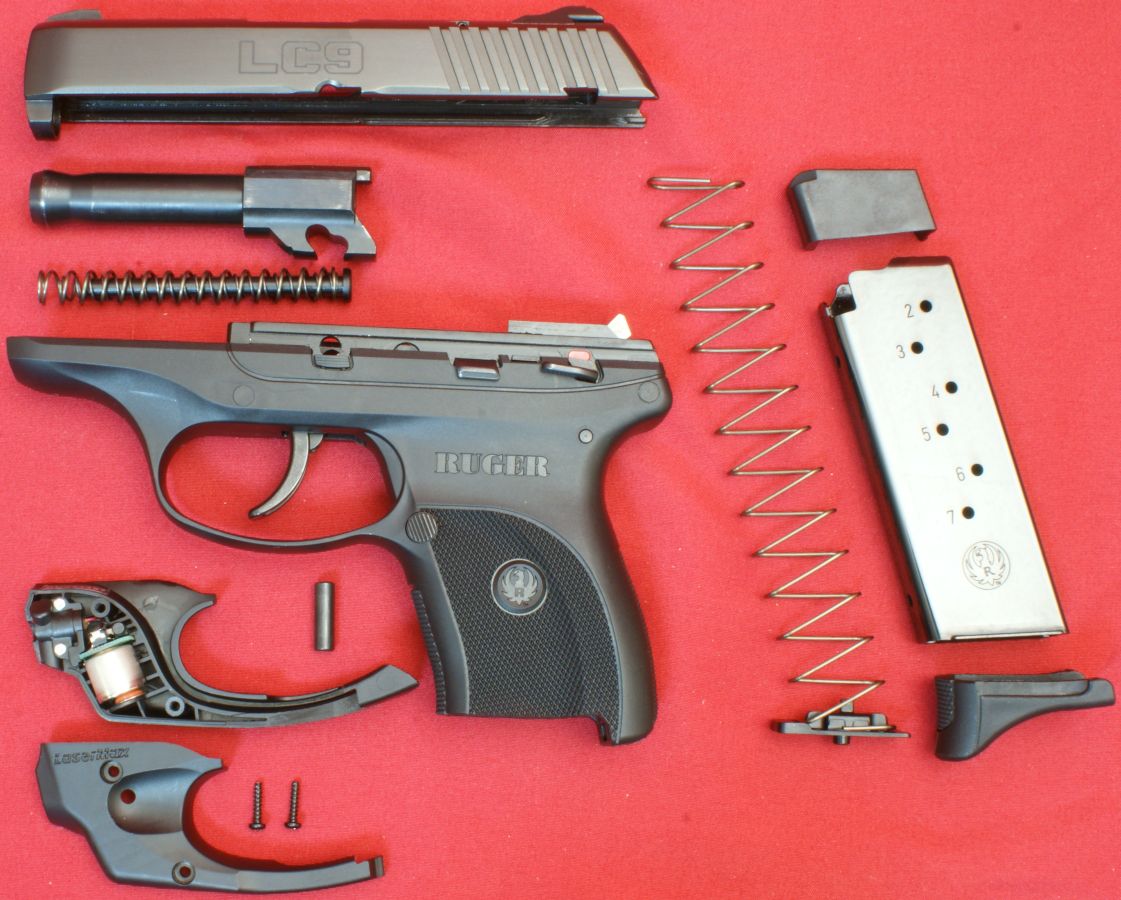
This photo below shows the complete normal disassembly of the the Ruger LC9 w/LaserMax Pistol.
Figure 29
Thoughts
Overall I feel disassembly is very simple. The only thing I didn't like is that you need a tool to press the takedown pin out and once out the pin becomes a small loose part. Reassembly, basically the reverse of the steps above, was also simple and I liked the tight firm fit that the LaserMax assembly has on the trigger guard.
For more detailed photos and commentary, make sure you check out the other parts of this review and feel free to leave comments on my Reader's Comments page. The following links are provided to help you see other parts of this review.
- Ruger LC9 Review: Part 1 - Introduction, Specifications and Summary
- Ruger LC9 Review: Part 2 - What's in the Box
- Ruger LC9 Review: Part 3 - External & Operational Features
- Ruger LC9 Review: Part 4 - Disassembly (this page)
- Ruger LC9 Review: Part 5 - Internal Features
- Ruger LC9 Review: Part 6 - Range Test
Or
If you would like to be notified about future Gunsumer Reports reviews via Facebook, make sure "You Like This" by clicking the Facebook "Like" button at the bottom or top of this page. If it already says "You Like This" beside the button, clicking it again will uncheck the "Like" status and you will not be notified.
| Share on Facebook | |
© 2010, 2011, 2012, 2013, 2014, 2015, 2016, 2017, 2018, 2019, 2020, 2021, 2022, 2023 & 2024 Gunsumer Reports™, All rights reserved.
FTC Disclosure