|
|
Gunsumer Reports TM Providing Detailed Objective Reviews for Firearms and Firearm Accessories |
Burris FastFire II Review
December 24, 2011

Back in the year 2007, Burris released what I would refer to as a "micro" red-dot sight called the FastFire Red-Dot Reflex Sight and it has only grown in popularity. Today Burris produces the FastFire II which is basically a water proof version of the original FastFire. If you compare the original FastFire's Product Guide against the FastFire II Product Guide, you will see that the FastFire II also has an increased parallax-free distance from 50 yards on the original version to 10-150 yards on the current version. I'm not sure if this was just a matter of updating the literature or if there was actually some type of change in the design of the sight, but this increased parallax-free zone is a big advantage for the target distances that one might expect to use this type of sight.
The FastFire II sight has as many as 14 different mounting configurations and 13 of those configurations are specific to various handguns. Burris also has a line of sights called the Speed Bead which is basically the FastFire II that comes with a shotgun specific mount. For this review, I wanted to get the FastFire II with the Picatinny Mount. This configuration gave me the greatest amount of flexibility so I could try it out on several different Picatinny ready firearms. MSRP on this FastFire II With Picatinny Mounts is $327, but the street price for this configuration (at the time of this review) is about $210 from various online stores. At this street price, you are able to get a quality red-dot sight at a great value.
During my reviews I like to compare my results
to the manufacturer's claims where possible so the following text in
colored italics was taken directly from the
Burris website
and FastFire Product Guide on 12/4/11 and gives the Features and Specifications
for the FastFire II Red-Dot Reflex Sight. The
![]() ,
,
![]() and
and
![]() are my way to keep up with details that I have covered in this
review with either photos, commentary or both. I may also add
commentary after these marks as necessary to explain some items if
needed.
are my way to keep up with details that I have covered in this
review with either photos, commentary or both. I may also add
commentary after these marks as necessary to explain some items if
needed.
Key Features
-
The FastFire dramatically increases speed
and accuracy. It simplifies the act of aiming, eliminating the
need to focus on and align the front sight, rear sight and
target.

-
With the FastFire, the aiming red dot and target are
always in focus and properly aligned for the ultimate in
accuracy.
- The FastFire II provides the only fully waterproof unit in its product category.
-
The FastFire sight is
very small, mounts very low, and weighs a mere 1.6 ounces.
The actual weight with the Picatinny
Mount but without the protective cap was 1.75 ounces
- And it has repeatedly proven it’s toughness on the slides of high power semi-autos, on slug guns, on shotguns and on high power rifles.
-
The FastFire housing is made of metal for strength and
durability.
-
It’s lenses are precision ground and polished to
exacting geometries to virtually eliminate parallax and to
provide a very clear crisp sight picture.
-
It is fully windage
and elevation adjustable and lockable.
-
It features both an
on/off switch and a light sensor that automatically adjusts the
dot’s brightness to the available light.
- The included plastic hood covers the light sensor and puts the unit in sleep mode when the on/off switch is set to “on.”
-
FastFire is powered by a
lithium CR2032 battery, which is commonly available and long
lasting because of the highly efficient electronics and the
battery-saver mode.
A battery can last as long as five years.
-
The Picatinny Mount allows mounting on just about any rifle.
-
Special bases are available for the most common firearms.
Specifications
-
Magnification: 1.07x
-
Sight Window: 21mm x 15mm; .82" x .59"
- Elevation Adjustment Range: 3 degrees or 190" at 100 yards
- Windage Adjustment Range: 3 degrees or 190" at 100 yards
- Set Value for One Scale Division: 1 MOA or 1" at 100 yards with 60 scale revolutions per turn
- Subtension of the Aiming Dot: 4 MOA
- Recoil Resistance: At least 1000 G's
- Operating Temperature Range: -10°F to +130°F (-25°C to +55°C)
- Storage Temperature Range: -40°F to +160°F (-40°C to +70°C)
-
Power Supply: 3V with one CR2032 Lithium Battery
-
Dimensions (L x W x H): 1.8" x 1.0" x 0.9"
 The 1.0" width stated represents a width
across the main body. Actual width including the power
switch area is 1.12".
The 1.0" width stated represents a width
across the main body. Actual width including the power
switch area is 1.12". -
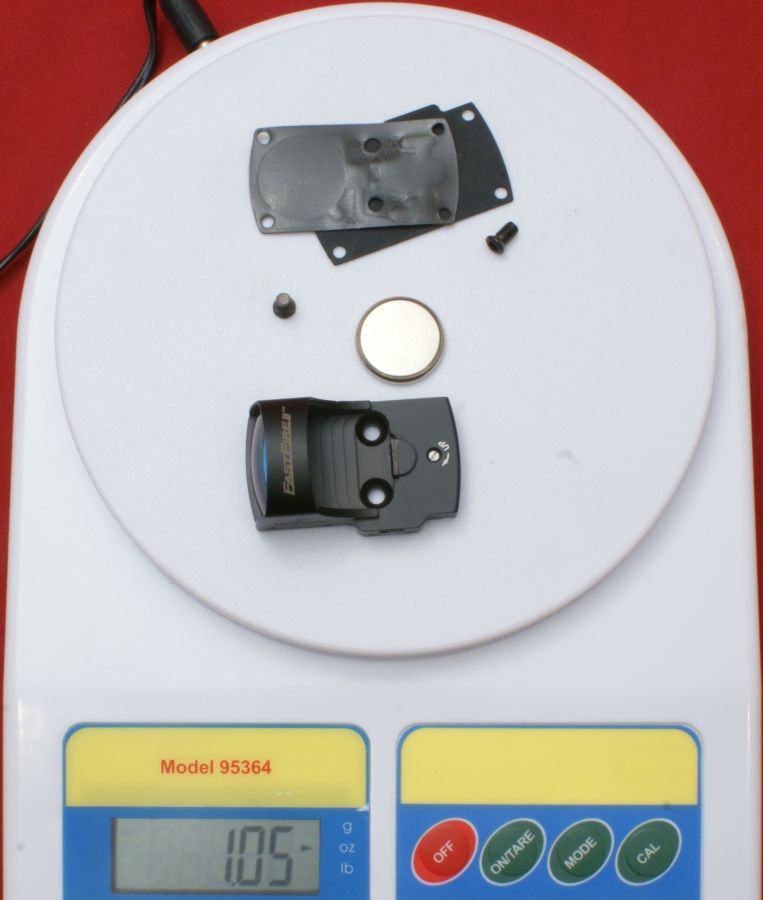
Weight (in operating condition without mounting materials): 0.9
ounces (25 grams)
The weight with some of the mounting
material, but not the Picatinny Mount was 1.05 ounces.
The Burris FastFire II Sight With Picatinny Mount comes packaged as shown below.
Figure 1
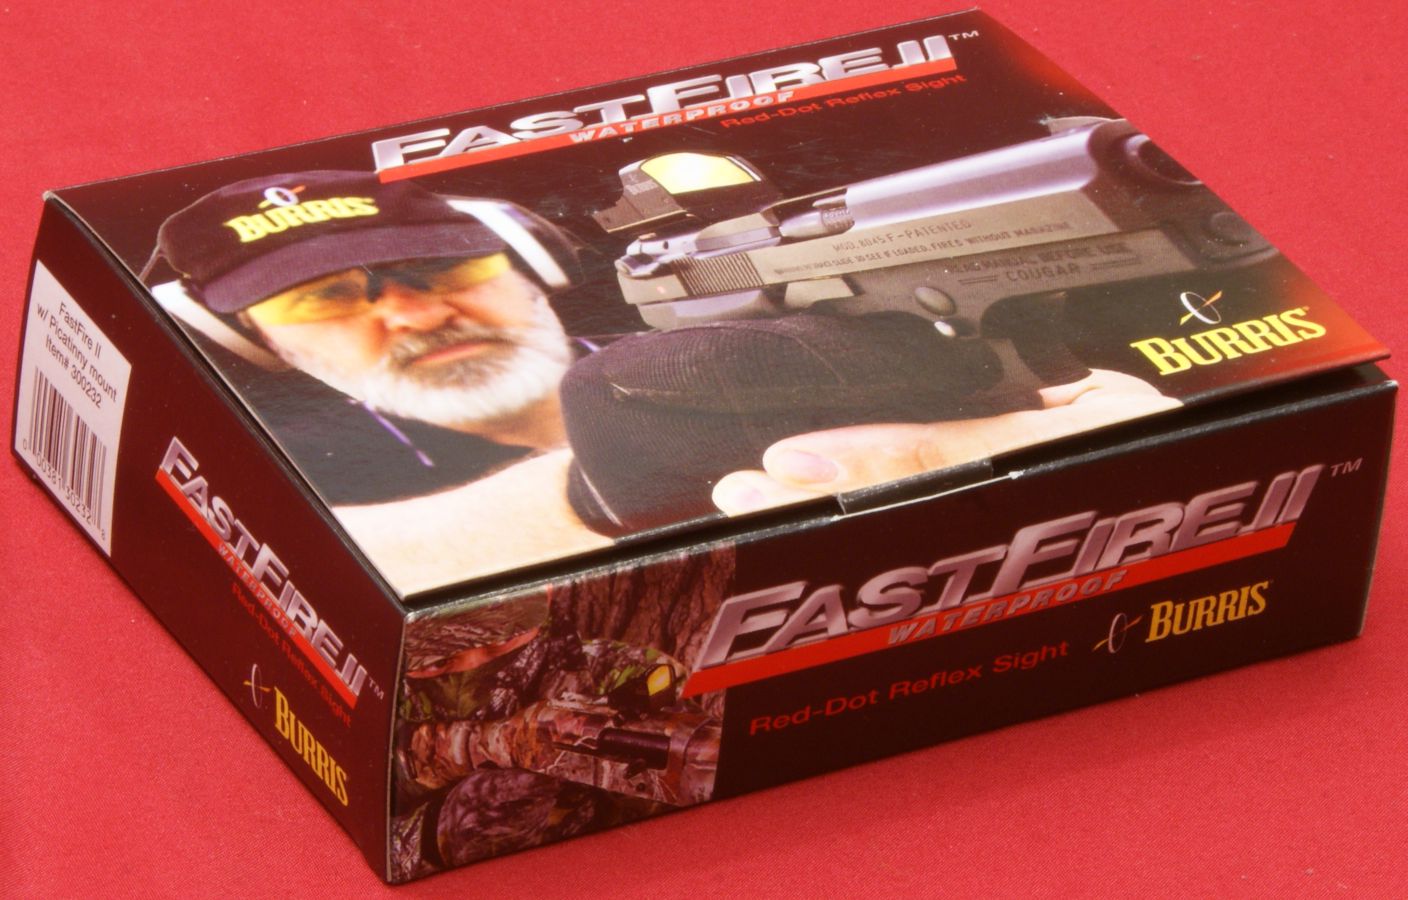
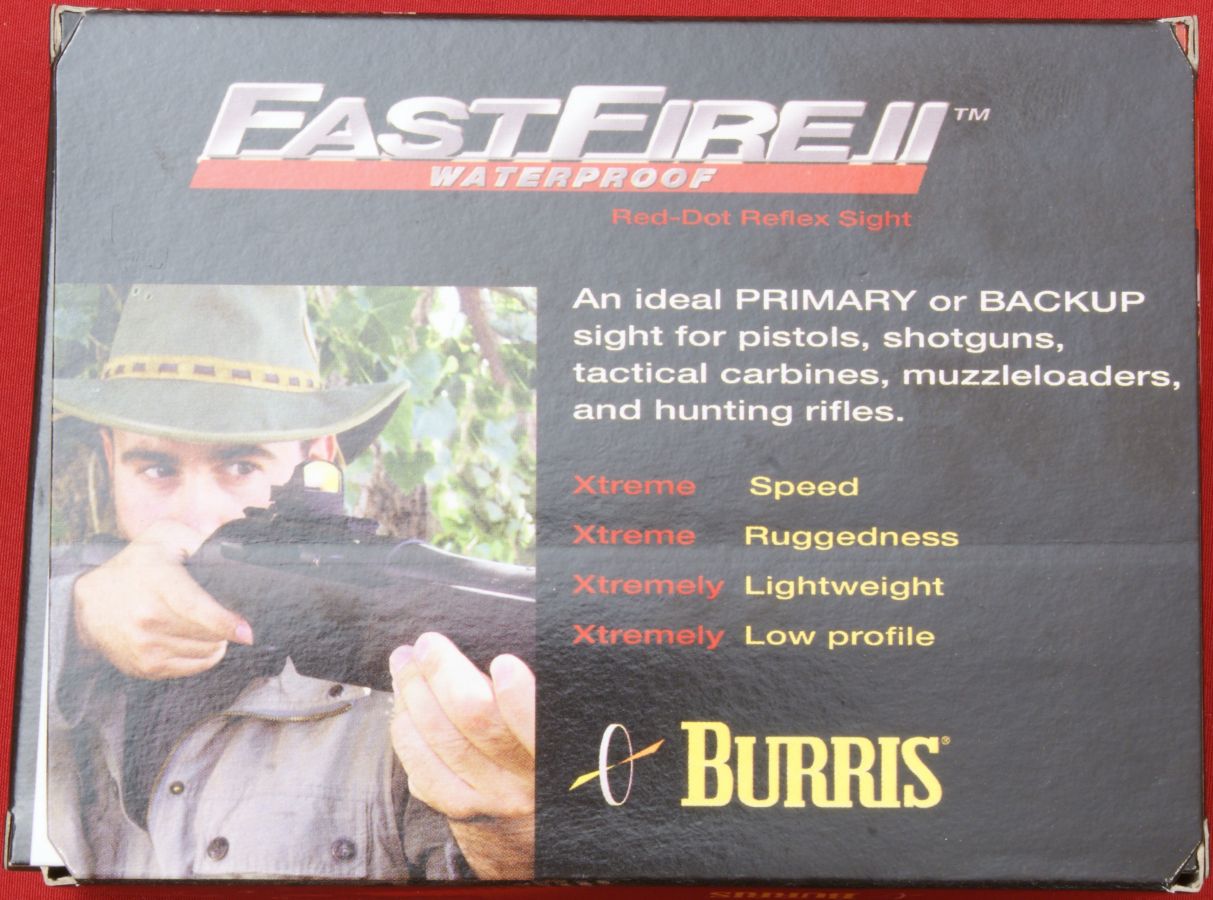
I have included photos showing each side of the box so you can see the manufacturer's advertising information about this sight.
Figure 2

Figure 3
Figure 4
Figure 5
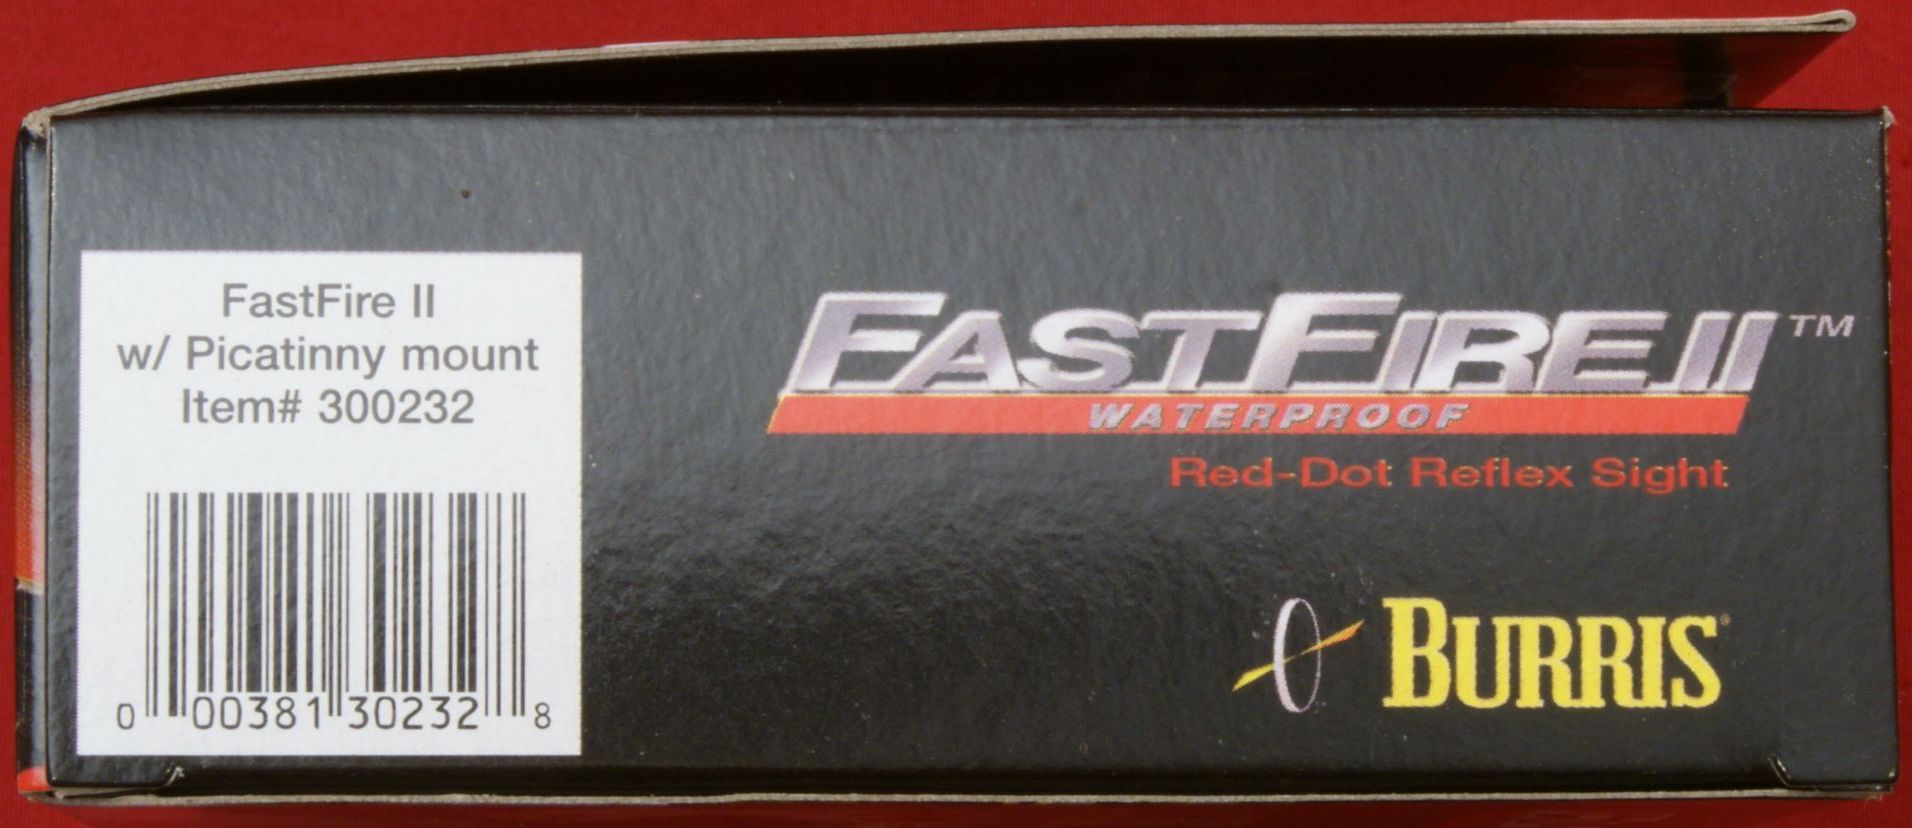
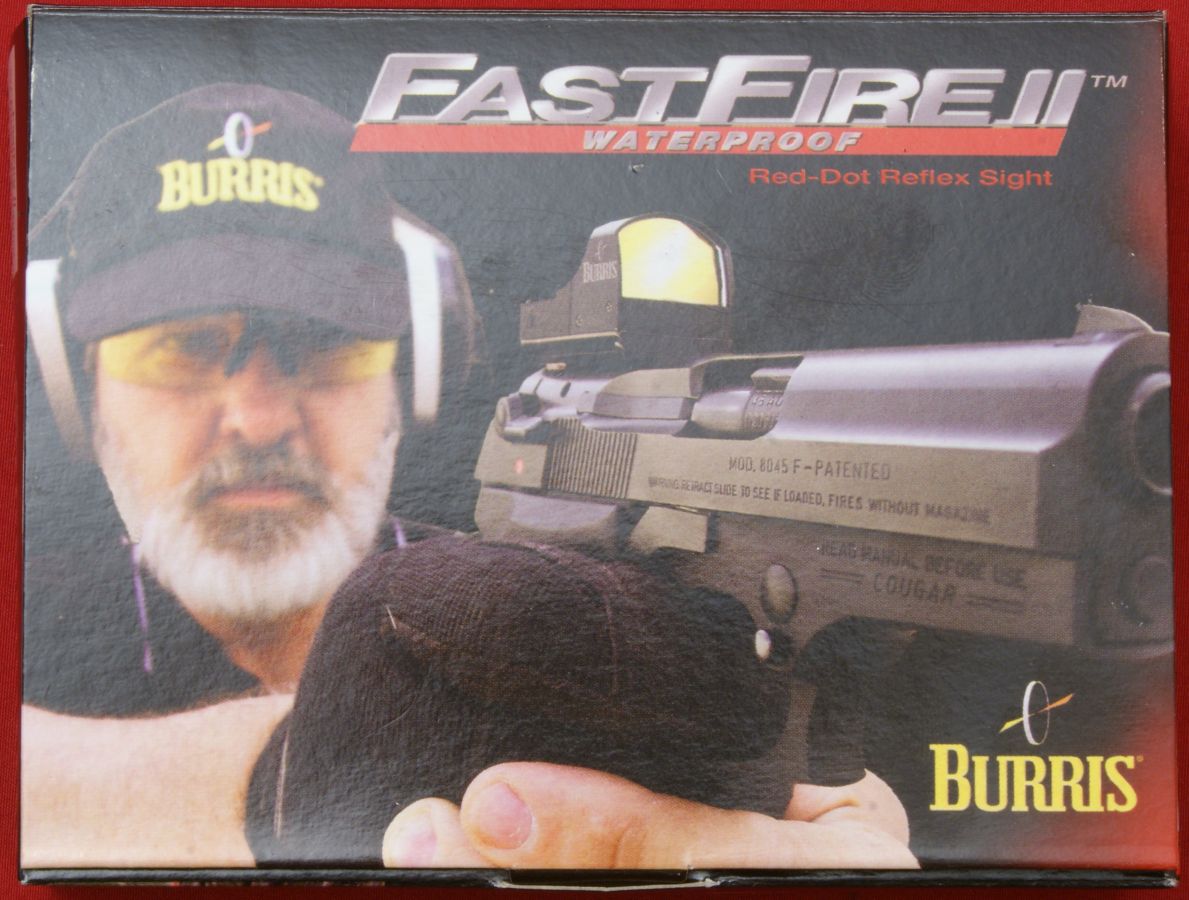
Figure 6
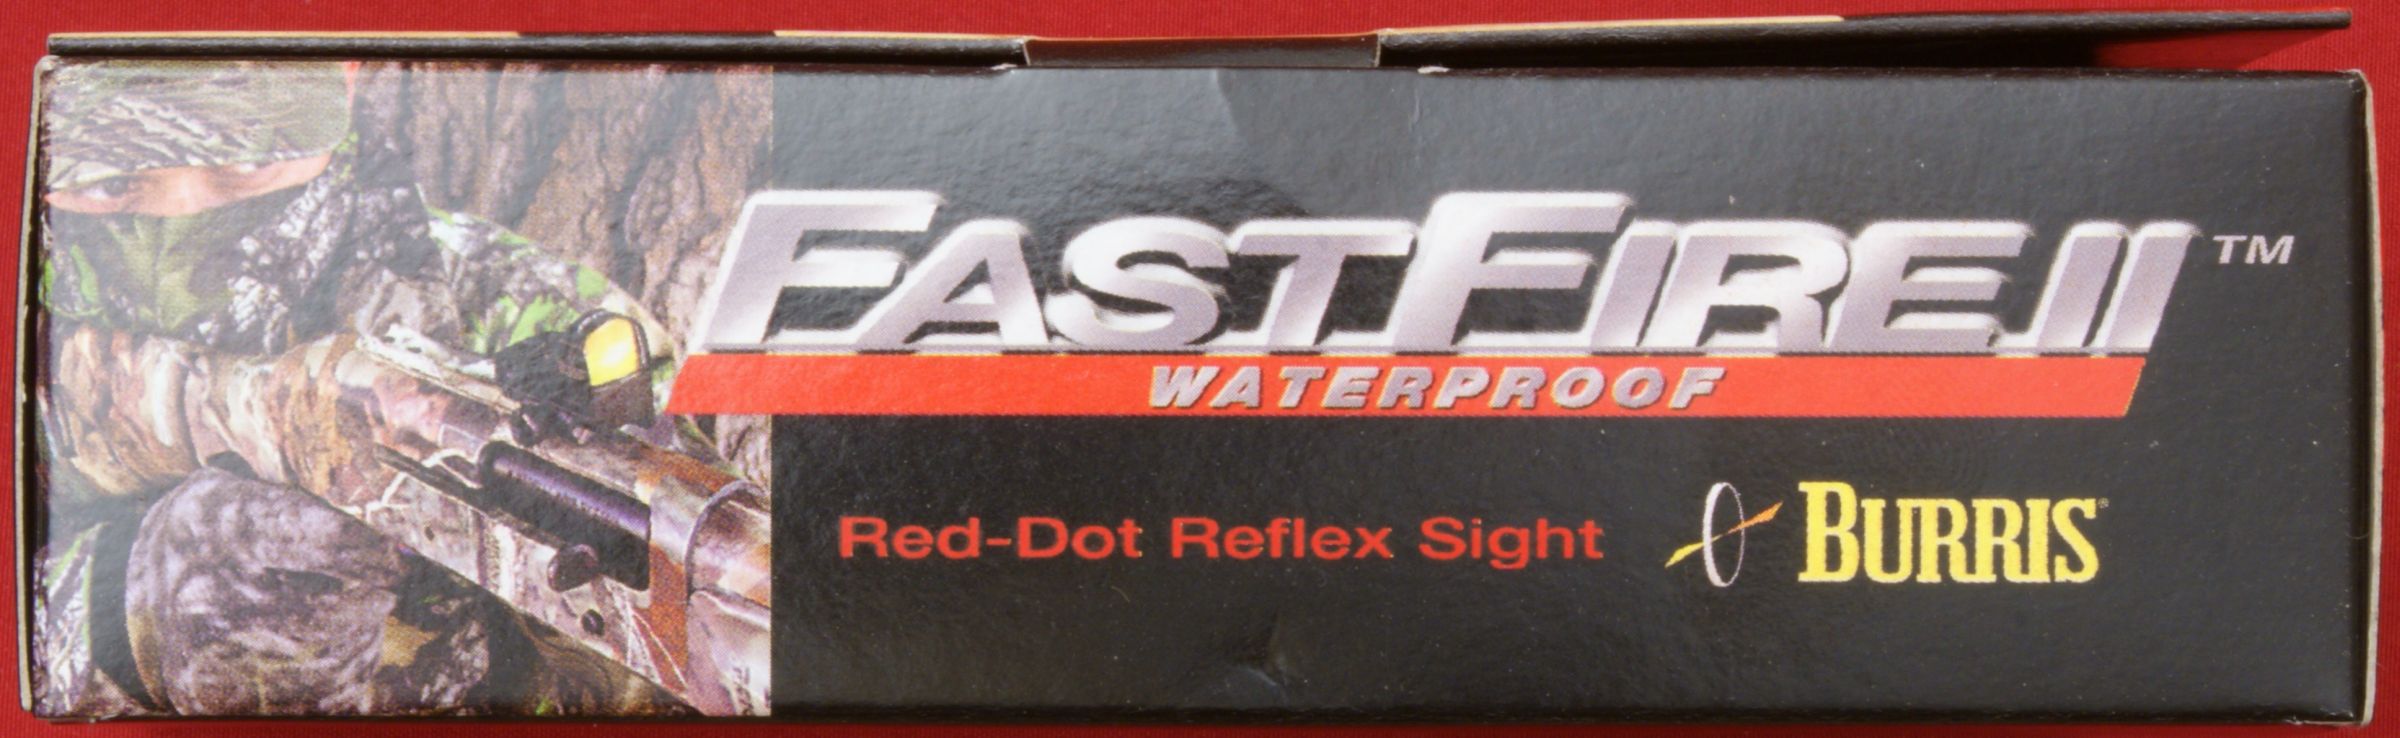
Figure 7
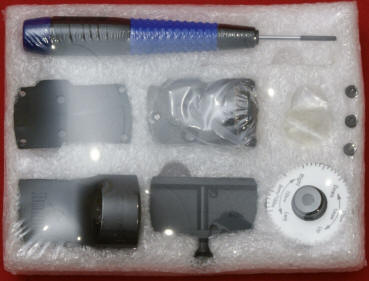
The top of the box flips over to show the package contents.
Figure 8

The contents are actually packaged again on a foam backing.
Figure 9
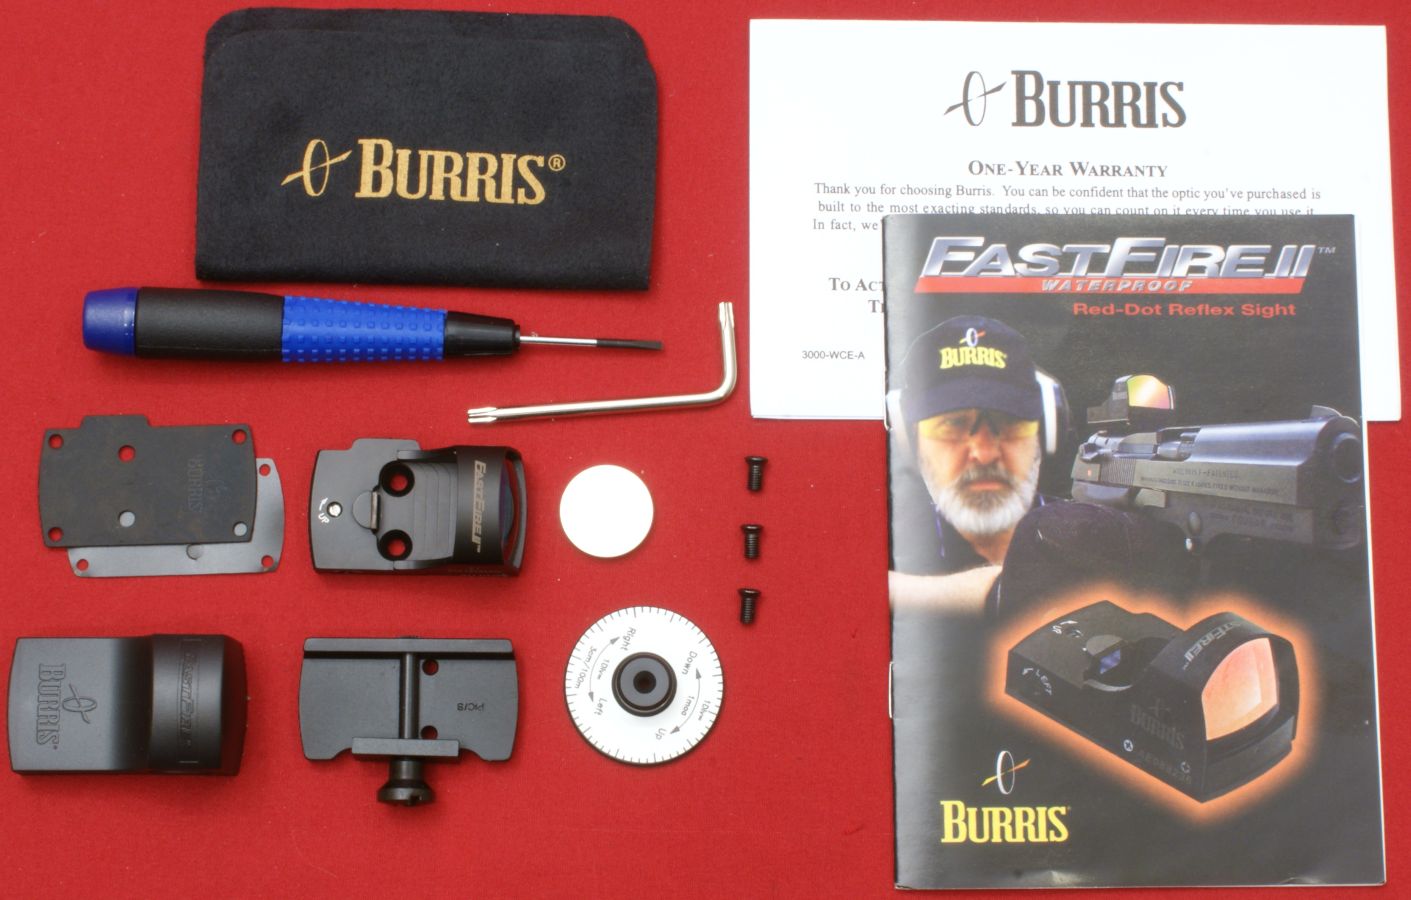
After removing all the wrapping material, you can see below all of the components that come with the sight.
Figure 10
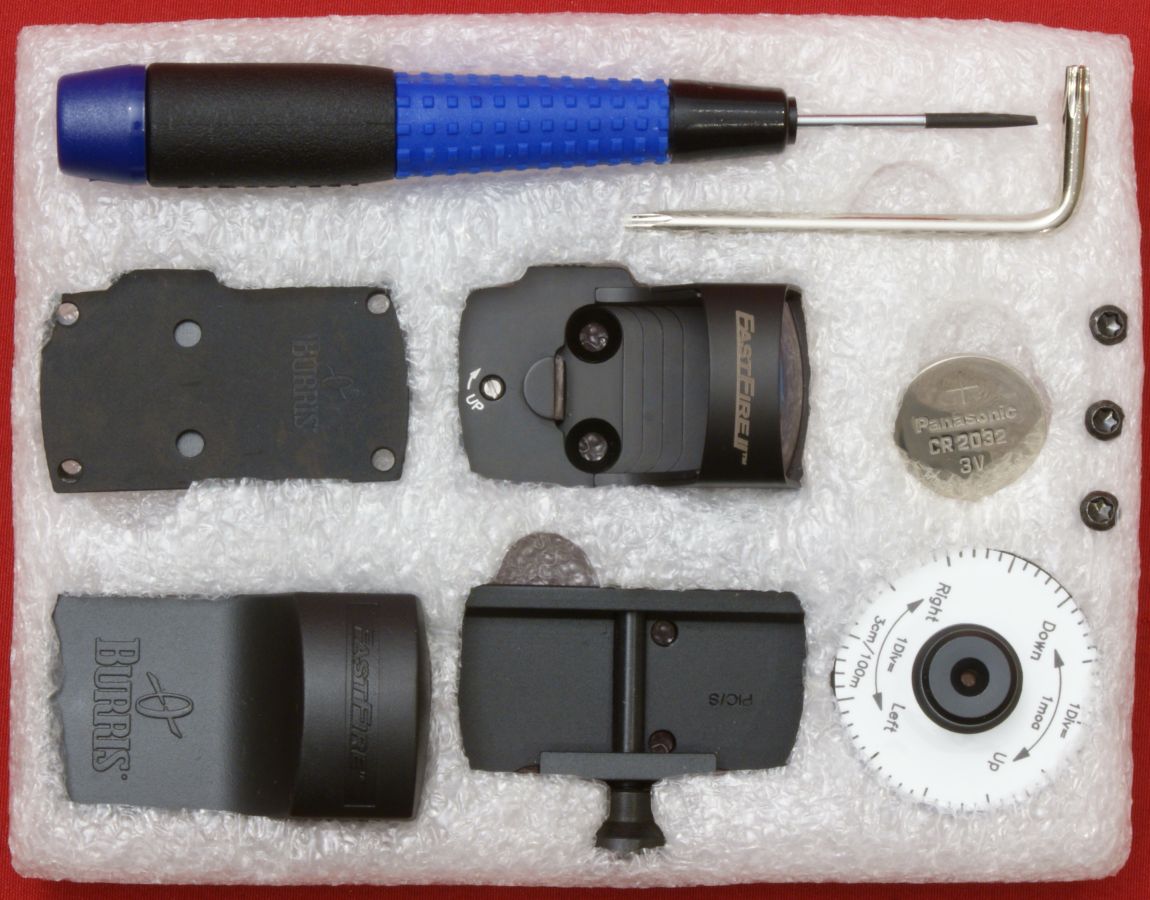
The sight comes with the following items.
- FastFire II Sight
- CR 2032 Battery
- Rubber Gasket and Gasket Plate
- Weaver/Picatinny Style Mount
- Three #6x48 Countersink Screws (Only two are actually needed. The third must be a spare.)
- Torx Wrench to tighten the screws
- Protective Cap
- Adjusting Disk
- Screwdriver
- Lens Cloth
- Product Guide
- Warranty Card
Figure 11
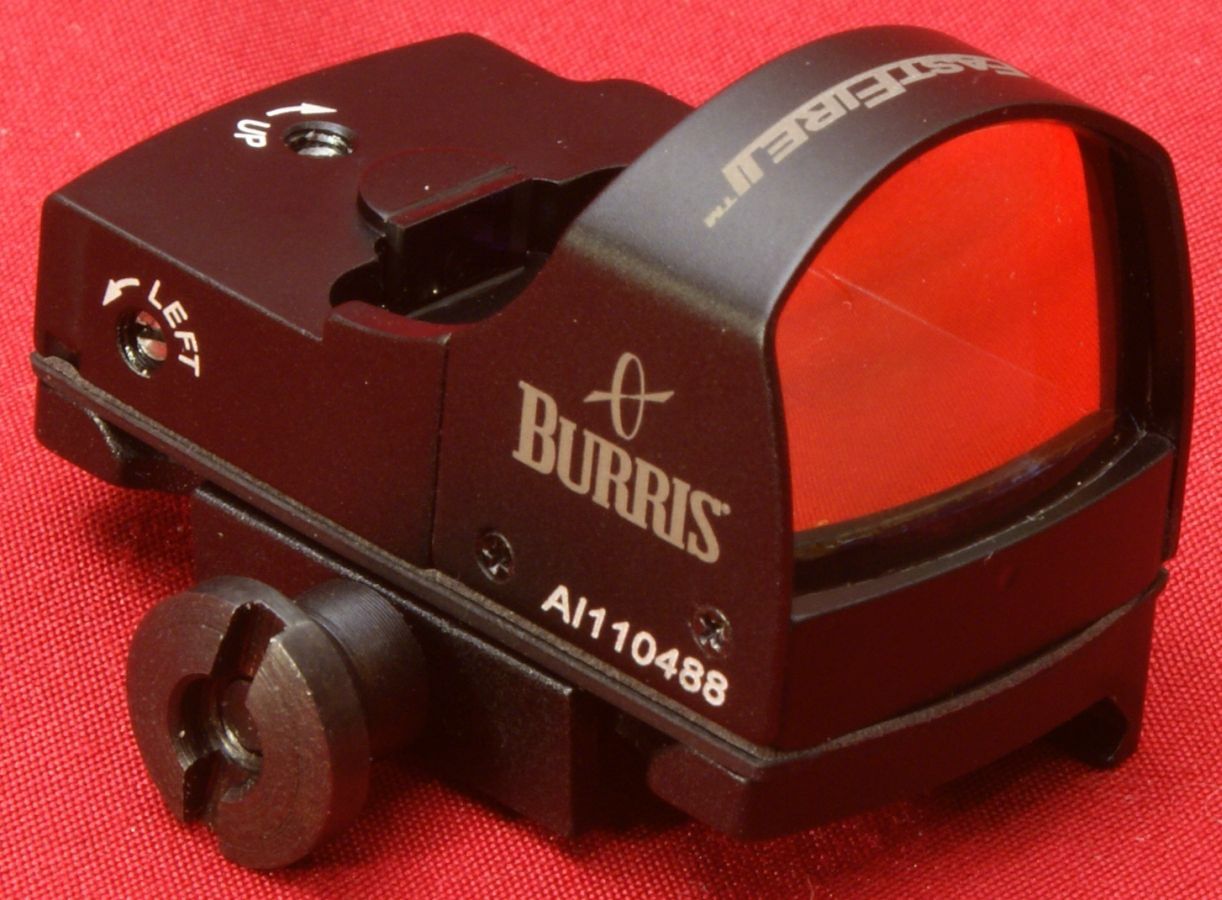
FastFire II Sight
The main body of the Burris FastFire II appears to be machined from aluminum and has a black anodized finish. The overall form and finish gives the appearance of a well made product. Throughout this review I was continually amazed at the compact and light weight form of this sight.
Figure 12
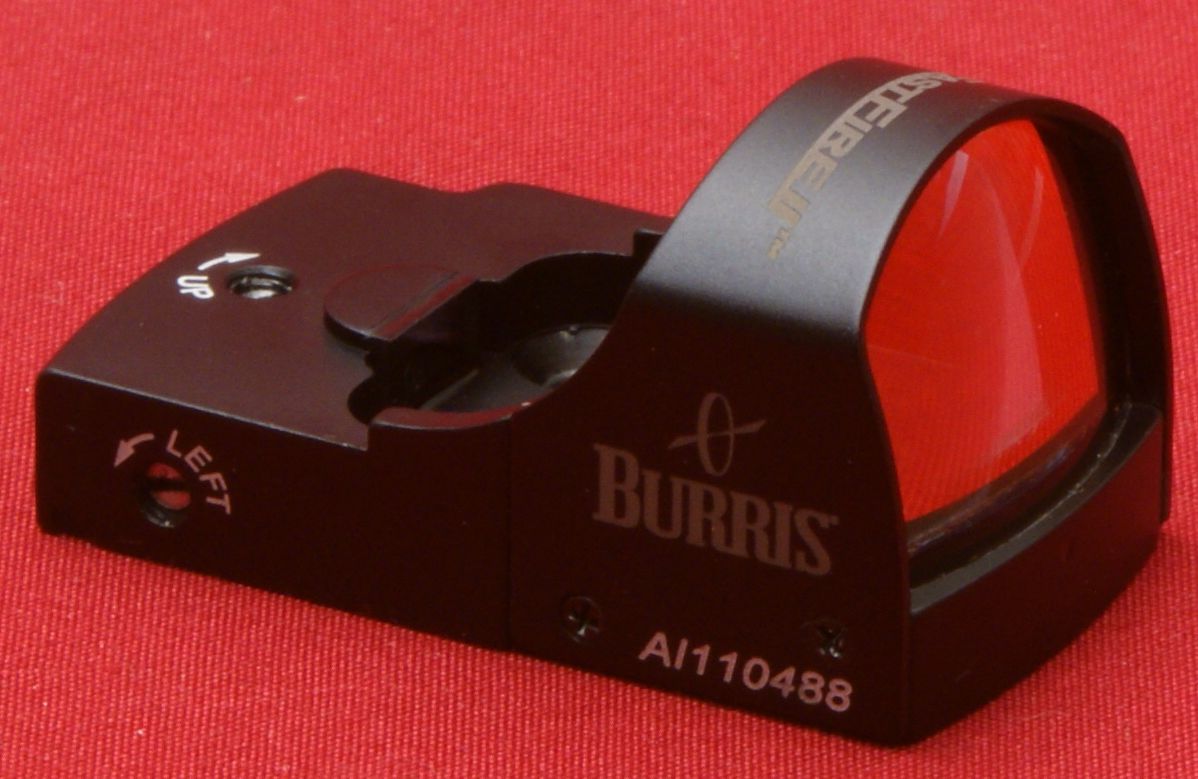
Figure 13
The FastFire II site measured 1.12" wide from the right side to the outside edge of the power switch on the left side. The specifications stated a 1.0" width that represents the basic body without the area that protrudes for the switch. The length measured 1.81" which matched the specification. The top of the sight has the elevation adjustment screw as well as the two mounting holes to mount the sight to the mount adapter of your choice. In my case, the mount adapter is the Picatinny Mount.
Figure 14 - Top Side
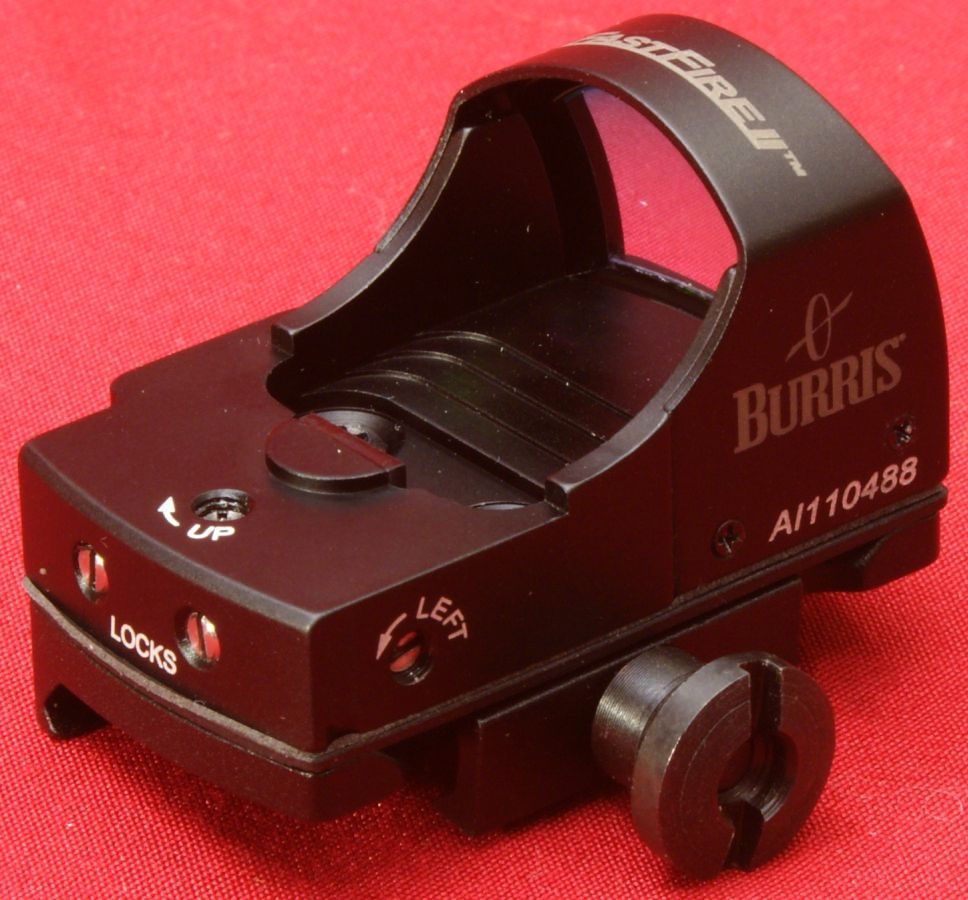
The height of the sight measured 0.93" without the gasket plate and gasket. On the right side you have the windage adjustment screw along with the "Burris" name, logo and serial number for the sight.
Figure 15 - Right Side
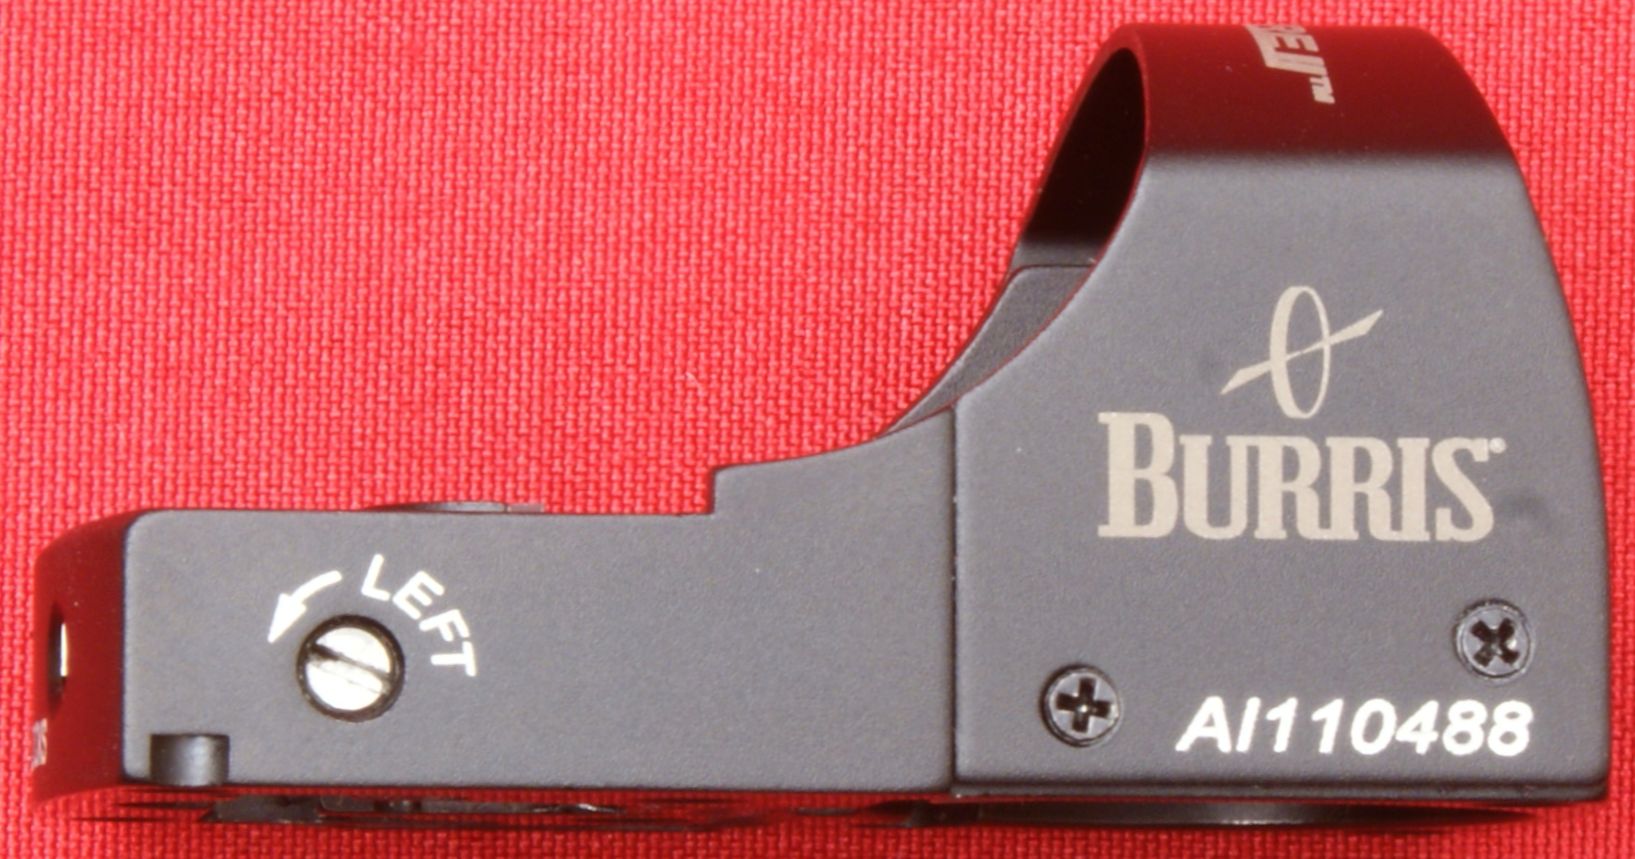
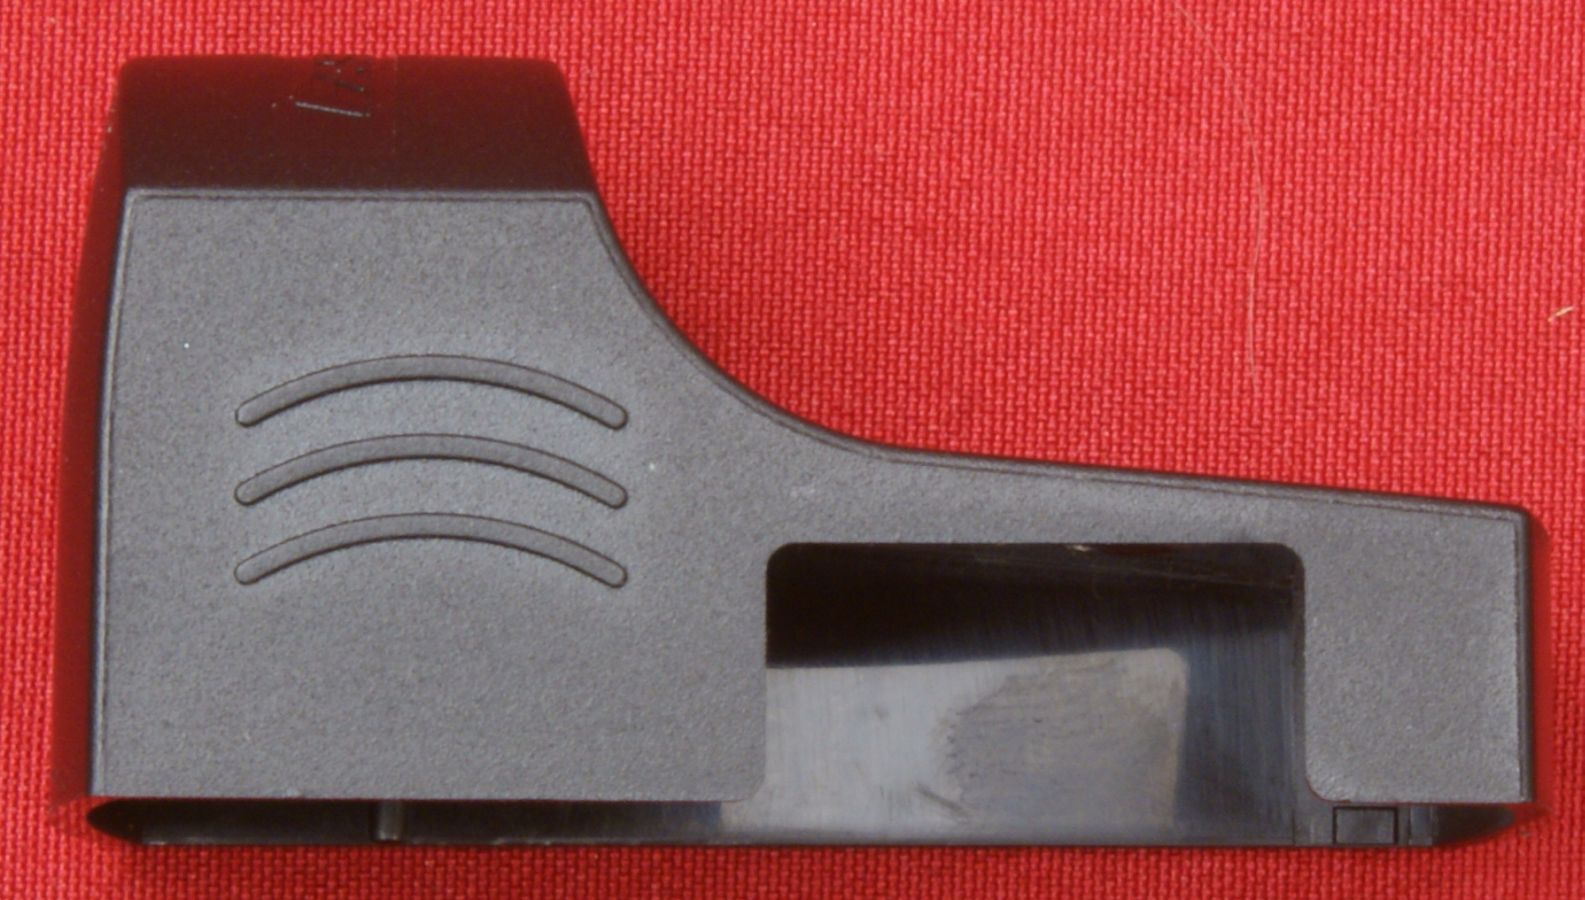
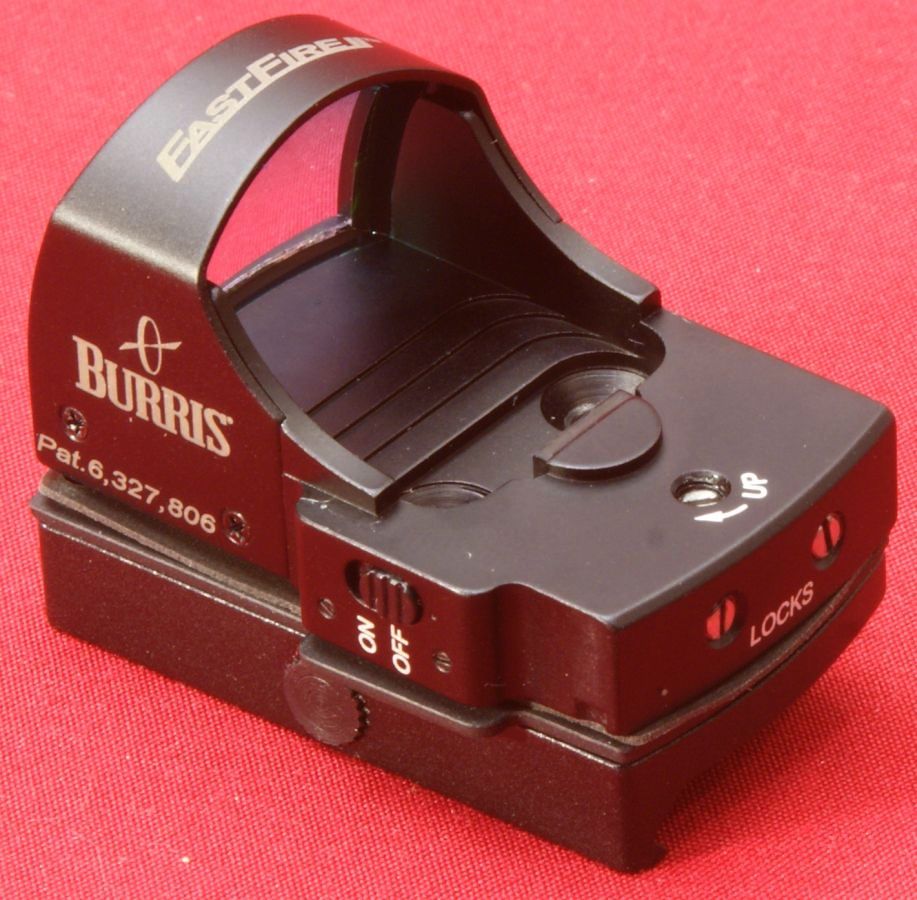
The left side of the sight contains the "On/Off" switch along with the "Burris" name, logo and patent number 6,327,806 for this product.
Figure 16 - Left Side

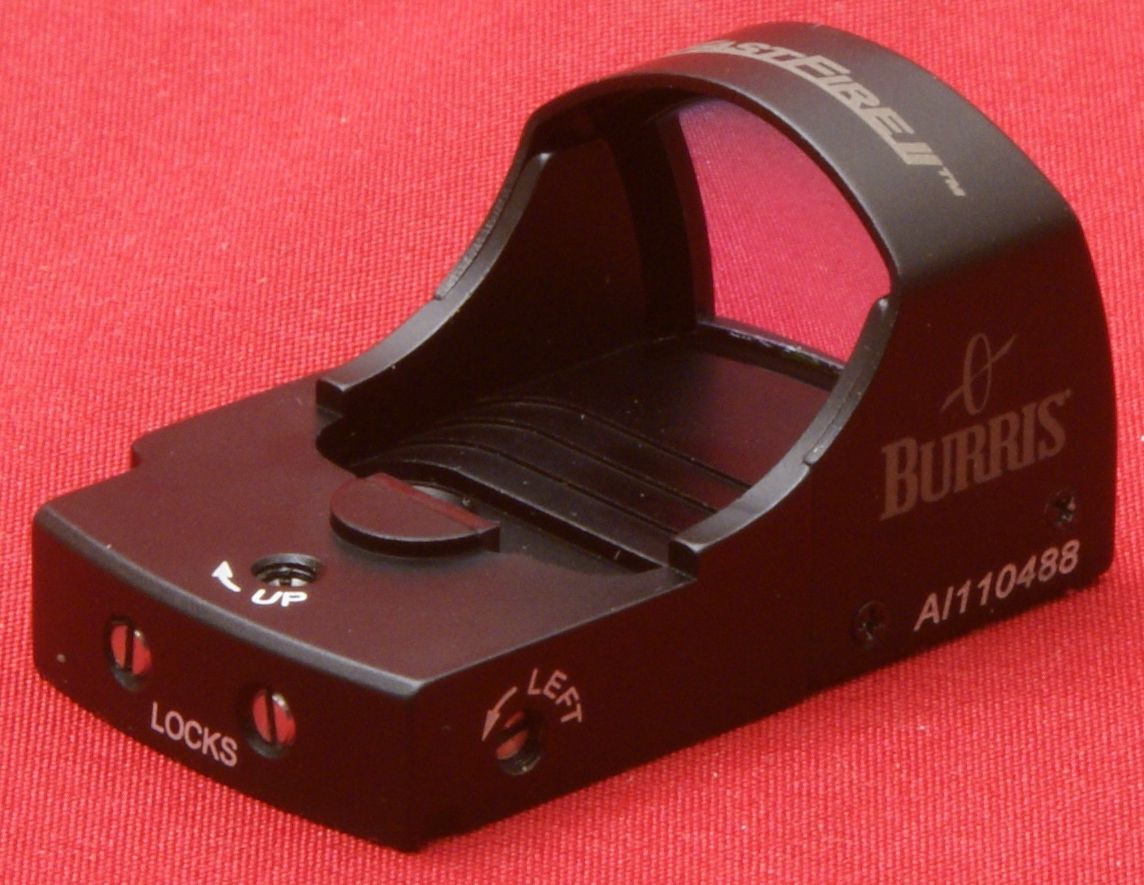
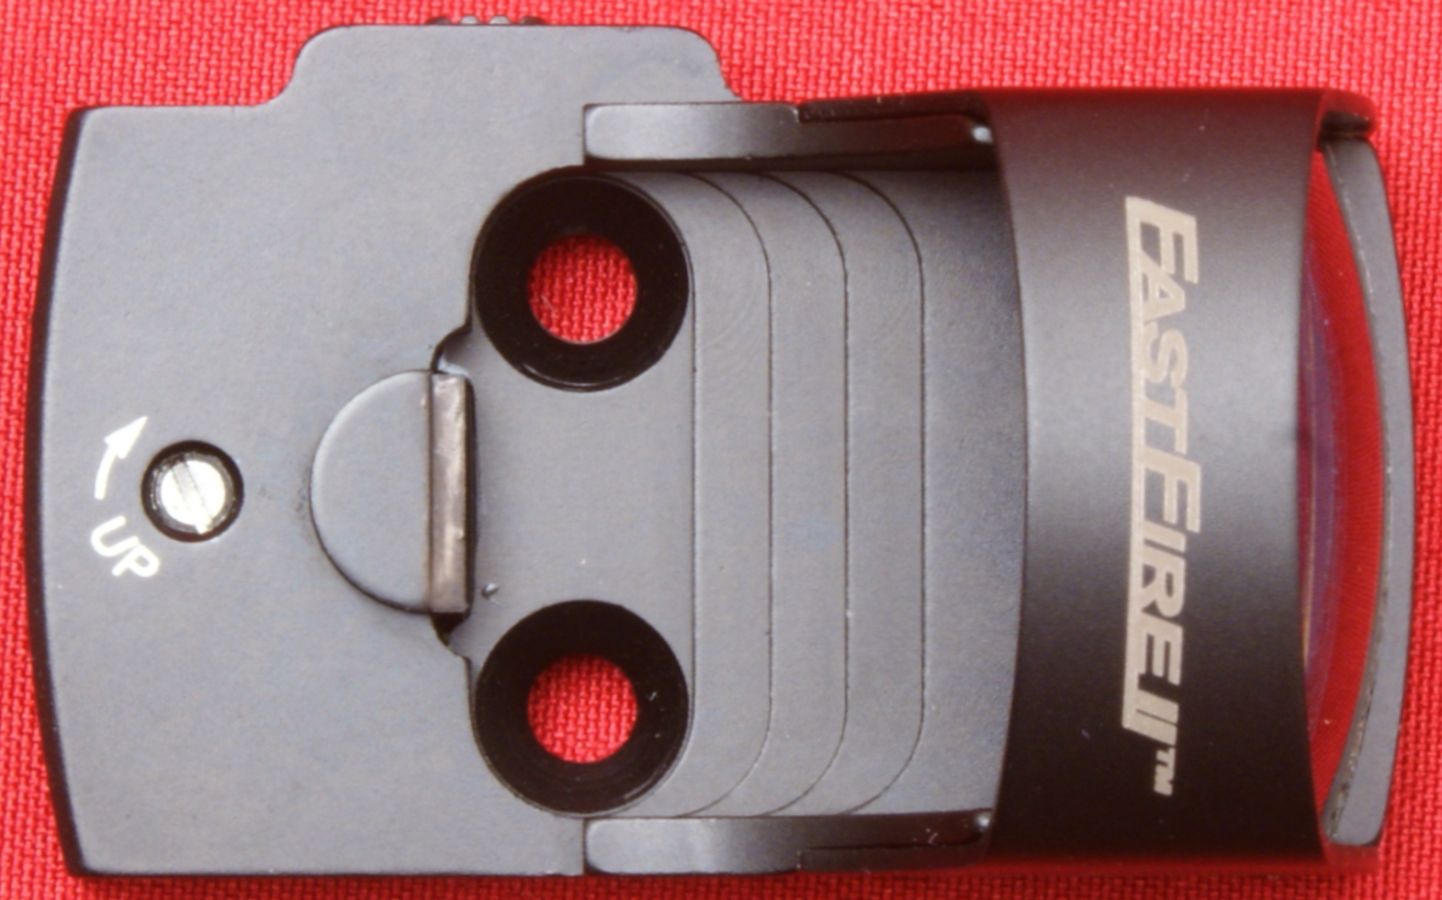
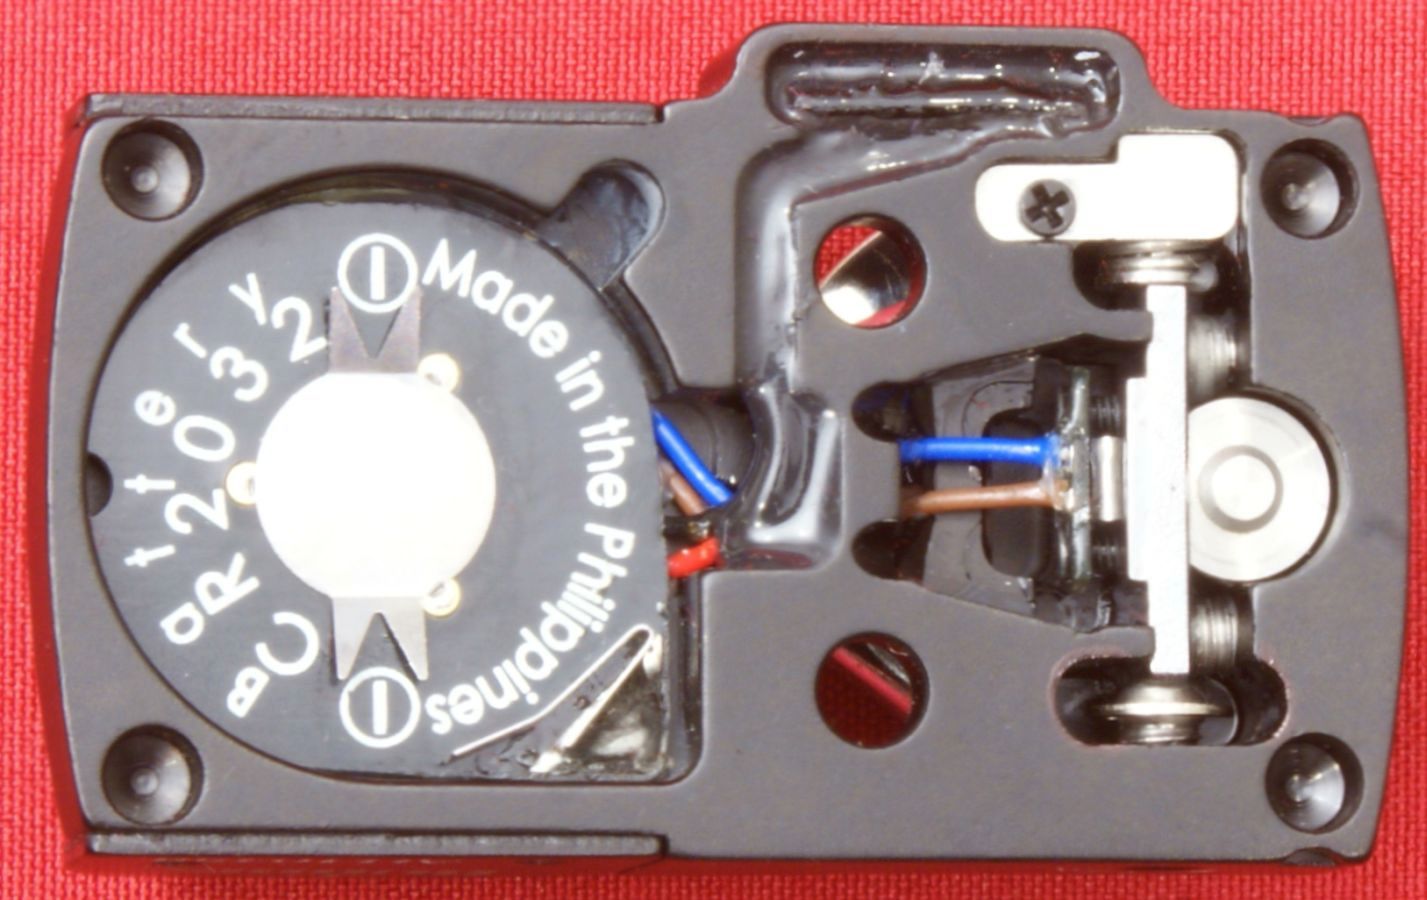
The bottom of the sight body is open and you can see the battery compartment along with the adjustment and lock screws. A single CR2032 battery is held in place with a magnet that draws the battery into the contact plate. One thing to note is that you must remove the sight to replace the battery. The magnet also helps to hold the battery in place when you reattach the sight to the mount. At the four corners are holes that index the sight on the mount adapter.
Figure 17 - Bottom Side
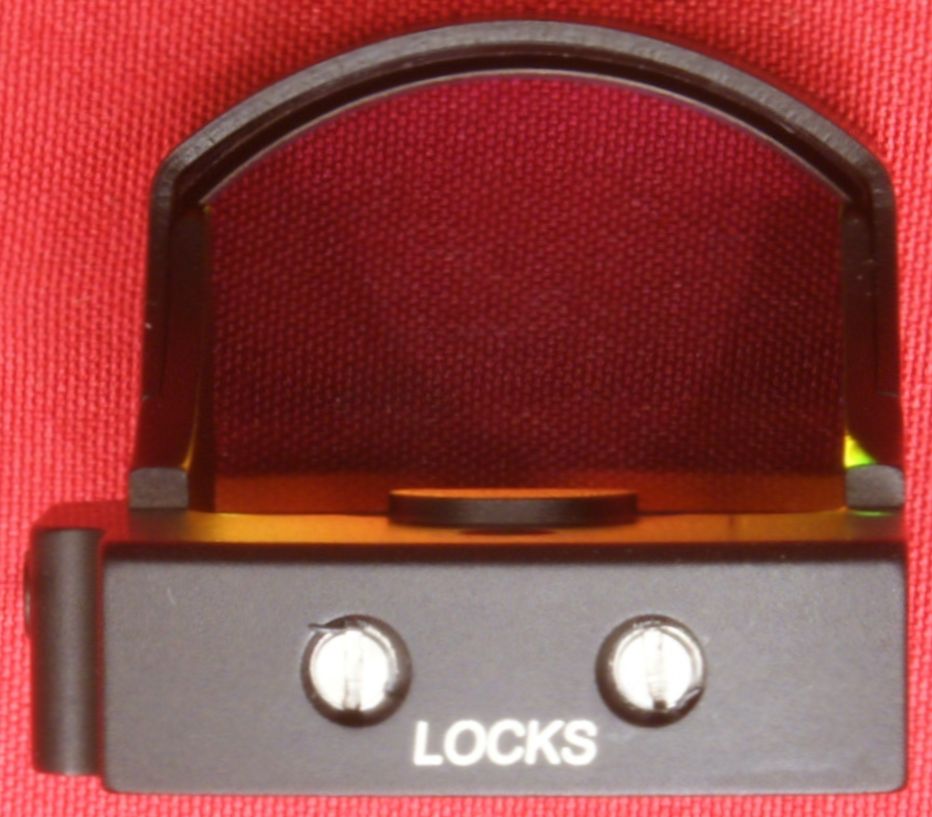
The rear of the sight has the two lock screws that hold the diode in place once the a zero is achieved. The front of the sight has a light sensor that senses the light level in the direction of the target. The intensity of the dot will change based on brightness of light in the target direction. Per the Owner's Guide, "the light-emitting diode remains on even in complete darkness but uses such a small amount of energy that you can expect a service life of up to 4 years". For my battery test, I decided to try and get a number of hours that the sight may run when at it's brightest level. I put the sight in my office under a small light (most of the time) or had it in use. The sight has ran continuous for 1583 hours (66 days) and was still going strong.
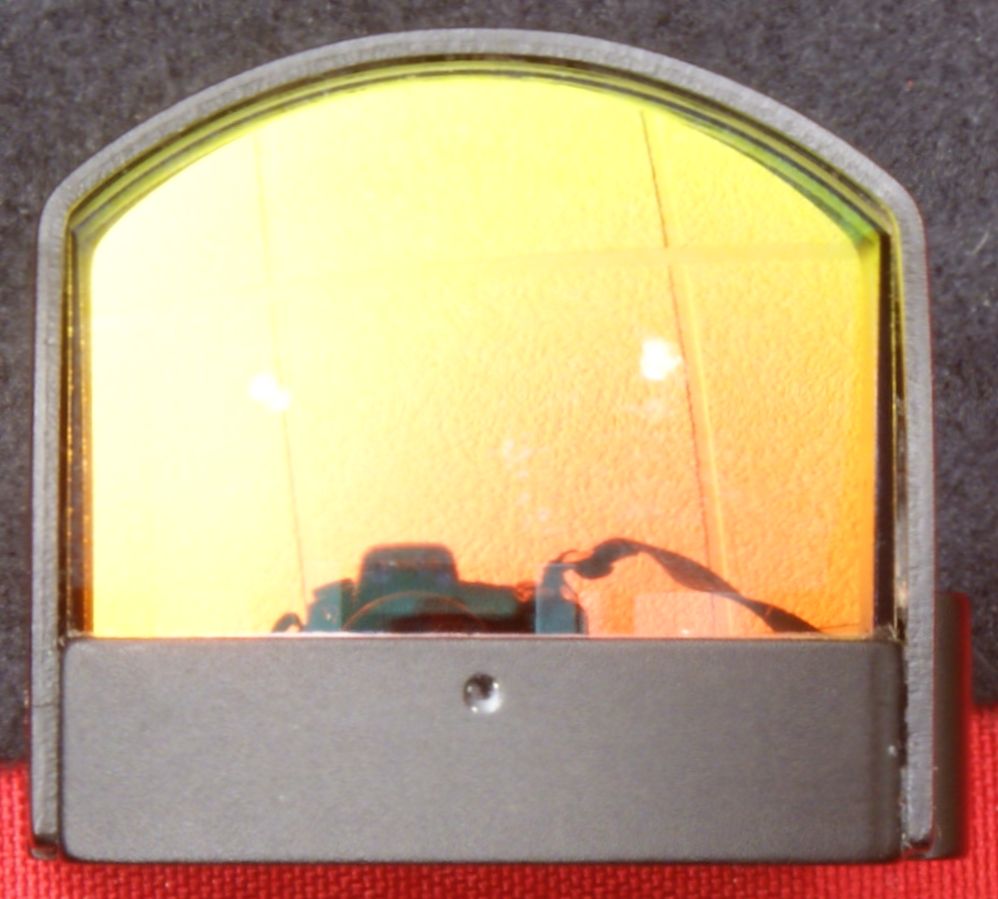
From the front of the sight below, you can see the special reflective coating that gives the lenses an amber/gold color. Per the Owner's Guide, "the lenses are fully coated for maximum light transmission" and the the field of view did appear bright. There was a slight color shift to what I would consider to be a slight increase in blue and there was a very thin purplish hue across the top edge only, but neither of these would be a significant concern for me if I were considering purchasing this sight. I took the sight and held it like a small magnifying glass and examined fine printed text. The text was clear and crisp throughout the entire field of view of the sight. The actual sight window measured very close to the specification size of 0.82" x 0.59". When looking through the sight, I could detect a very small amount of visible magnification which makes be believe the 1.07x magnification is probably a good number.
Figure 18 - Rear Side
Figure 19 - Front Side
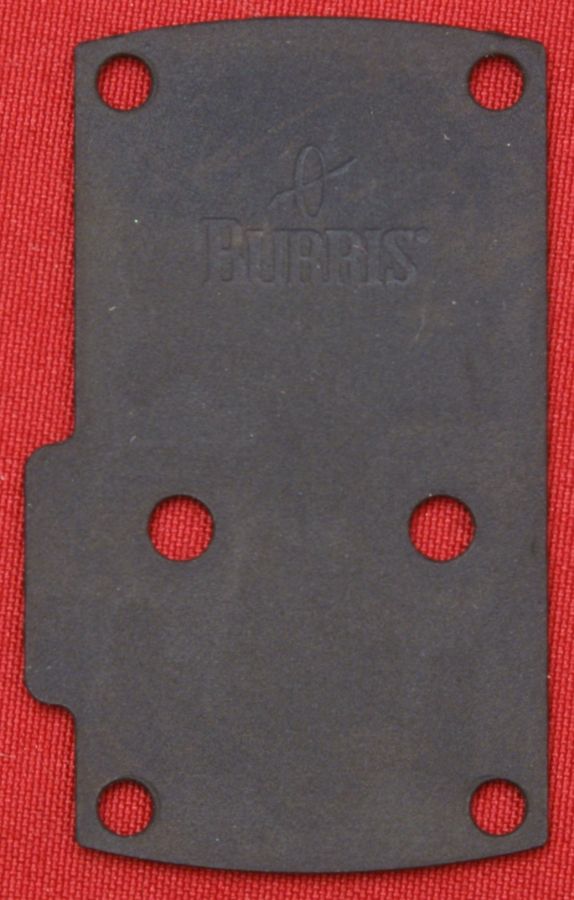
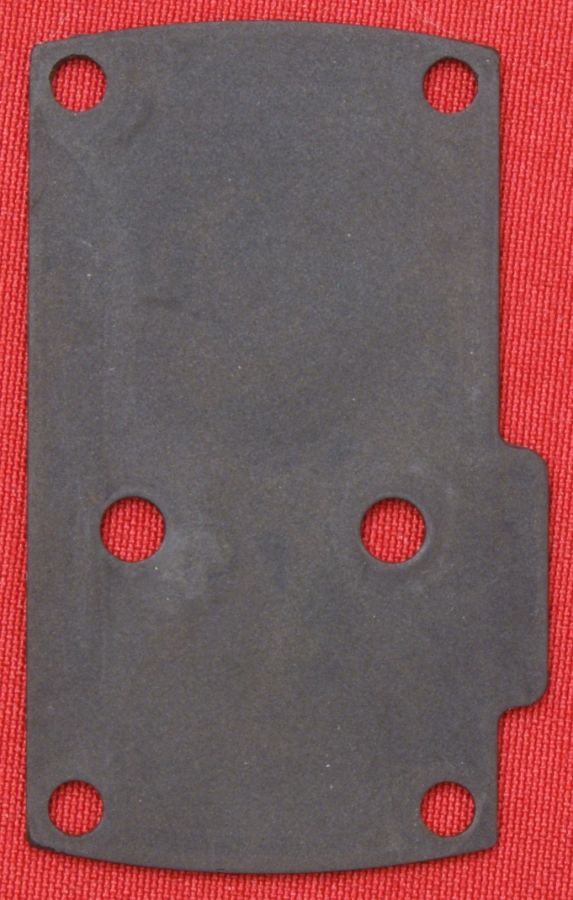
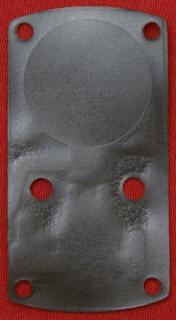
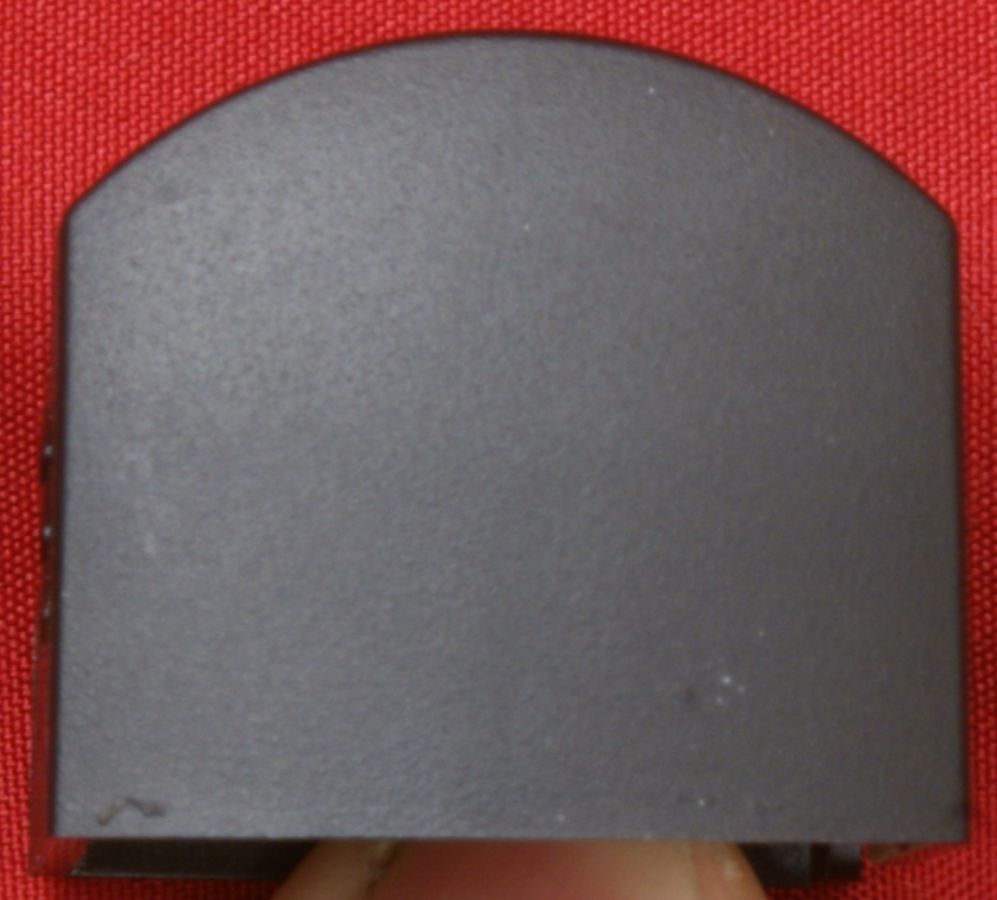
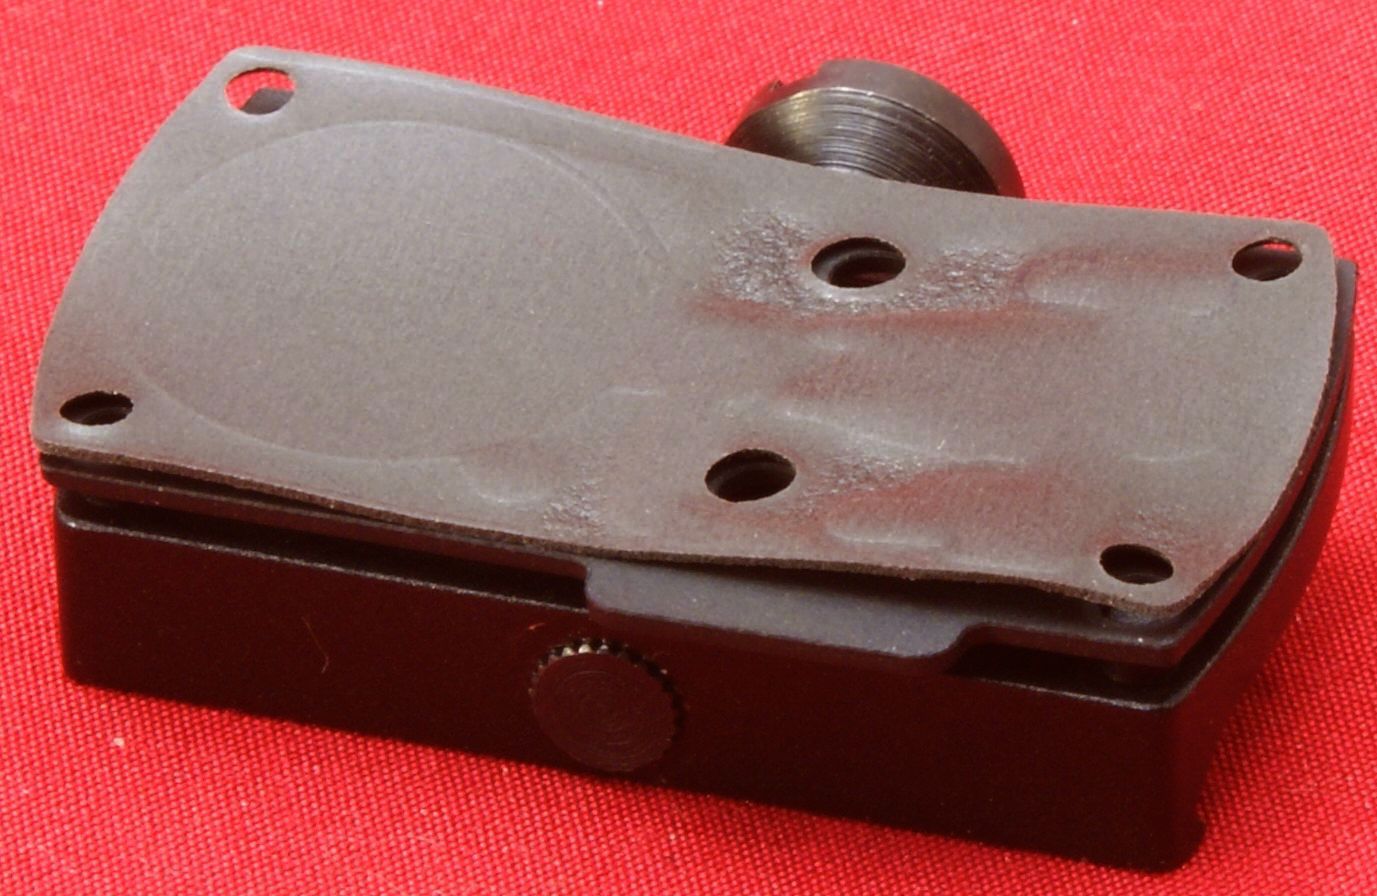
Gasket Plate and Gasket
The sight comes with a steel gasket plate and rubbery gasket material to seal the bottom of the sight to meet it's waterproof requirements. The steel gasket plate is coated with a very thin film of some type of rubbery material. The photos below show the top and bottom of the steel gasket plate and one side of the rubber gasket. Since I have already assembled my sight and checked it out before taking photos, you can see there is an impression in the rubber gasket in areas where it contacts the sight.
Figure 20
Figure 21
Figure22
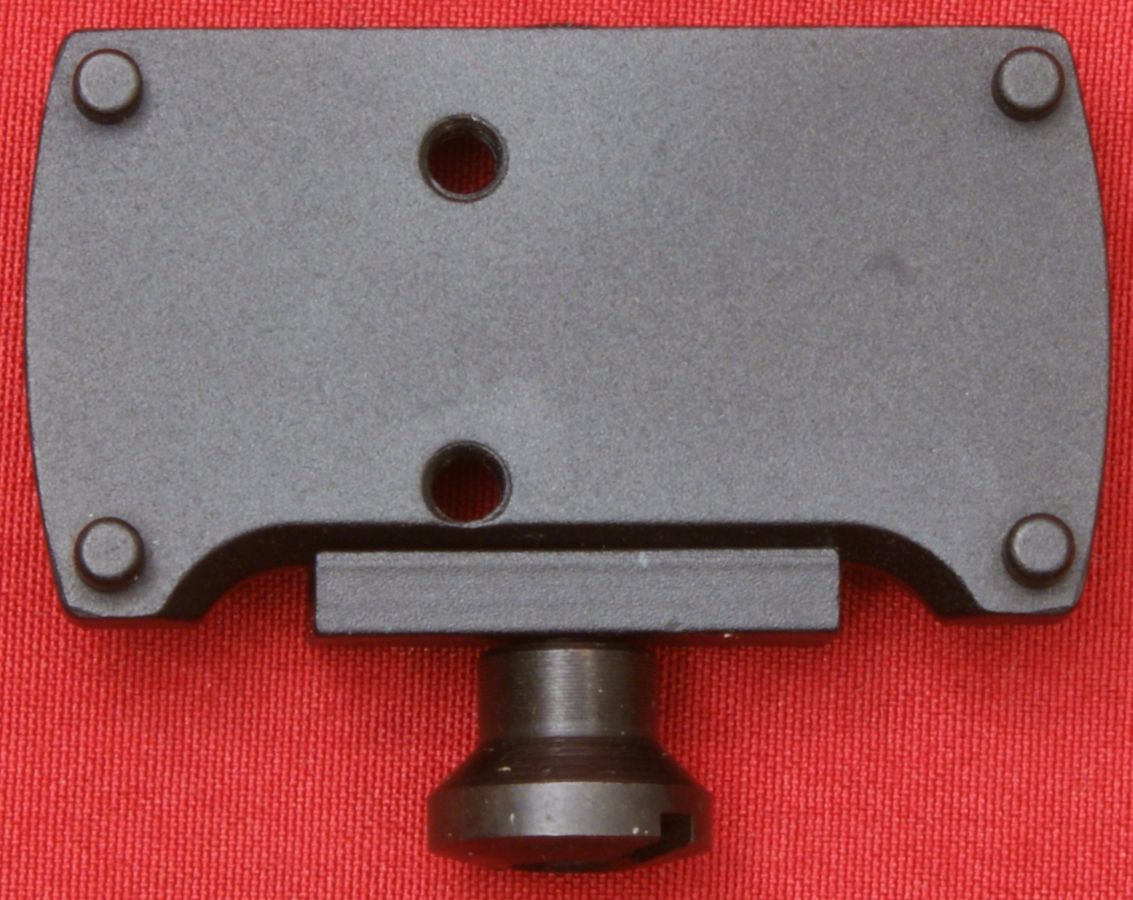
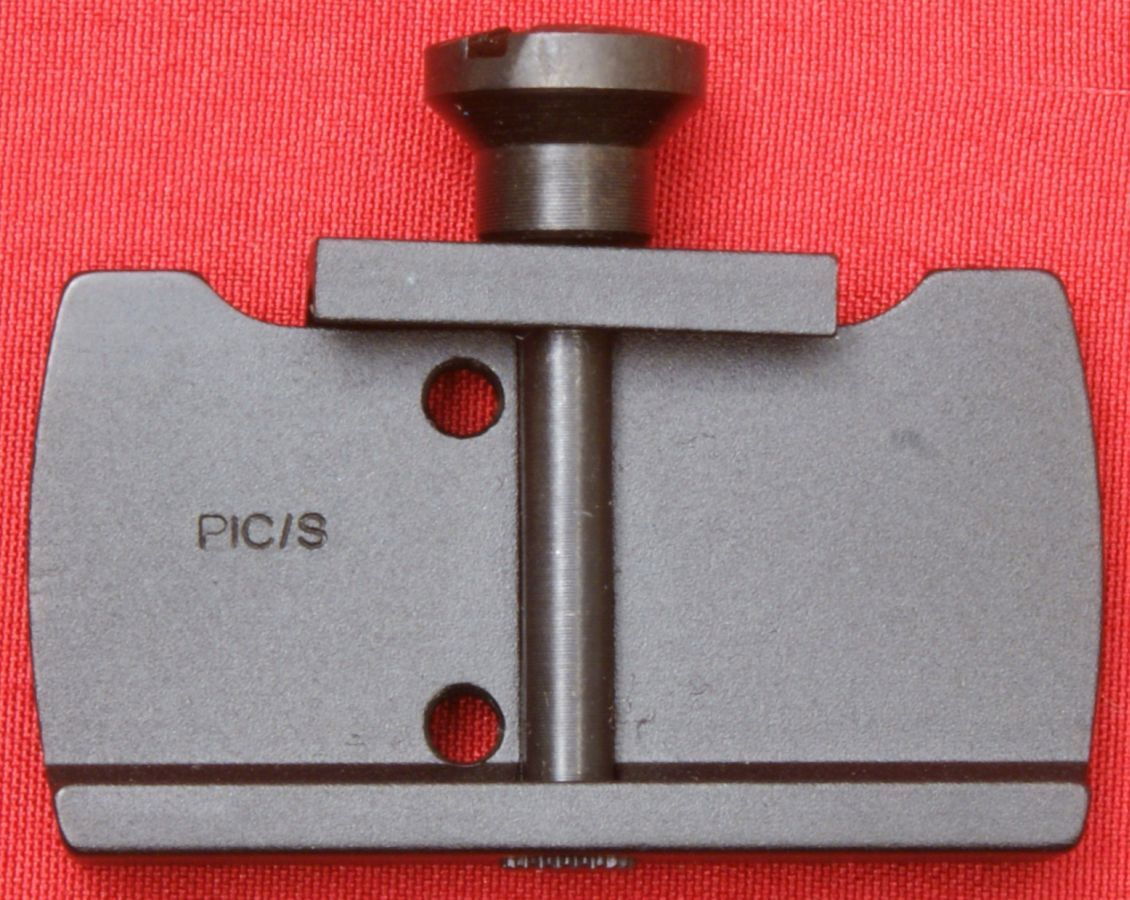
Picatinny Mount
The body and clamp bar of the Picatinny mount appears to be made from aluminum and the cross screw and clamp nut from steel. These parts appear to have an anodized (aluminum) and blued (steel) finish. The Picatinny mount includes four pins to maintain alignment of the sight with the base. These locating pins will help maintain a good zero when you remove and replace the sight body when changing out the battery.
Figure 23
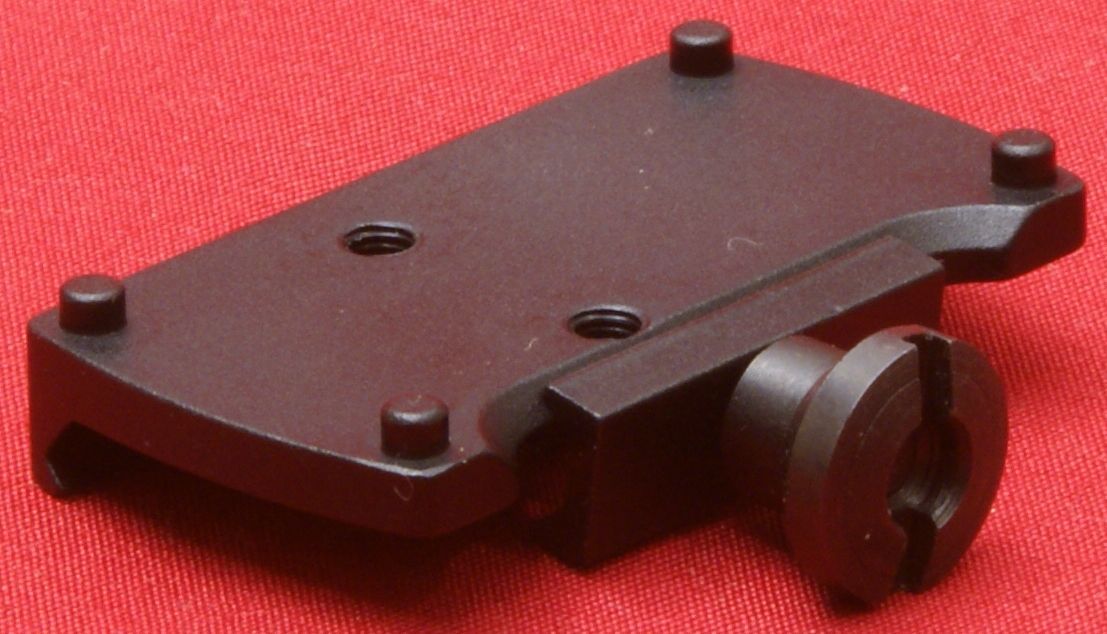
There are two #6x48 threaded holes in the Picatinny base for mounting the sight body.
Figure 24
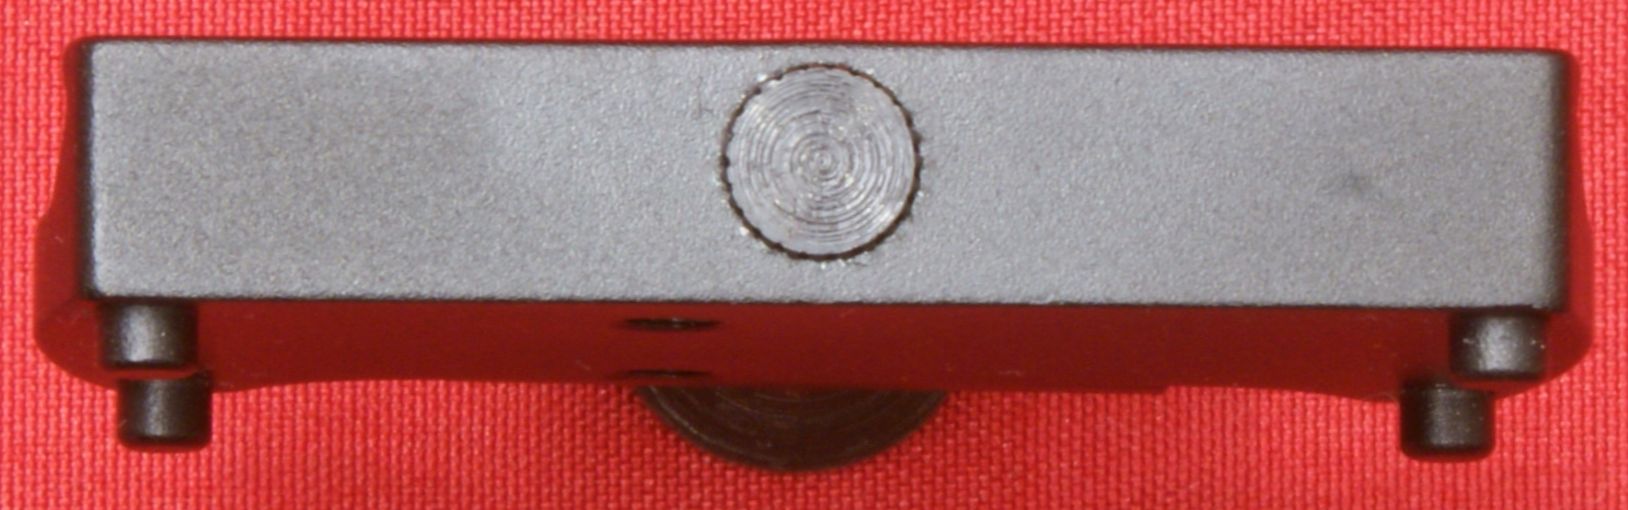
The clamp nut includes a slot so that you can tighten it with a coin or screwdriver.
Figure 25
Figure 26
Figure 27

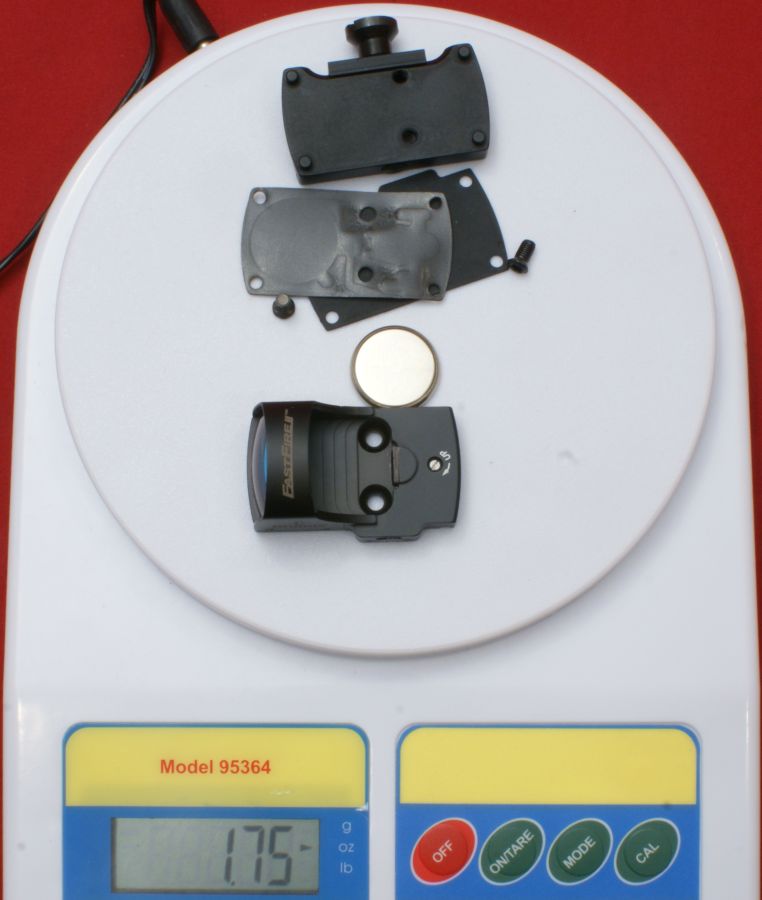
Weight
The sight weighed in at 1.05 ounces with everything except the Picatinny Mount. It weighed in at 1.75 ounces with the Picatinny Mount which would be the true weight added to your firearm for use. When you include the protective cap, the total weight was 1.90 ounces.
Figure 28
Figure 29
Figure 30

Protective Cap
The protective cap is made from some type of polymer material and fits the shape of the FastFire II very nicely. The fit was snug and didn't have any looseness and yet it still was easy to slip the cap over the sight. I turned the sight over and gave it some hard shakes and the cap stayed securely in place.
Figure 31

Figure 32
Figure 33
Figure 34

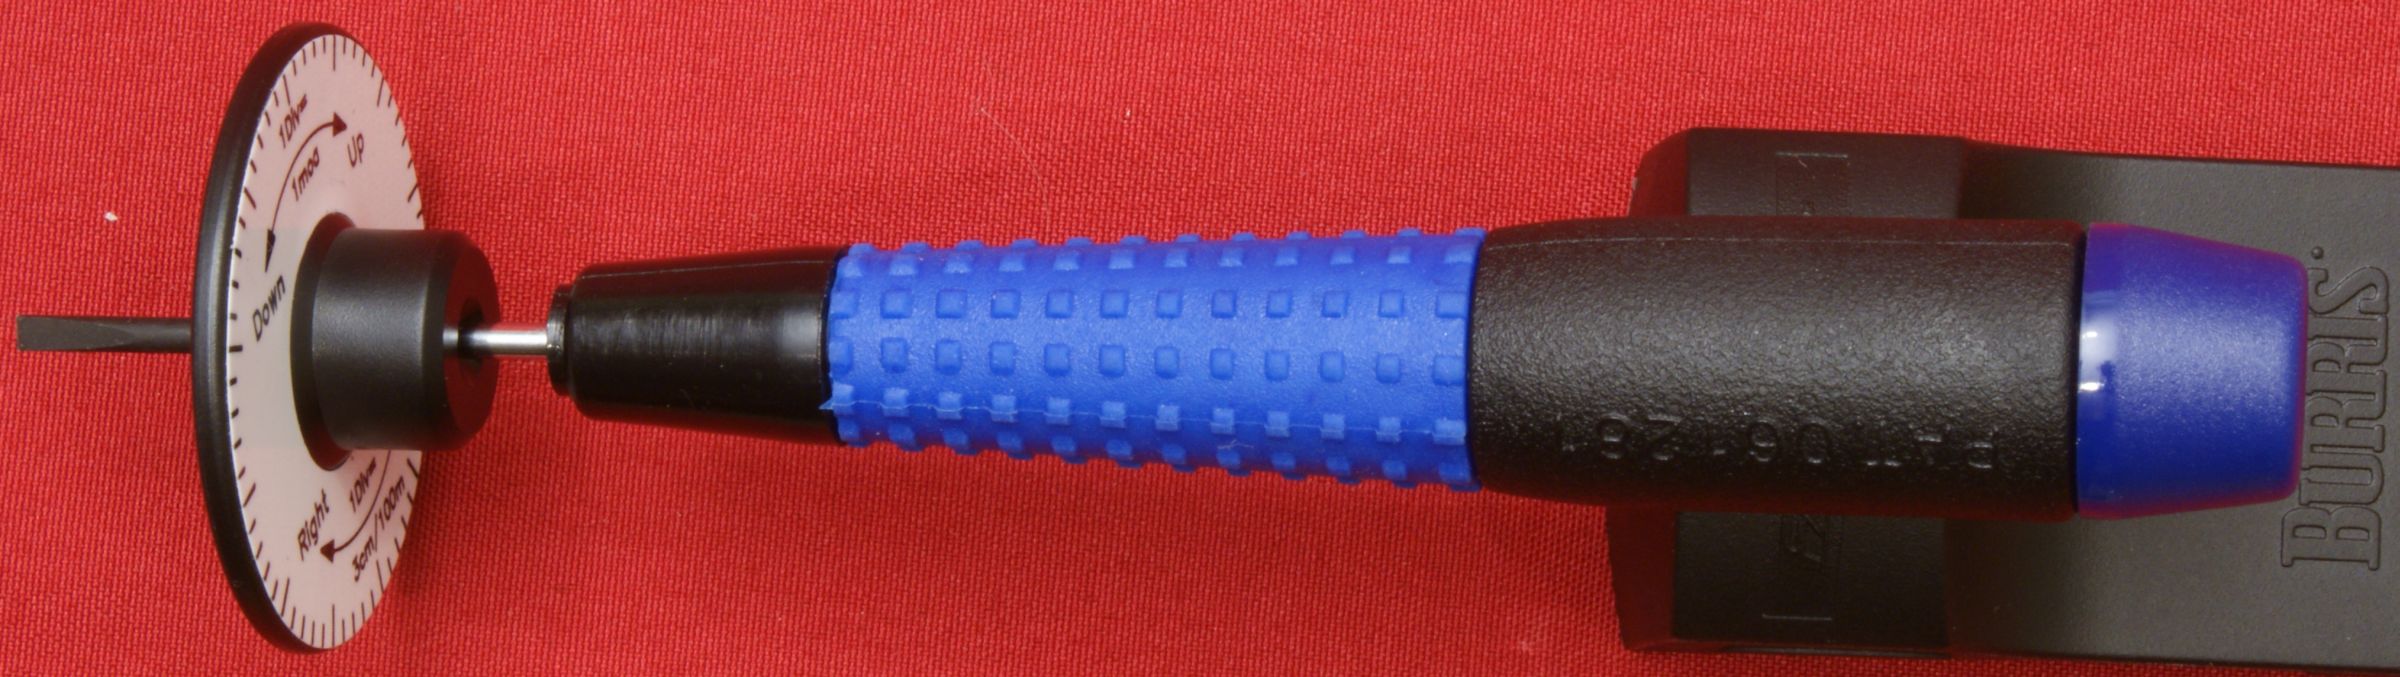
Sight Adjustment Tools
The FastFire II Sight comes with two tools for adjusting the sight which are an adjusting disk and screwdriver. The adjusting disk slides up the screwdriver until it is tight on the shank of the screwdriver. This disk gives you some reference marks to know which direction to turn the screw to move the point of impact and also divisions showing how much to turn to achieve 1 MOA at 100 yards. Since you are turning a screw to make these adjustments, there are not defined clicks like you would find on a scope turret. Since there are not defined clicks, this allows you to adjust the sight in increments less than that shown on the adjusting disk.
Figure 35 - Adjusting Disk
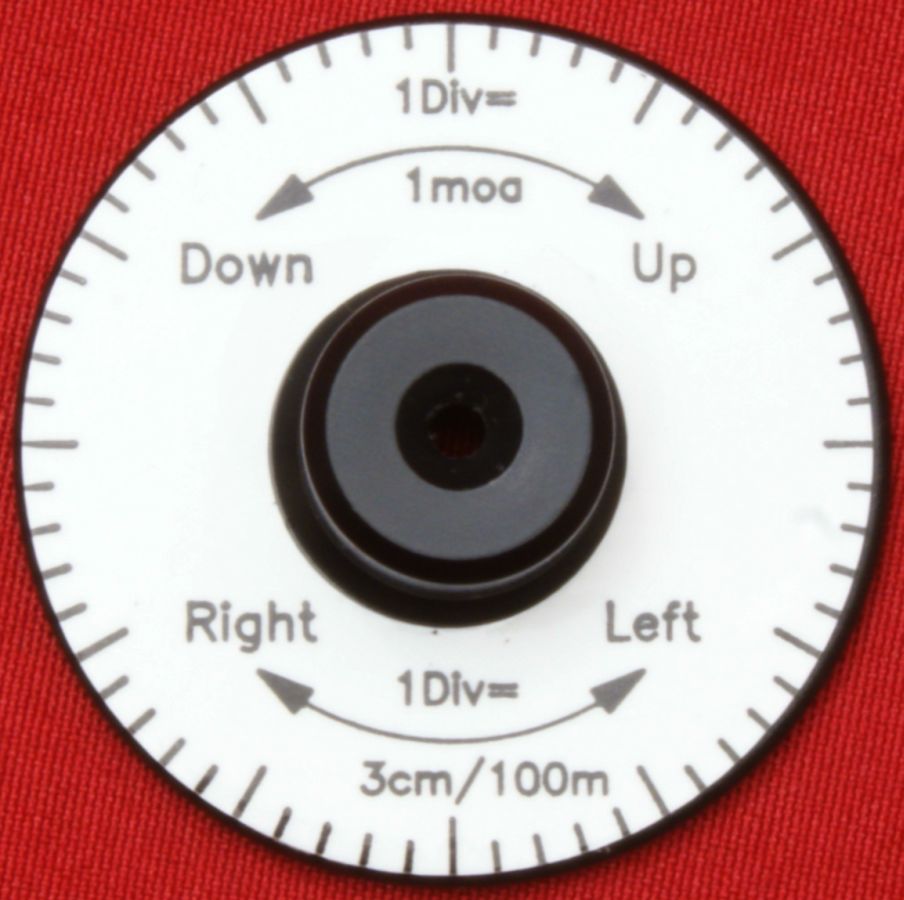
Figure 36
Assembly
Since the two mounting holes for the sight are not located in the center of the sight nor mount, there is only one way to install the sight on the mount. The "On/Off switch is located on the opposite side of the mount from the clamp nut. Since the "On/Off" switch sticks out from the body of the sight, the portion on the gasket plate that sticks out to cover the lower portion of the switch must also be on the opposite side from the clamp nut. The gasket plate goes directly on the Picatinny mount, and then the gasket goes on top. Next you place the battery inside the sight and the sight on top of the gasket and press down so that the pins in the mount press up into the holes in the corner of the sight. Next you tighten the two mounting screws to 12 inch pounds (per the instructions).
Figure 37
Figure 38
These next two photos show the sight installed on the mount. When you install this sight/mount assembly on your firearm, you should tighten the clamp nut to approximately 20 inch pounds (per the instructions). To apply these torques, I used my Wheeler Engineering F.A.T. Wrench.
Figure 39
Figure 40
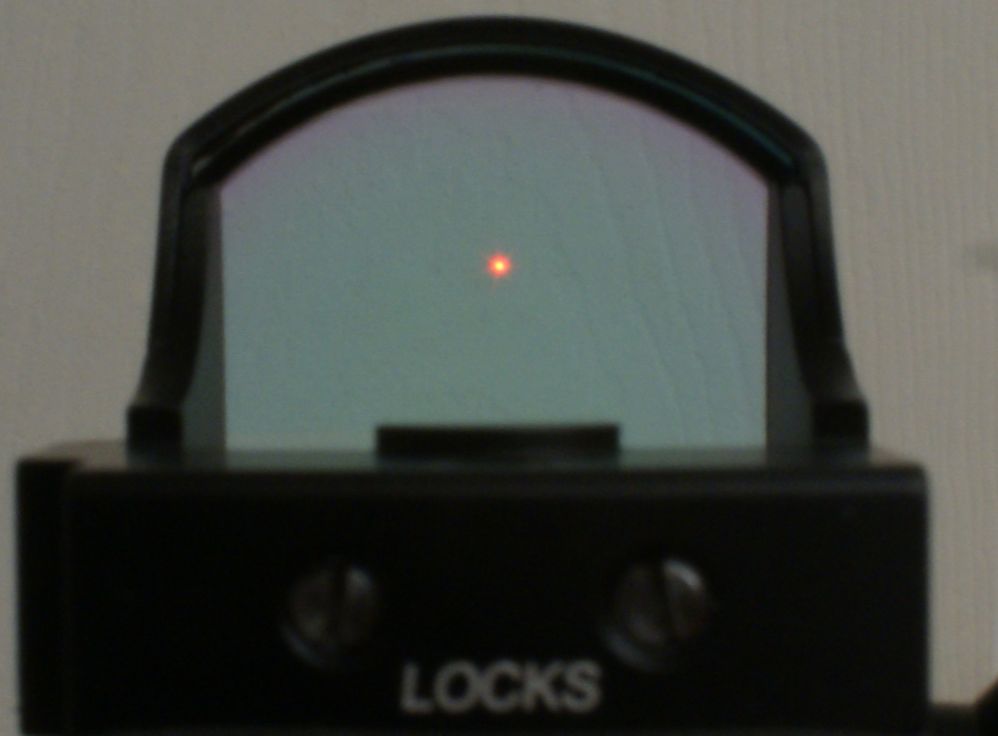
Red Dot Image
This photo below does a pretty good job of showing the dot brightness/intensity in normal lighting conditions. Unfortunately because of the hue around the dot, the dot size appears about 2 times larger in the photo than it does when looking through the sight with your eye. I believe this increased dot size in the photo is a combination of the camera lens and camera exposure sensitivity. You can also see the slight bluish tint I mentioned earlier when looking through the sight lens as compared to the area outside of the lens.
Figure 41
Although I was not able to get any photos showing the change in intensity from bright light to low light conditions, I was able to tell that there was a change in intensity. Under the low light condition, the dot on this sight gave a constant reduced intensity glow. It has been reported at other websites that the dot would flicker when on low intensity, but this was not the case for this particular sight. My overall impression on the dot size and intensity under different lighting conditions was positive.
Range Testing
For range testing, I decided to install the sight on a Ruger 22 Charger Pistol and Chiappa Rhino 60DS .357 Magnum Revolver. This gave me the opportunity to economically shoot the sight using rimfire ammunition and then see how the sight functions under the recoil of a .357 Magnum. Both of these setups are shown below.
Figure 42 - Ruger 22 Charger Pistol and FastFire
II Sight
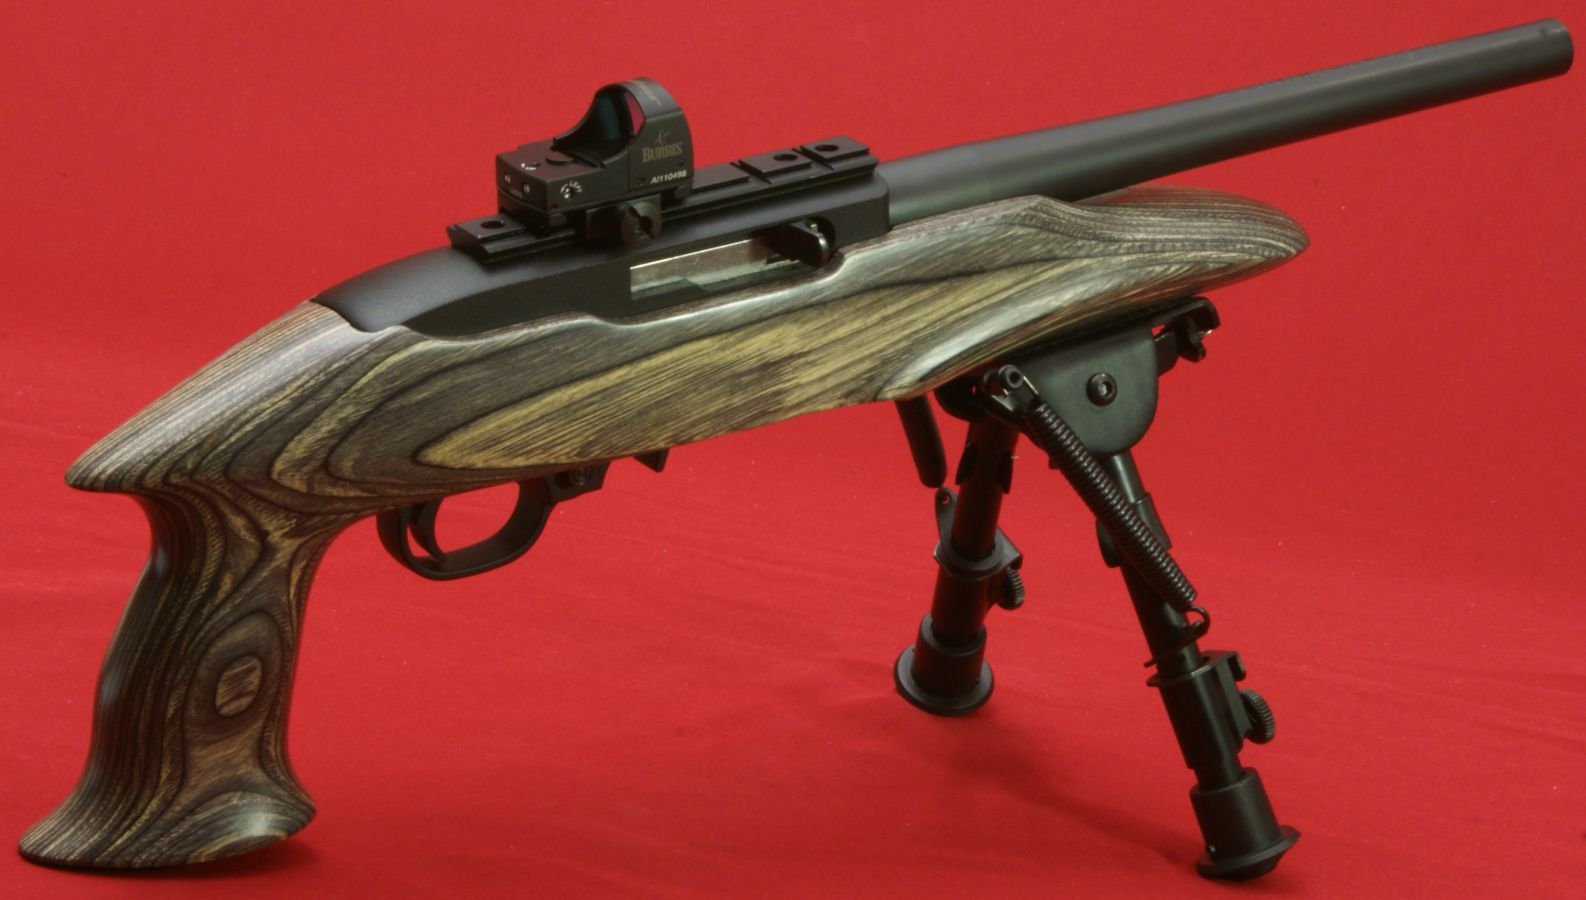
Figure 43 - Chiappa Rhino 60DS Revolver and
FastFire II Sight

I started out shooting the Ruger 22 Charger. My first few shots at 5 yards were on the paper so I made some course adjustments, shot again, adjusted again, shot again, and then was satisfied enough to move back to 13 yards which is the longest I can shoot at my indoor range. At this point I shot a group and then started using the adjustment disk to help me make my adjustments. Although I didn't make any formal effort to verify the accuracy of the scale divisions on the adjustment disk, my feeling was that a 1 Division adjustment may be more than 1 MOA stated. Regardless, I was able to zero the sight without any issues. The only part I didn't like was having to unlock and relock the two rear set screws, but that may just be the price you have to pay to get a sight that is this compact and one that can hold it's zero. I shot a couple hundred rounds using the Ruger 22 Charger and FastFire II and enjoyed the sight picture of the FastFire II.
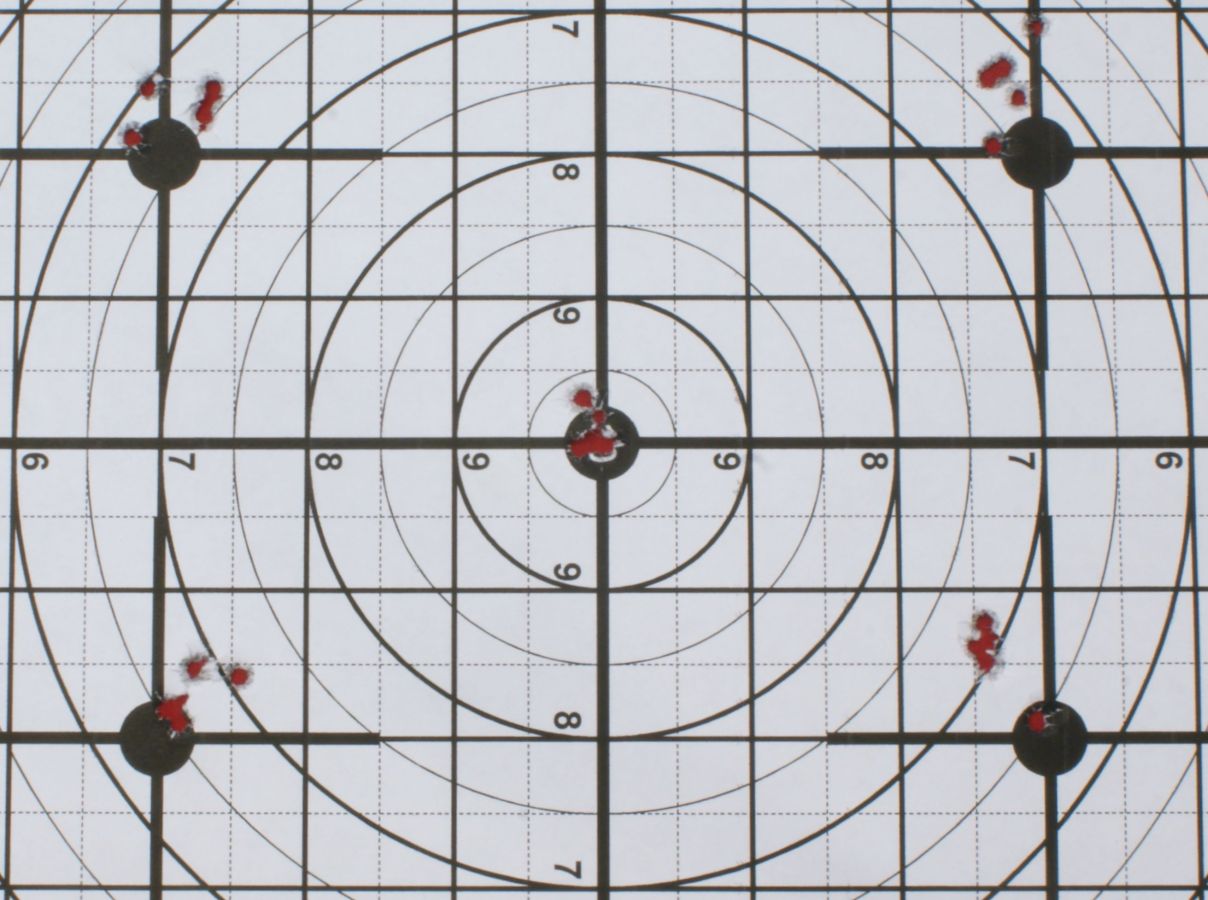
I then decided to try and evaluate how parallax sensitive the sight may be. To do this I aimed the sight with the red dot located at the five different locations in the sight window. These locations are show below by the numbers 1, 2, 3, 4 and 5.
Figure 44
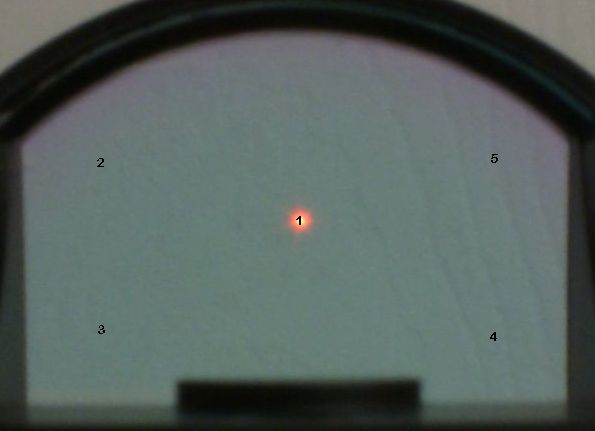
These five locations correspond to similar locations on the target below. I shot 5-shot groups at each of the five black dots on my target. The center group represents good alignment of the red dot with the center of the sight window while the corner dots represent a significant amount of misalignment of the dot within the window. Based on my results, I would have say that there may be a slight amount of parallax occurring out at these extremes for this 13 yard distance. In each corner, there appeared to be a slight shift up in the point of impact and slight horizontal shifts back towards the center of the target. These slight shifts were no greater than 0.75" and in most cases less than 0.50". Since the Owner's Guide states "virtually parallax-free from 10 to 150 yards", and because I was very close to the 10 yard minimum distance, and since "virtually" does not mean none, I'm satisfied that parallax would not be an issue and Burris's claim is probably a good one.
Figure 45 - 5-Shot Groups Evaluating Parallax at
13 Yards with the Ruger 22 Charger
For my last evaluation I installed the sight on the Chiappa Rhino 60DS Revolver. I personally think the FastFire II makes both a highly functional and very attractive addition to the Chiappa Rhino Revolver. Just as before, I started out shooting at a close range to roughly sight in the FastFire II and then eventually increased the distance to 25 yards for my final distance. After shooting a couple of boxes of .357 Magnum ammo, I was convinced that I could be lethal at that distance. After my initial zeroing of the sight, I was not able to detect any shift in zero when shooting the .357 Magnum rounds. Since Burris states a recoil resistance of "At Least 1000 G's", I didn't expect to have a problem.
One thing I noticed is that when you are coming up quickly on a target with a handgun you will need to have developed some basic feel (trained muscle memory which means practice) so that you are looking directly into the sight when the handgun is at arms length. I took my daughter along shooting and she struggled aiming the FastFire II in the beginning, but quickly she developed a feel for the revolver/sight combination. As you get the sight closer to your eye when aiming (i.e. like with a rifle or shotgun), this was less important because the sight being closer to your eye seems to naturally cause better sight/eye alignment and you have a wider look angle through the sight which also helps seeing the red dot and getting good alignment.
I mounted the sight on the rail of my 887 Nitro Mag Tactical and immediately loved how quick I was able to get on target. This made it clear to me why Burris developed the Speed Bead Sight which uses the FastFire II Sight in combination with one of 15 different mounts to install this sight on various shotguns.
Bottom Line
The Burris FastFire II Sight appears to be a quality product and it performs as intended. It is extremely small and light weight. At a street price in the low $200s, this quality sight seems to be a good value. For those of you who struggle with old eyes, these types of sights really do make a difference based on my eyes and experience. While using this sight, I didn't struggle with trying to get everything in focus when looking through my bifocals. For everyone, I think you will enjoy how quickly aiming becomes and how fast you can get on target. The real issue I see with this sight is deciding which firearm I will put it on. At this point I'm starting to wonder if it is possible to get by with just having one FastFire II.
Or
If you would like to be notified about future Gunsumer Reports reviews via Facebook, make sure "You Like This" by clicking the Facebook "Like" button at the bottom or top of this page. If it already says "You Like This" beside the button, clicking it again will uncheck the "Like" status and you will not be notified.
| Share on Facebook | |
© 2010, 2011, 2012, 2013, 2014, 2015, 2016, 2017, 2018, 2019, 2020, 2021, 2022, 2023 & 2024 Gunsumer Reports™, All rights reserved.
FTC Disclosure